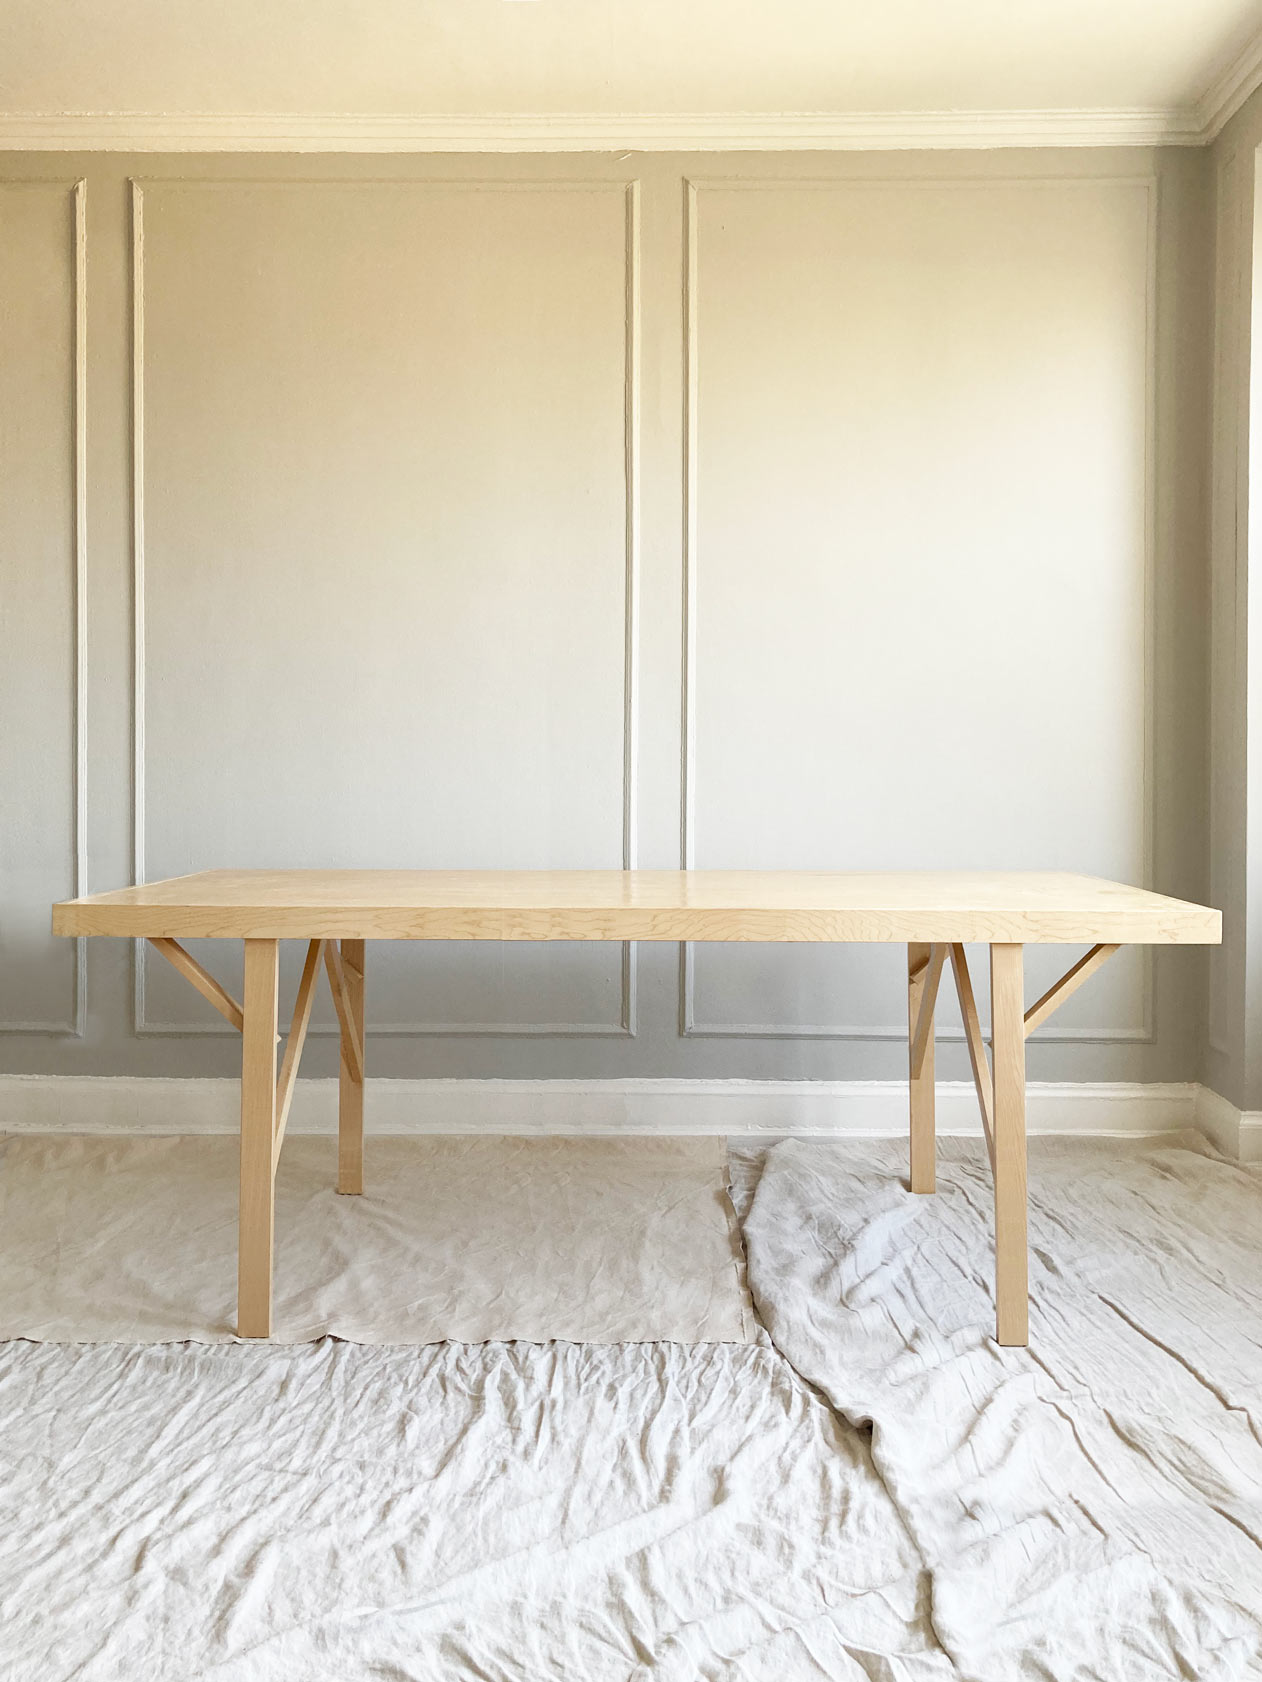
Simple Joinery Dining Table
Design and photography by Ian Anderson
Published in Spring 2021
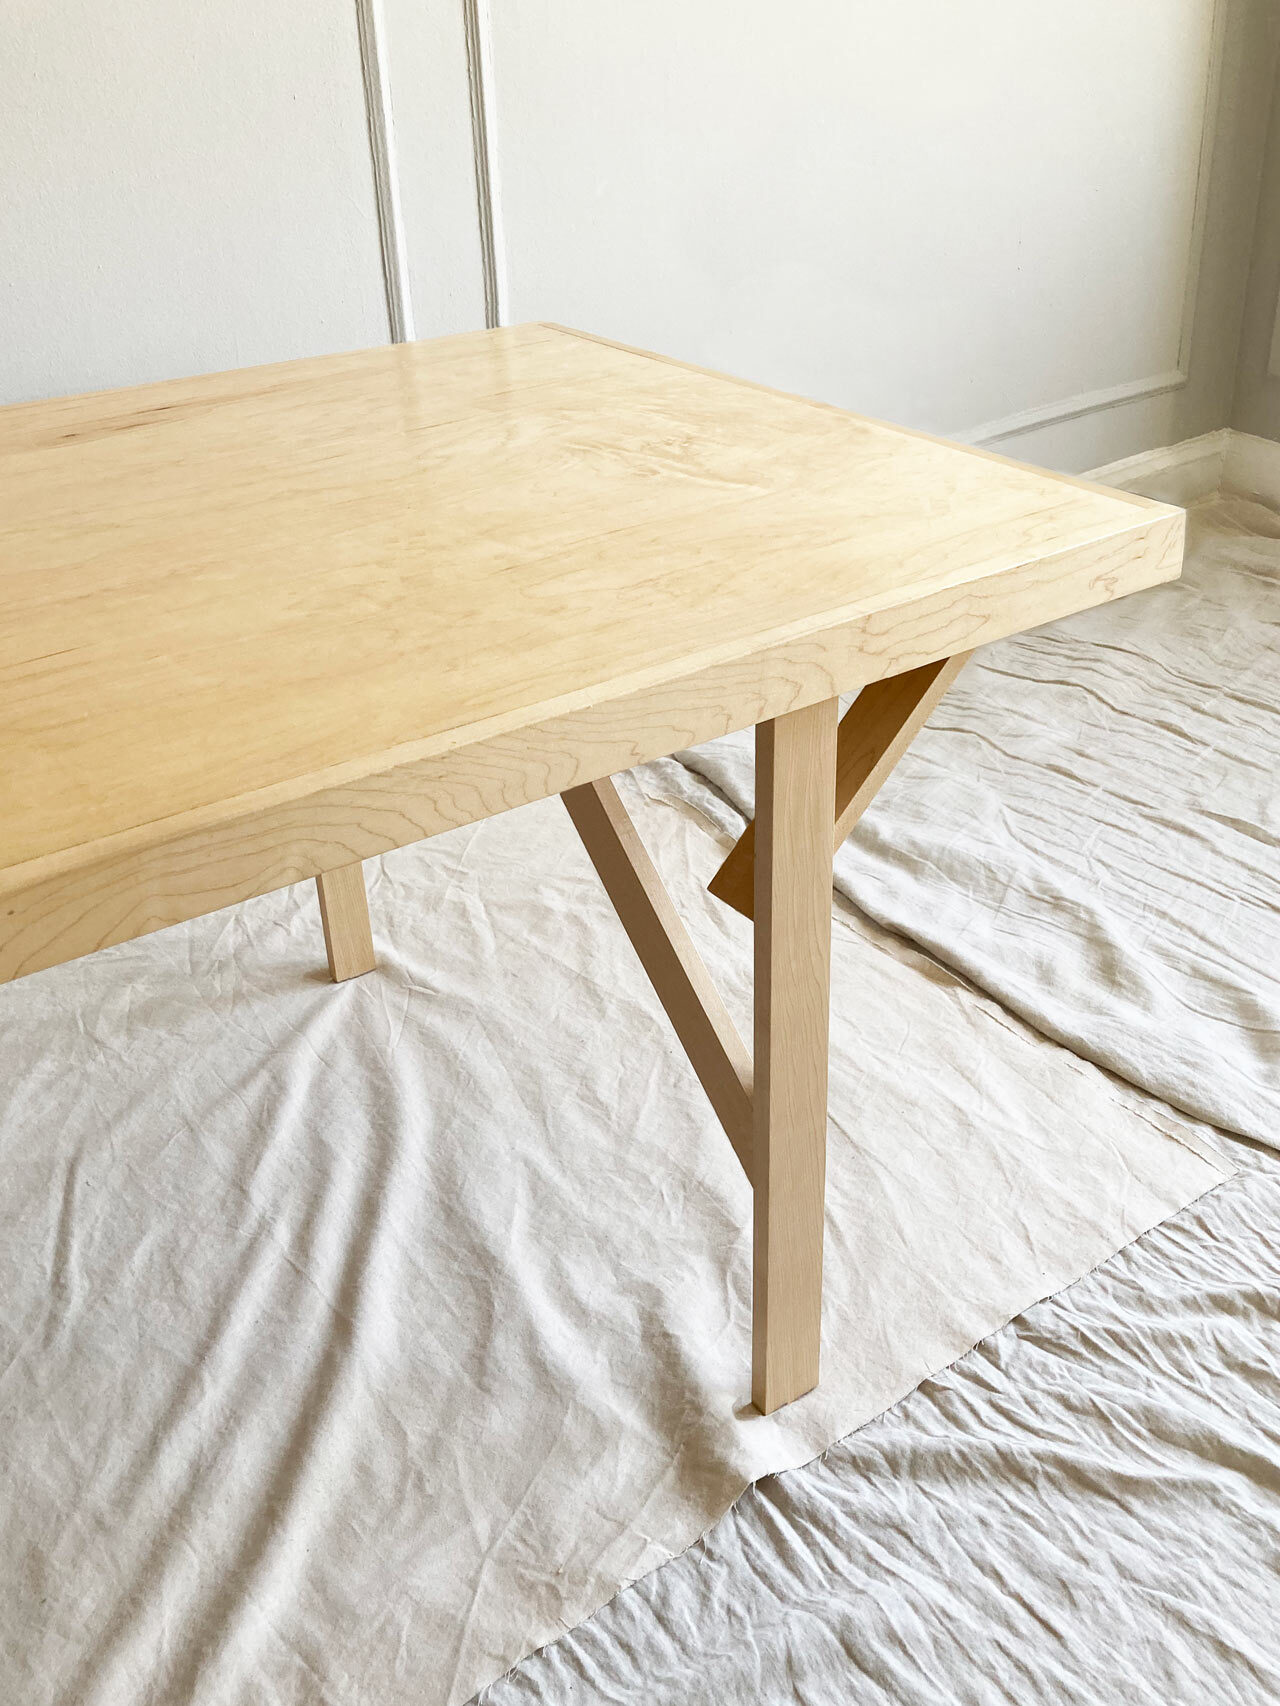
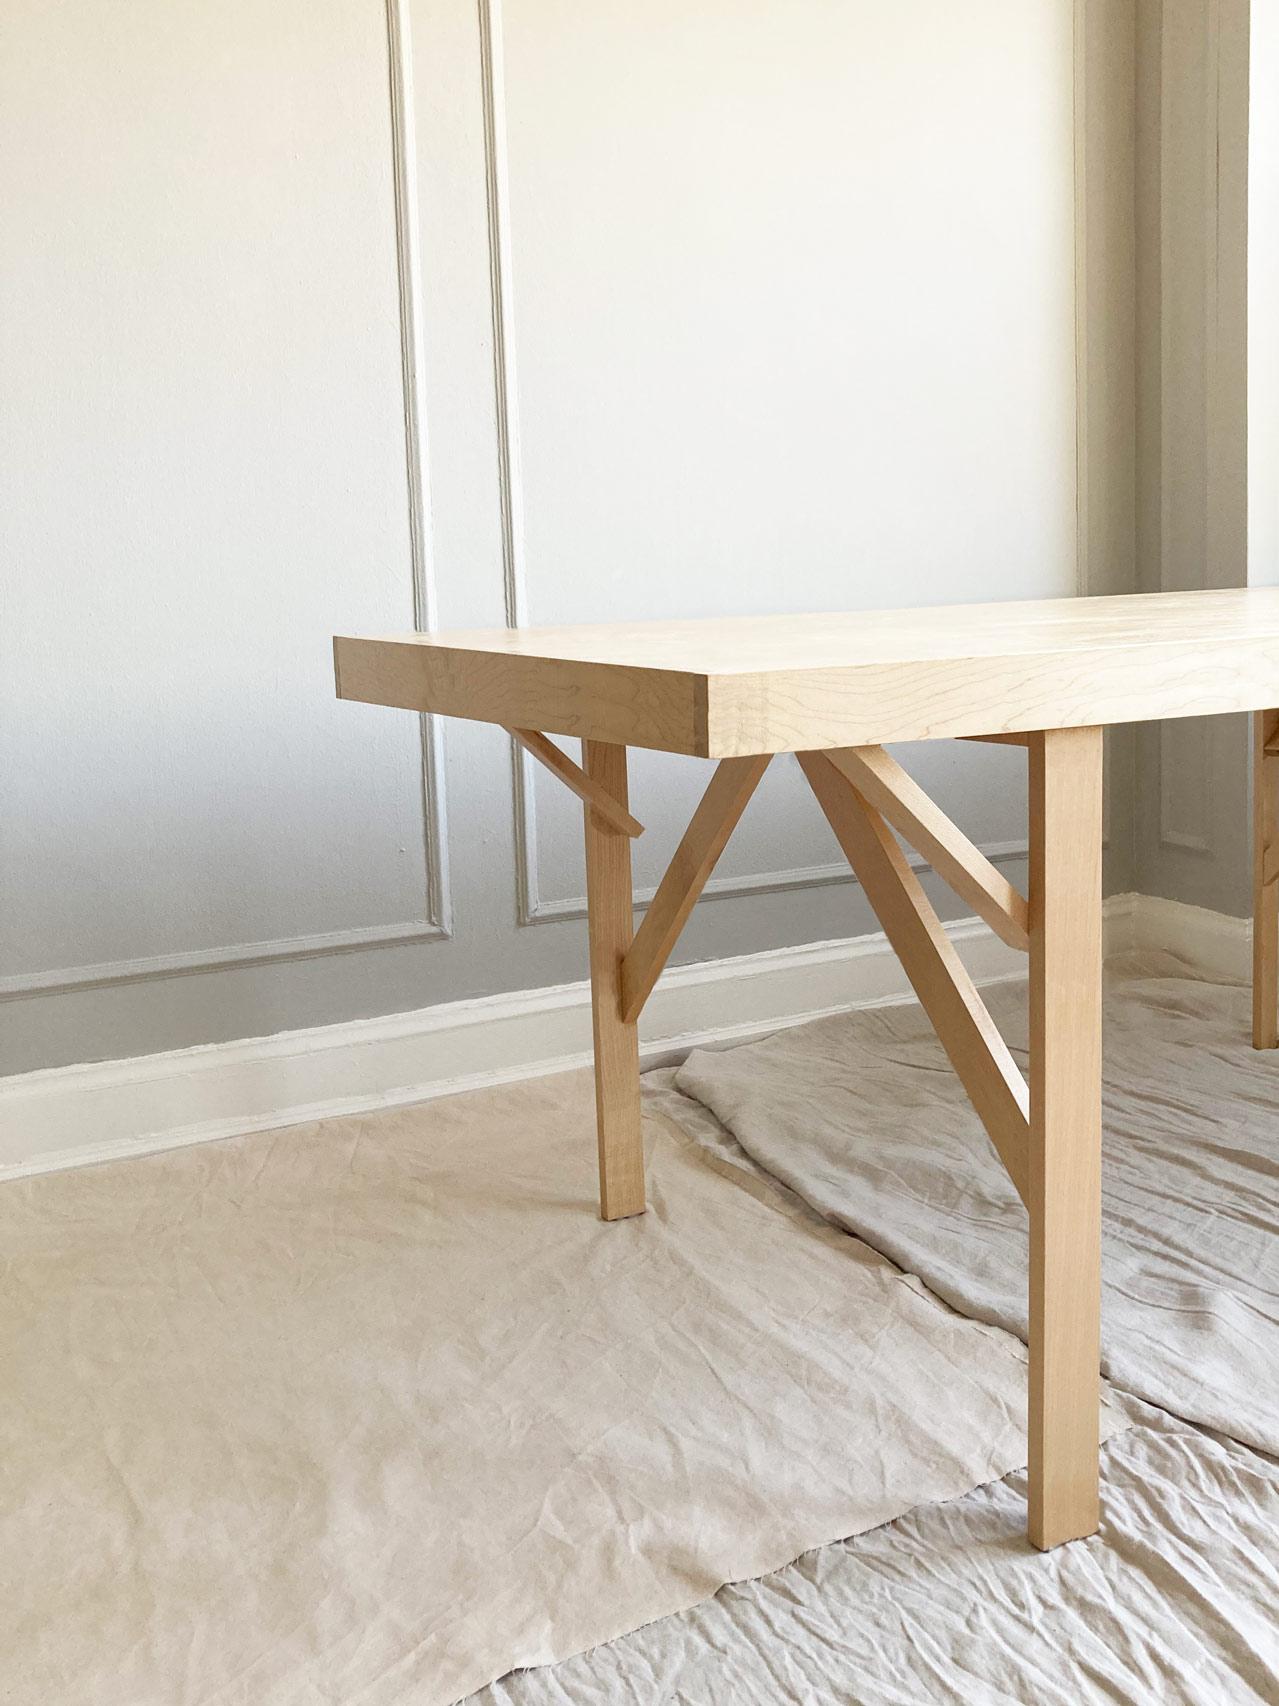
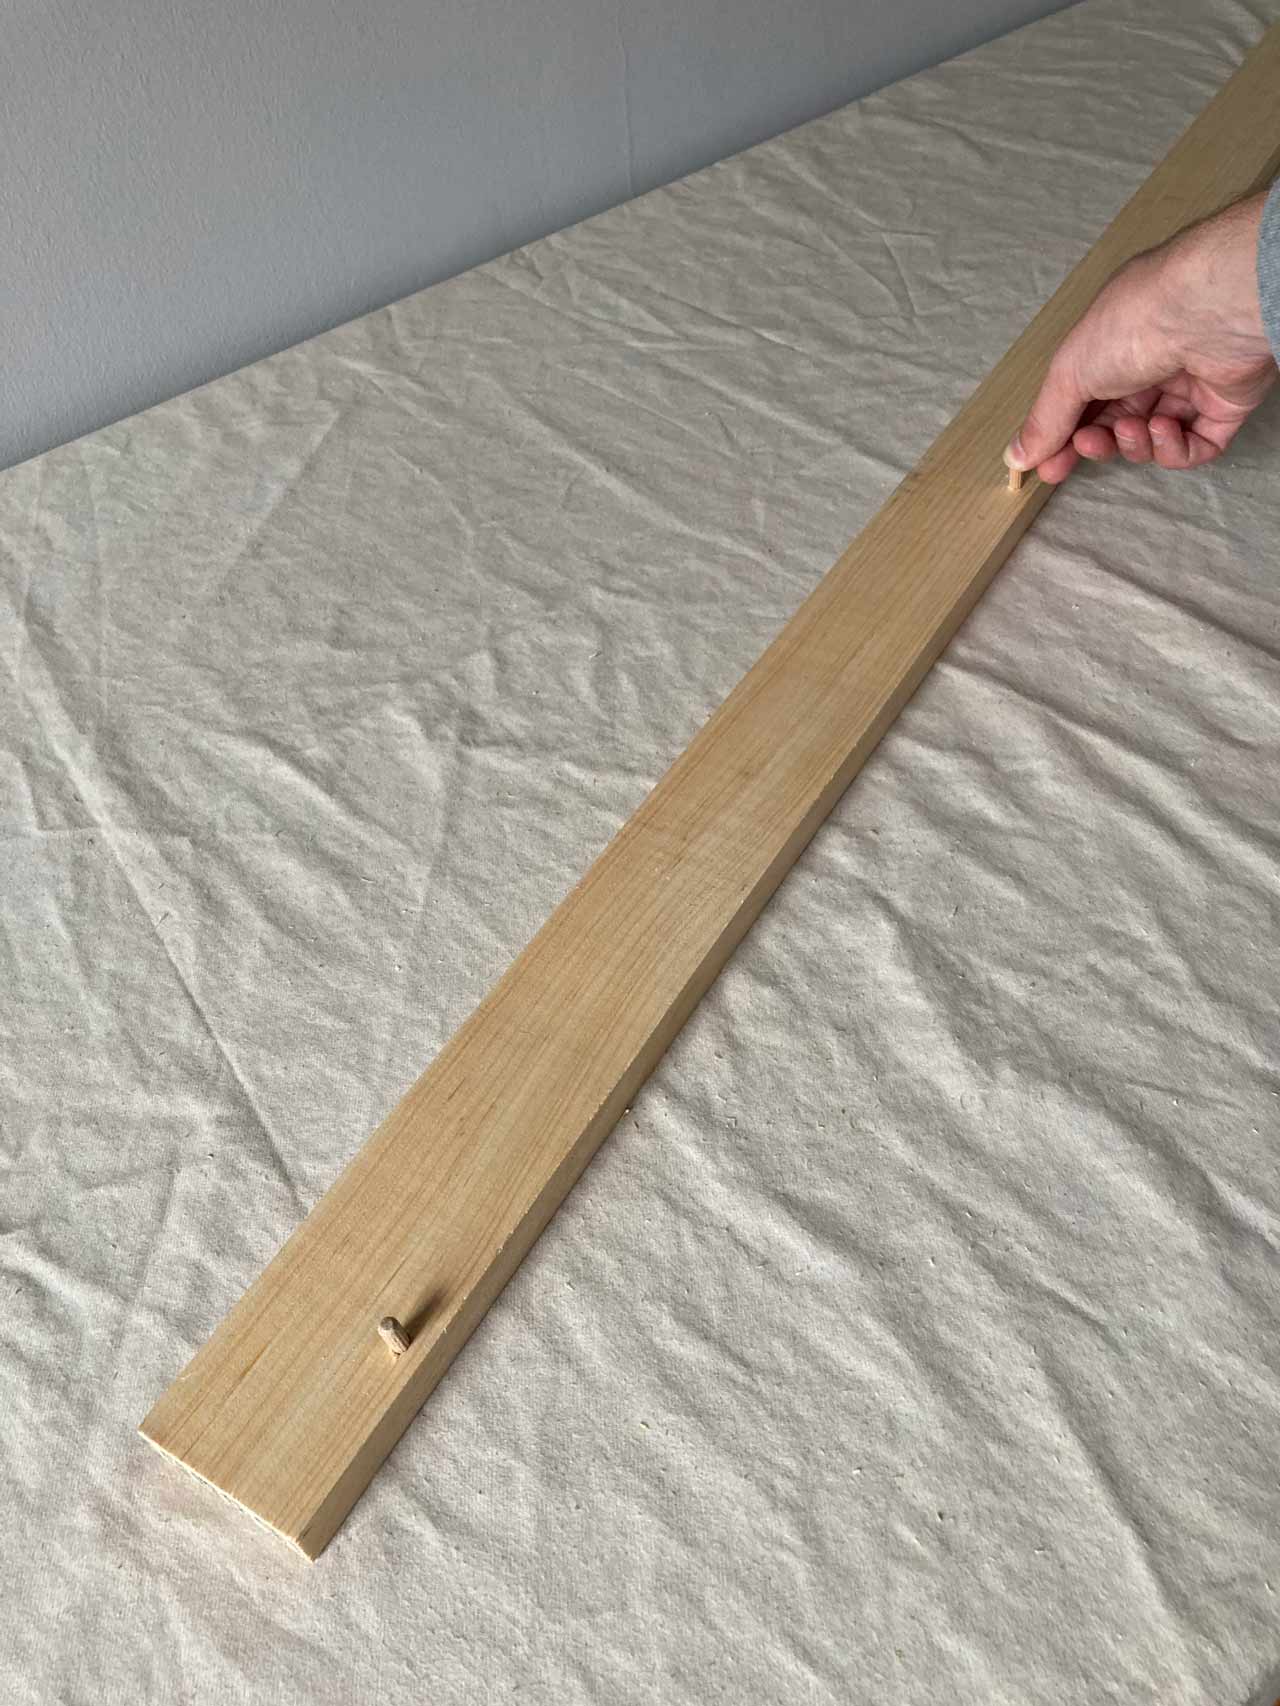
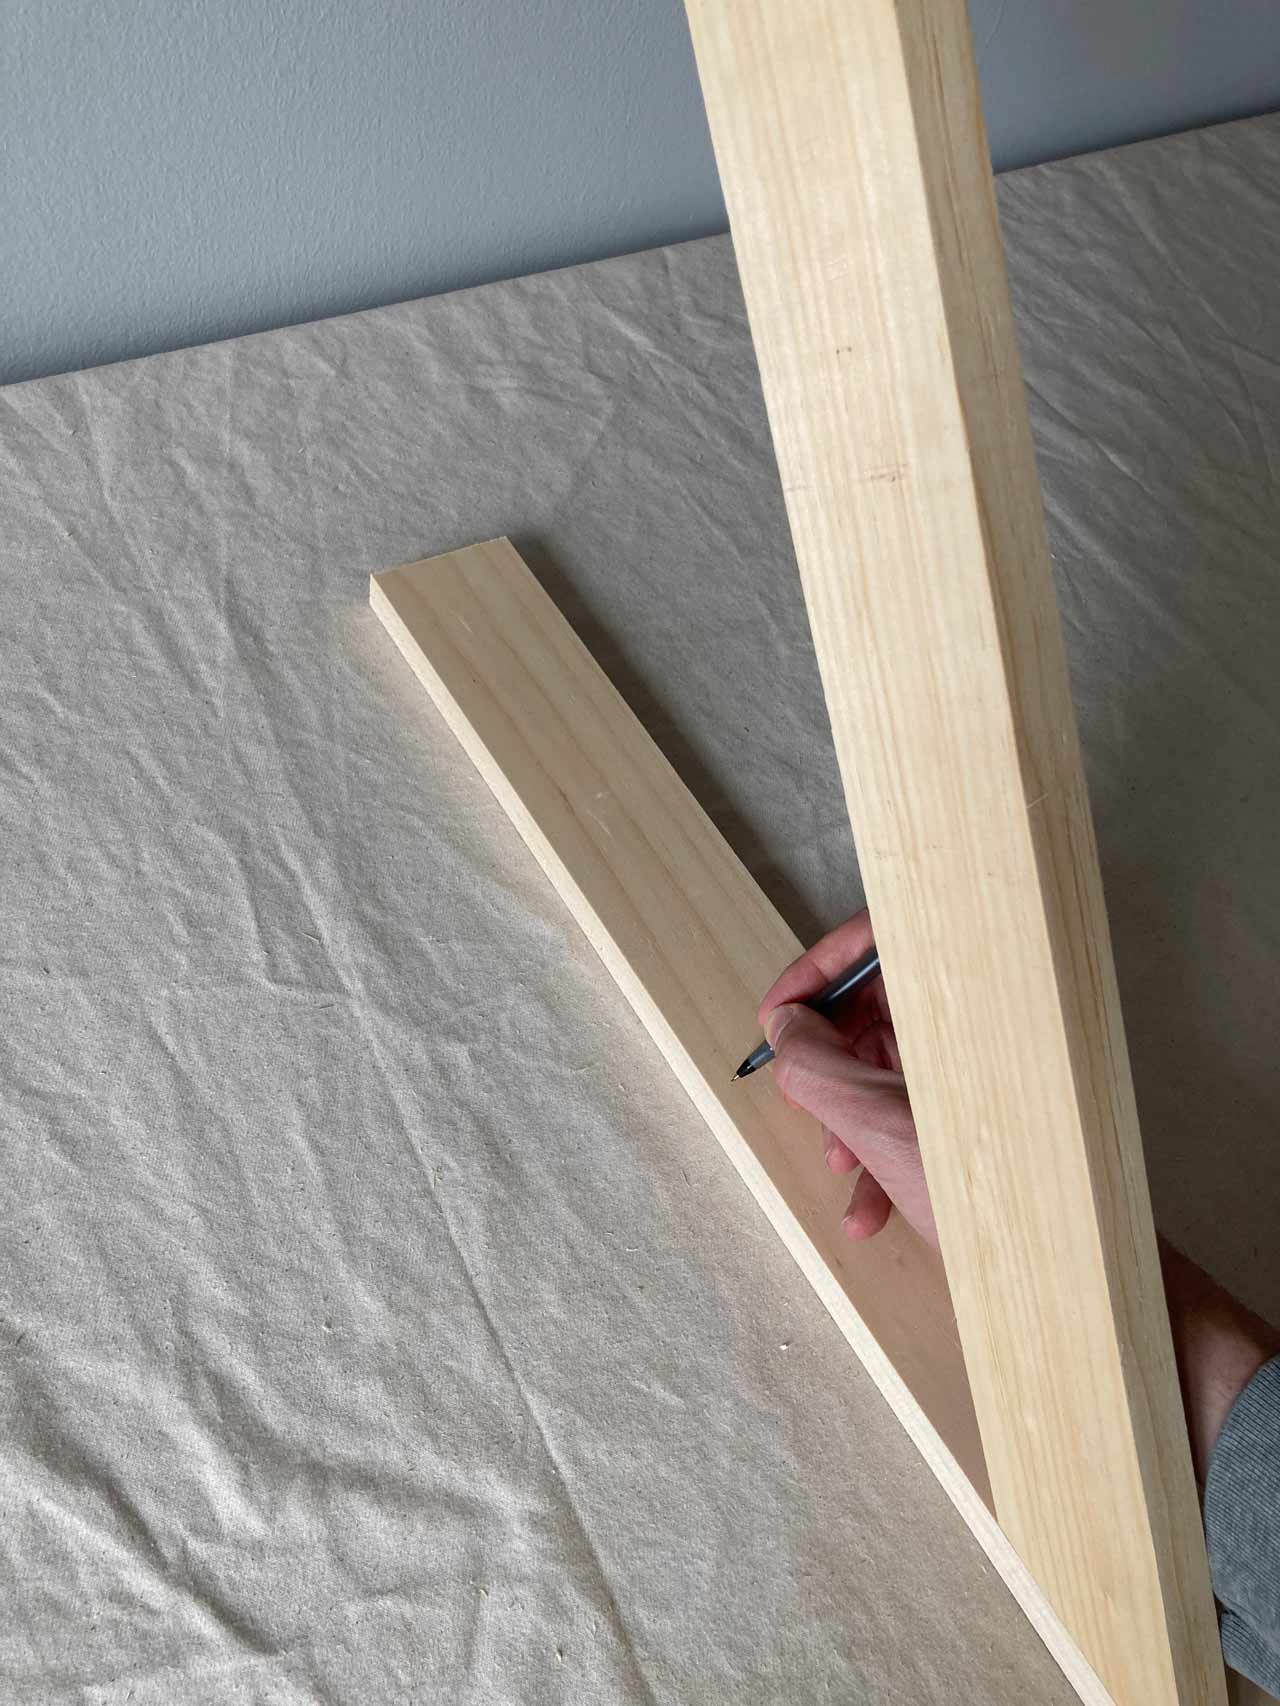
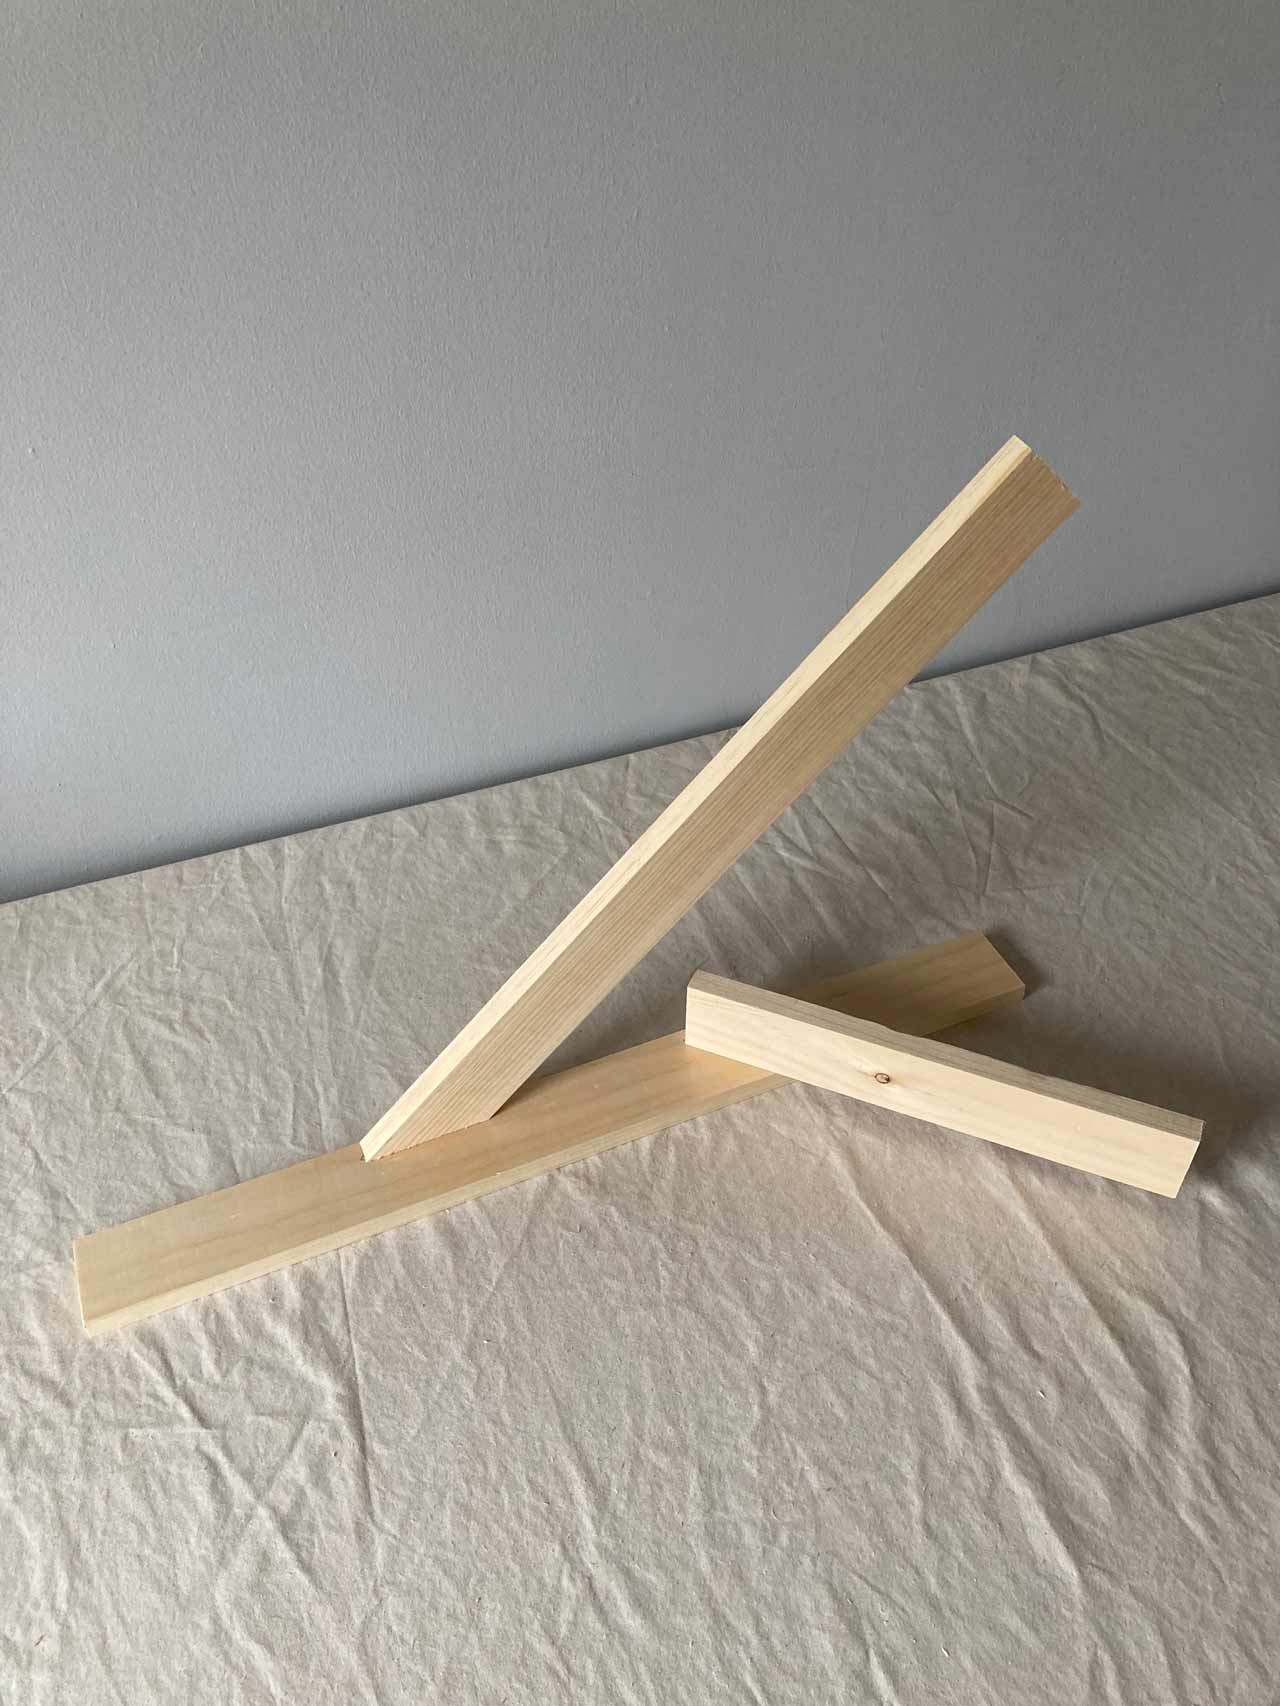
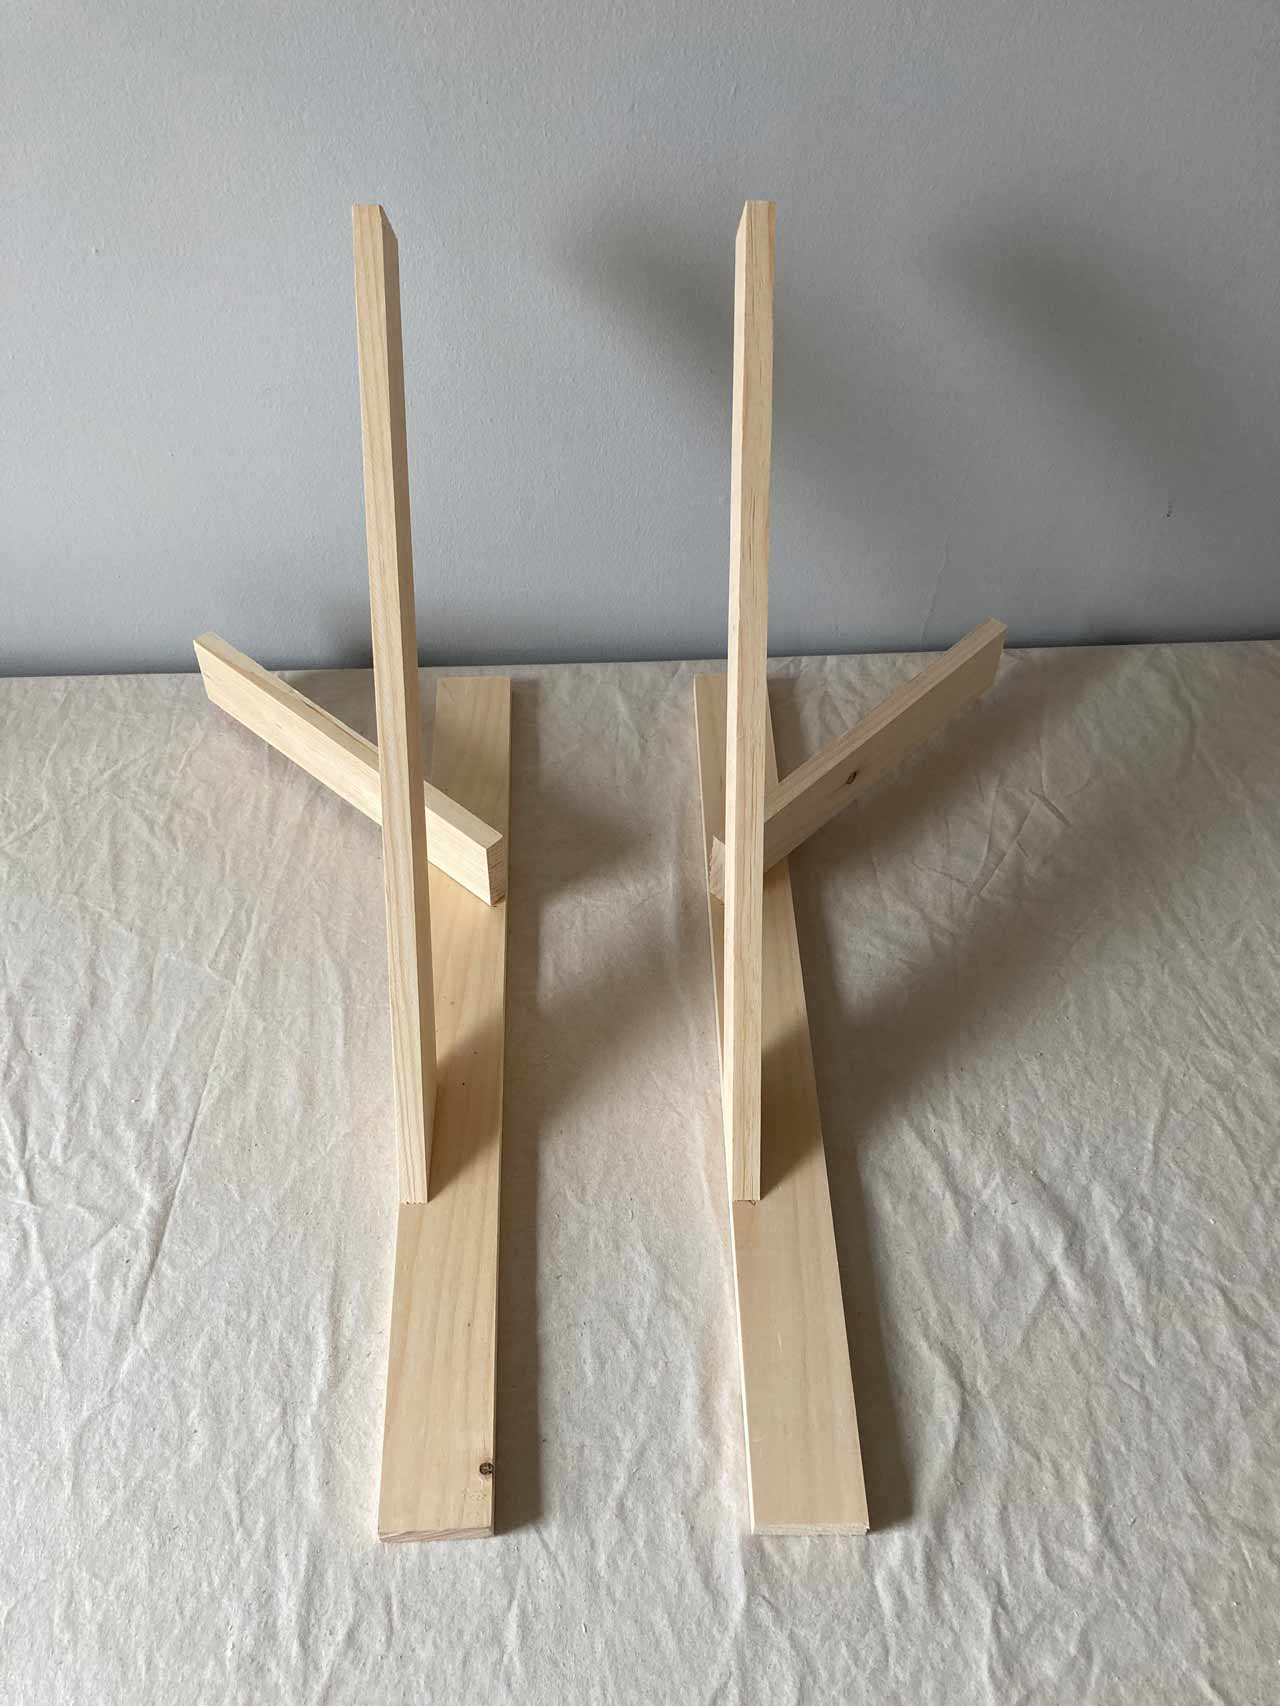
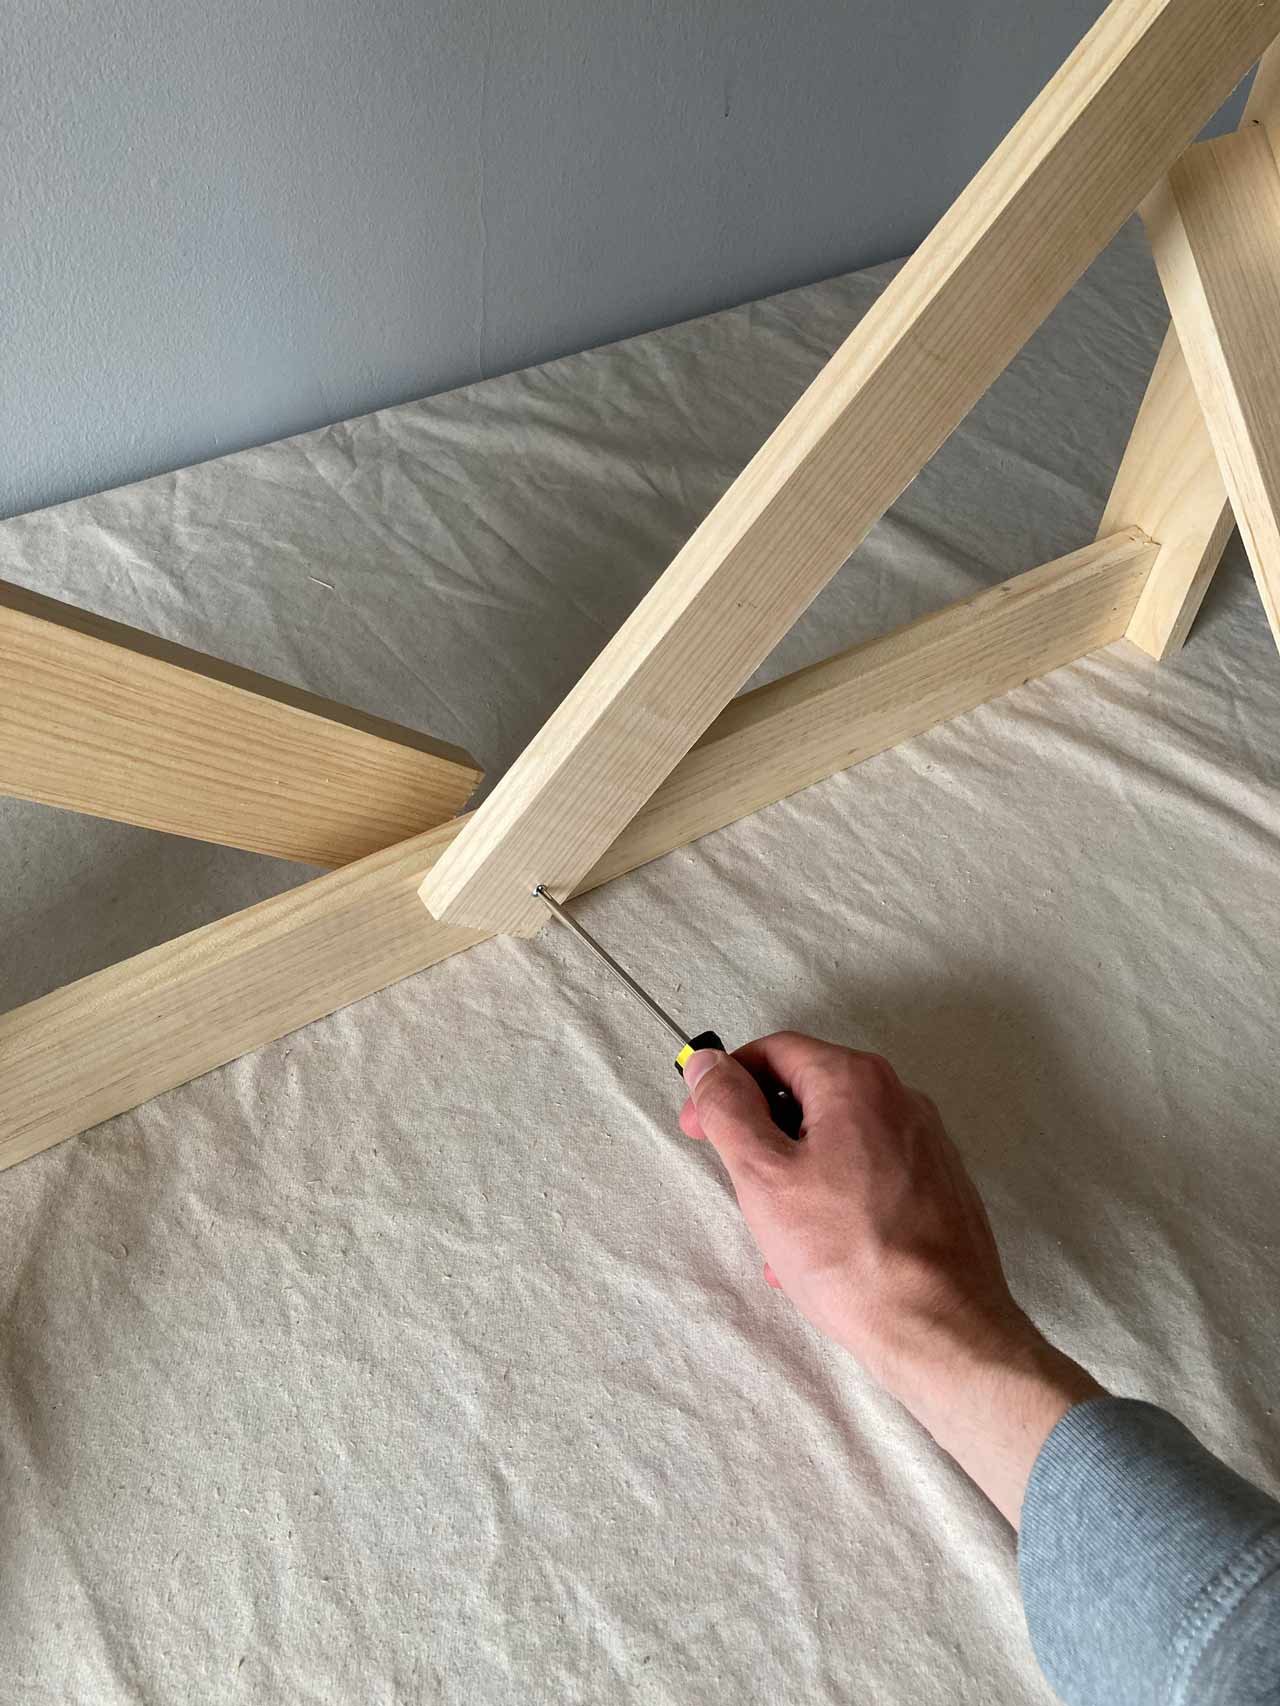
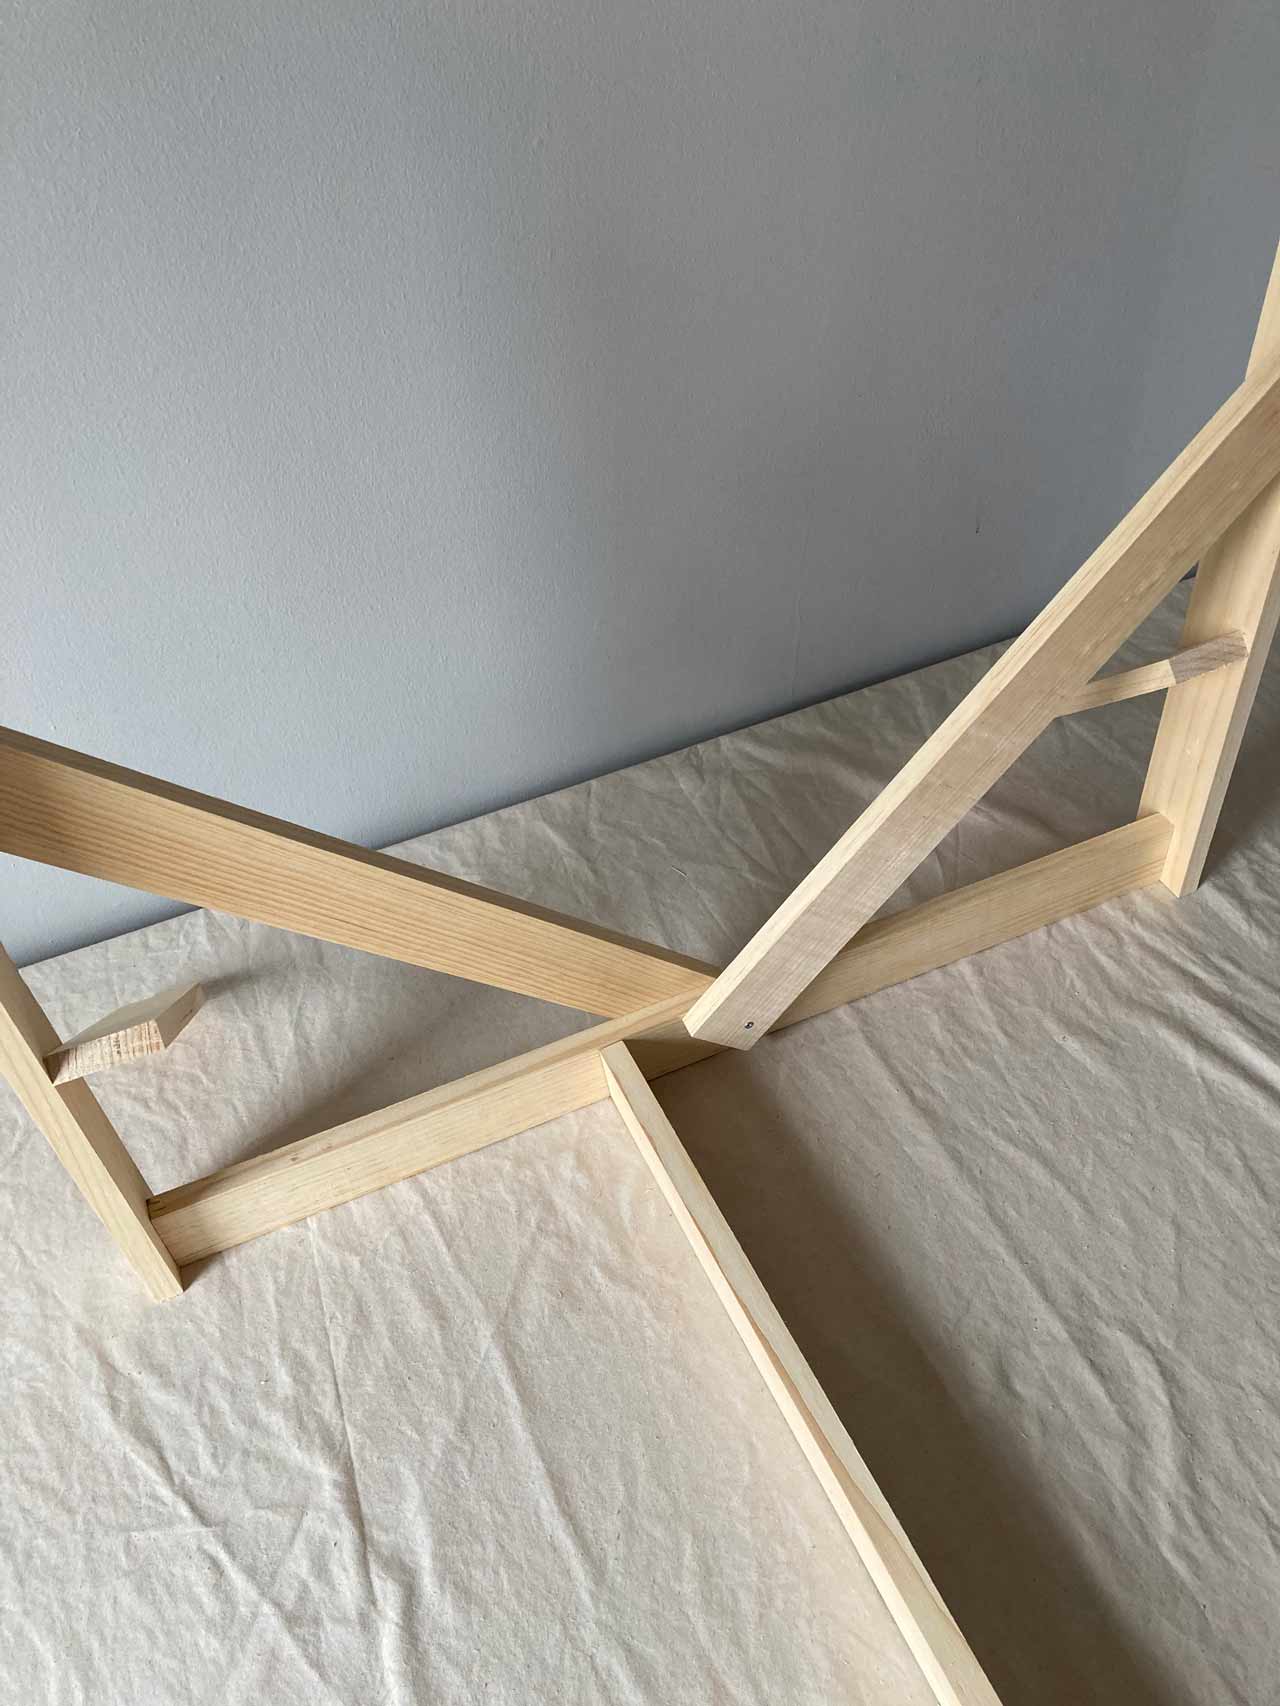
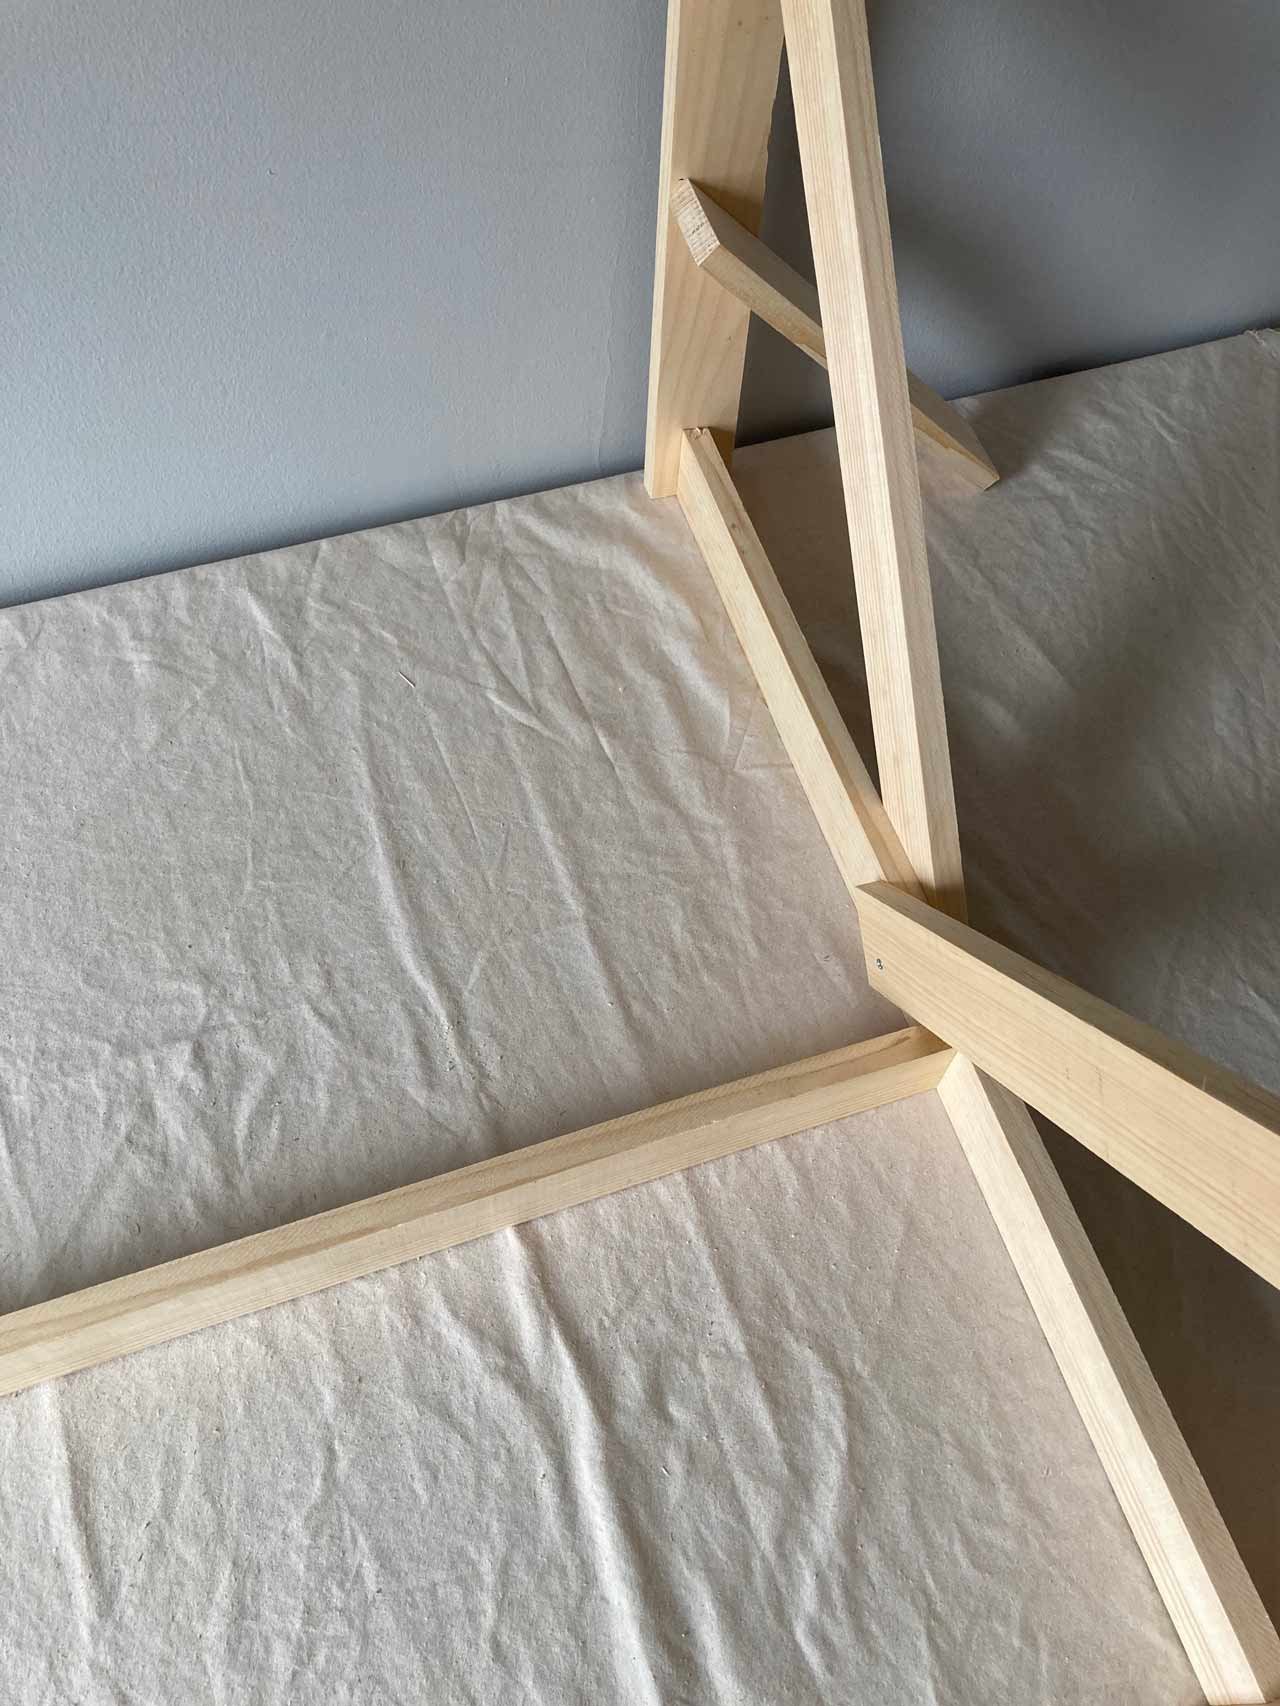
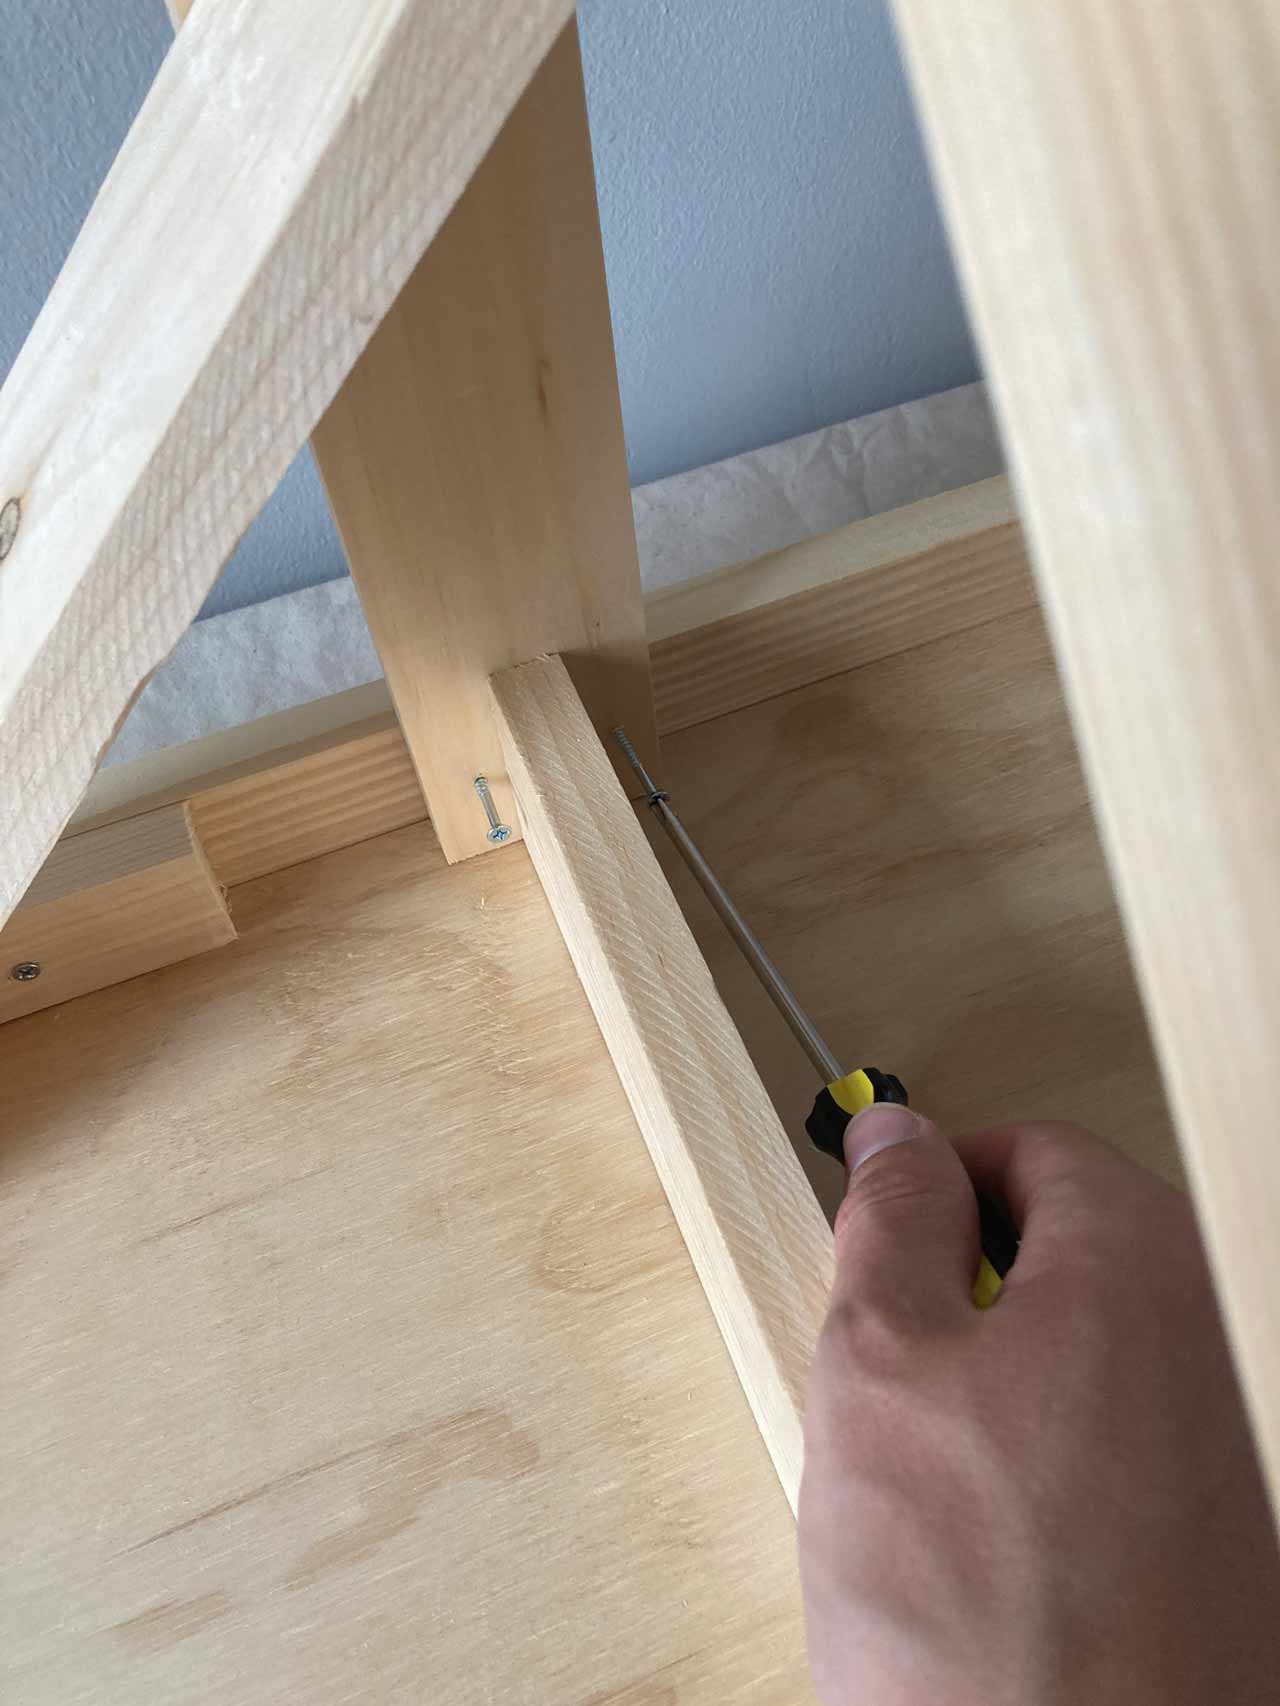
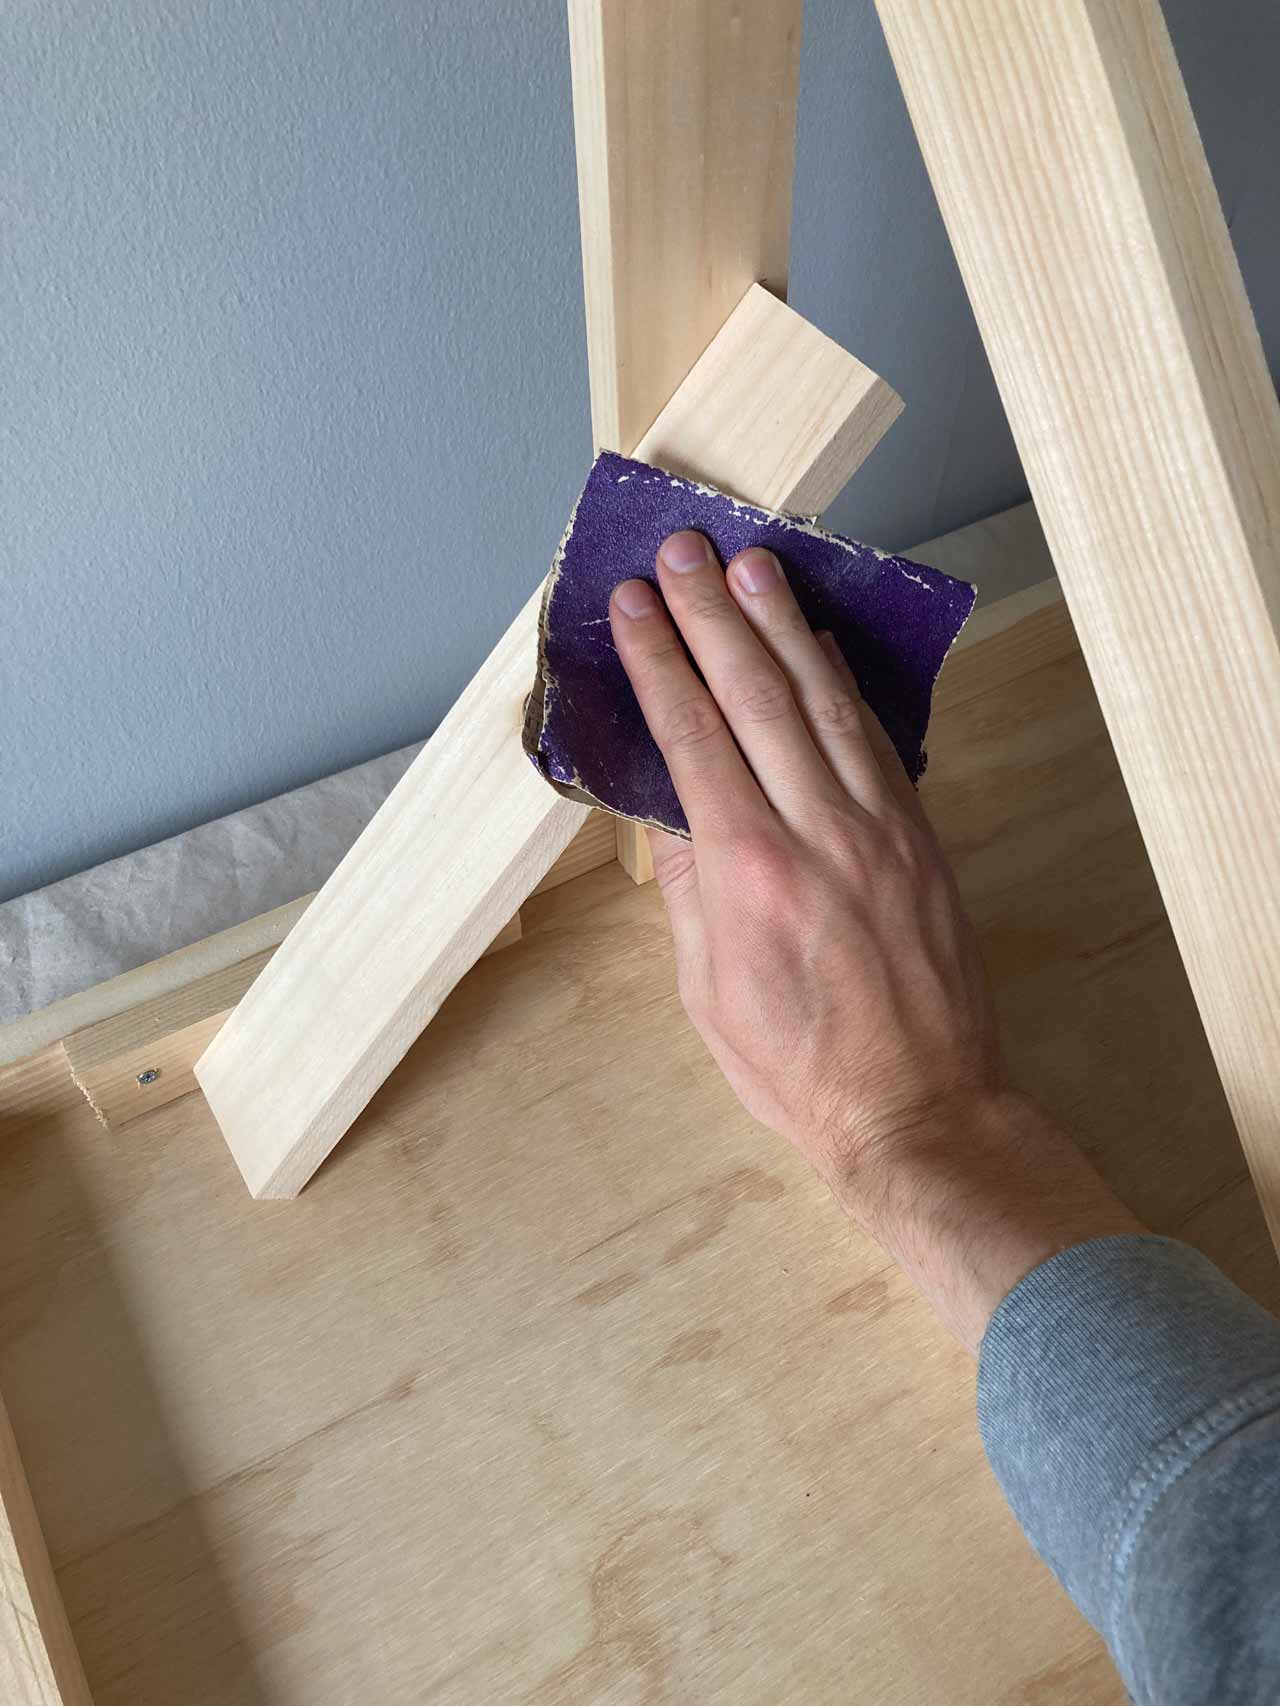
The original prototype of this design was produced with 1in x 2in wood legs in an effort to push the limits on what a reinforced leg structure could do with the thinnest possible wood. Though it only tended to wobble slightly, because of the wood strength and not structure strength, it was best to upgrade to 1in x 3in legs. Thought it’s aesthetics suffered from the change, its structure triumphed – an all too common tradeoff in the design process. As with all of the Simple Joinery designs, the assembly process is difficult but rewarding.
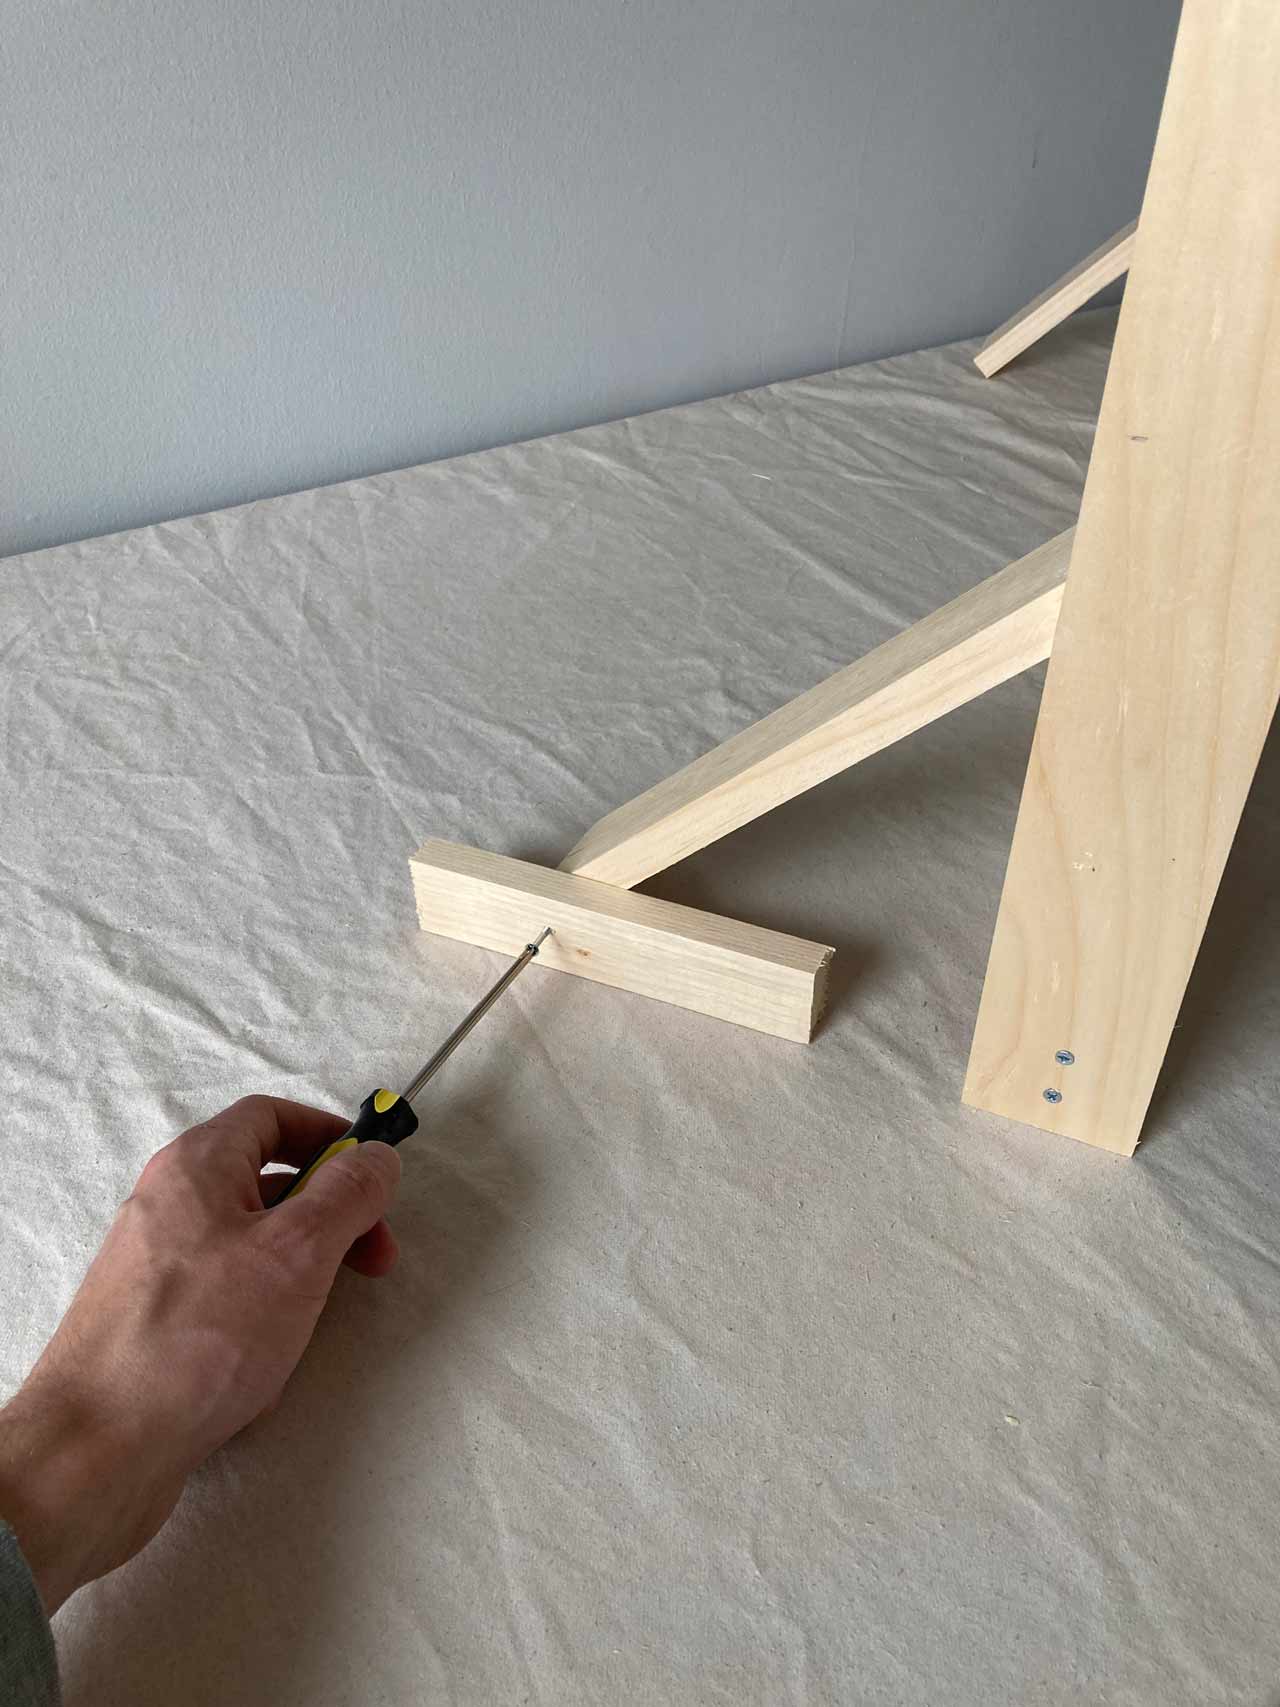
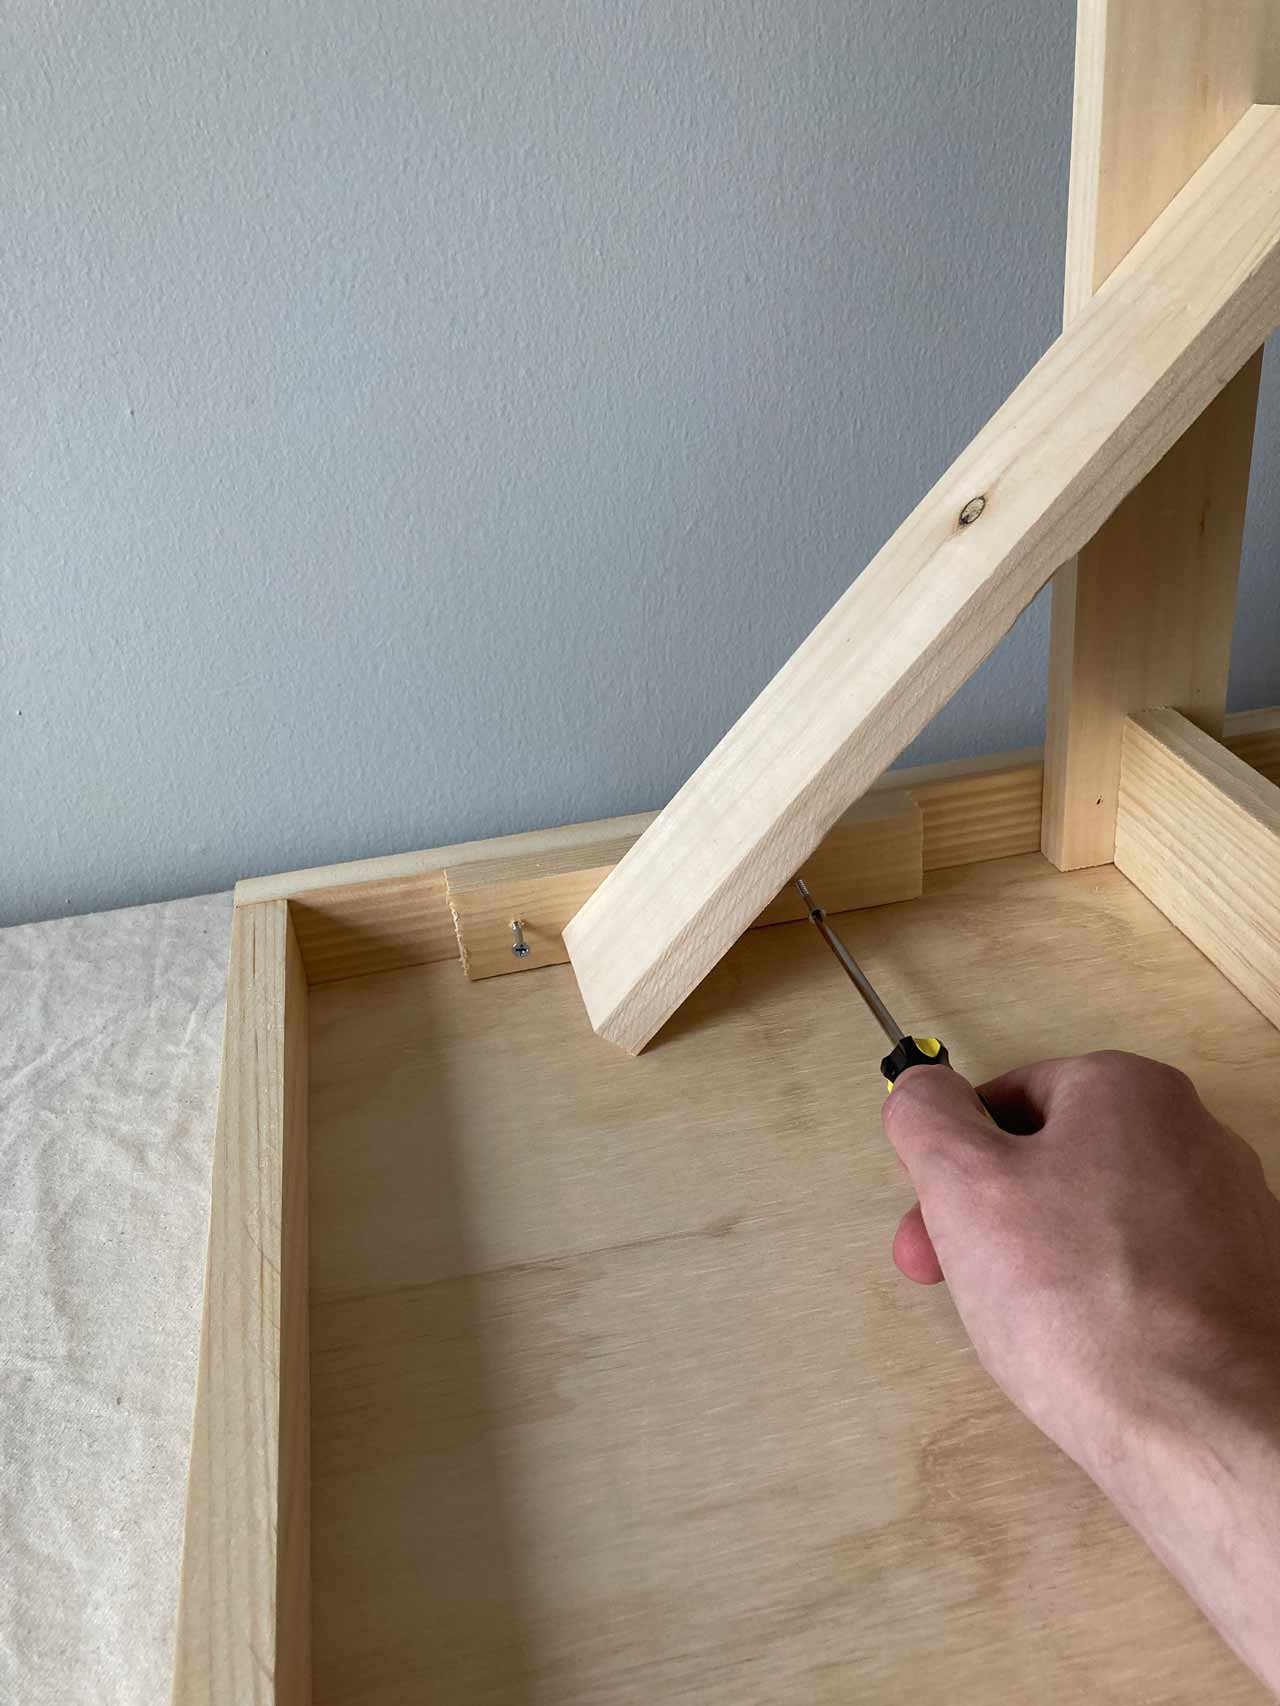
Assembly


Index
Parts
Smooth Planed Hard Wood, 1in x 3in (20.5mm x 70mm)
*Any popular hardwood can be used, like Poplar, Birch, Beech, Cherry, Ash, and Oak, but you will want it to match your plywood. Metric measurements above are actual, not nominal.
Quantity required: 2 pieces 76.5in (194cm) long, 2 pieces 33in (84cm) long, 4 pieces 28.25in (72cm) long, 4 pieces 14in (35.5cm) long, 2 pieces 47.5in (121cm) long, 2 pieces 31.5in (79cm) long, 1 piece 49in (125cm) long
Smooth Planed Hard Wood, 1in x 2in (20.5mm x 34mm)
*Match the style of wood above.
Quantity required: 4 pieces 7in (18cm) long
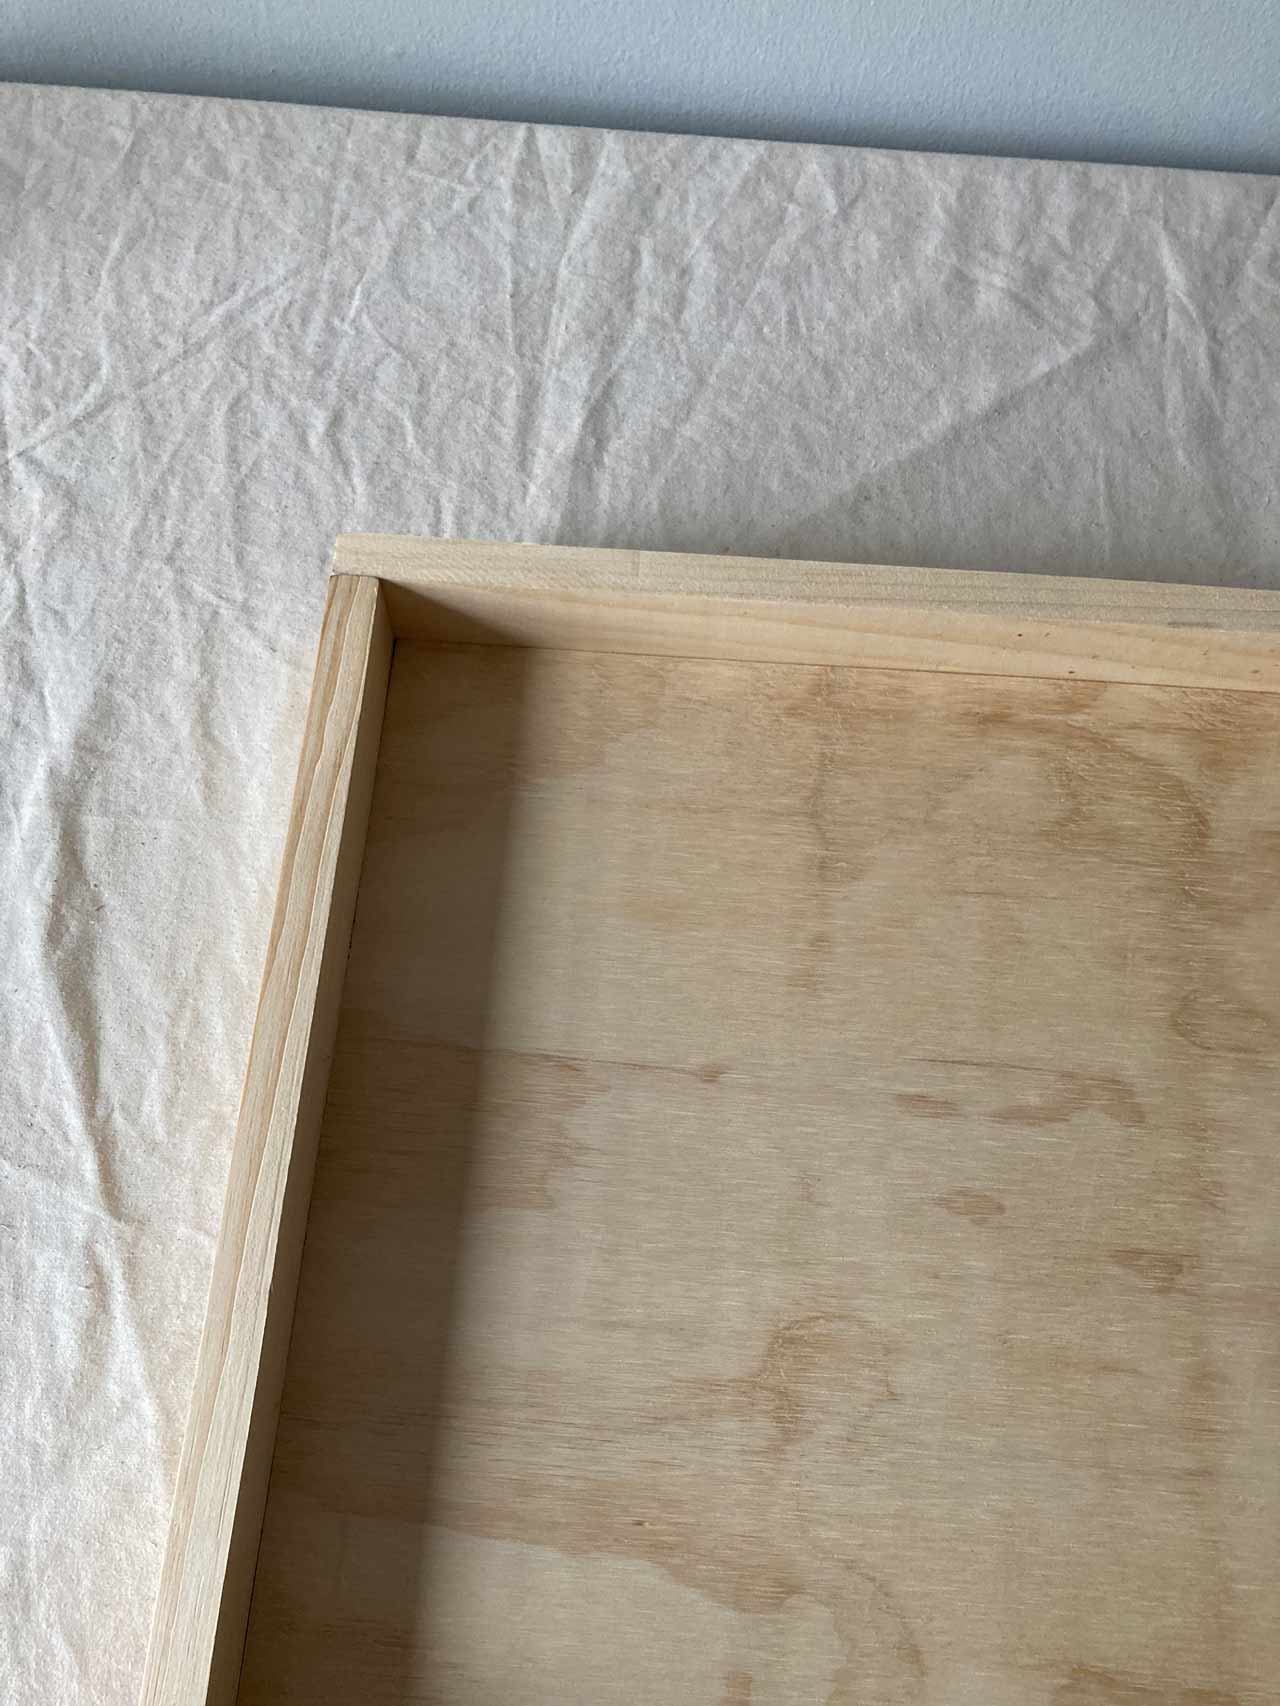
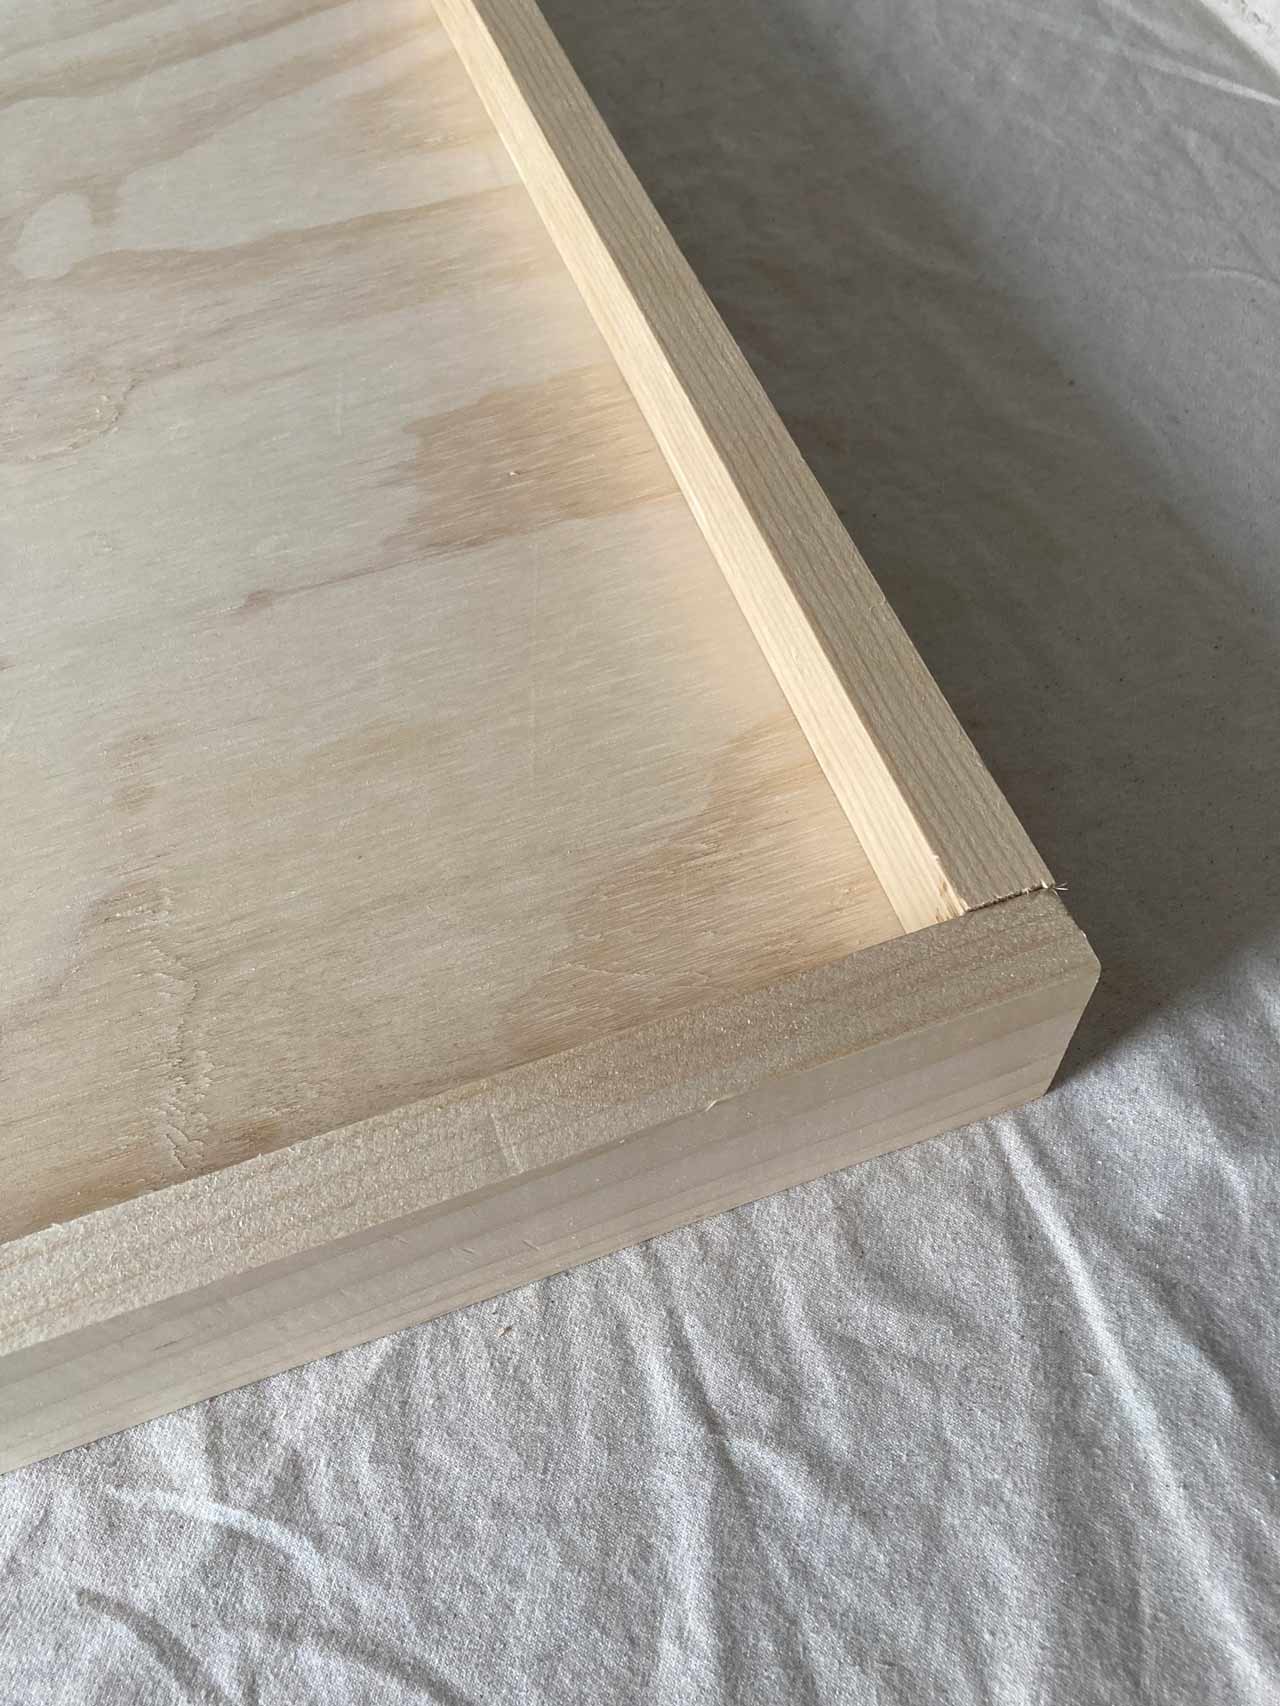
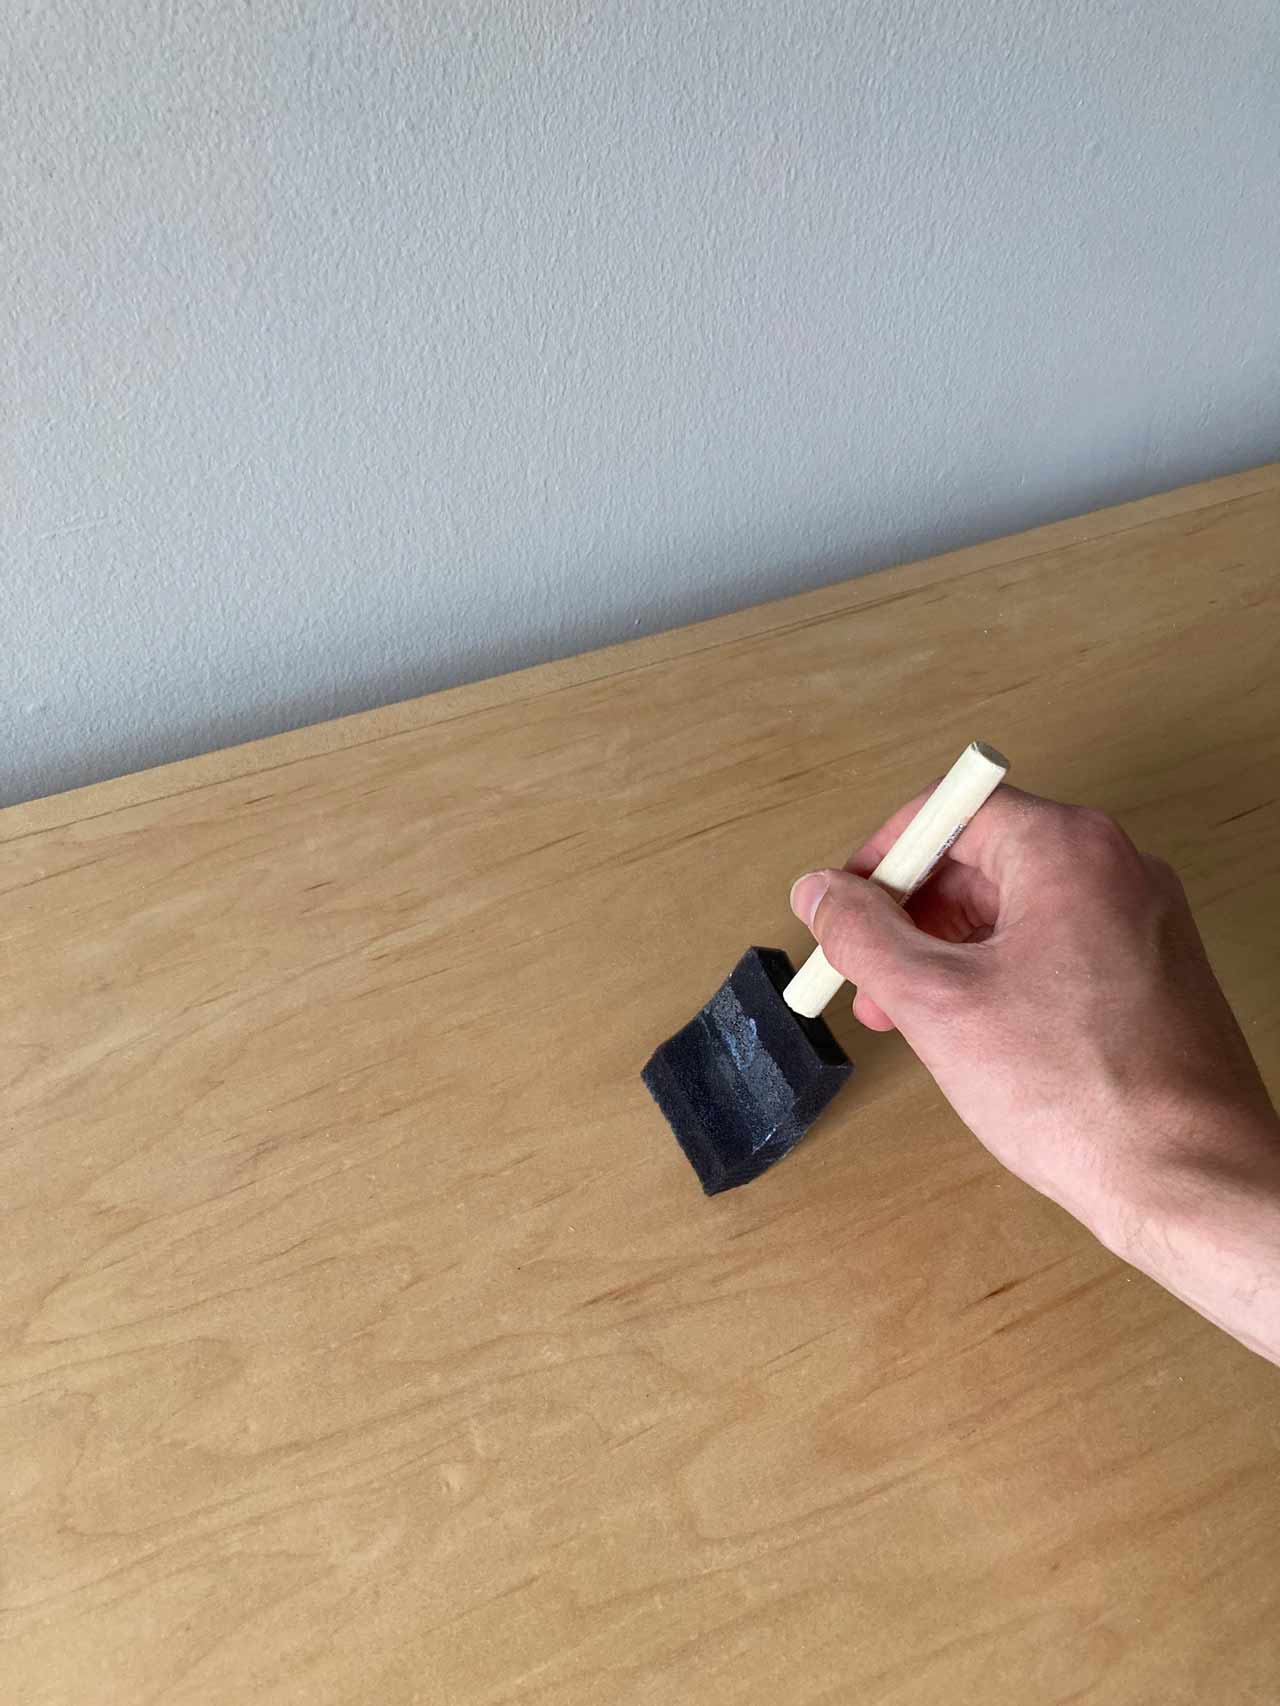
Hard Wood Plywood, 3/4in (18mm or 25mm) thickness
*Any popular hardwood plywood can be used, but you will want the exterior laminate to match your 1in x 3in Hard Wood. Have your plywood cut to the size below at any lumber or hardware store before bringing home.
Quantity required: 1 piece 75in (190cm) x 33in (84cm)
Flat Head Wood Screws, #6 x 1-1/2in (4 x 35mm)
Quantity required: 28
Tools
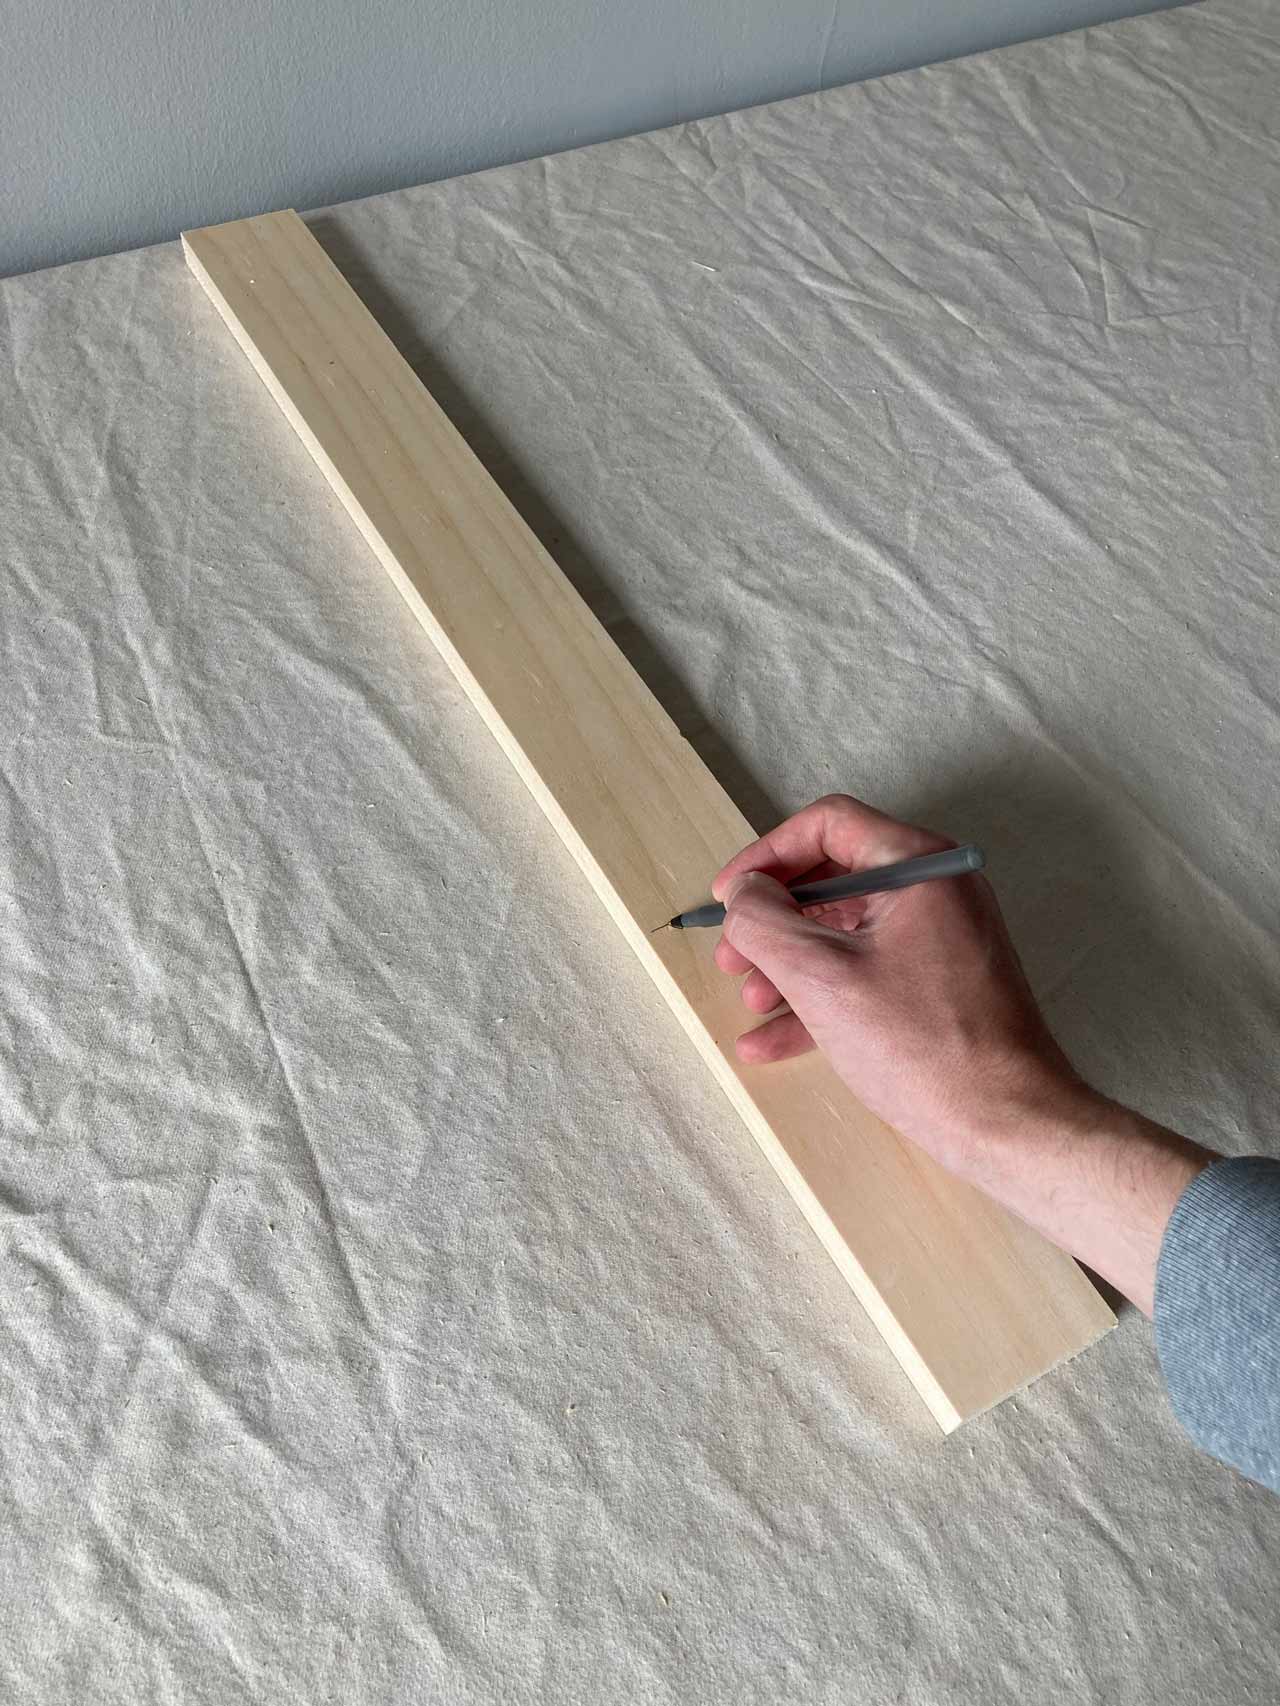
Hand Saw
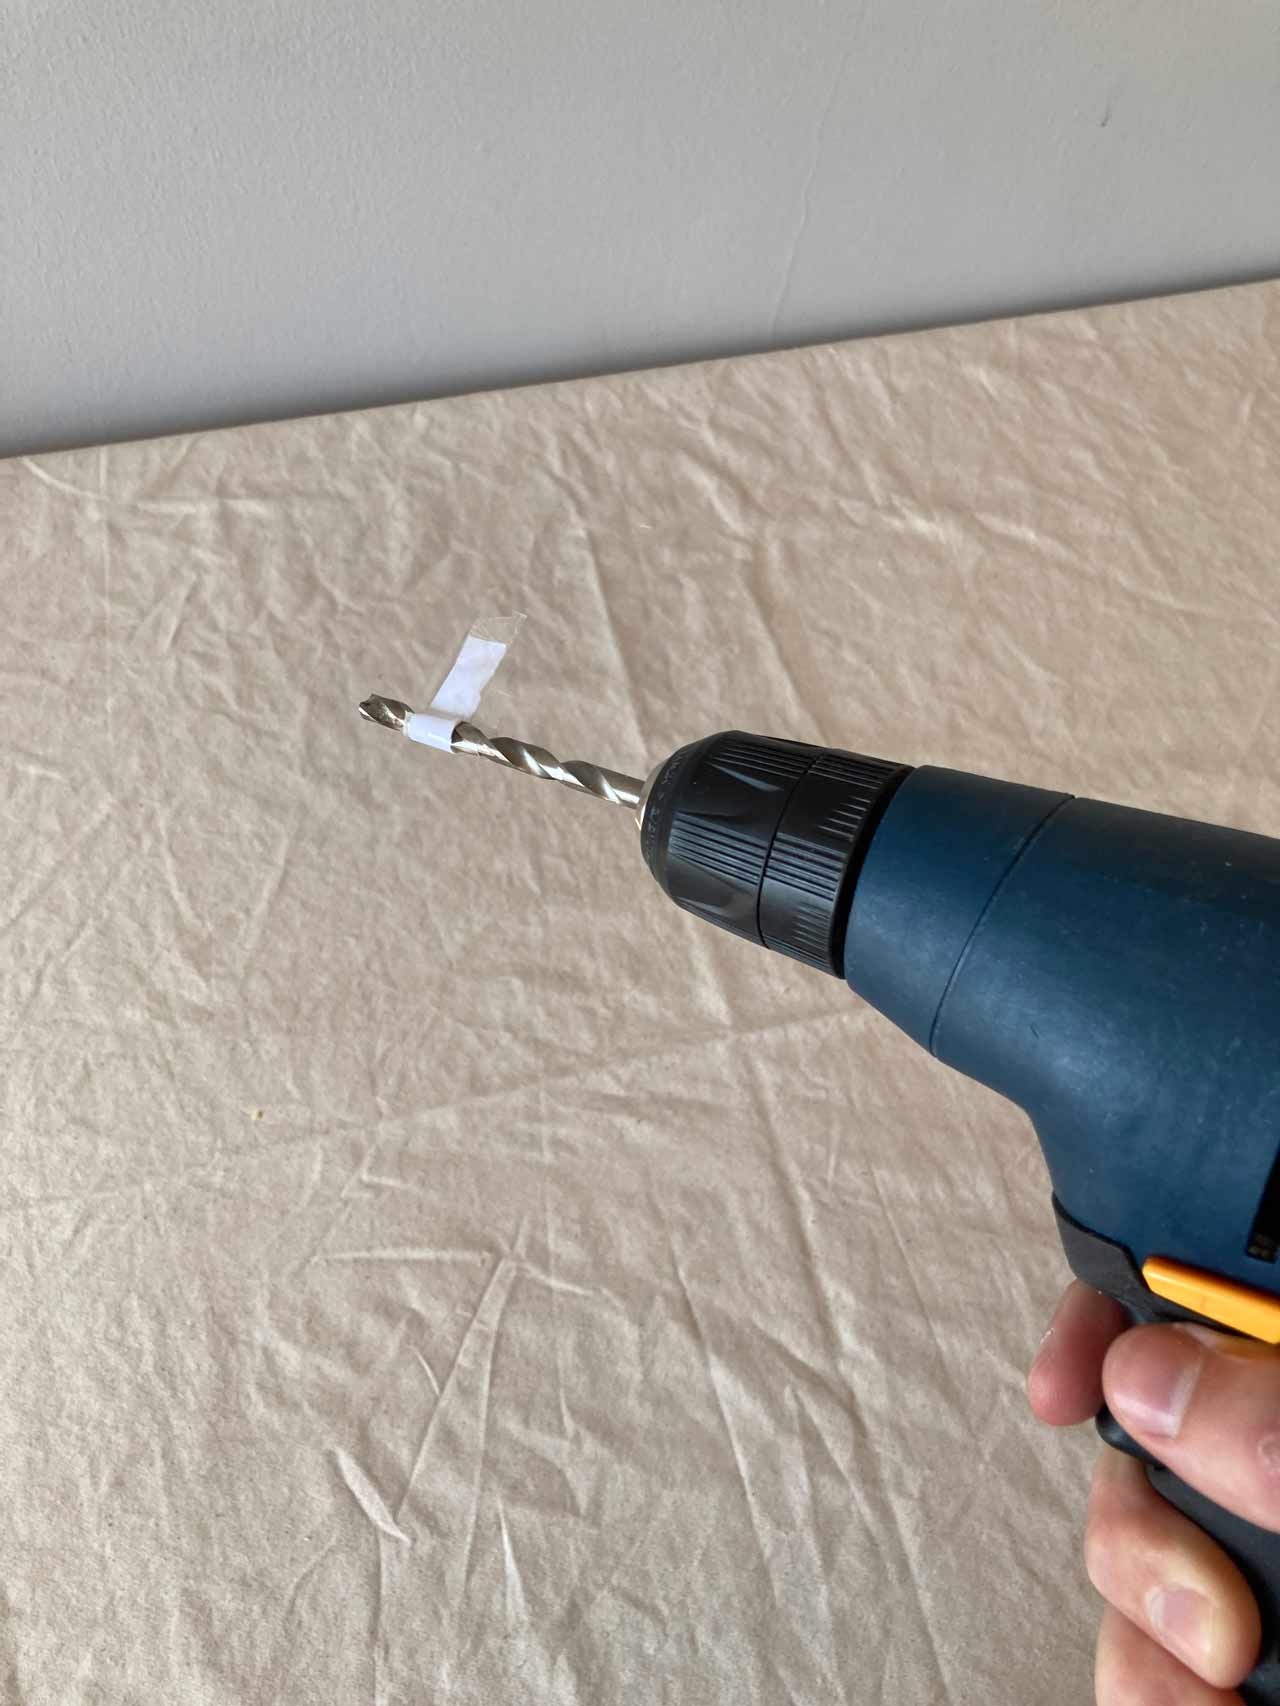
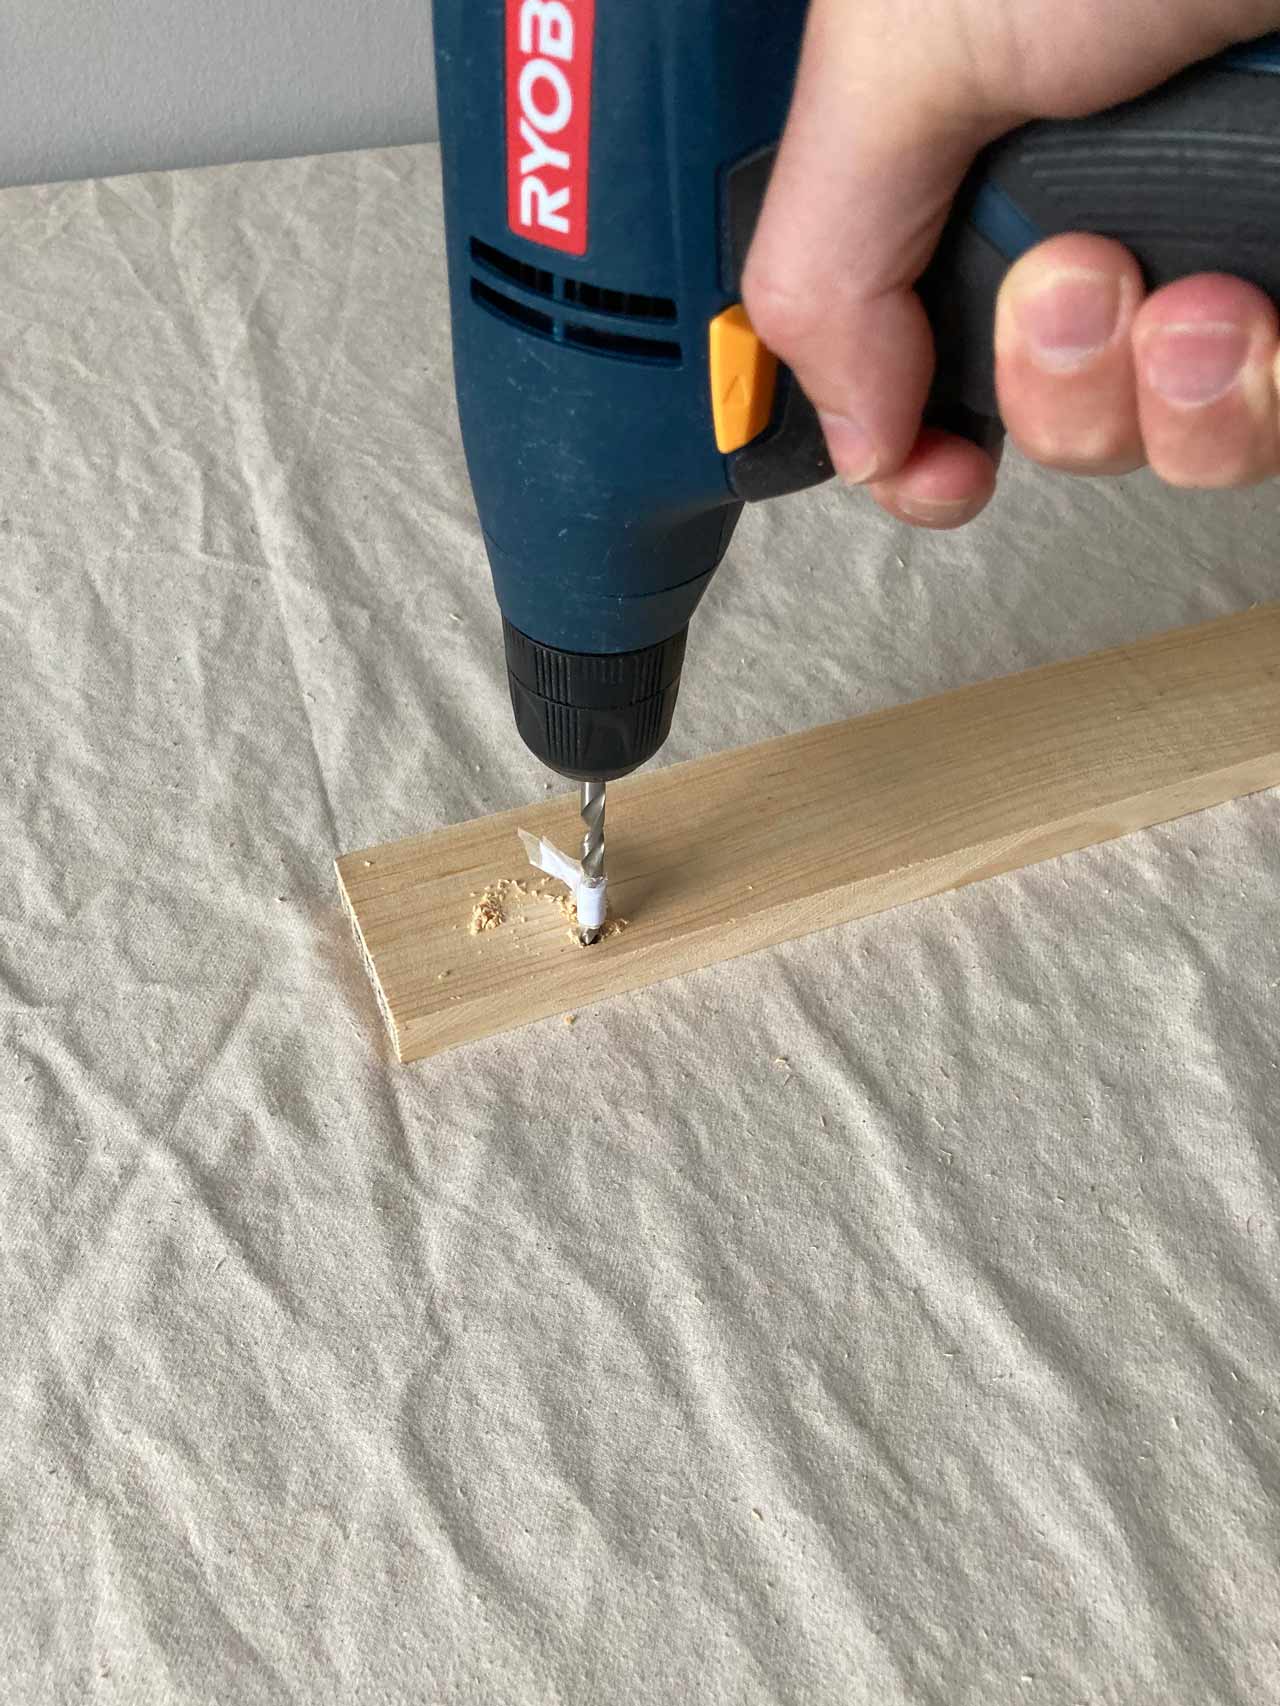
Power Drill
Drill Bits
Ruler or Tape Measure
Screwdriver
Wood Glue
Sandpaper, 180 Grit
Help Each Other