


Tord Boontje
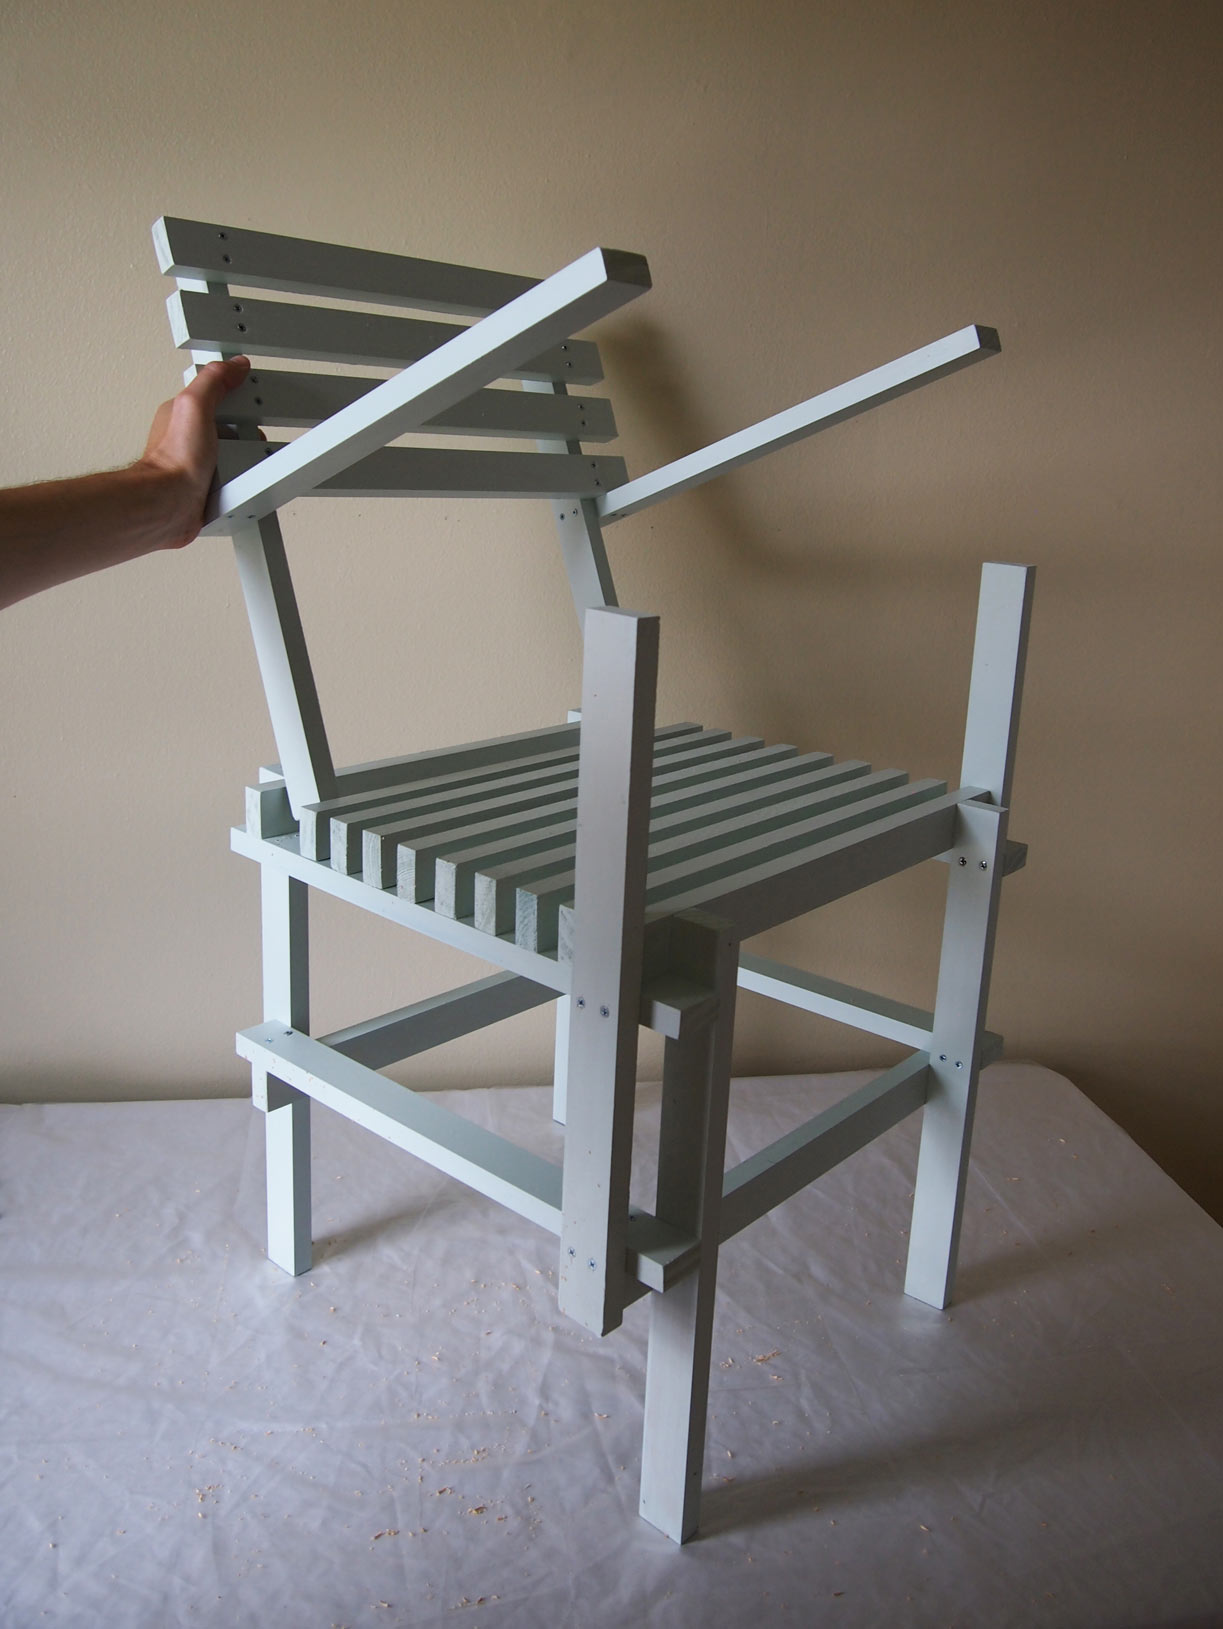
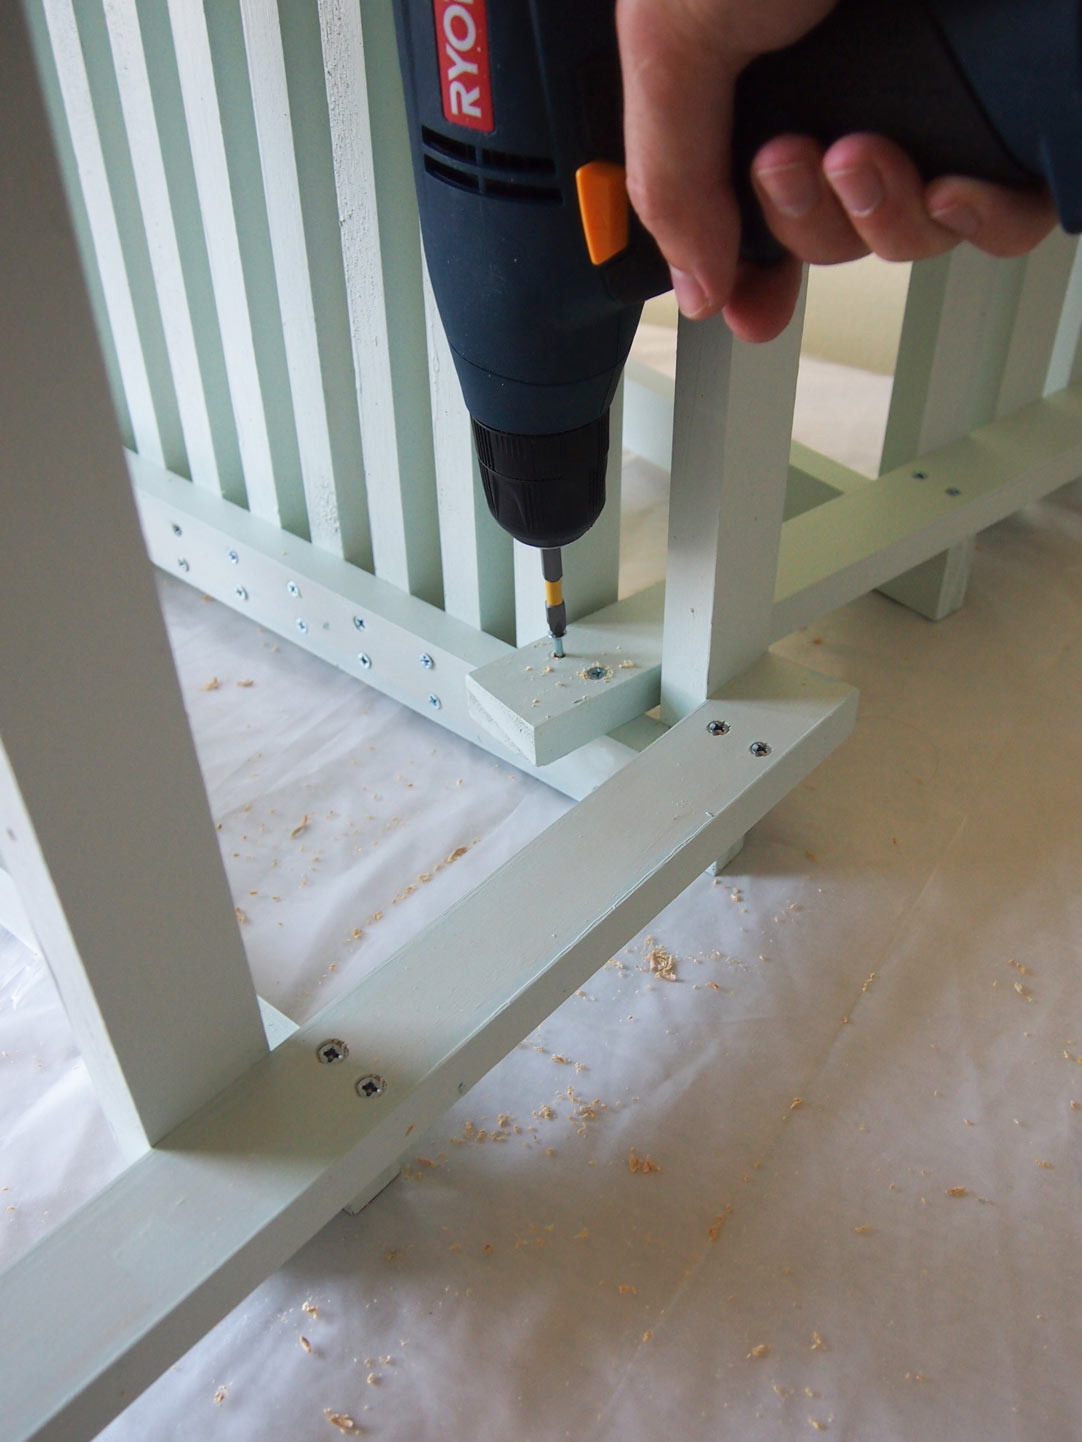
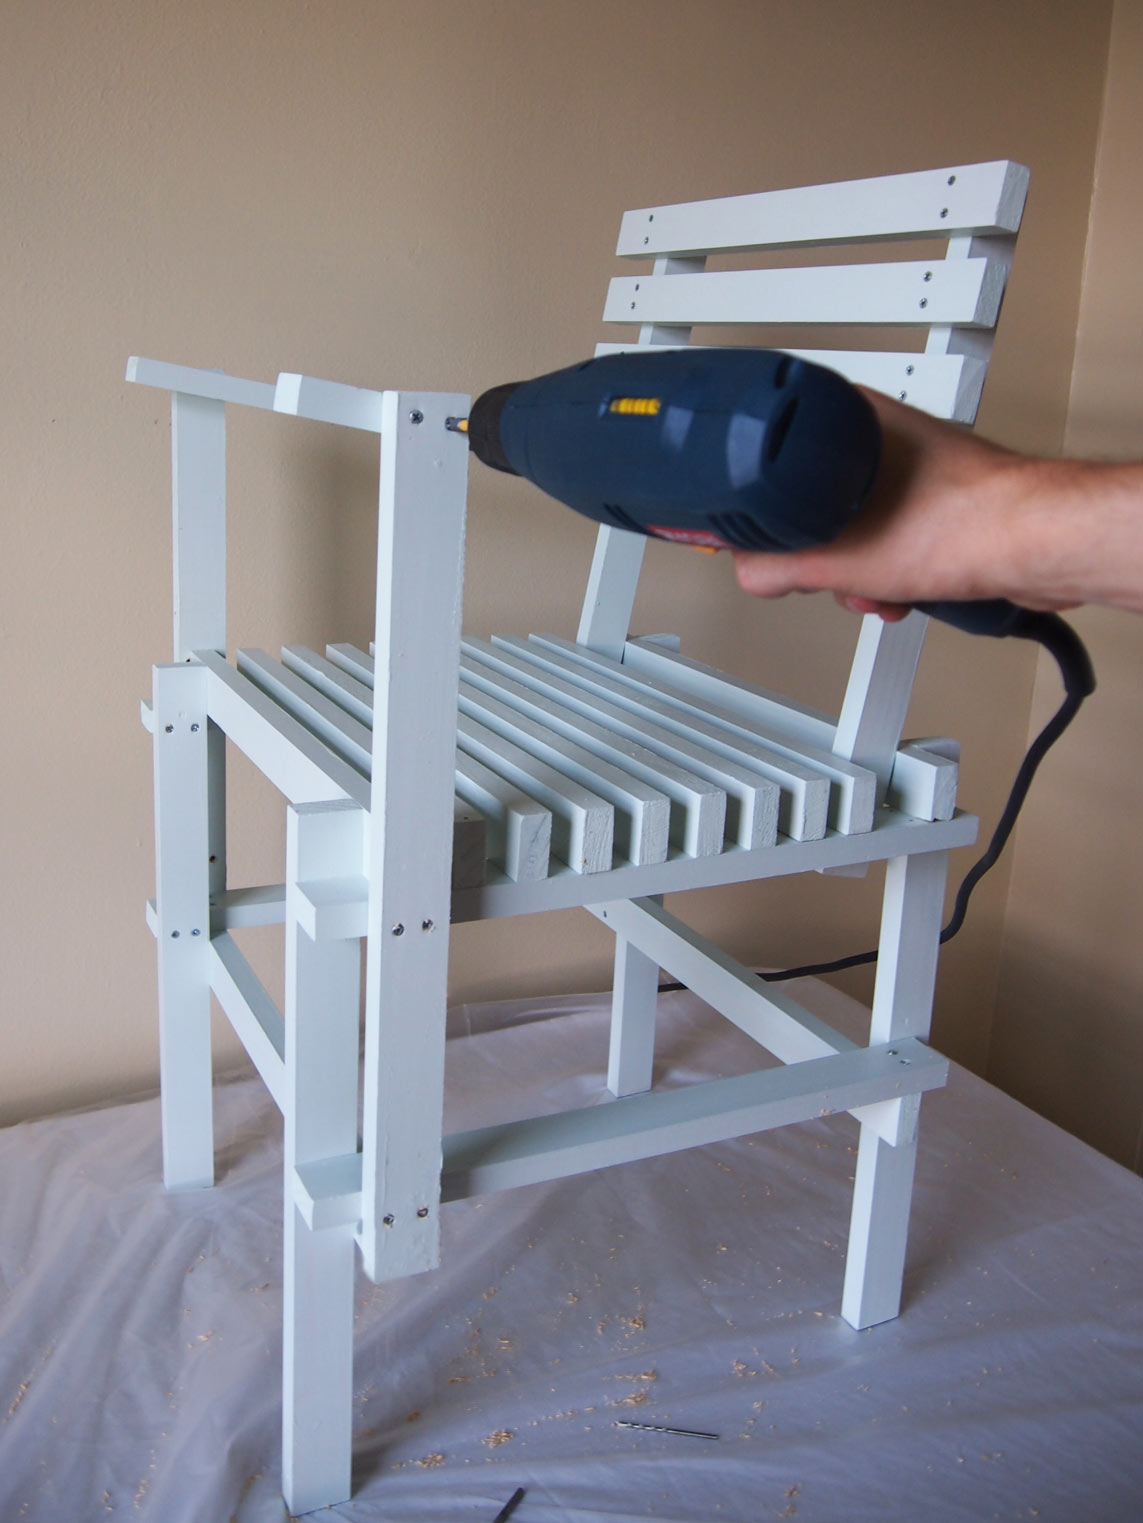
Gerrit Rietveld


Ian Anderson


Ian Anderson


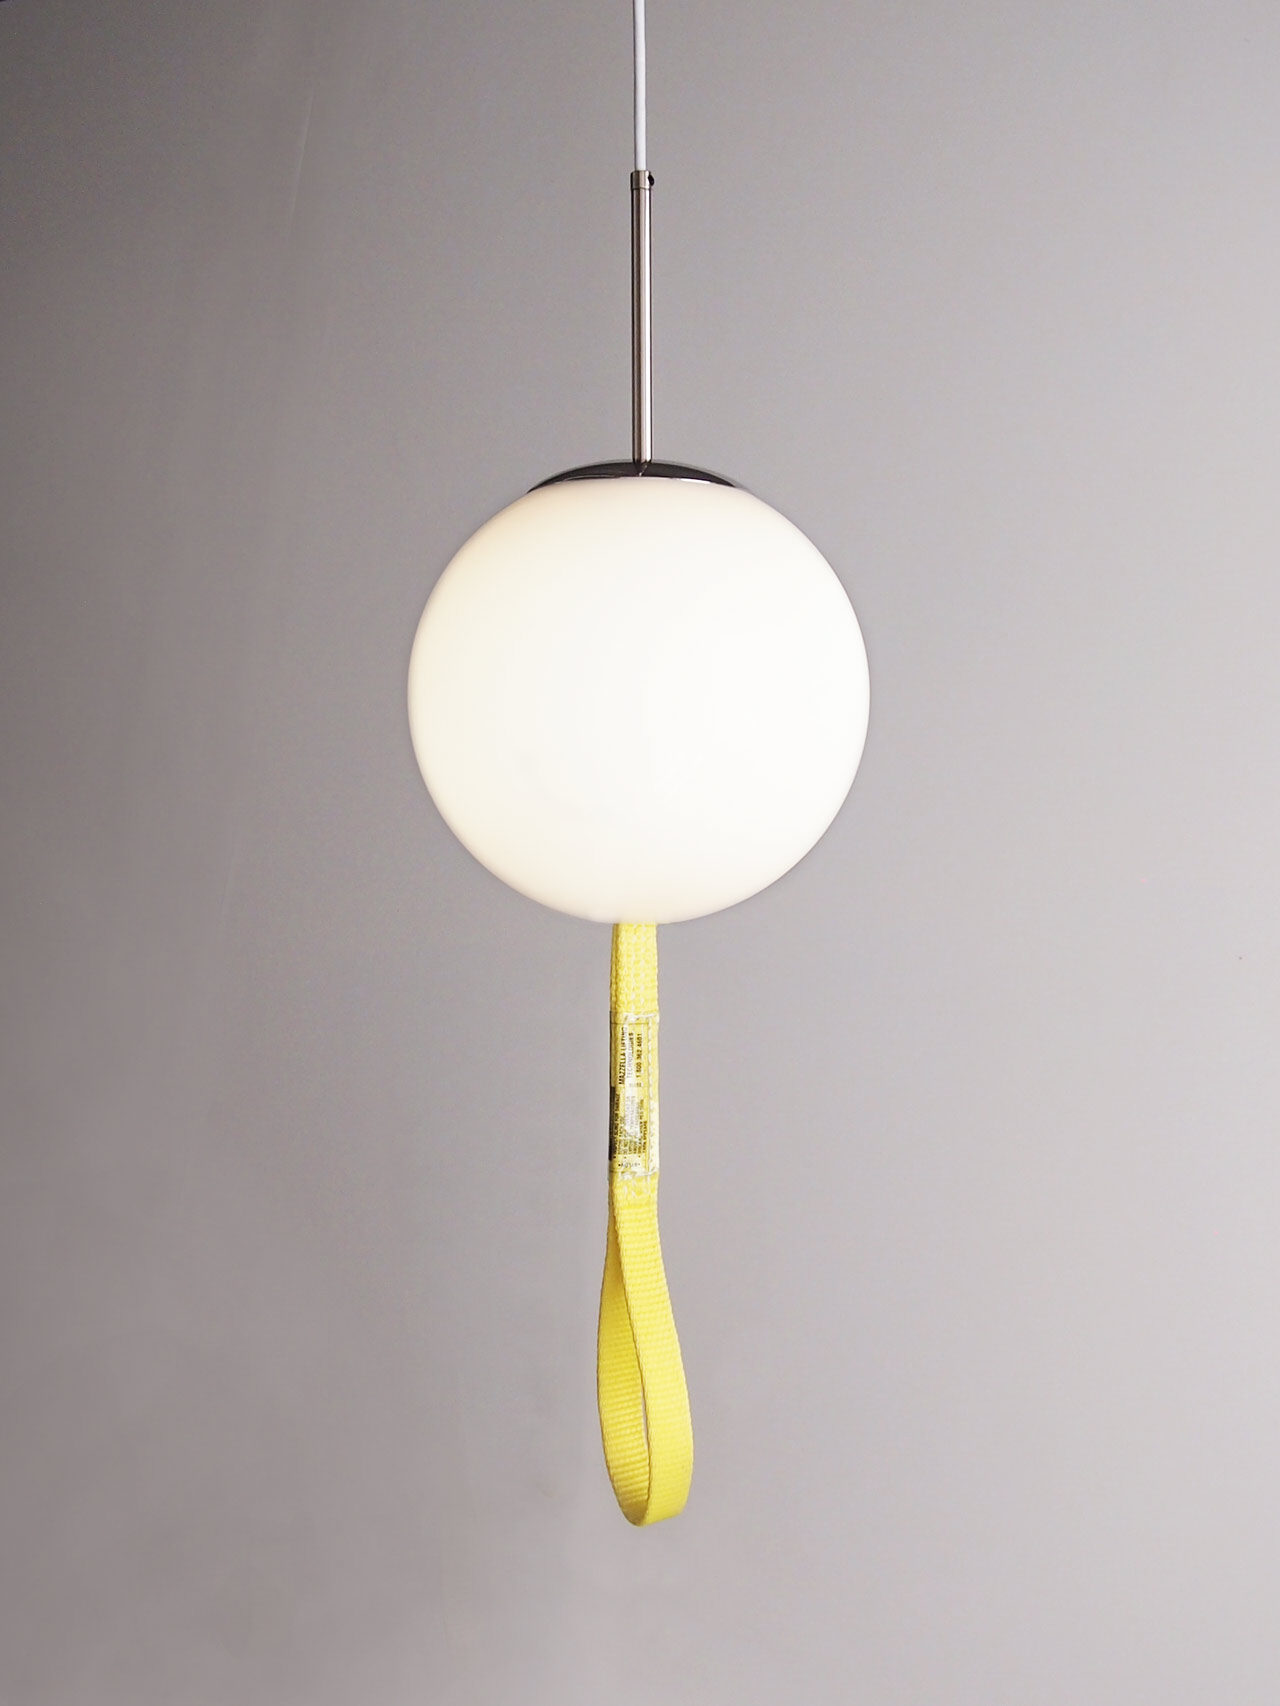
Max Lamb


Aandersson


Aandersson

Aandersson


Aandersson


Aandersson