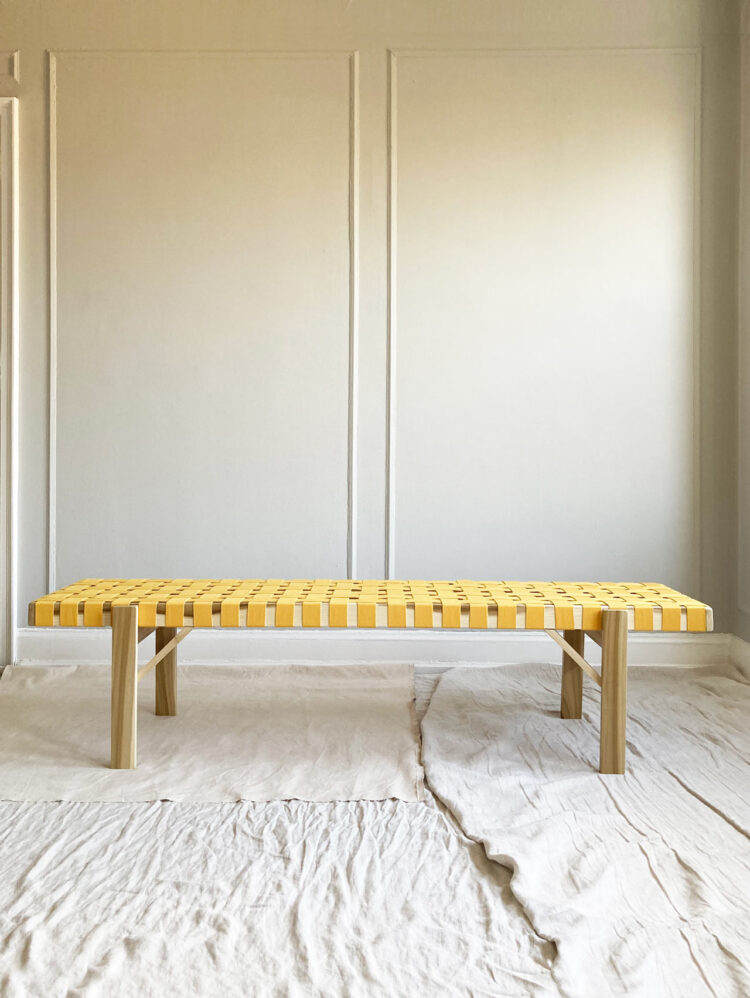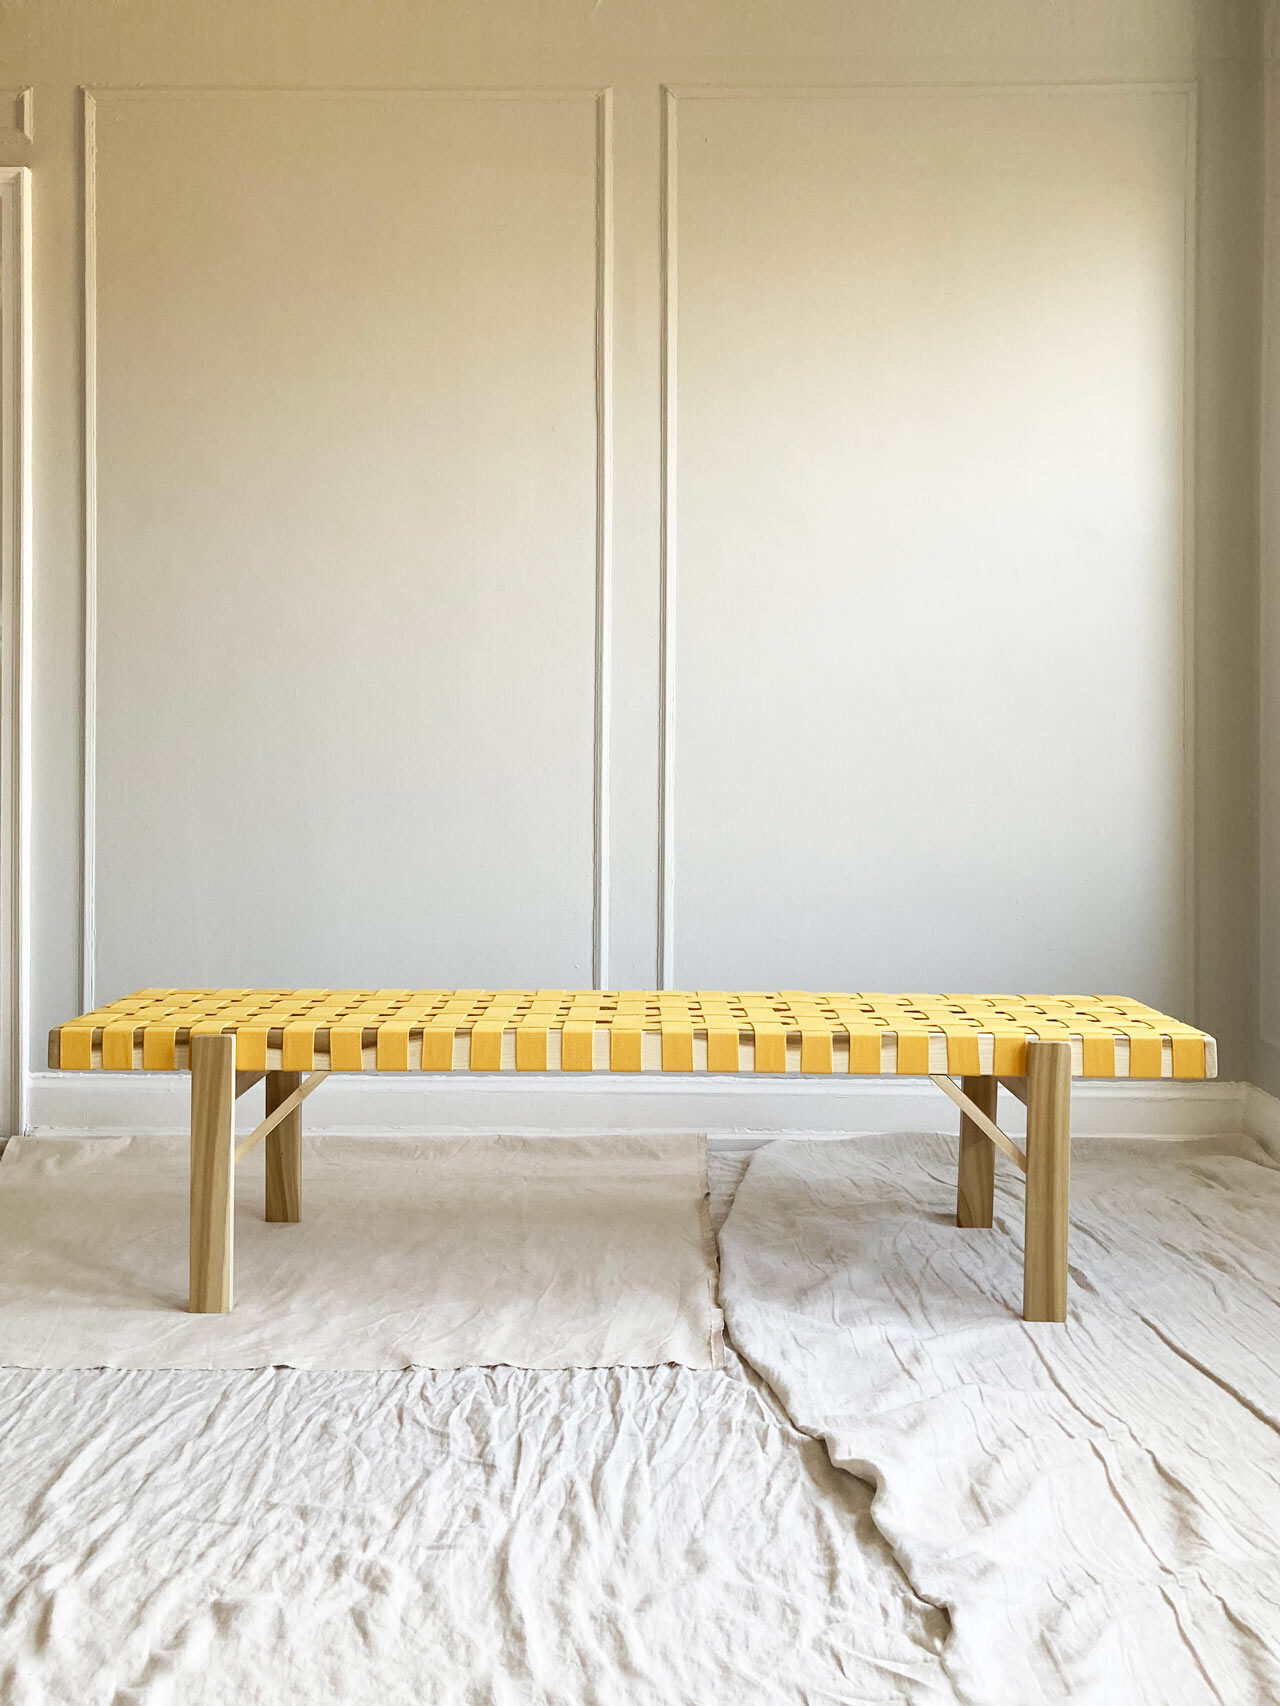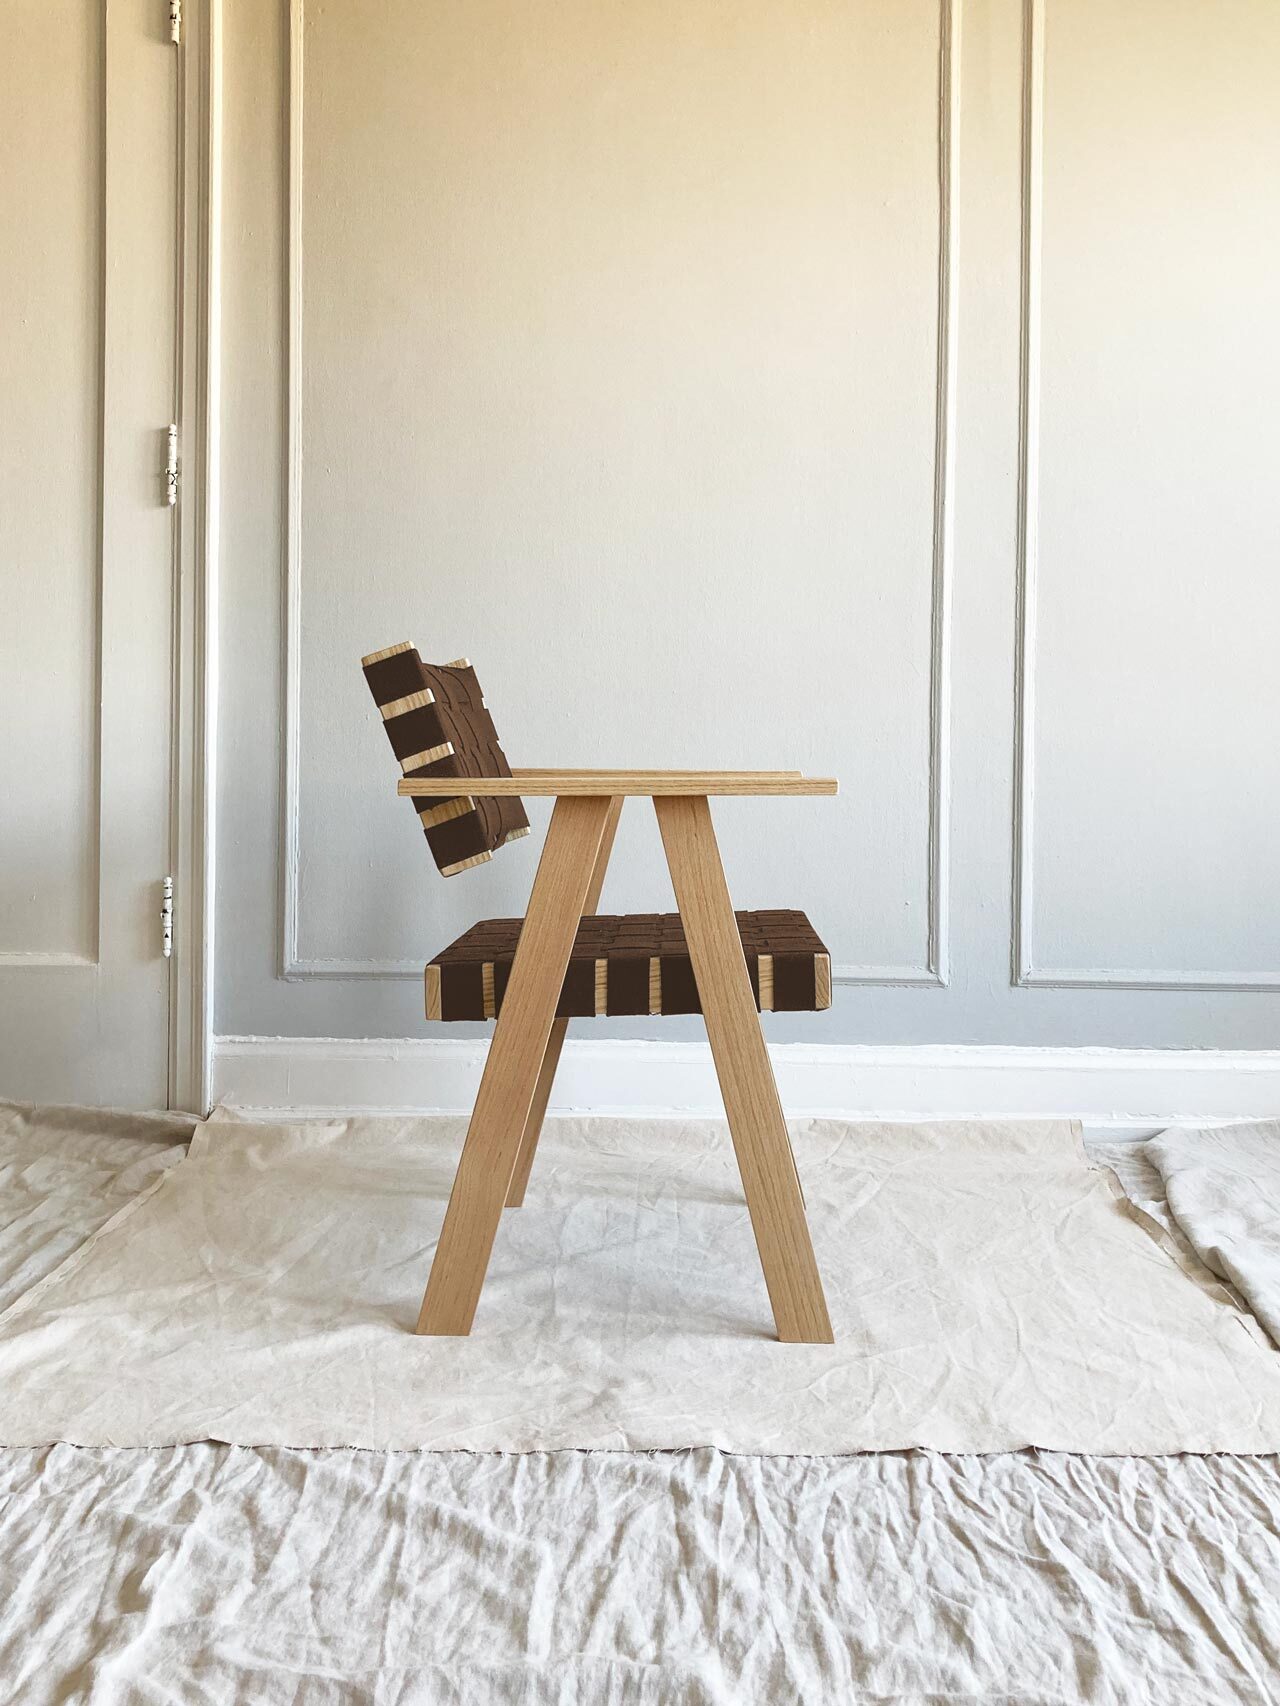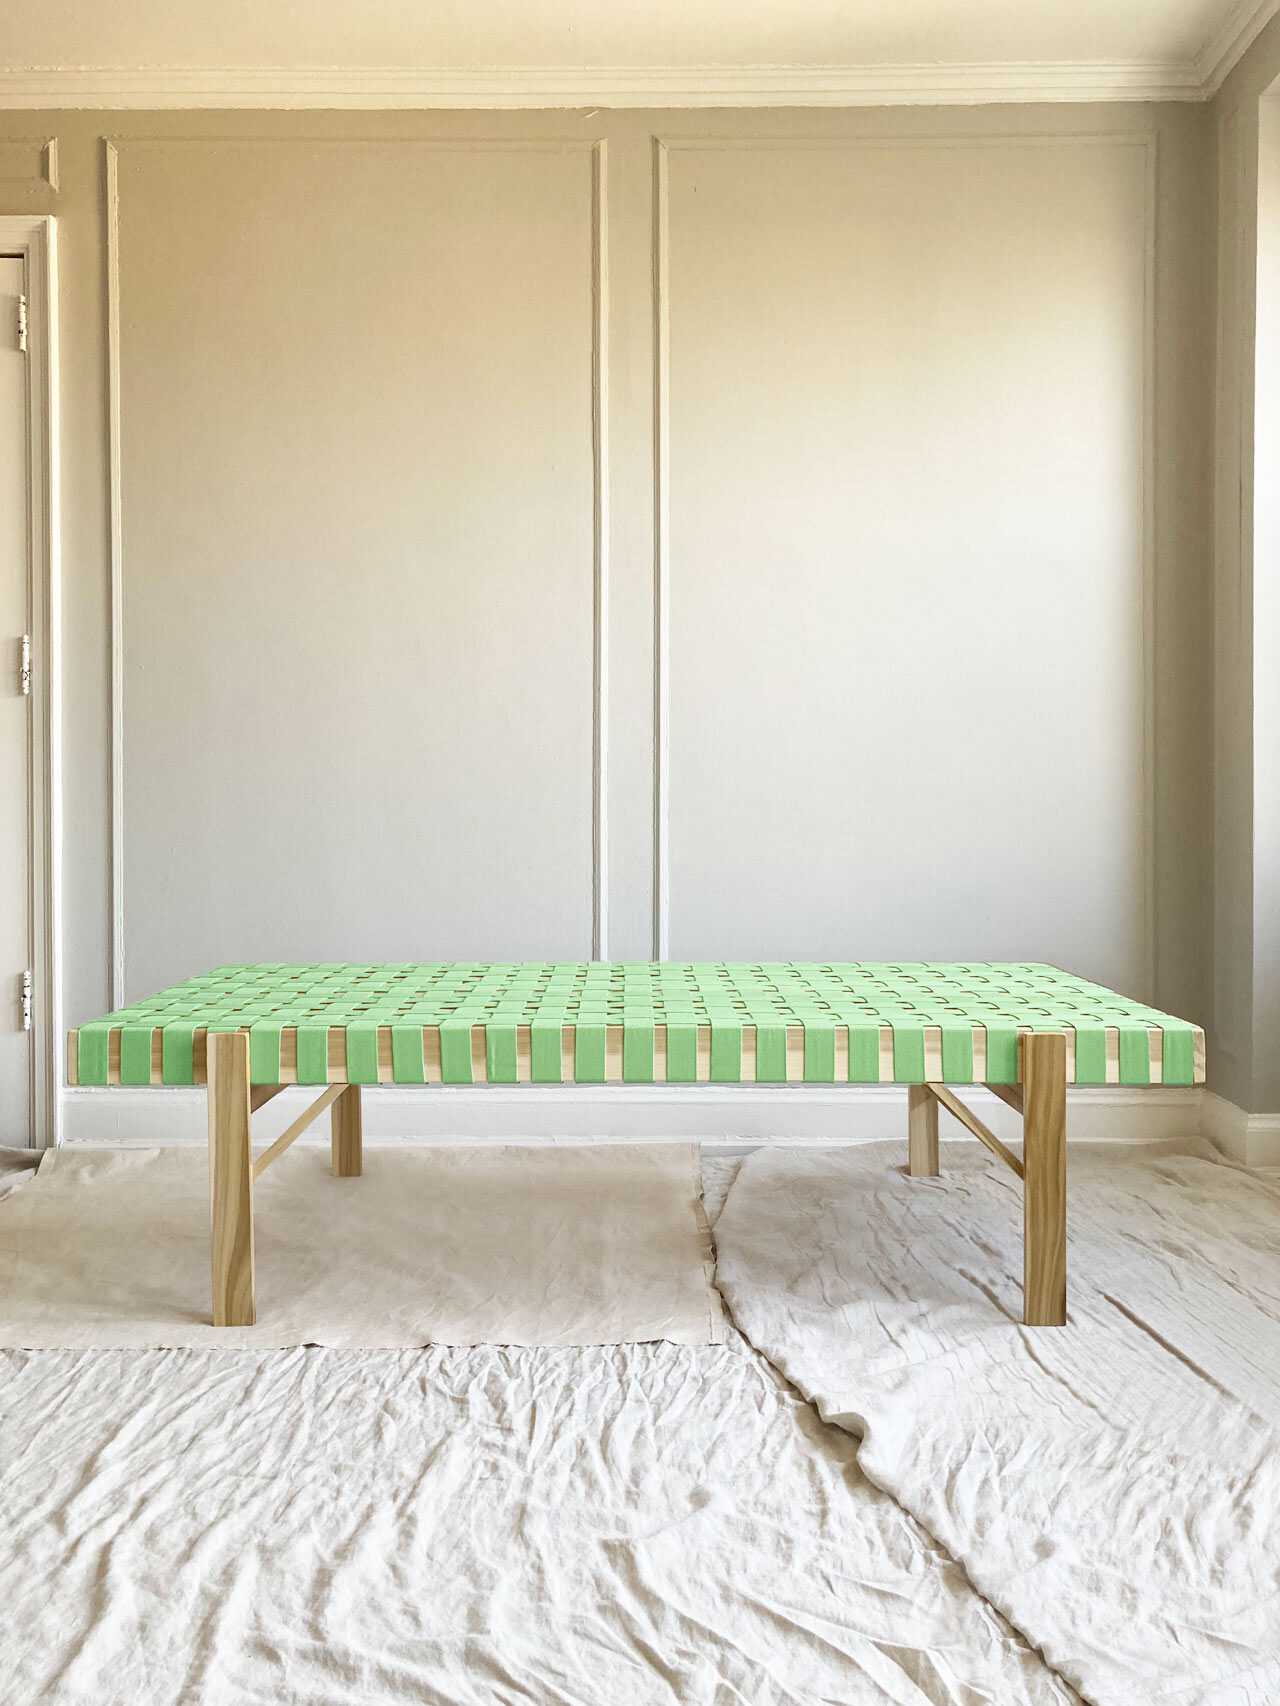
Simple Joinery Daybed
Design and photography by Ian Anderson
Published in Spring 2021
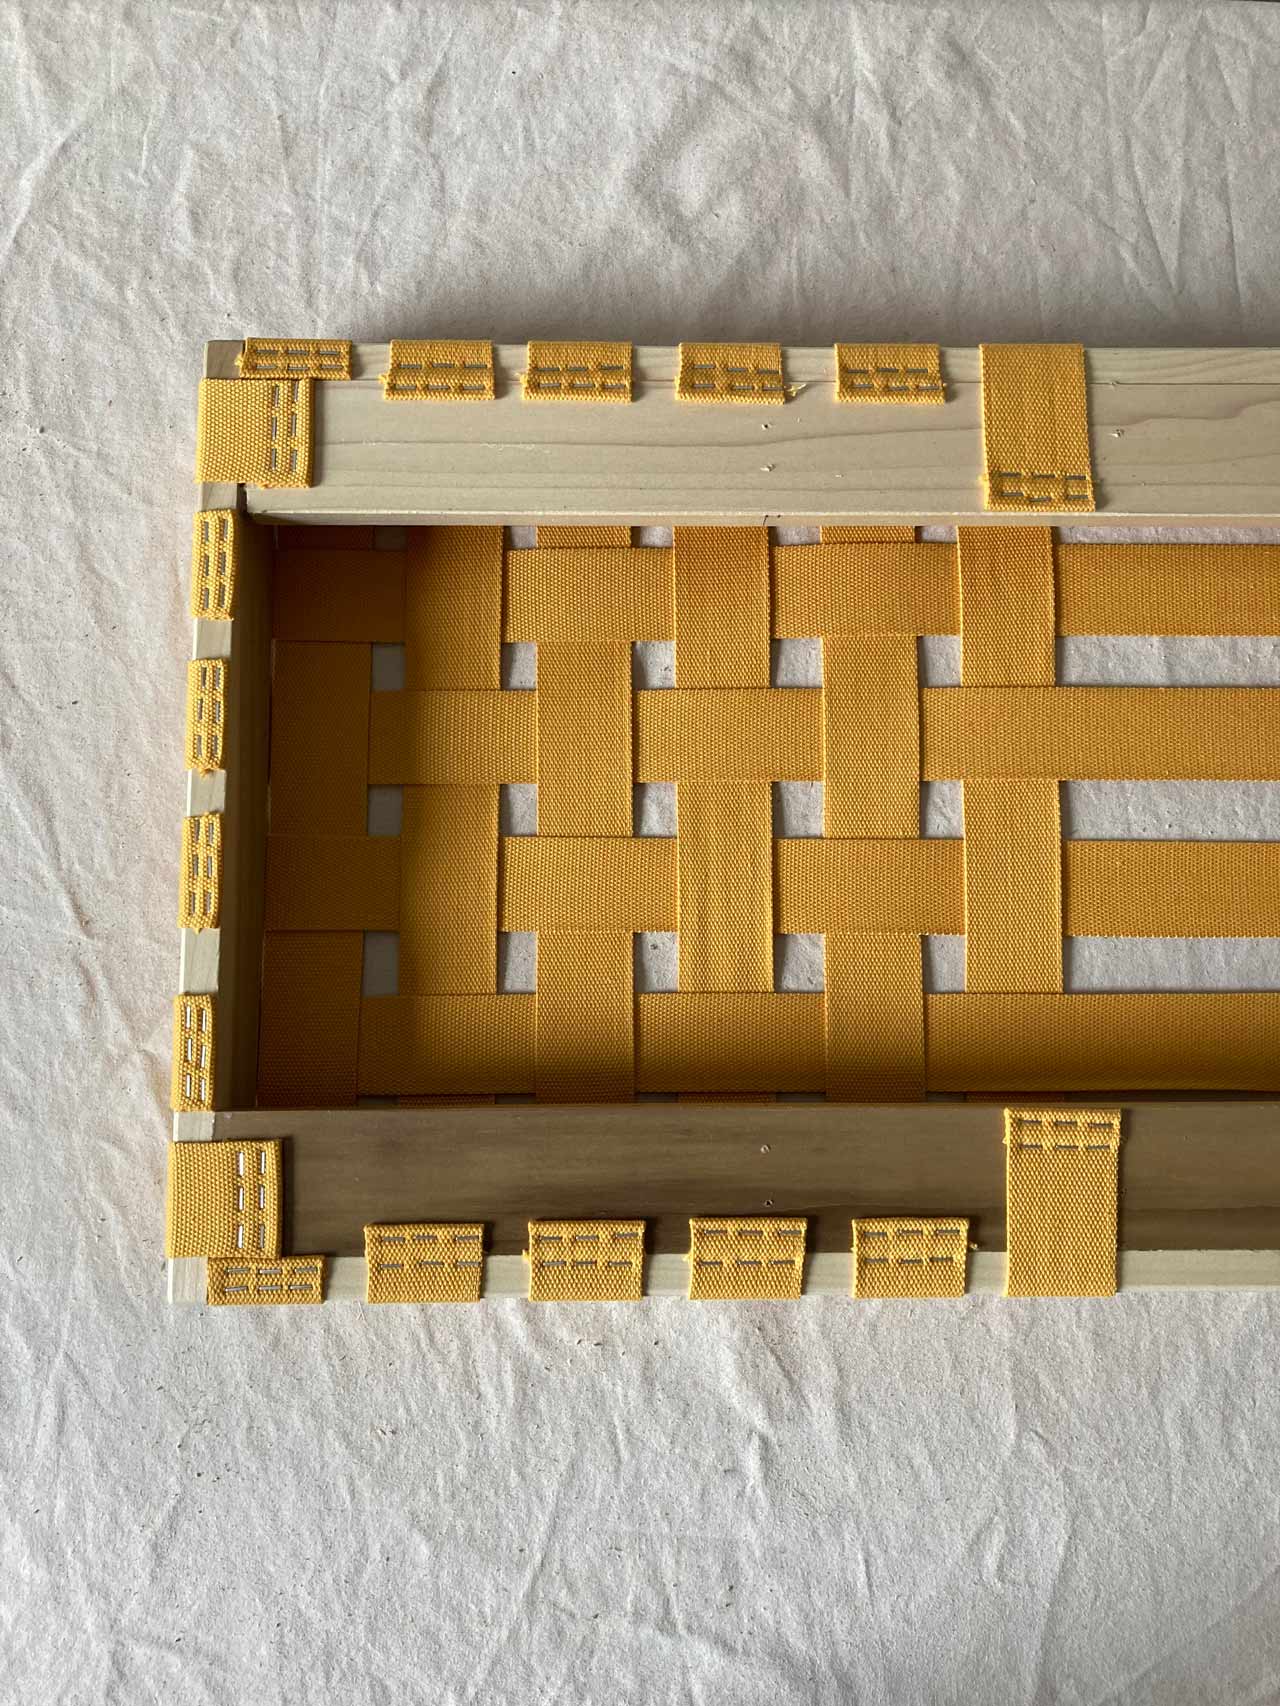
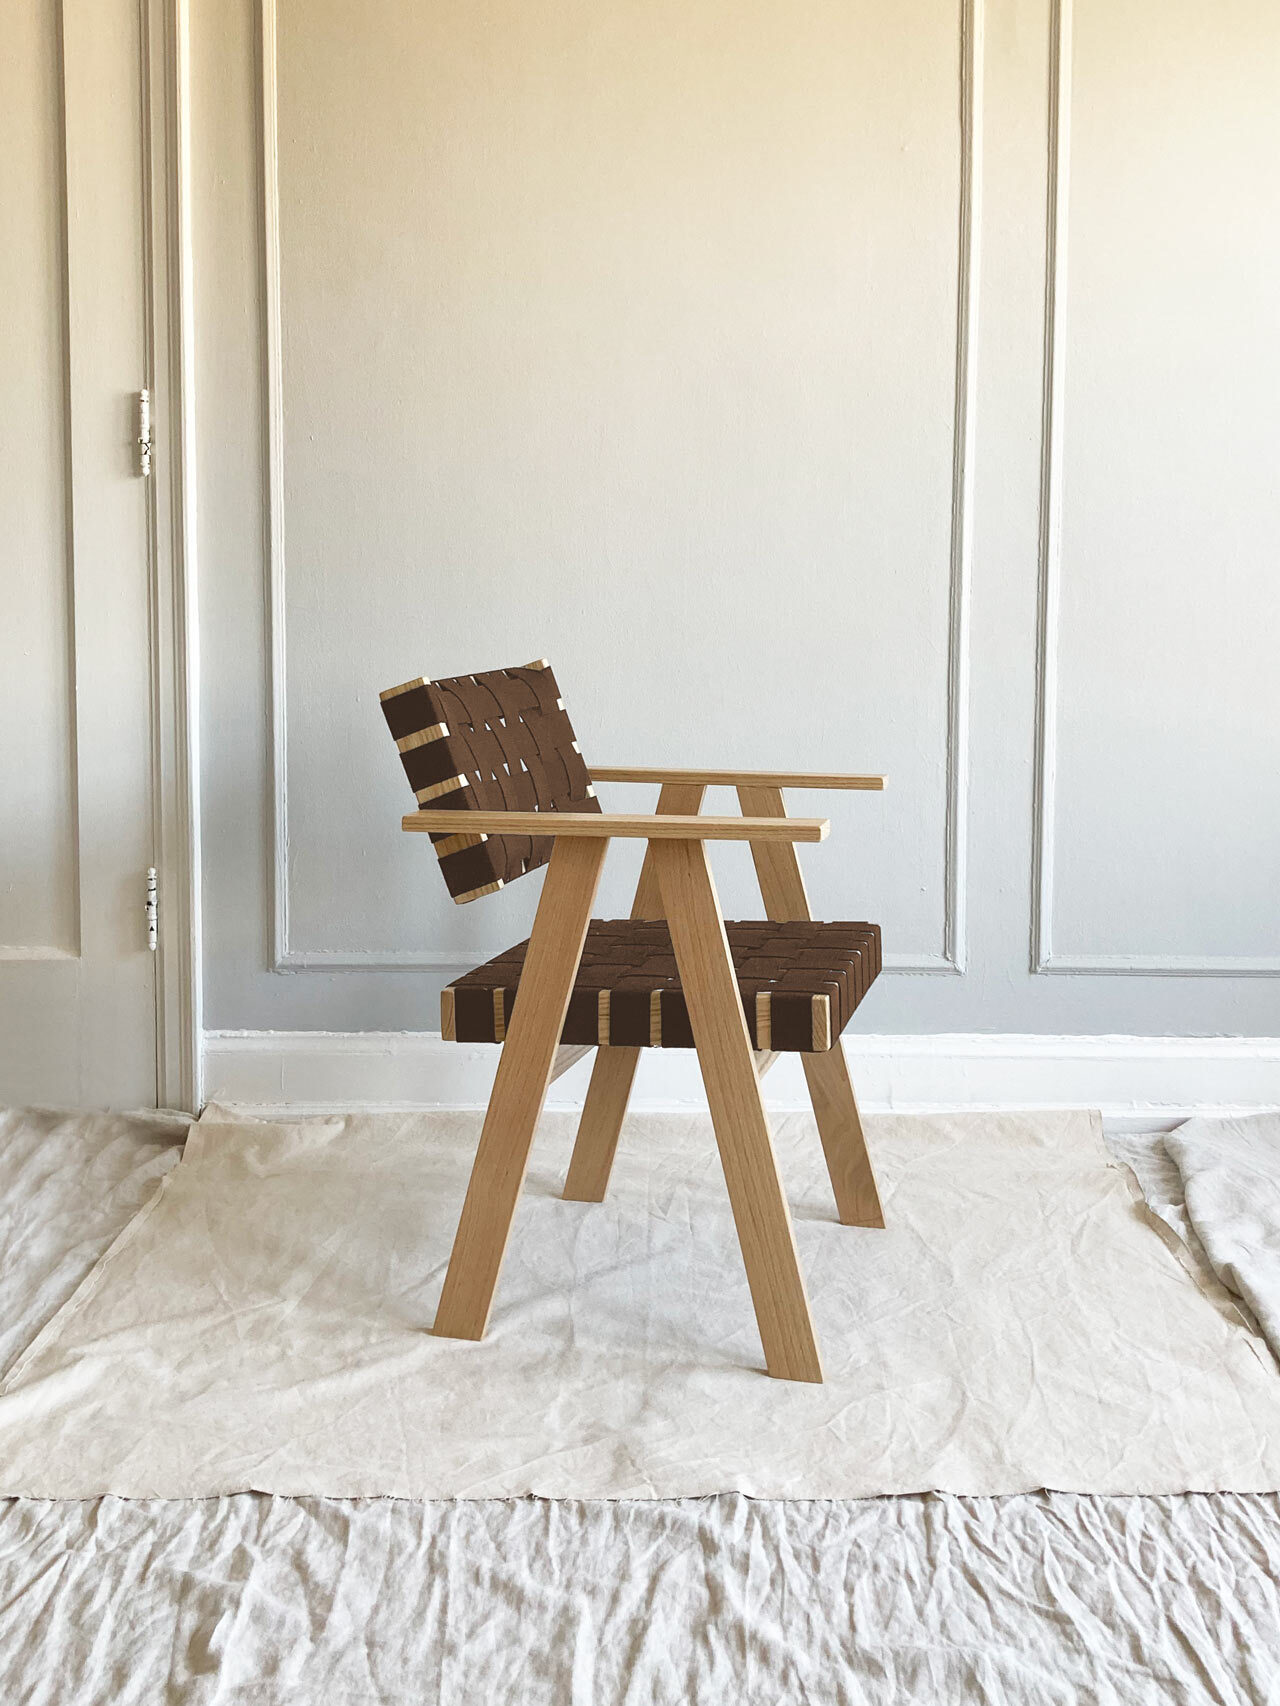
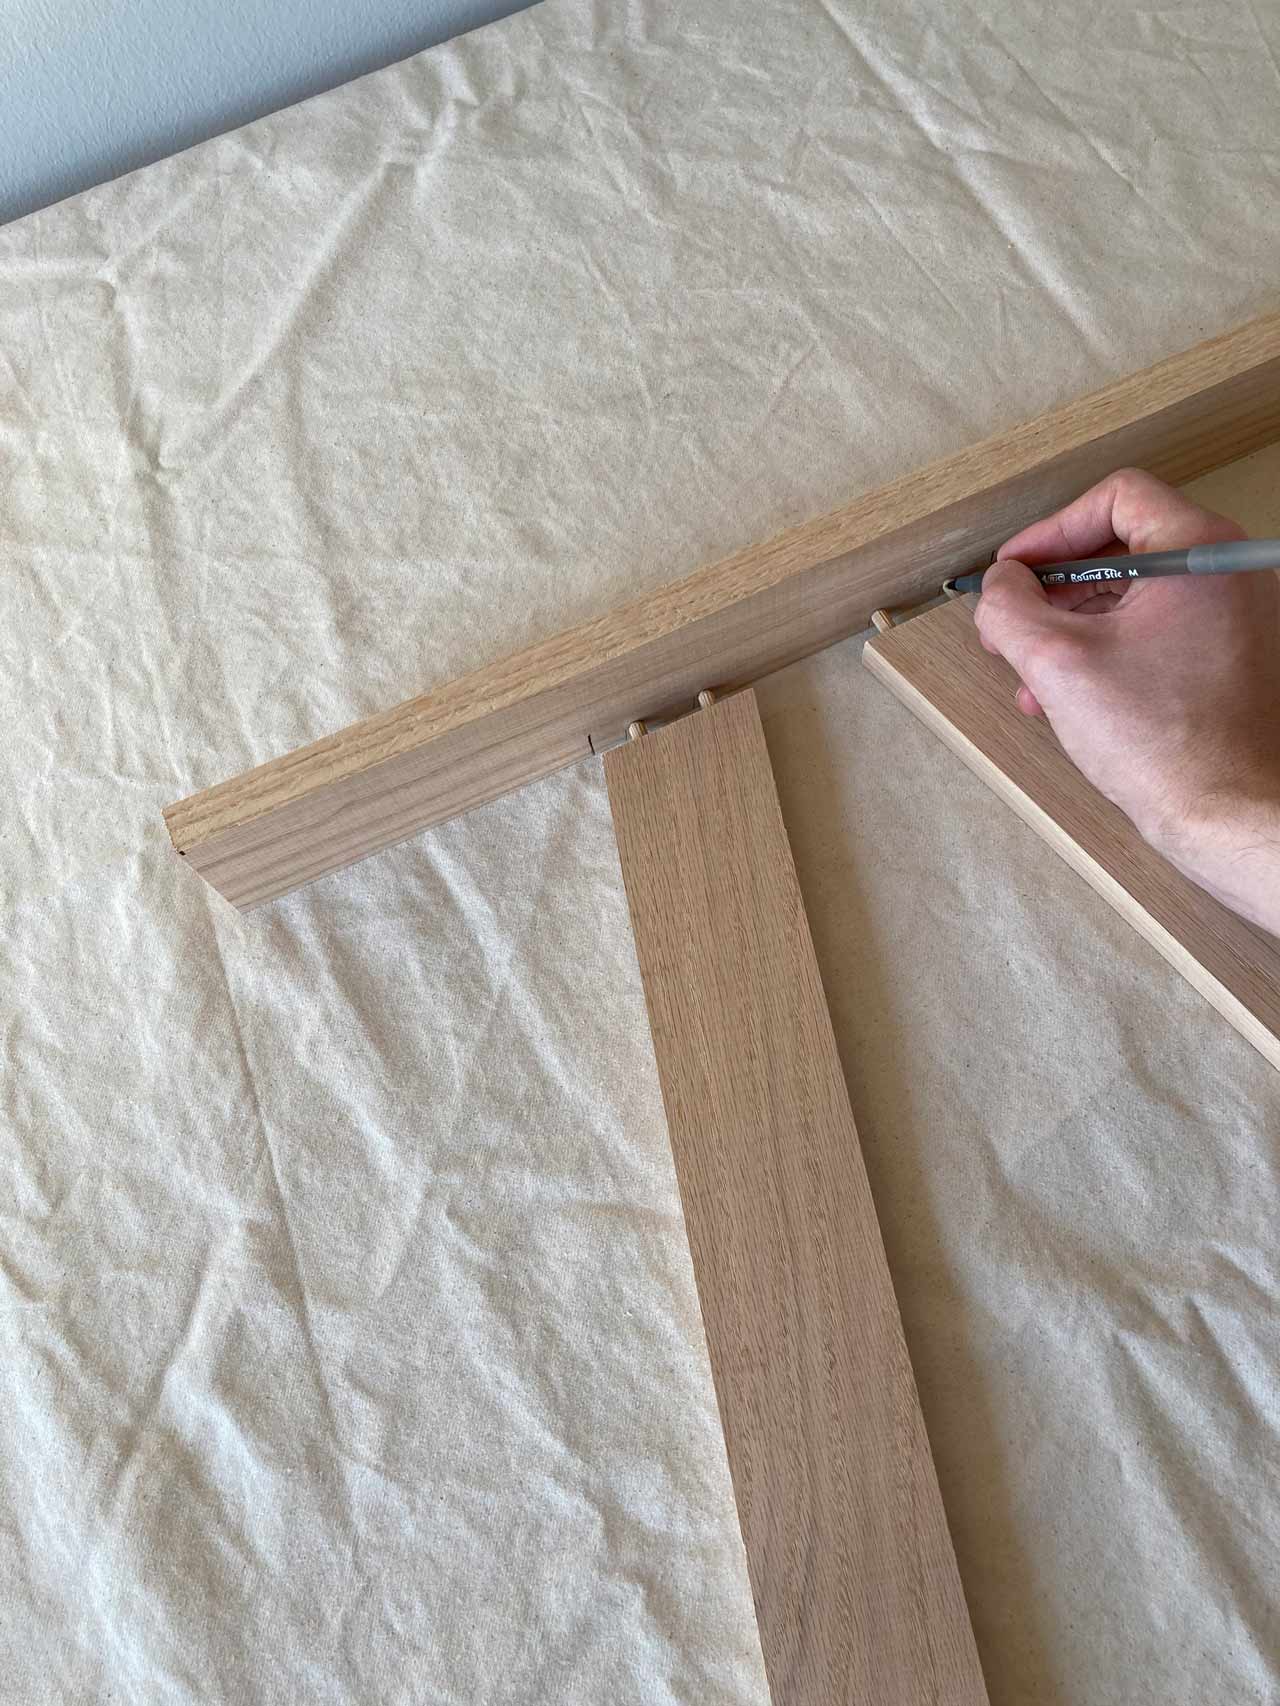
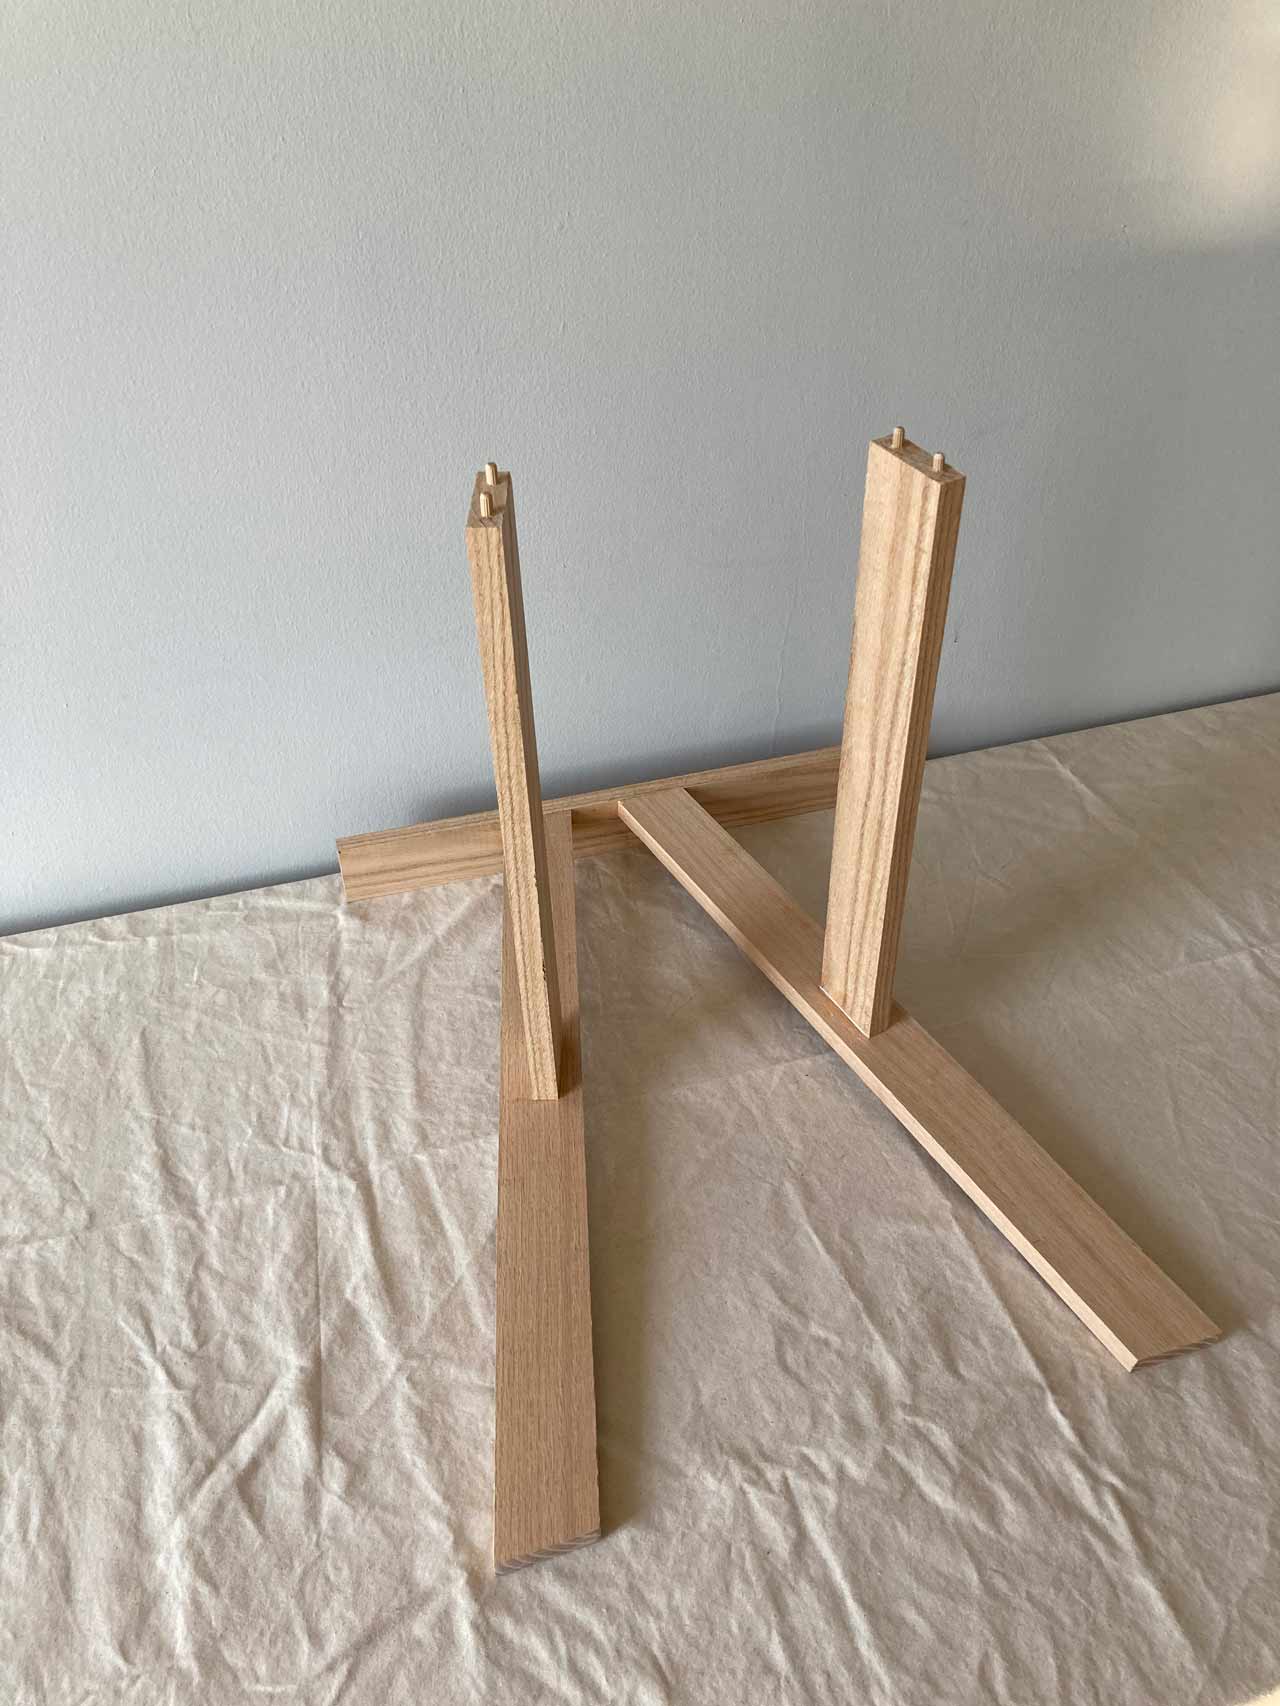
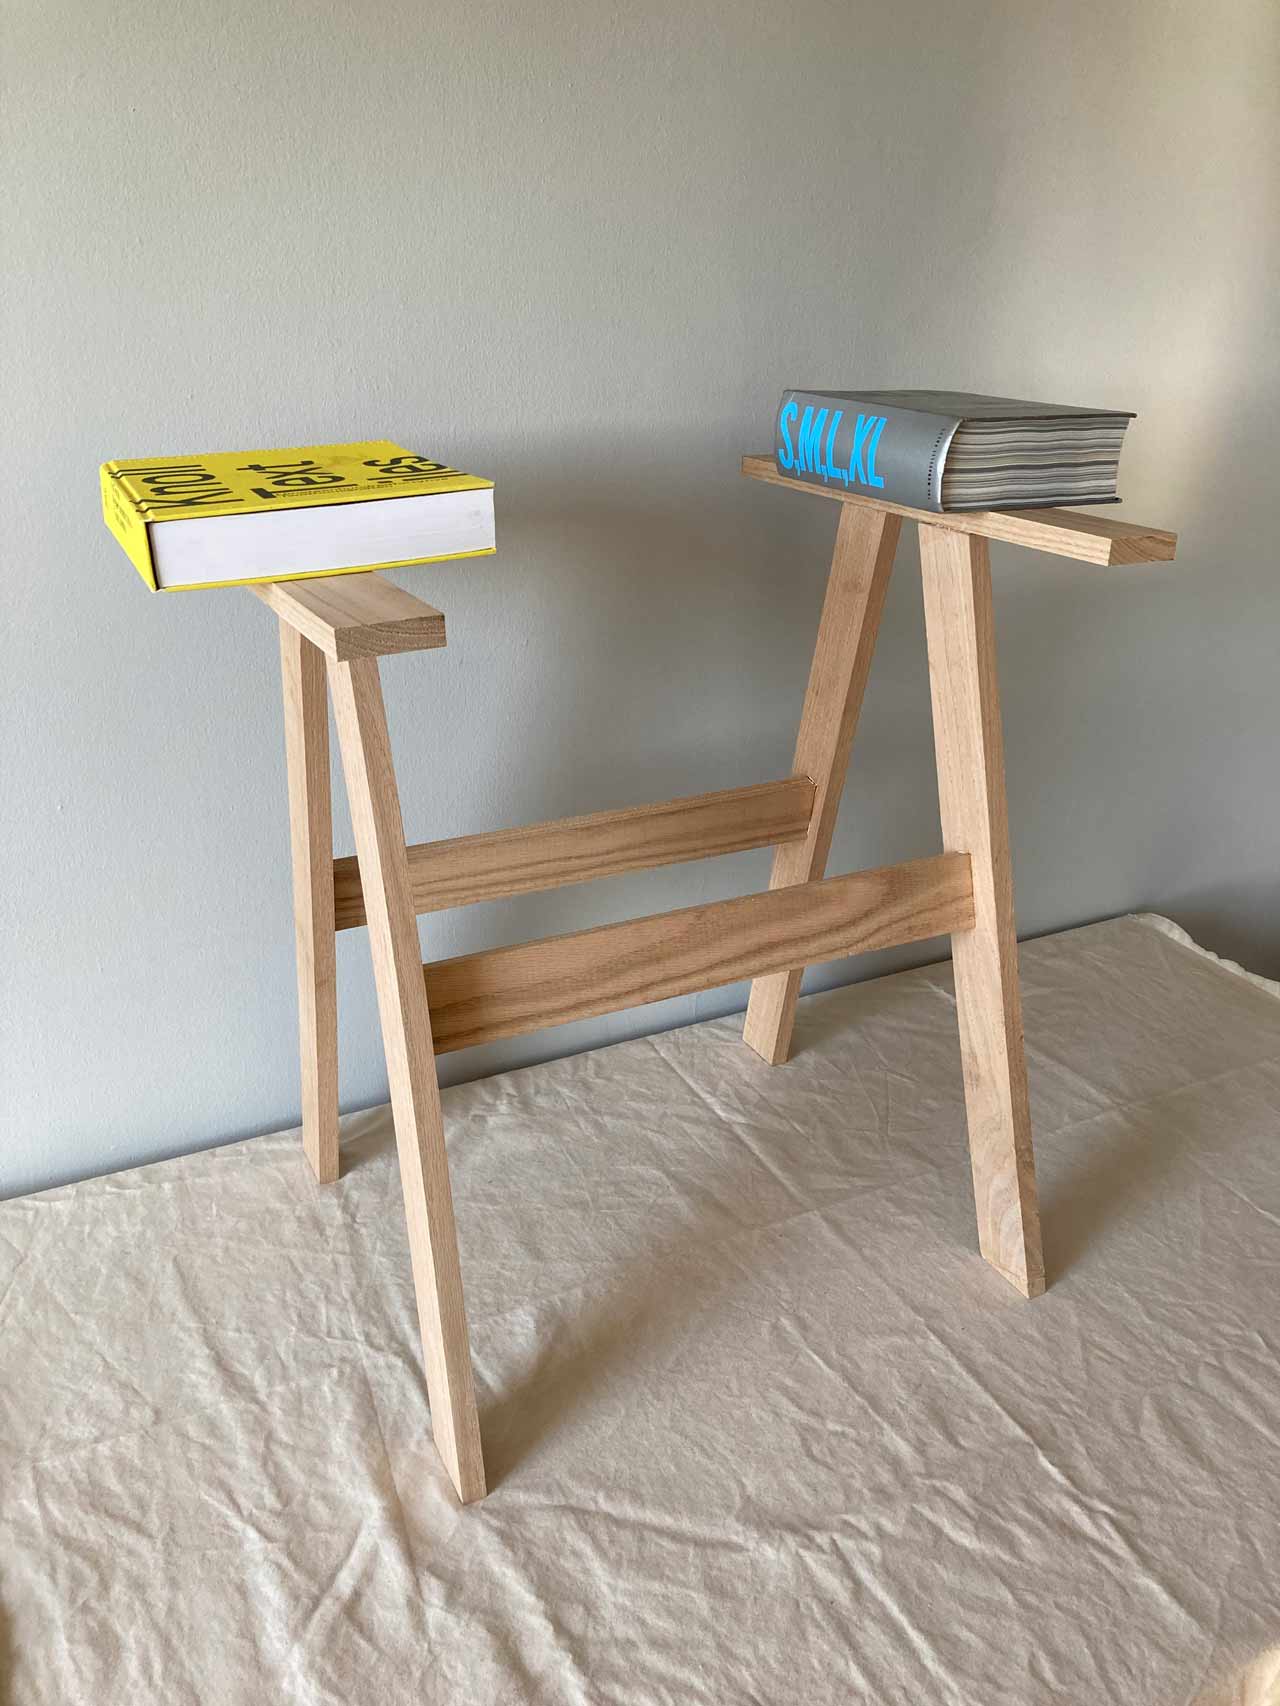
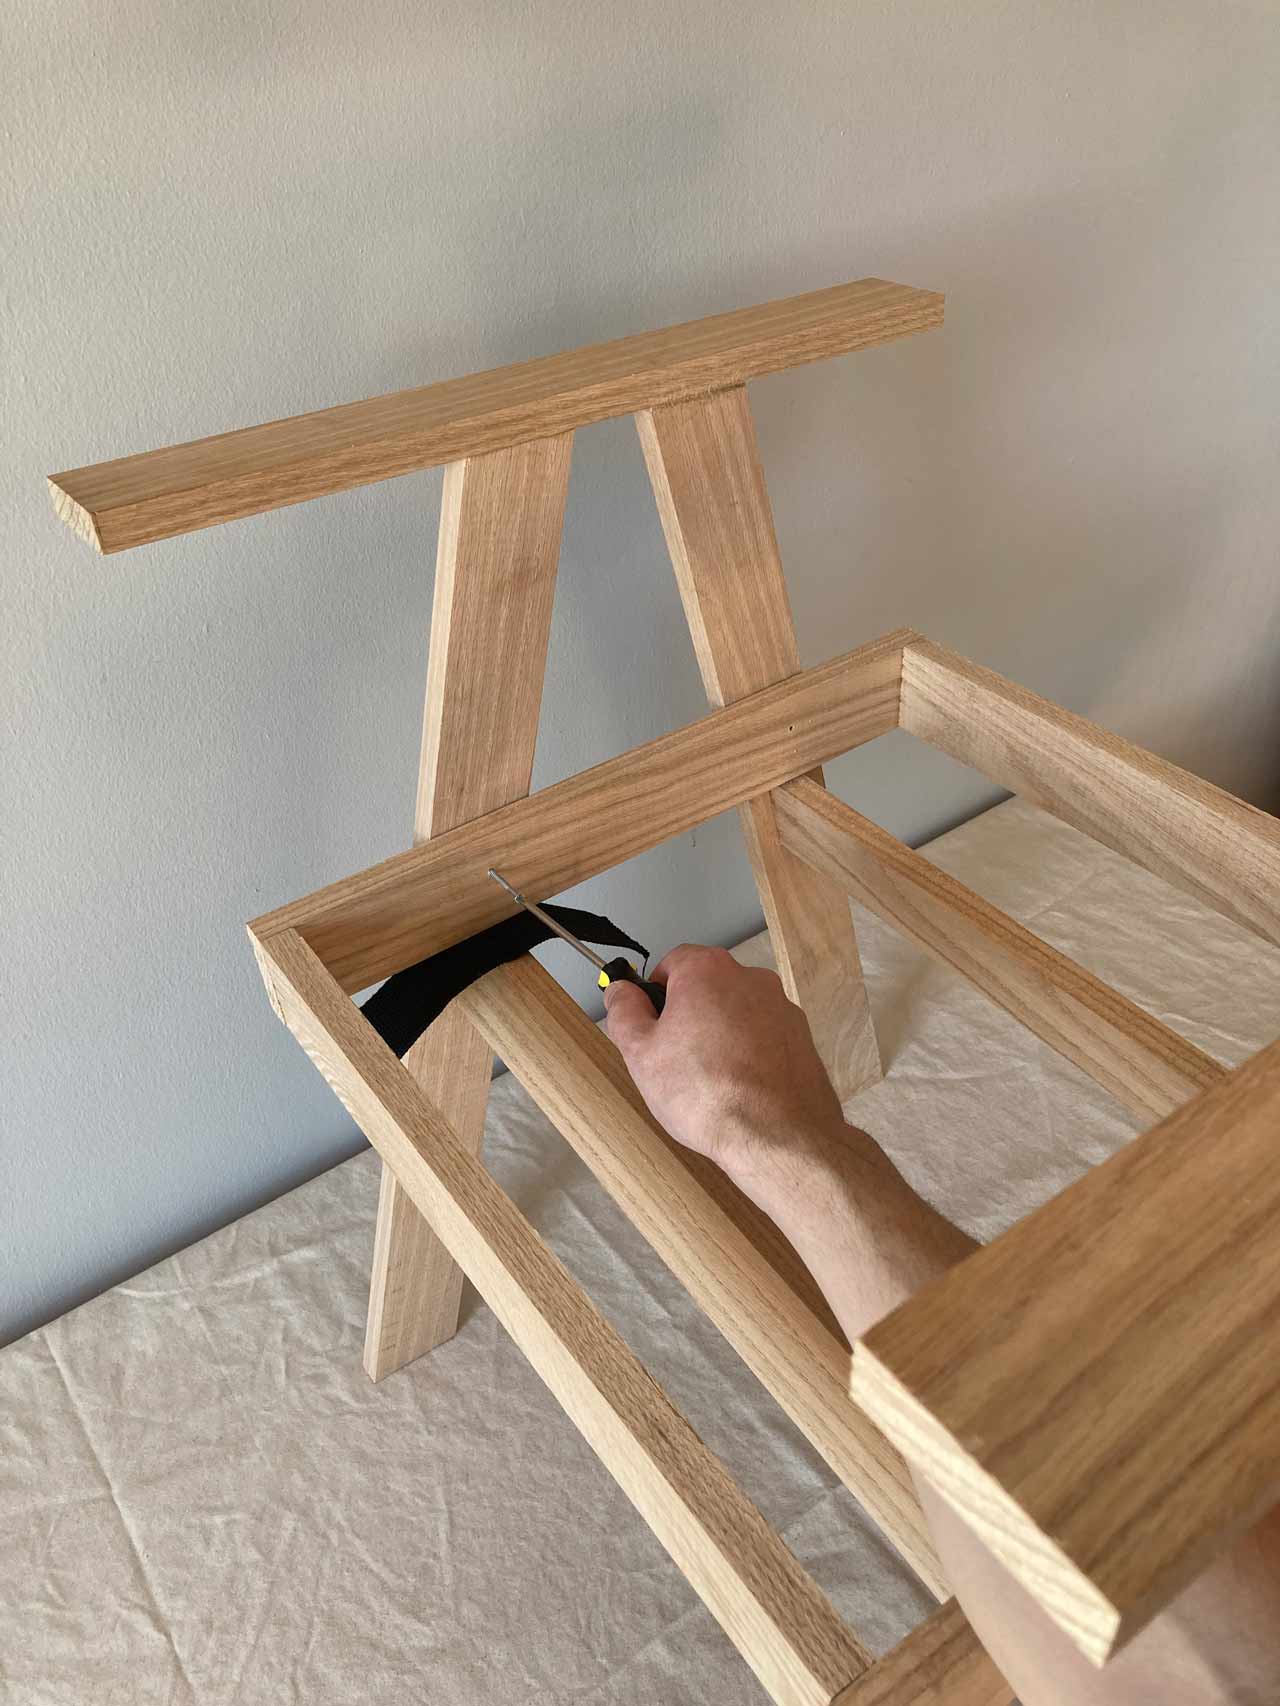
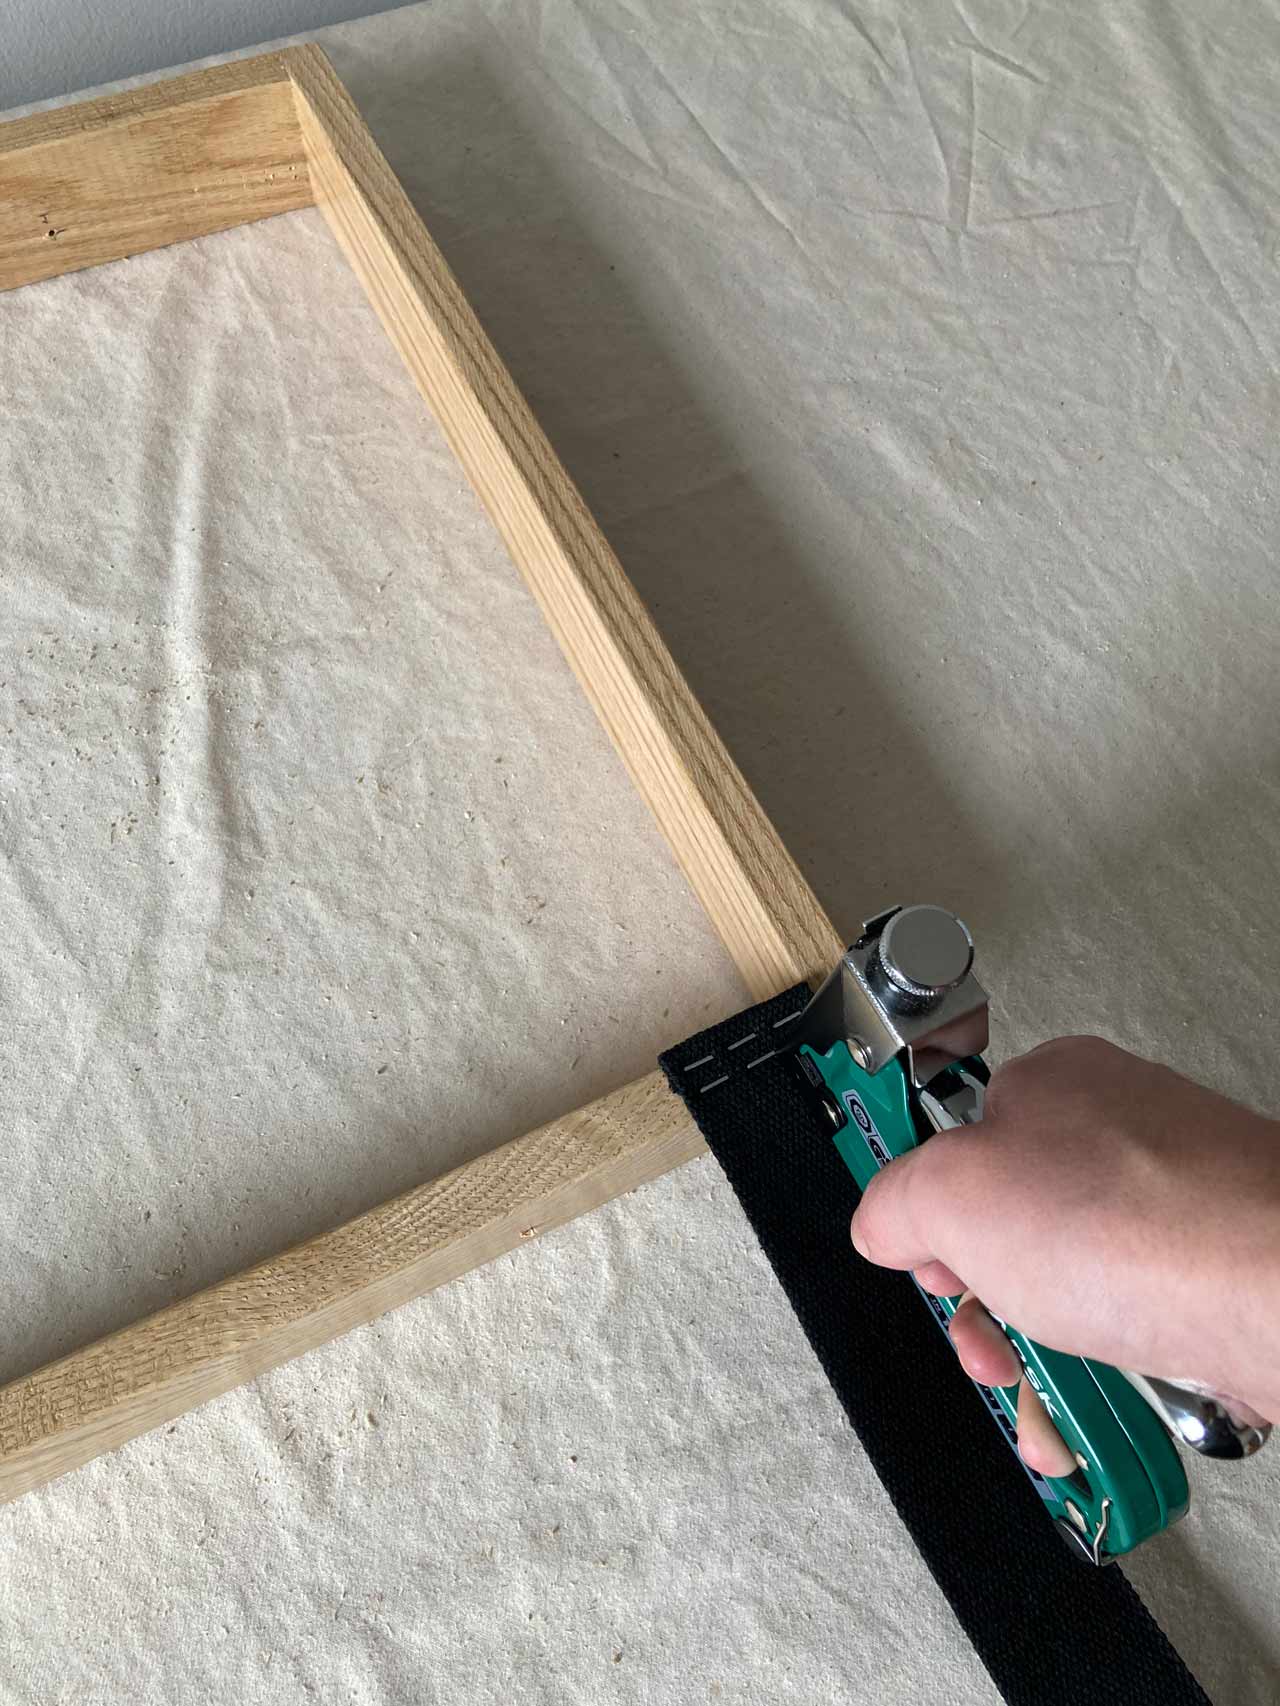
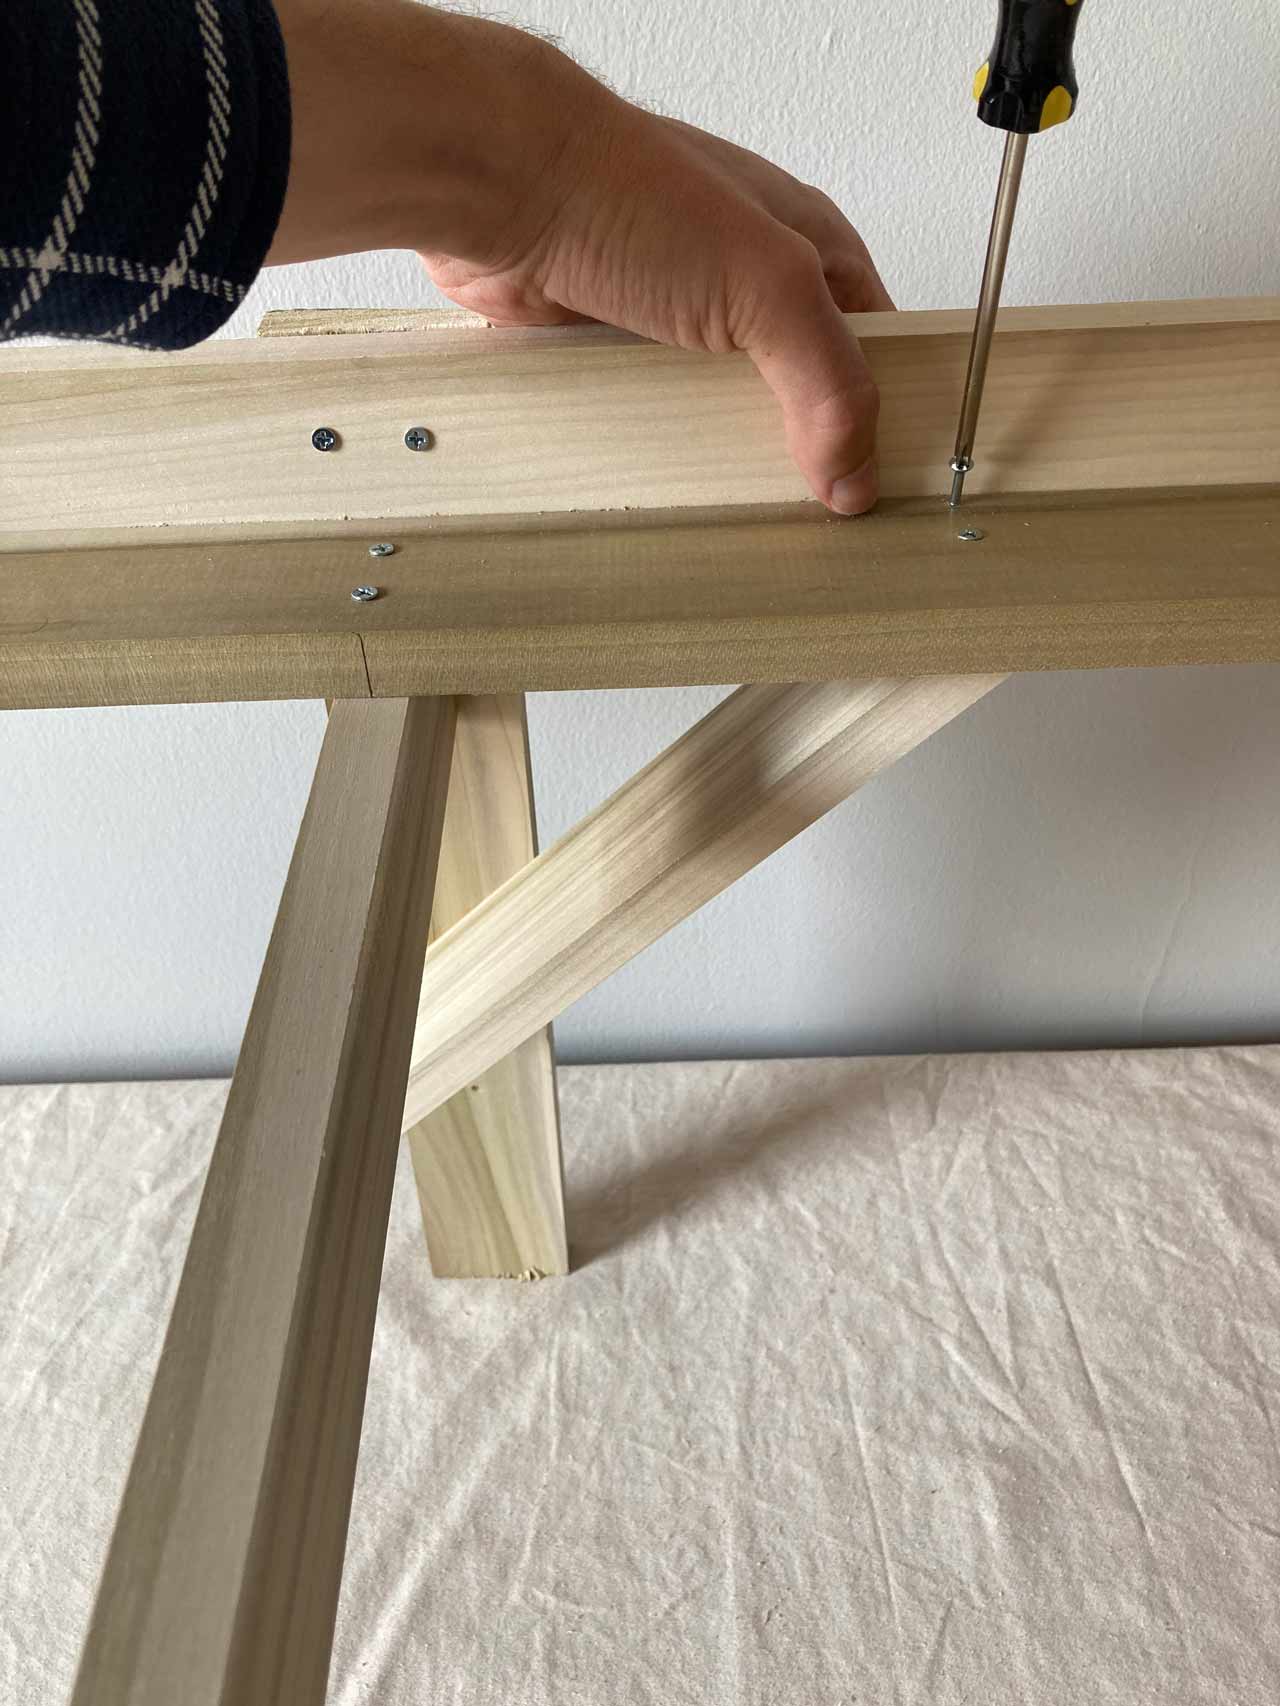
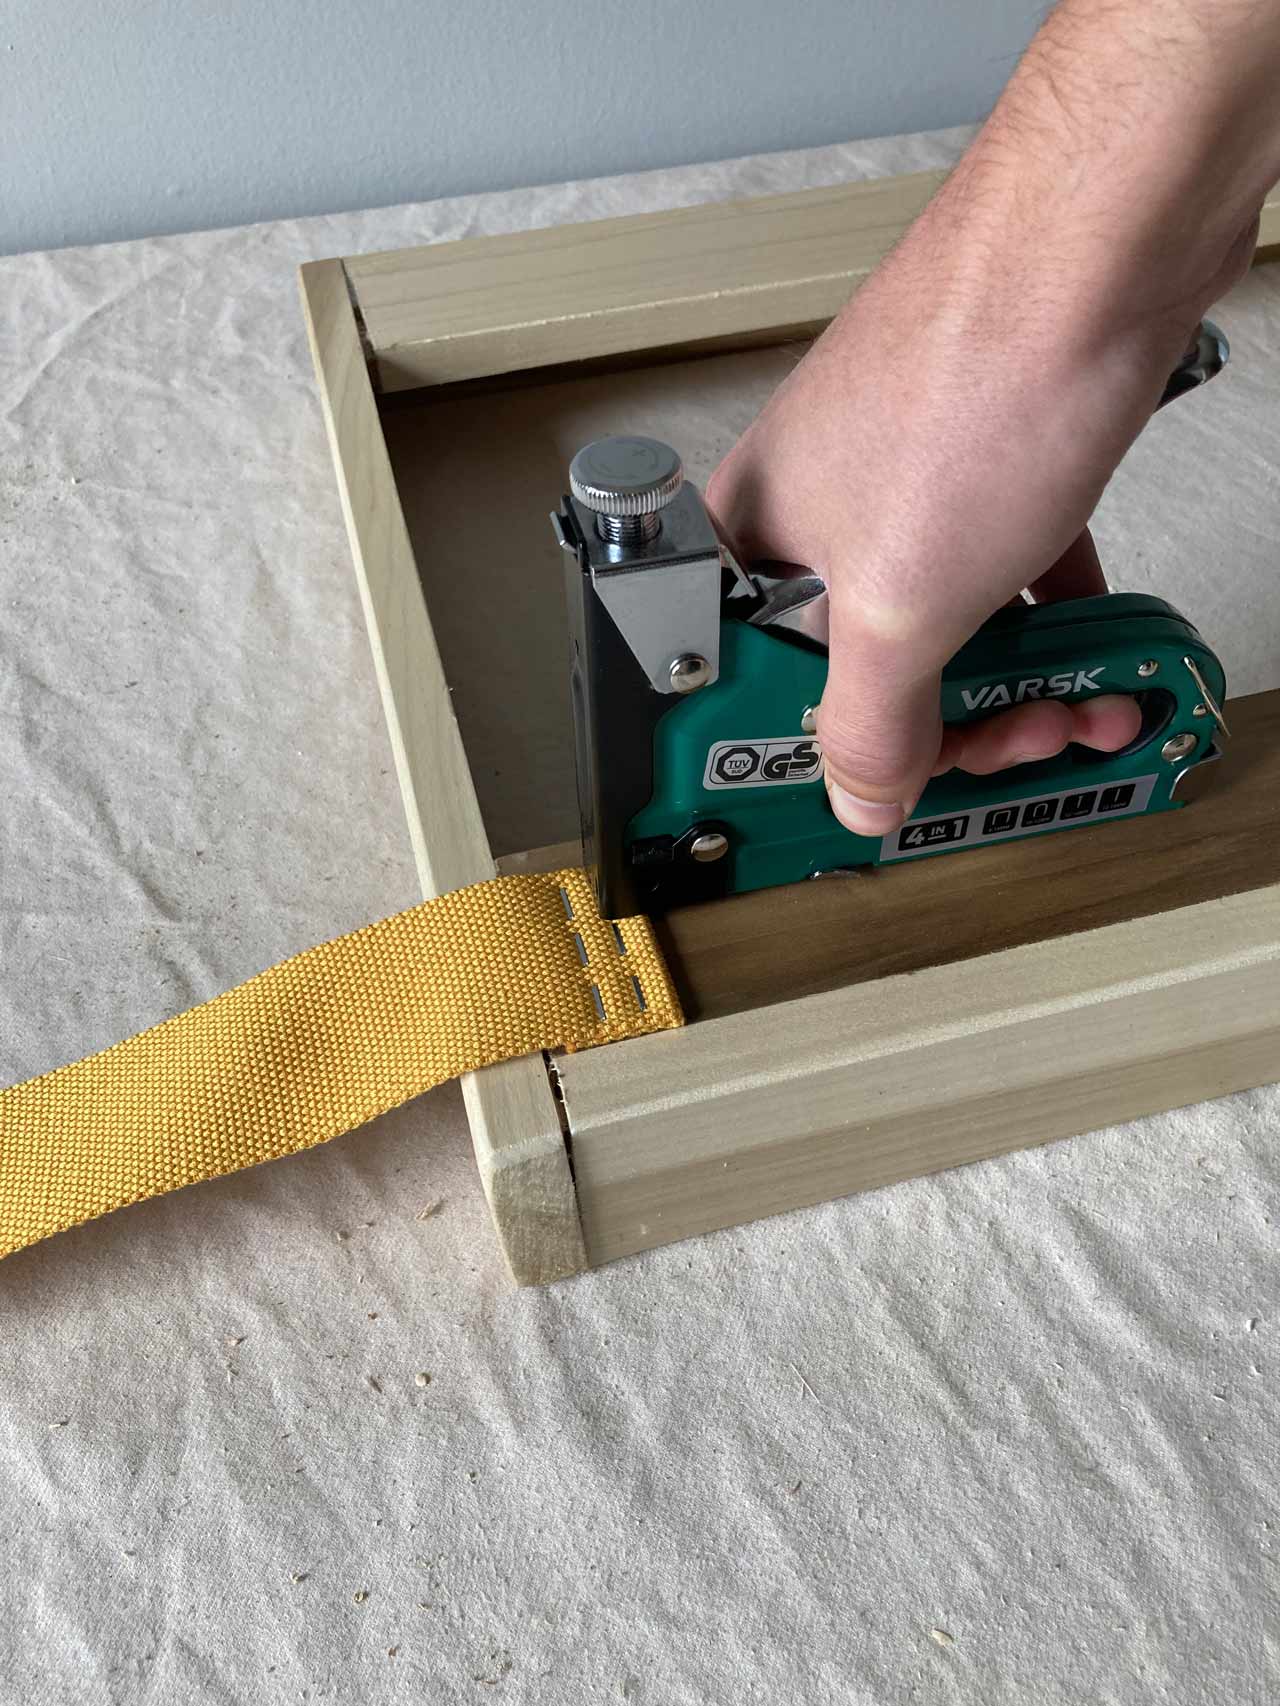
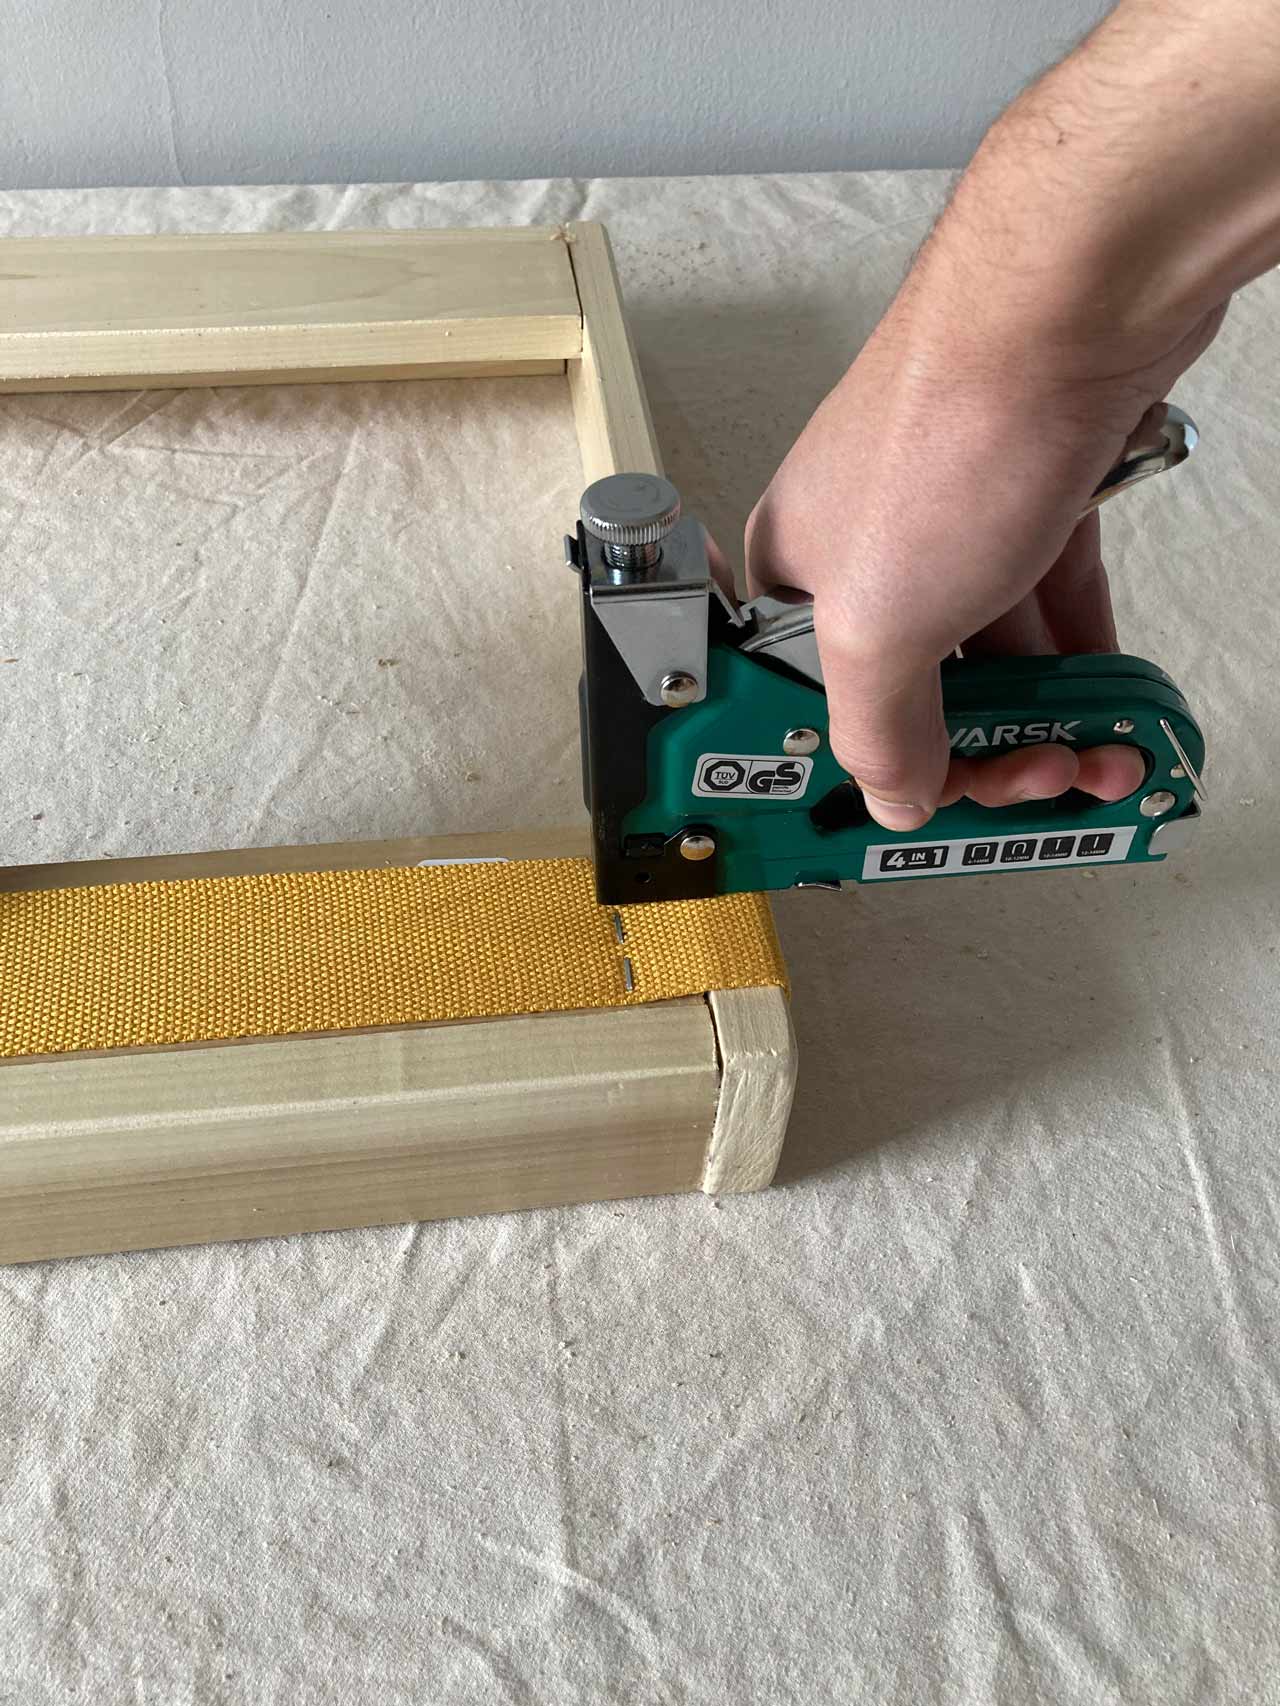
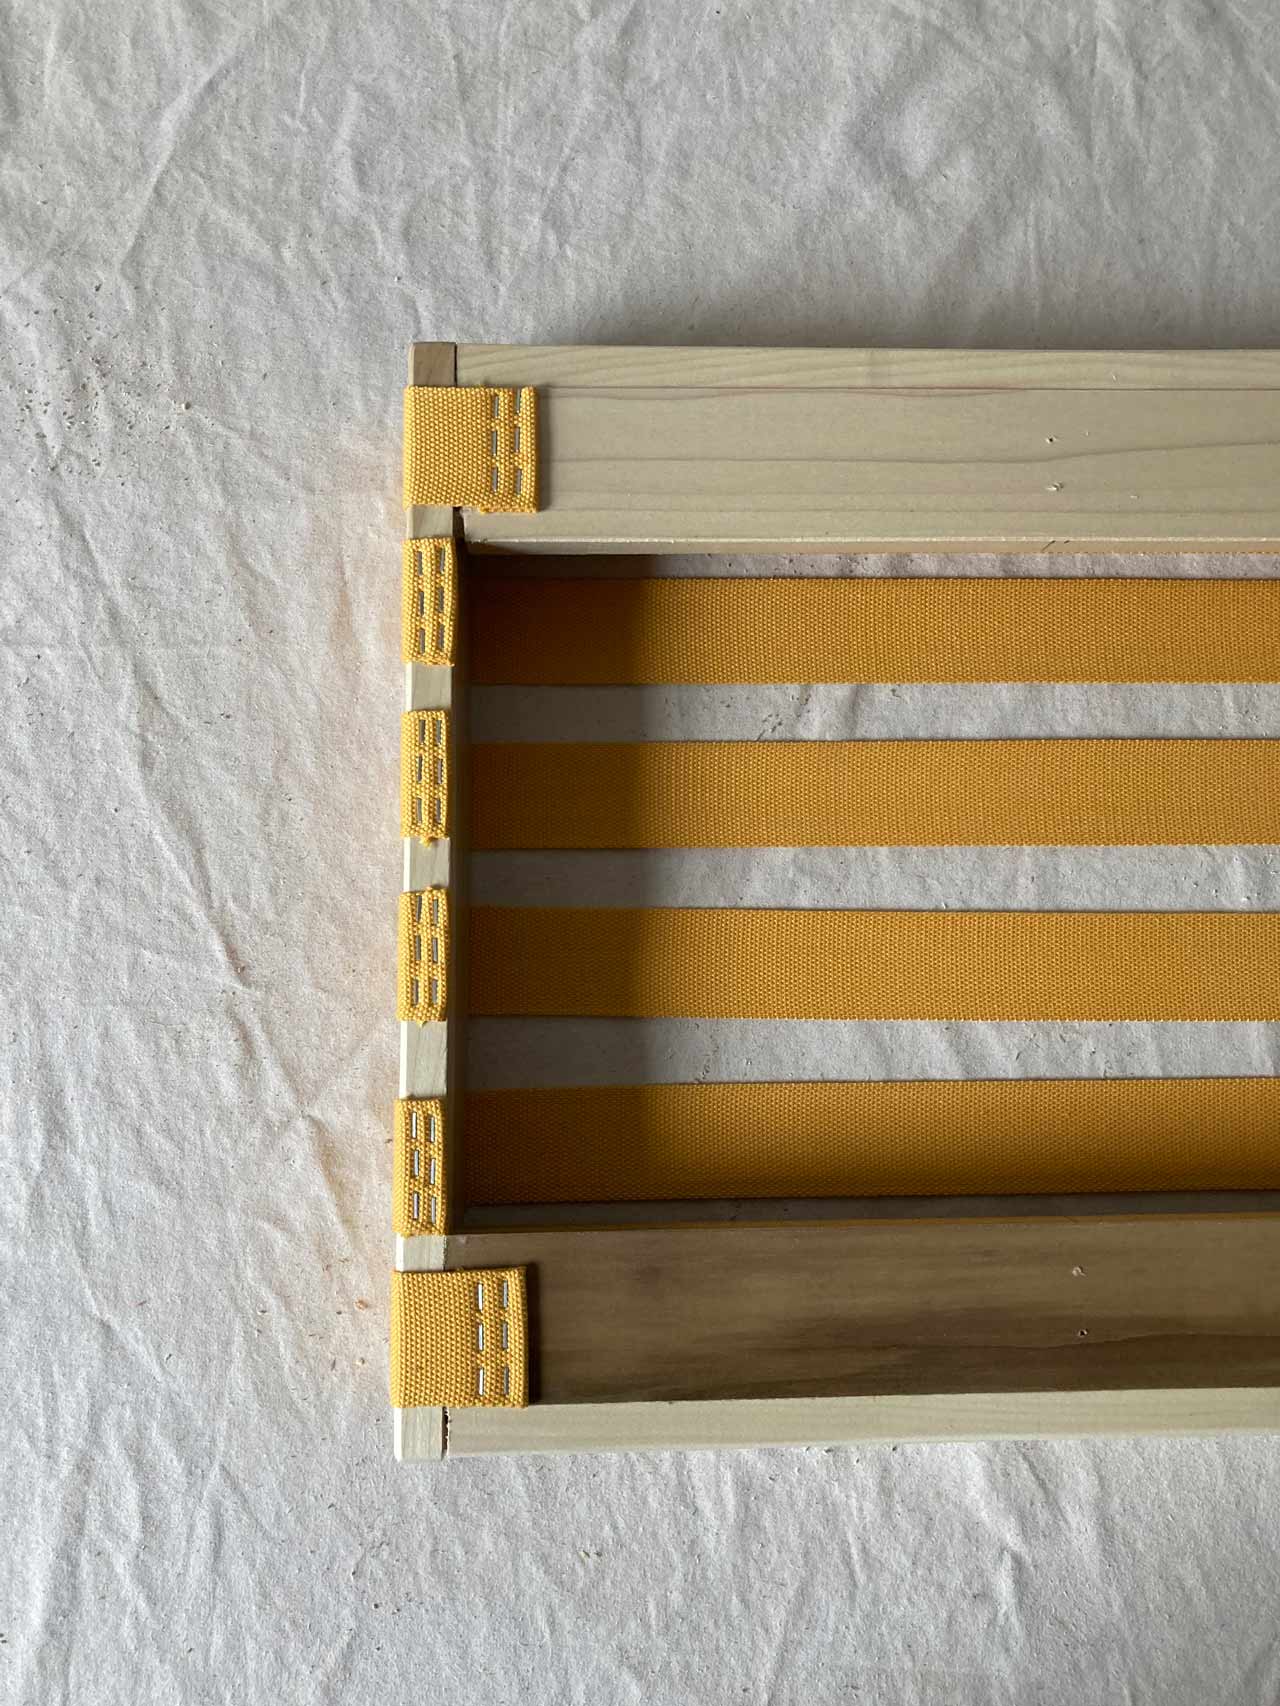
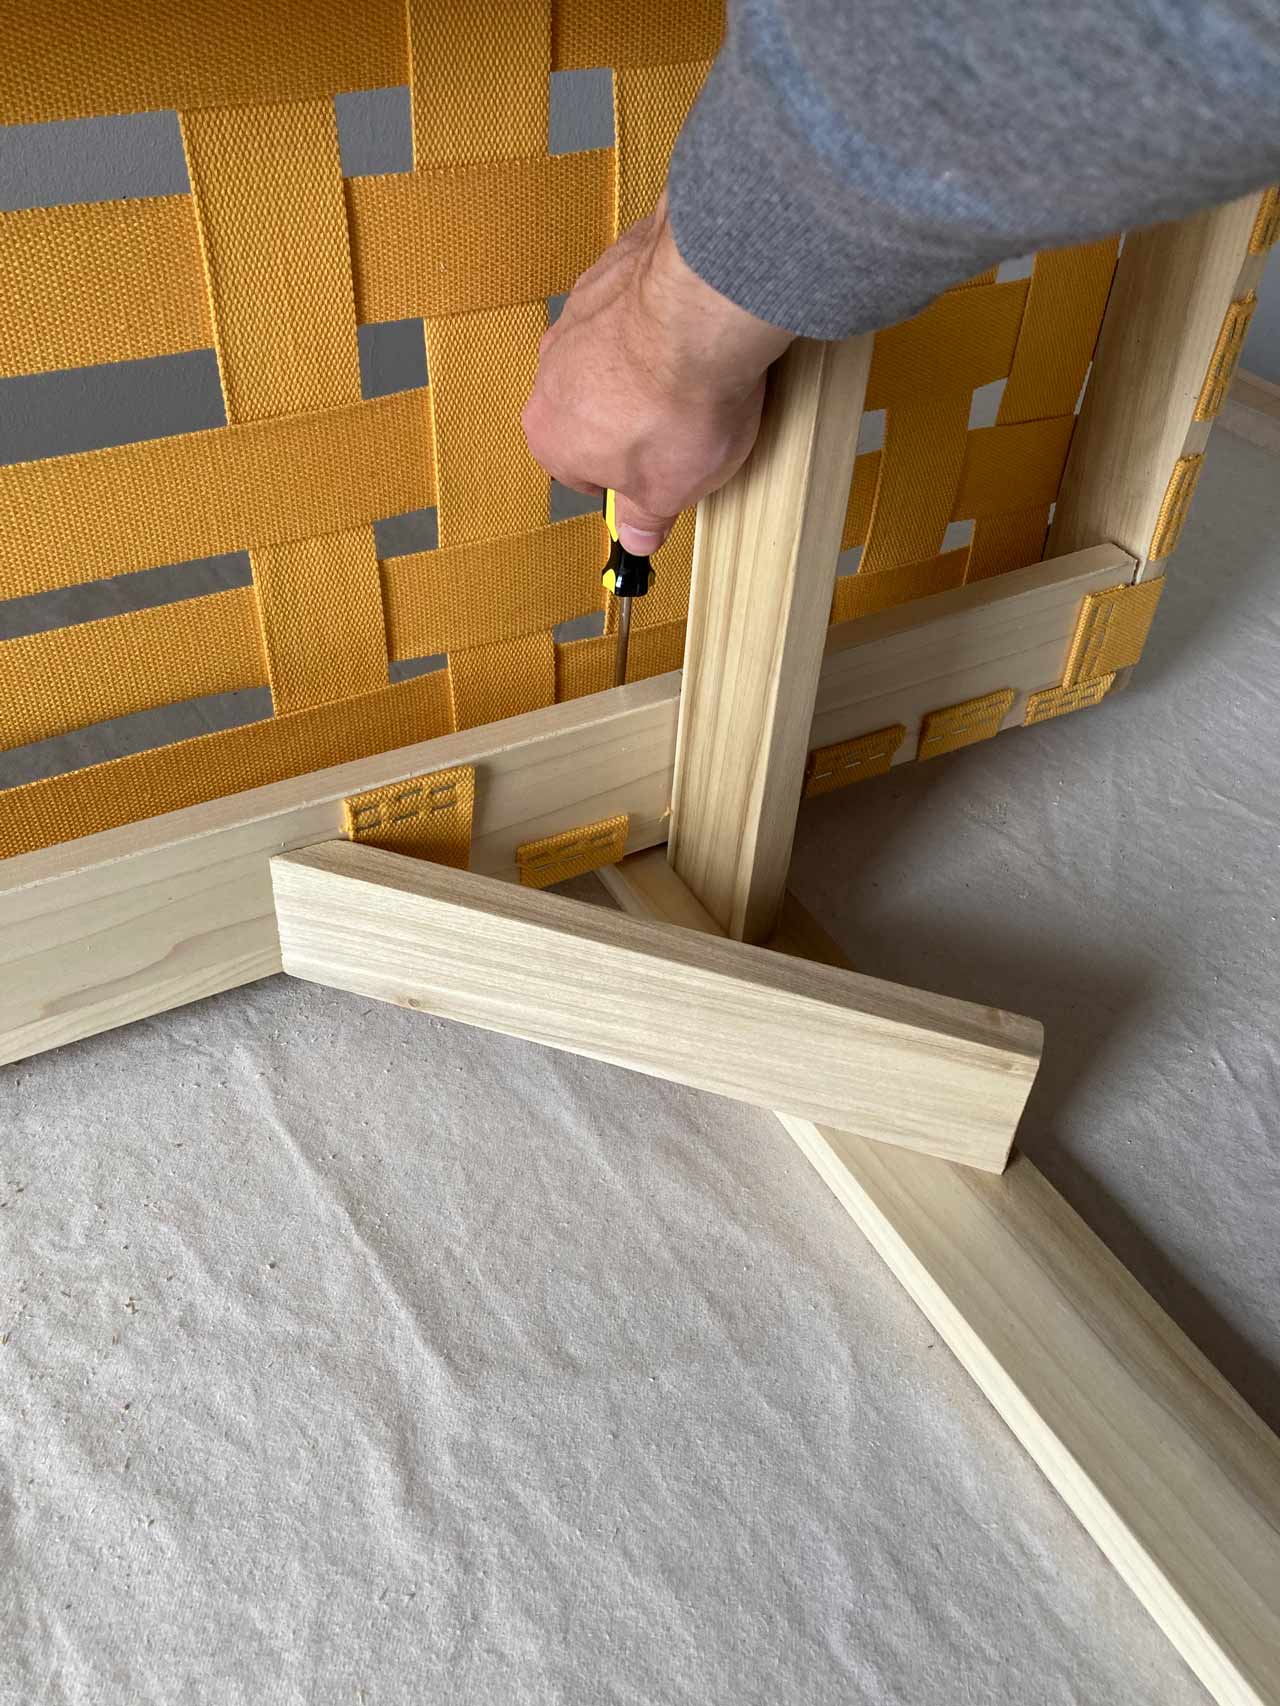
Sharing the same design as the Simple Joinery Long Bench, the assembly steps outlined below use modified instructions from the bench assembly. Much like a cot, the daybed utilizes tension straps in lieu of cushions. The timeless visual appeal and functionality of the canvas straps combine with the efficient engineering of reinforced wood joinery in this design. As with all of the Simple Joinery designs, the challenging assembly takes about 1-2 days to complete.
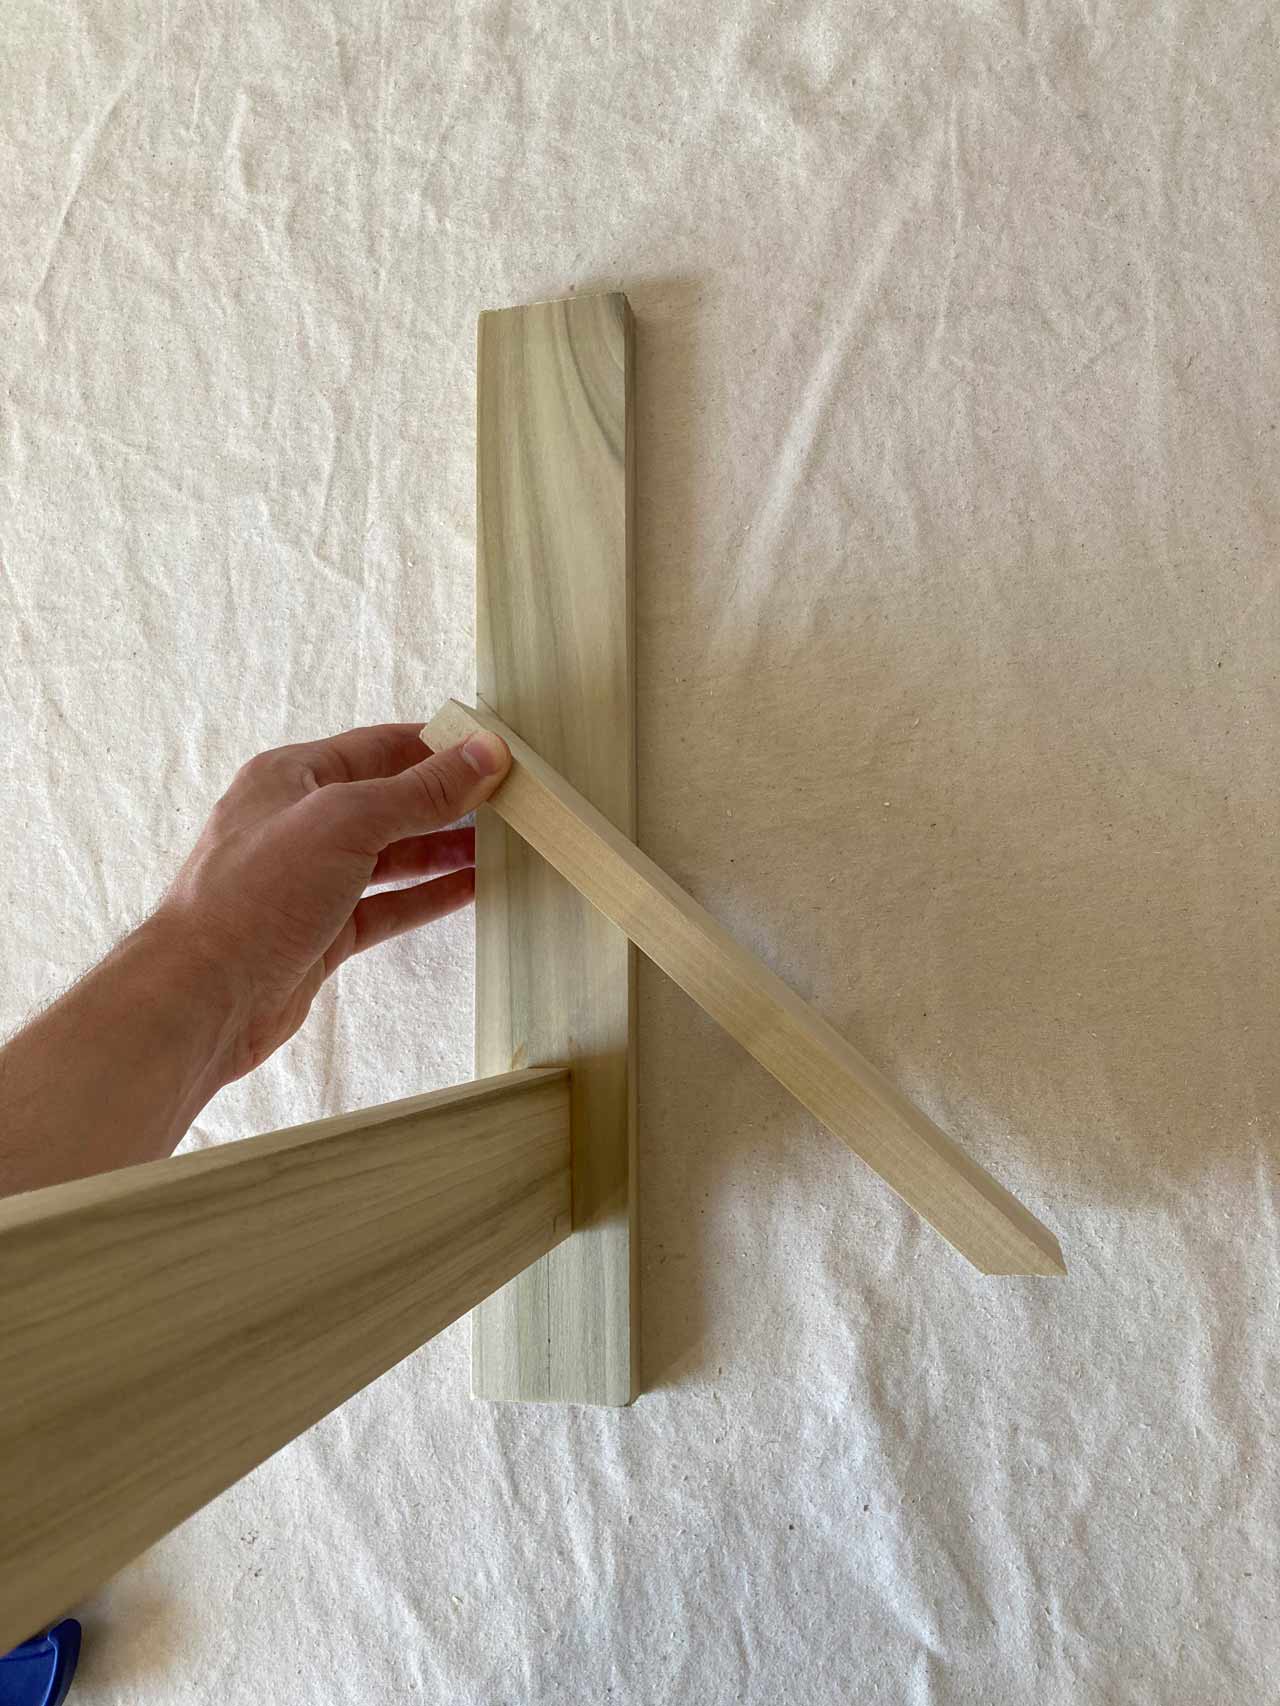
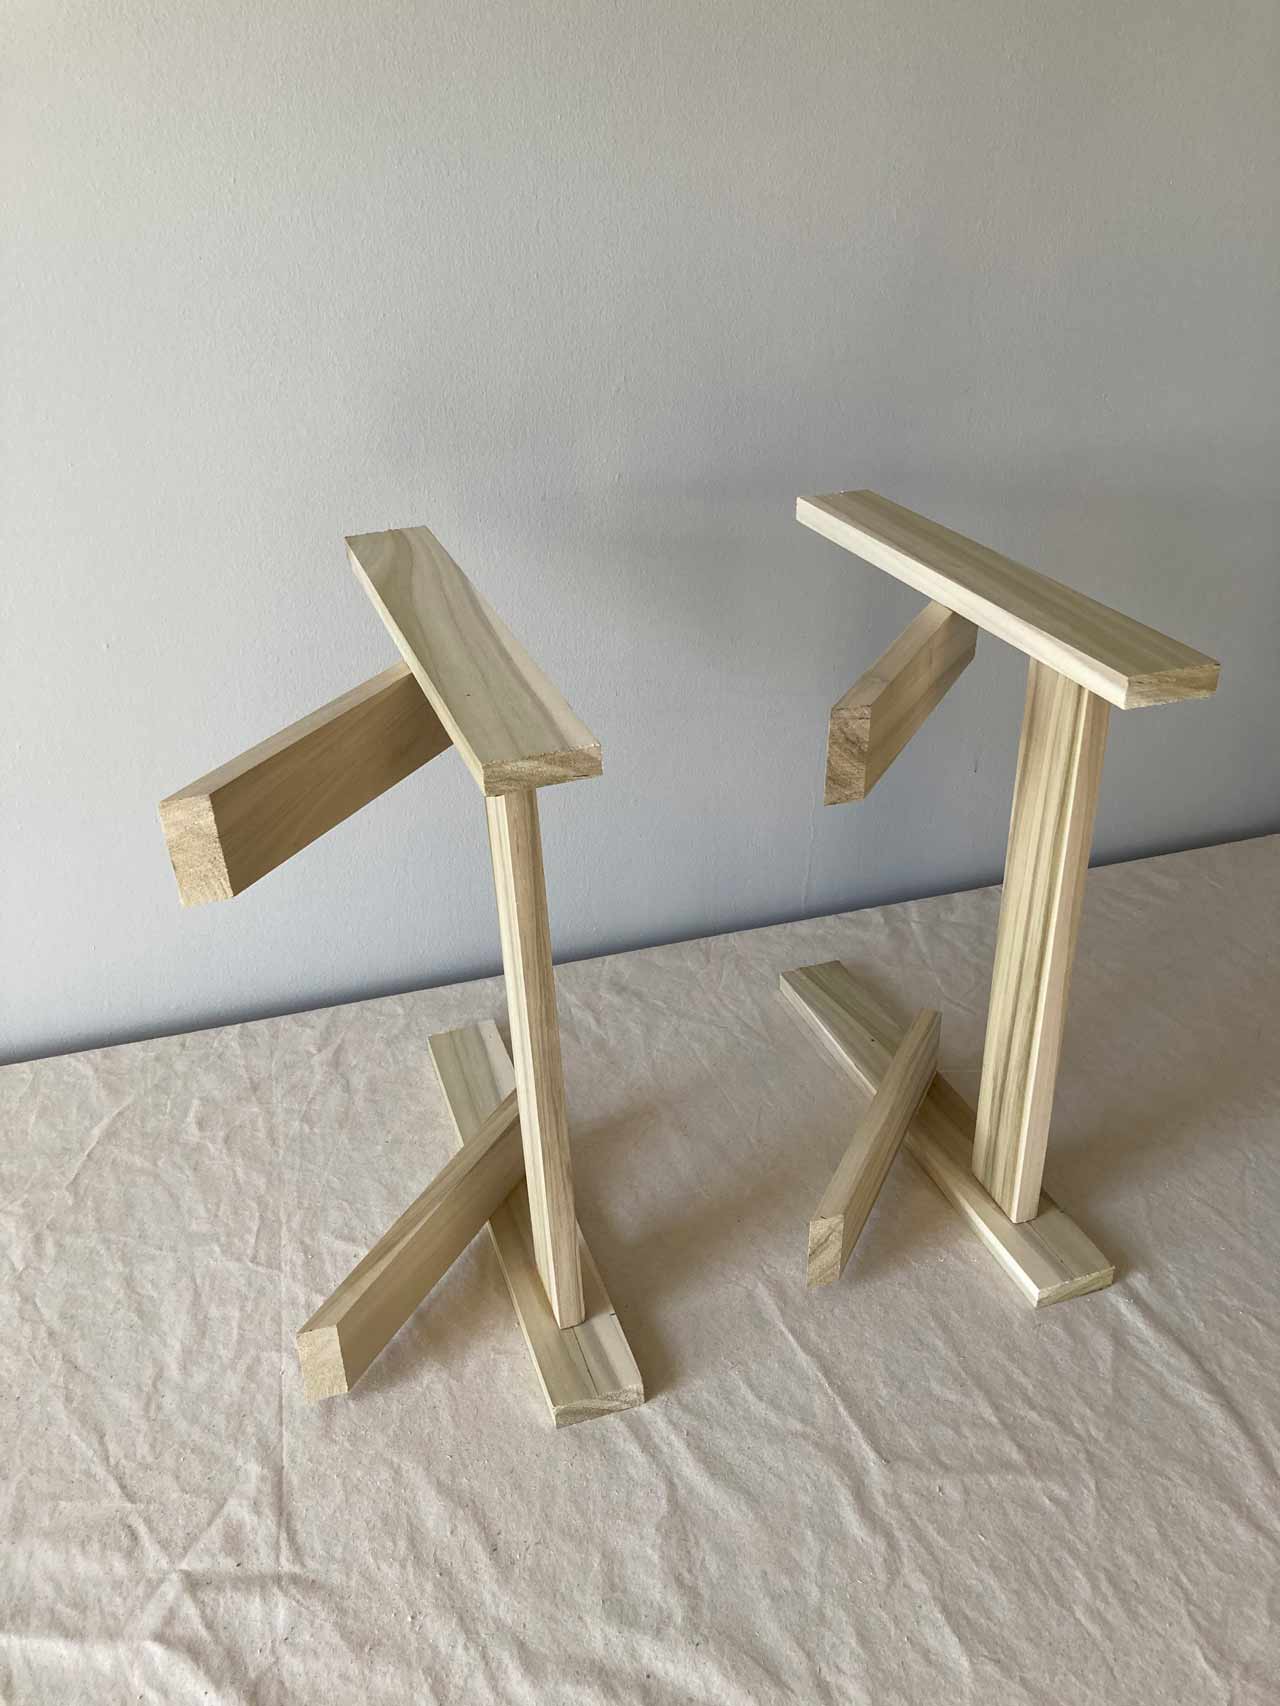
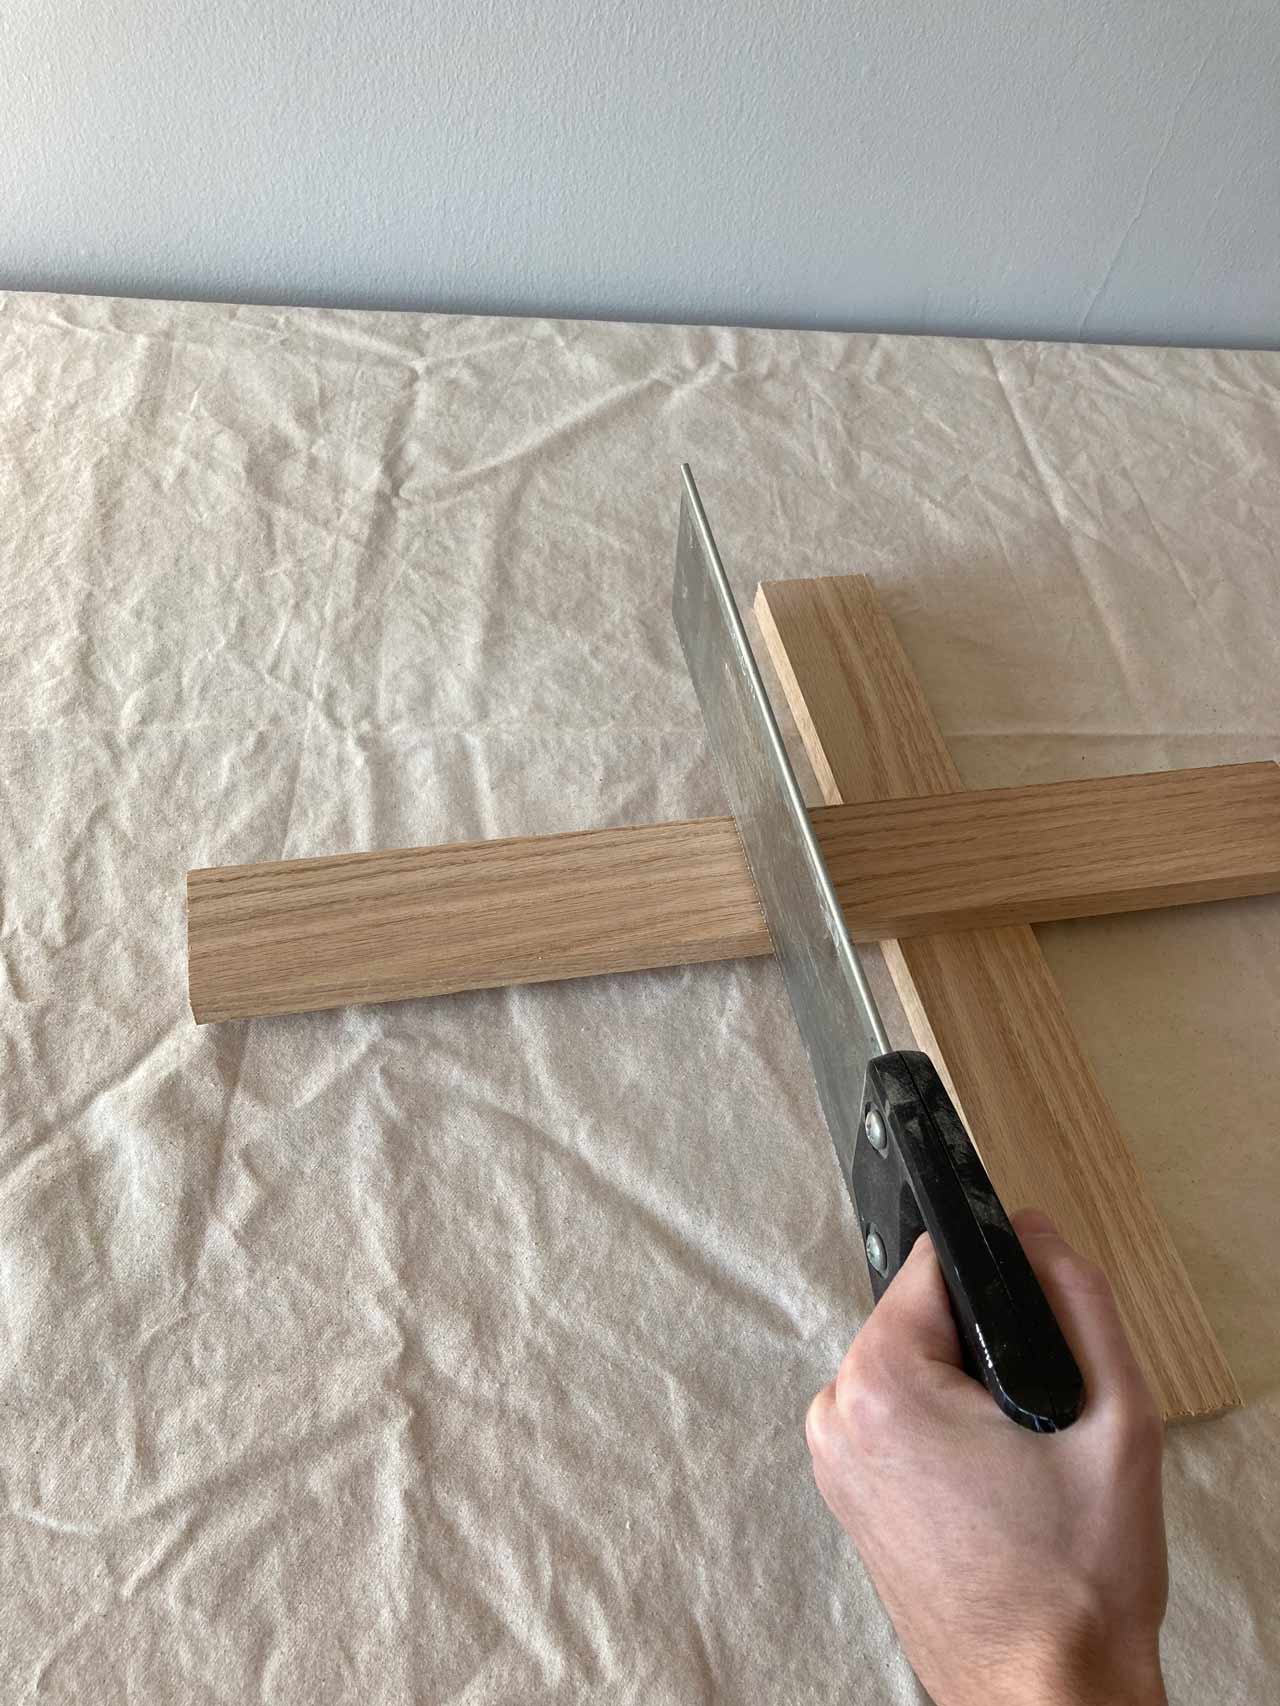
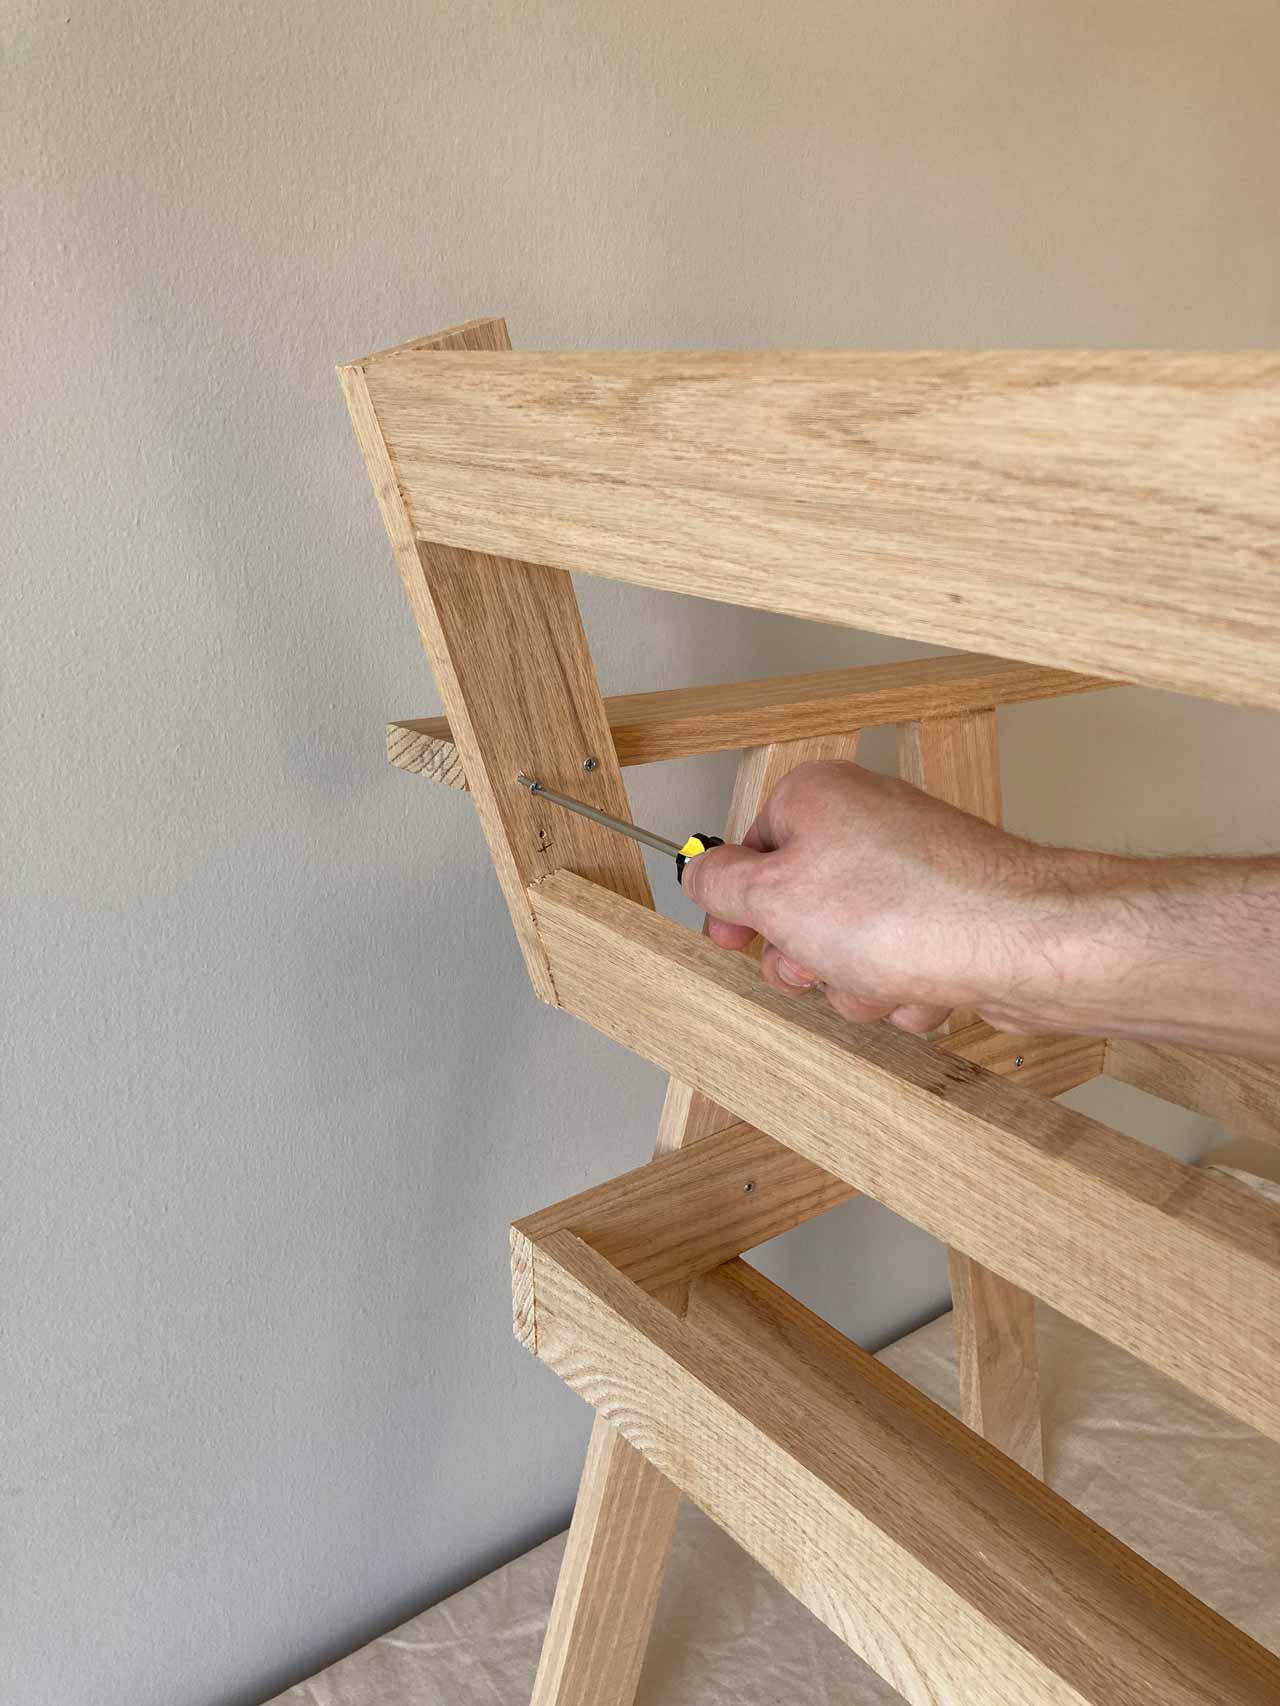
Assembly


Index
Parts
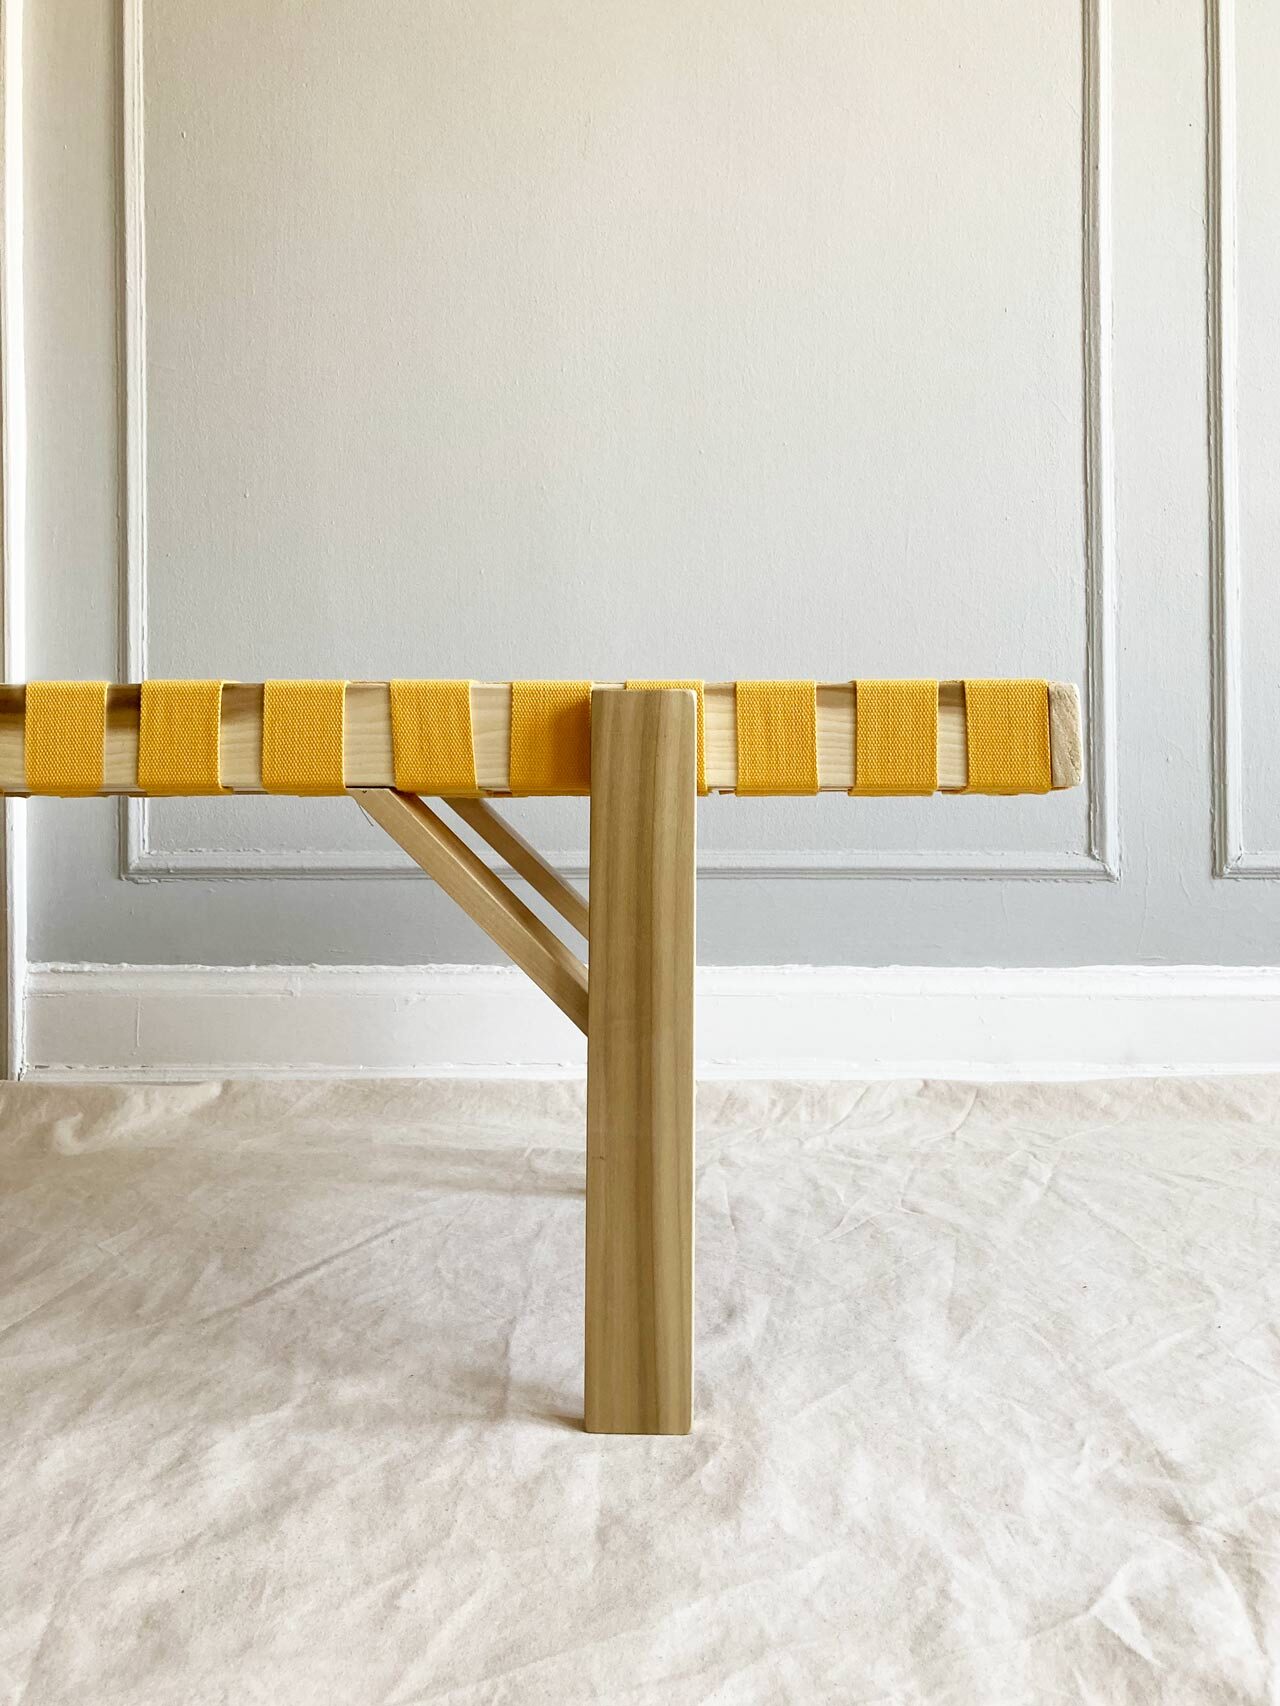
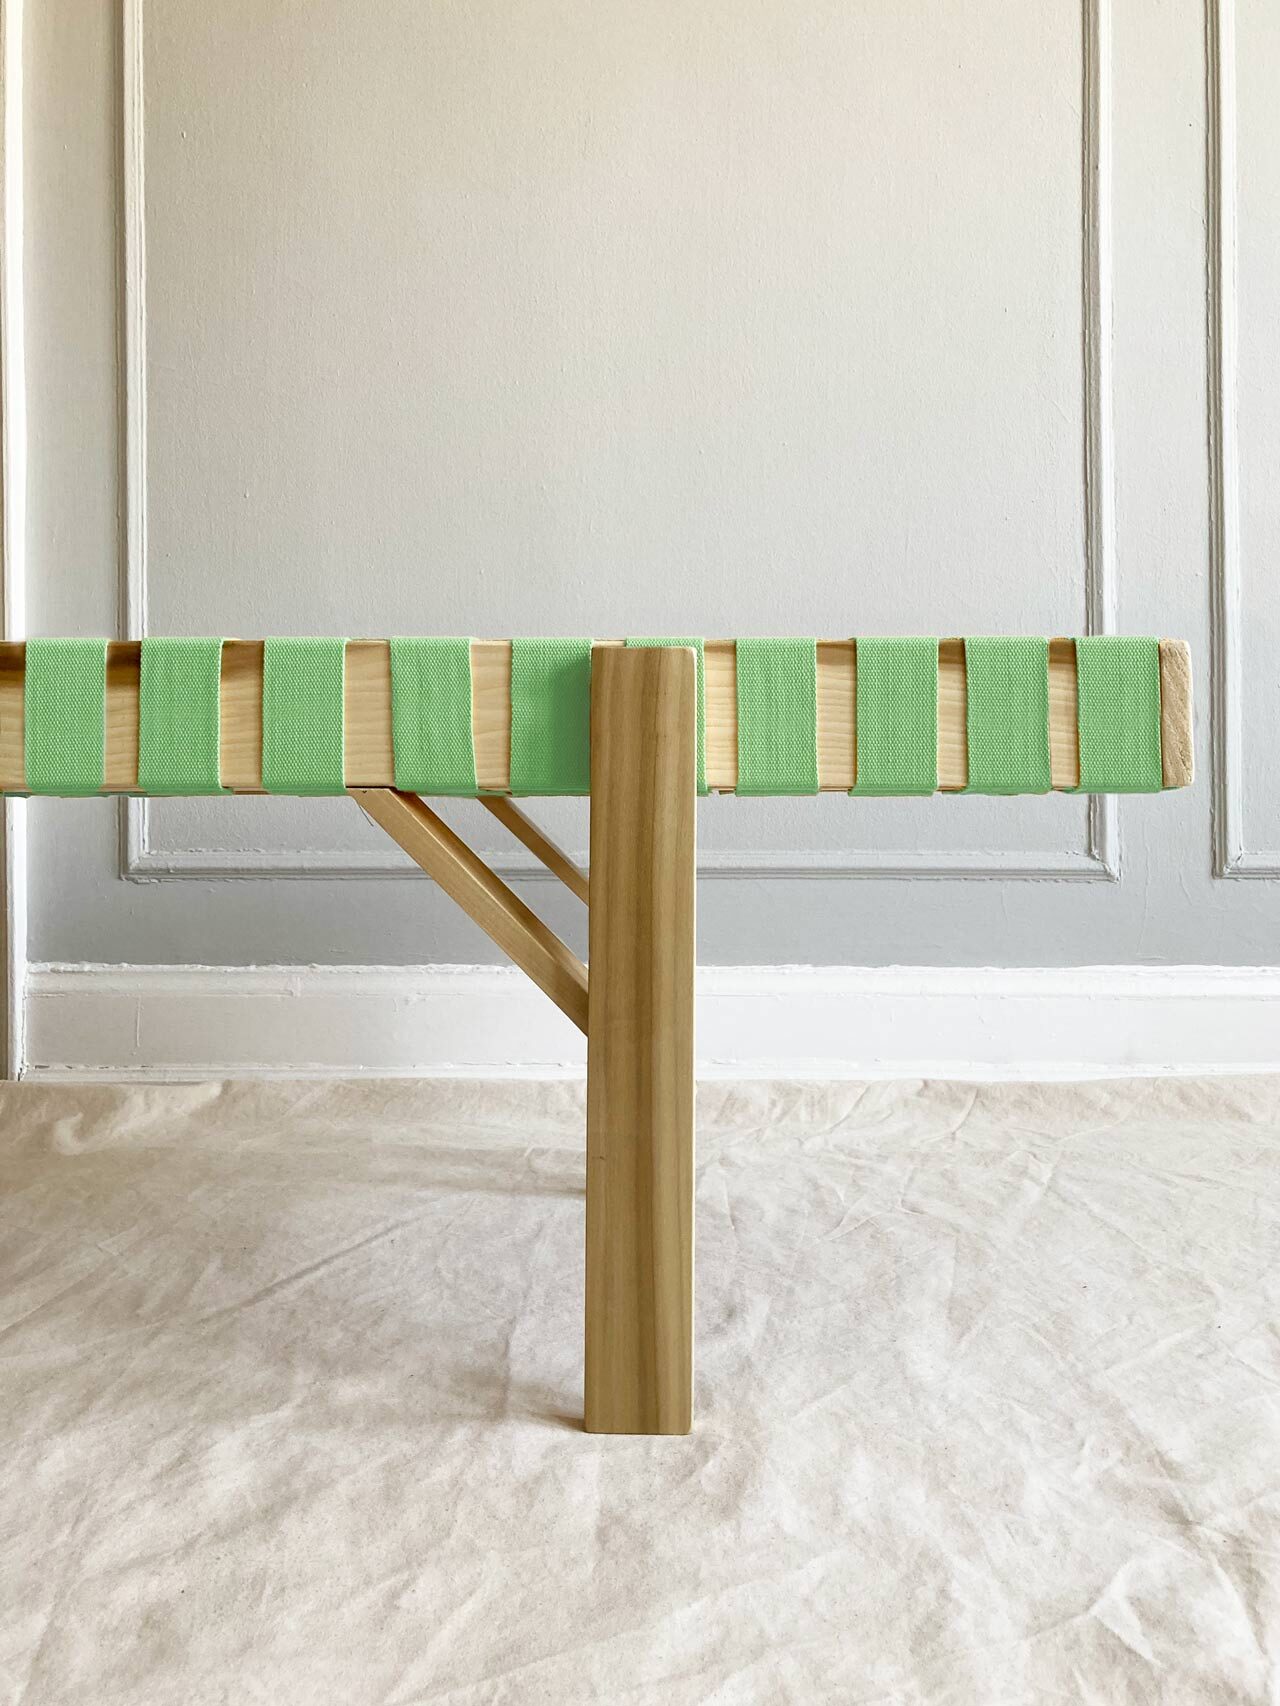
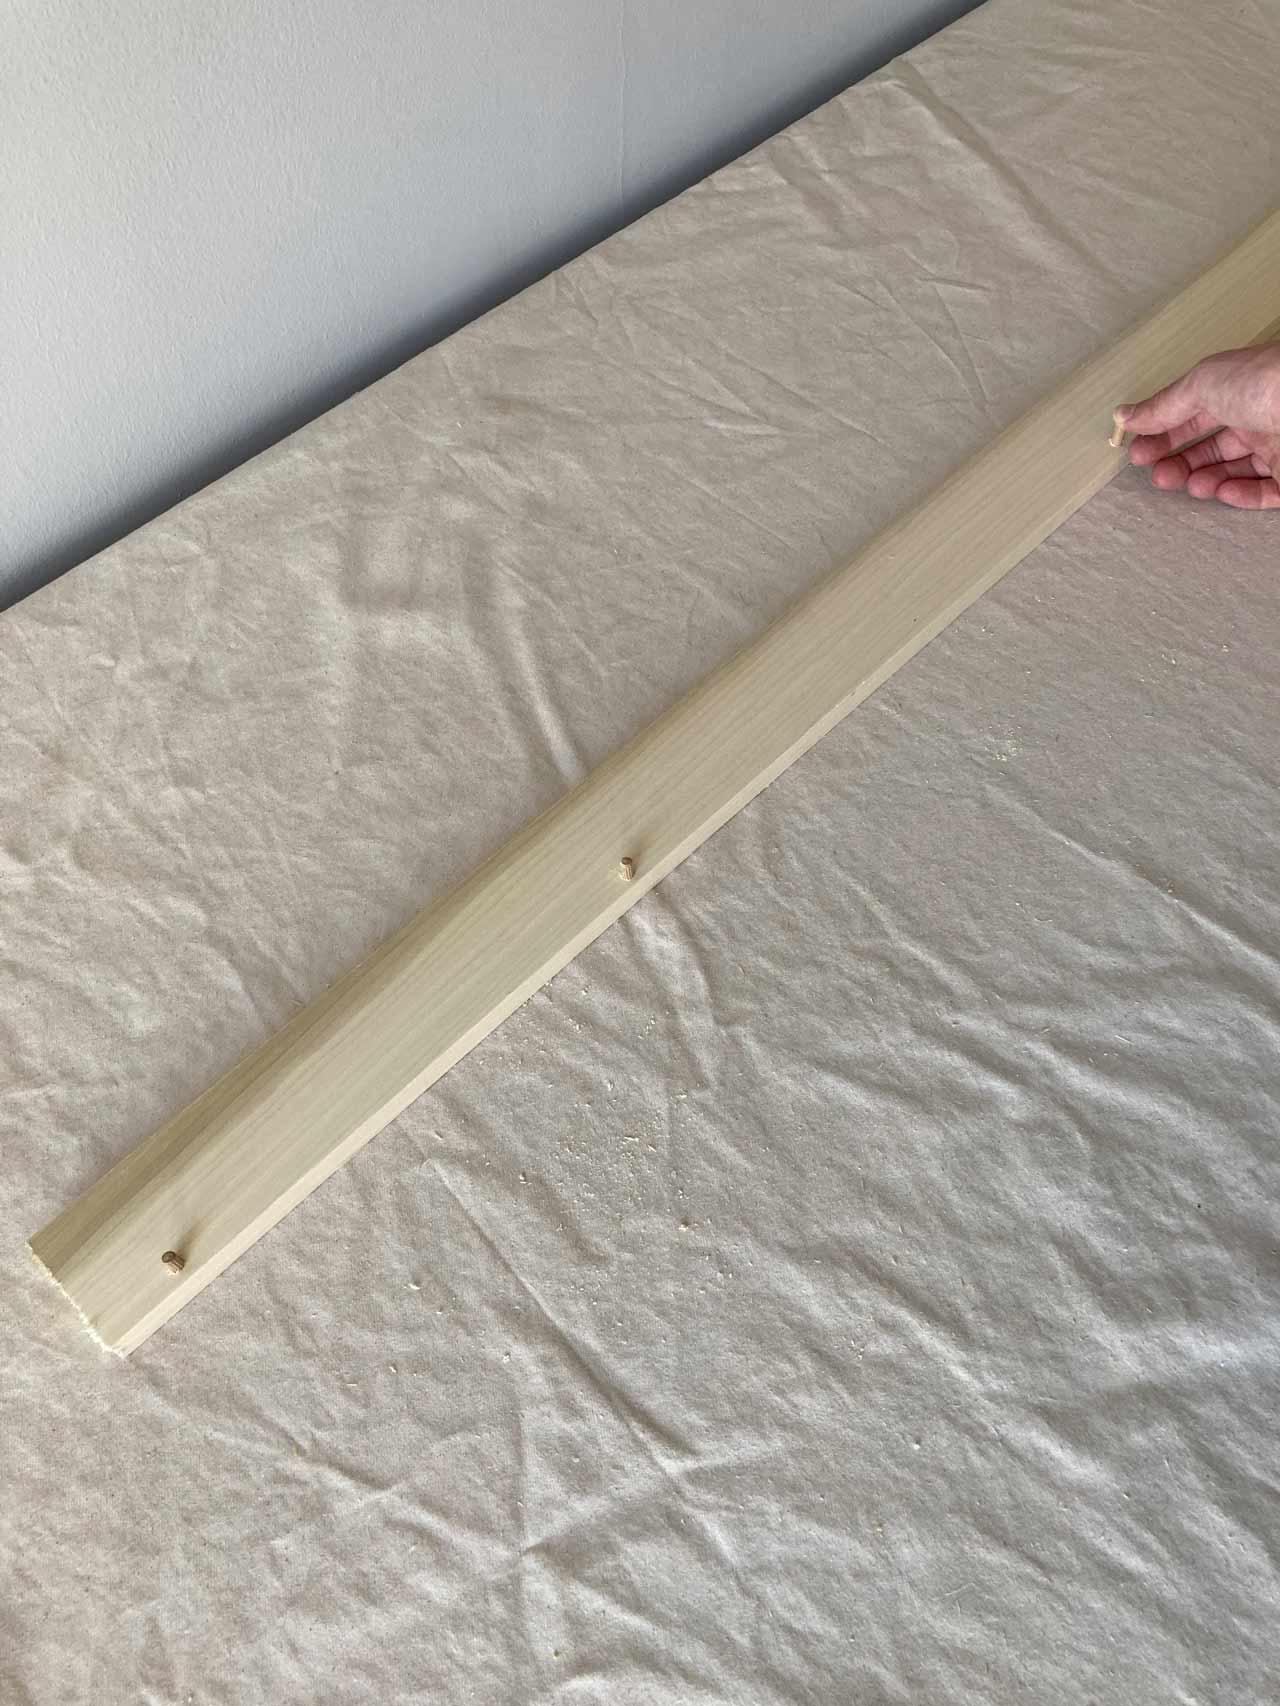
Smooth Planed Poplar Wood, 1in x 4in (20.5mm x 95mm)
*Any popular hardwood can be used, like Poplar, Birch, Beech, Cherry, and Oak. Softer hardwoods like Cherry and Poplar are recommended. Metric measurements above are actual, not nominal.
Quantity required: 4 pieces 77in (196cm) long, 4 pieces 39in (99cm) long
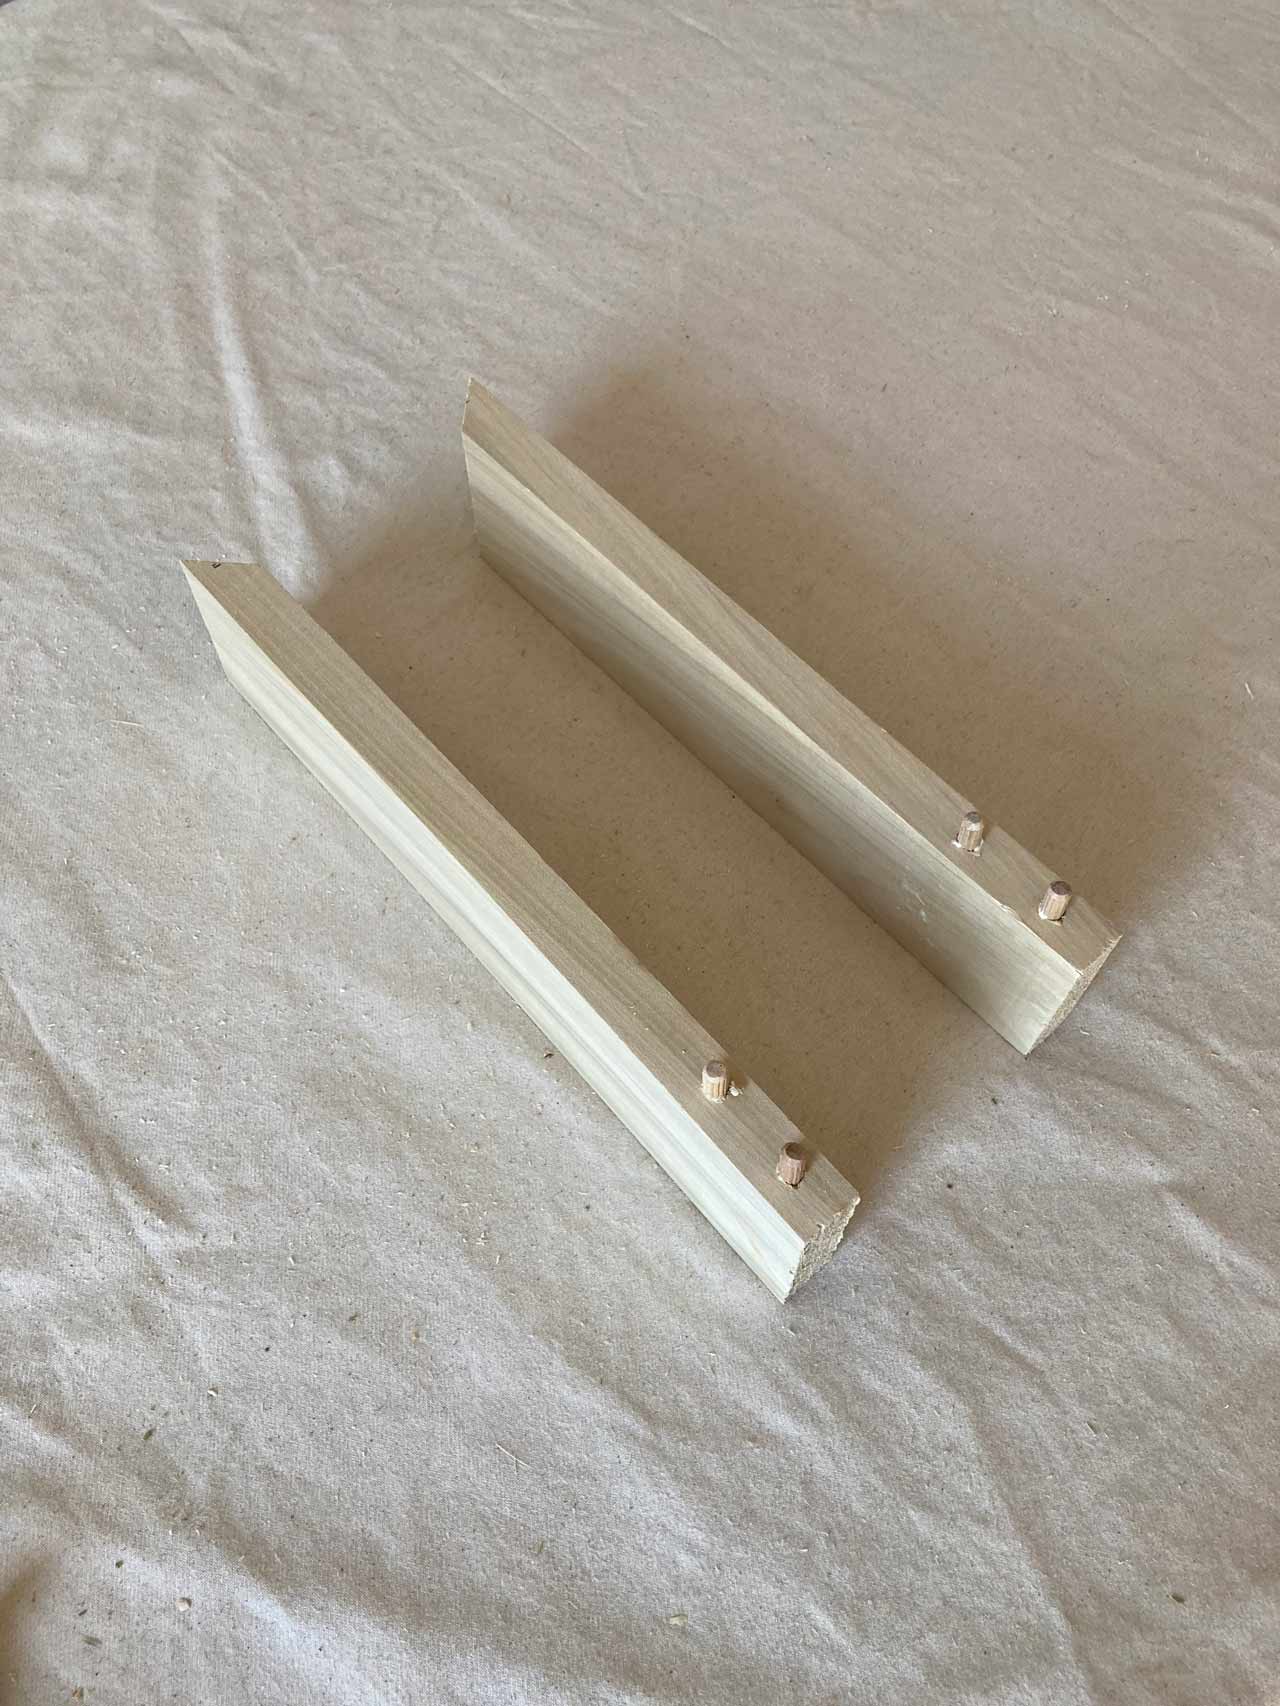
Smooth Planed Poplar Wood, 1in x 3in (20.5mm x 70mm)
Quantity required: 4 pieces 17.5in (44cm) long, 2 pieces 22in (56cm) long
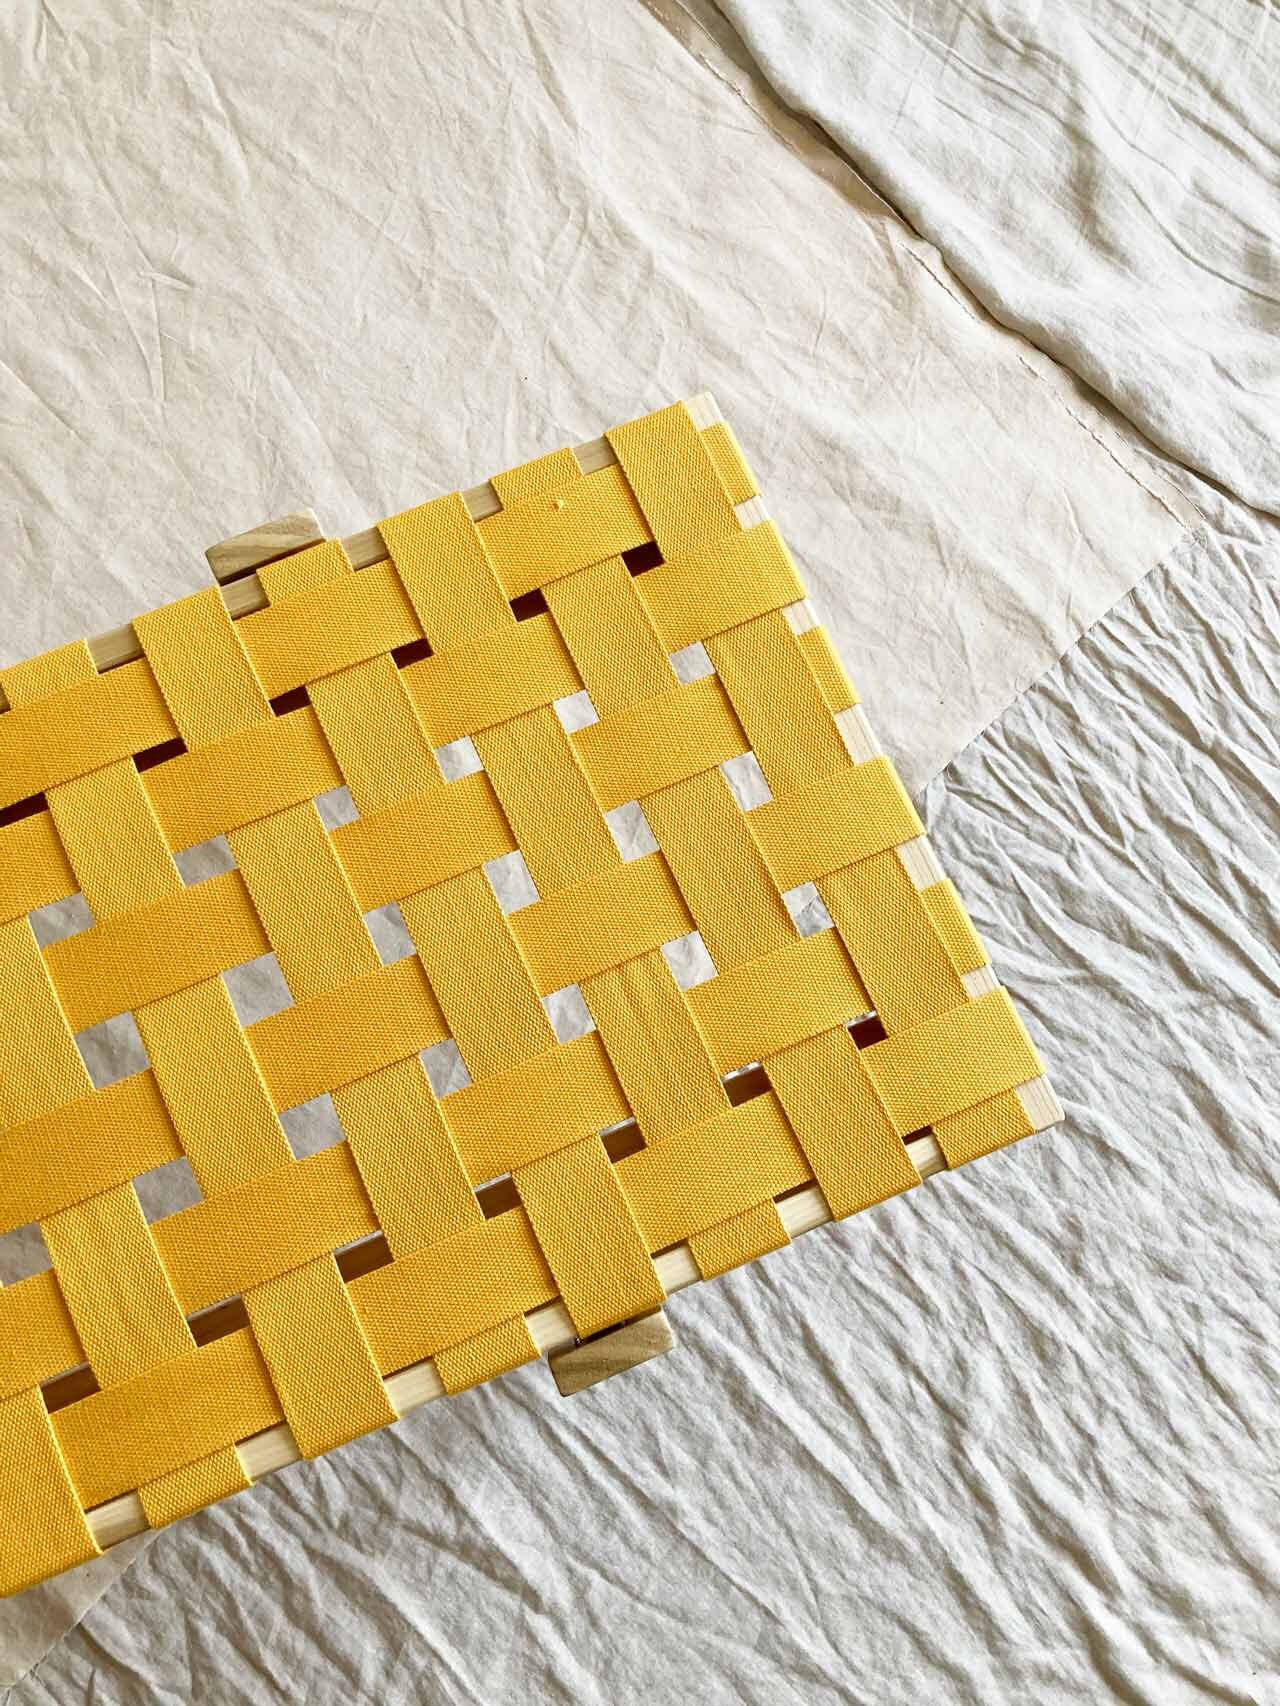
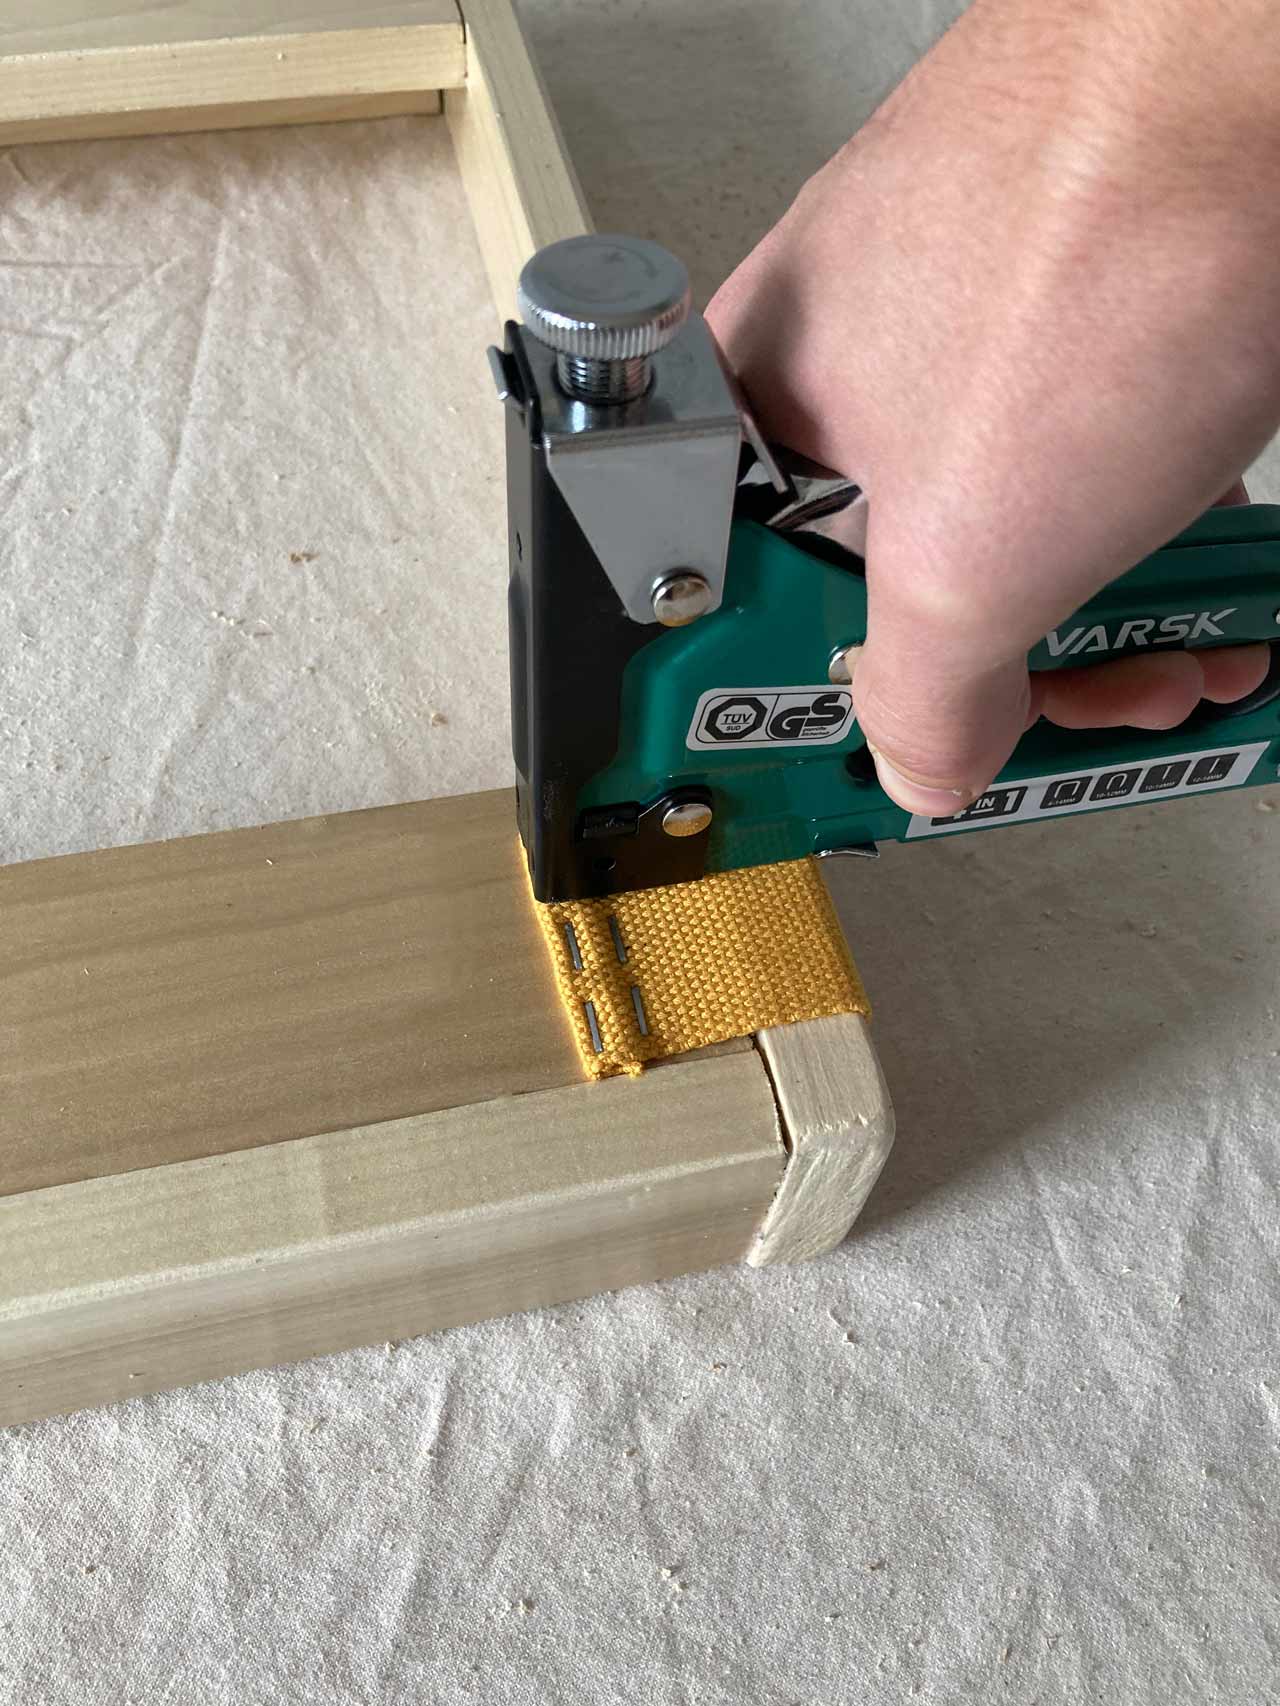
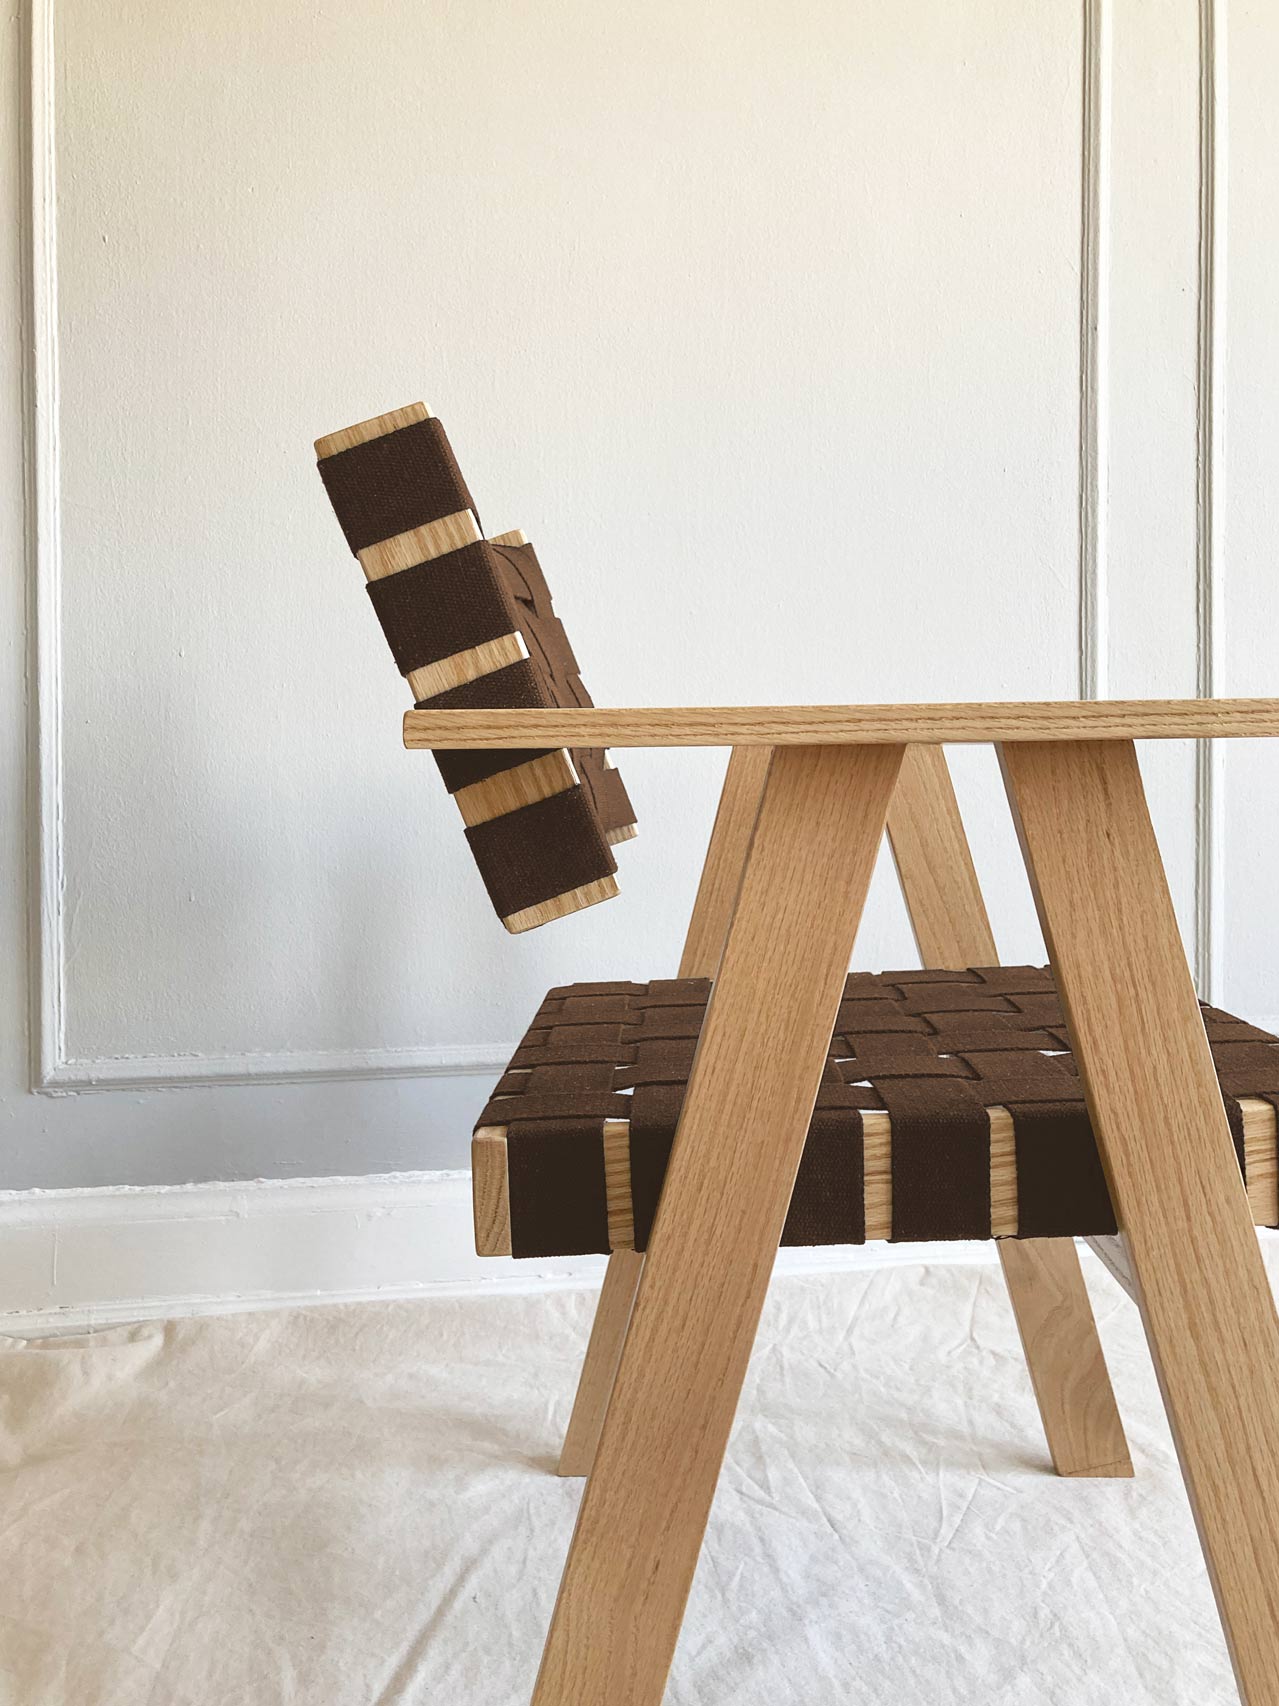
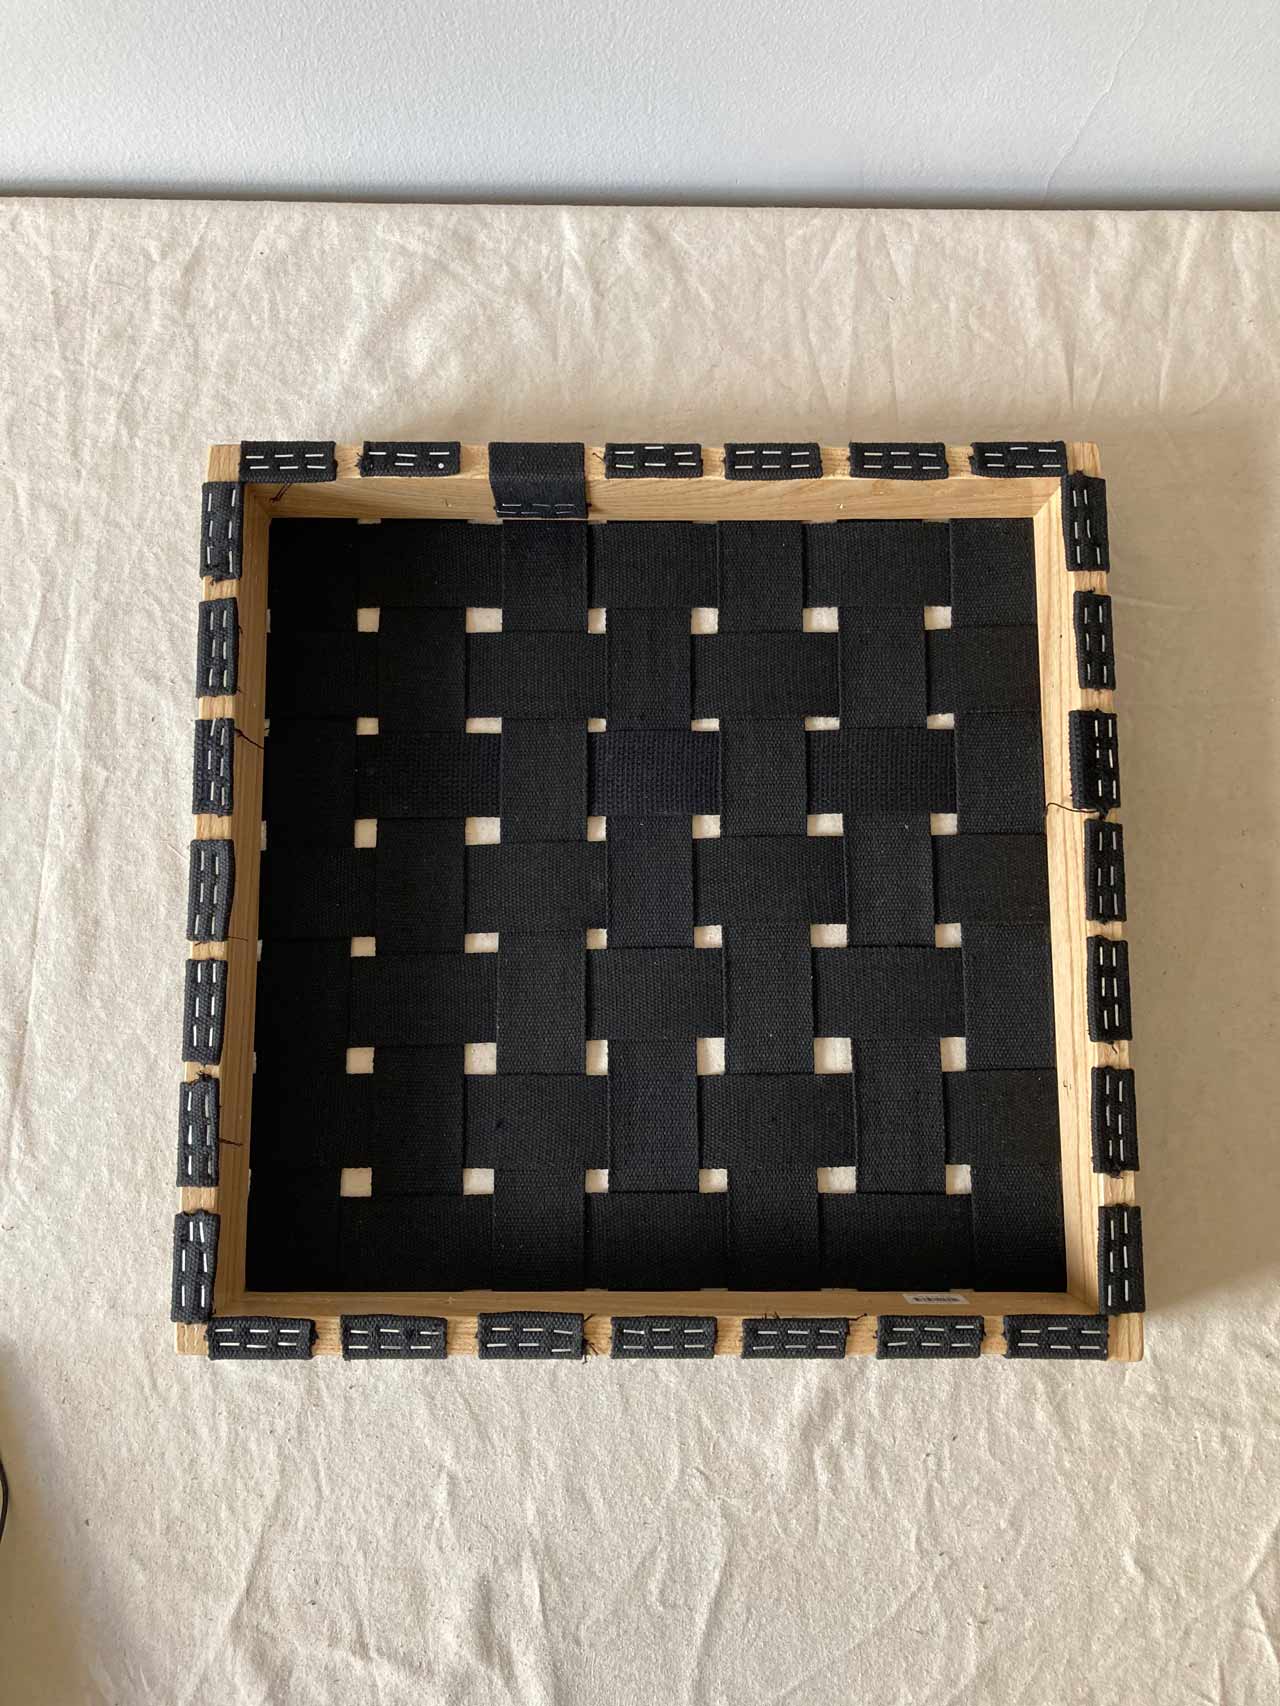
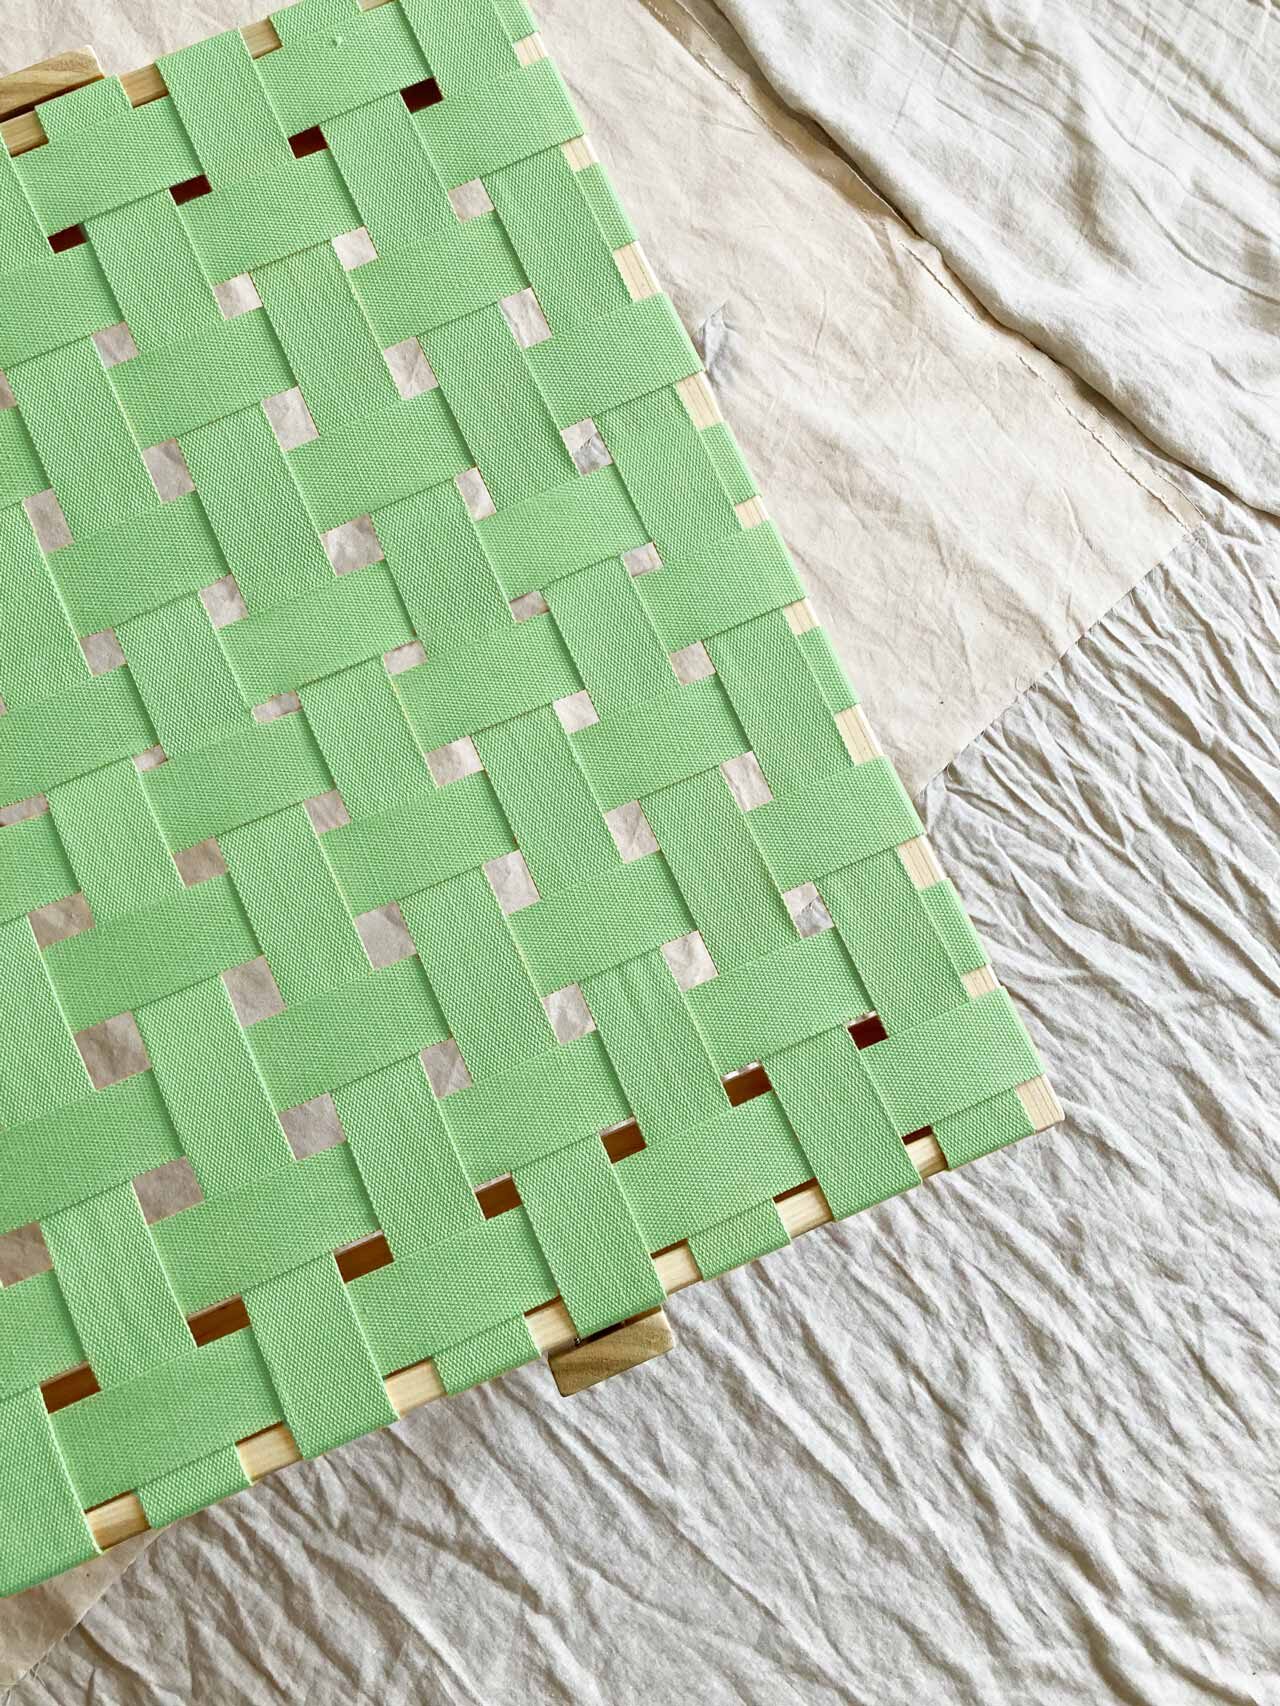
Heavyweight Cotton Webbing, 2in (50mm) width, 2mm thick
Quantity required: 50 yards (46 meters)
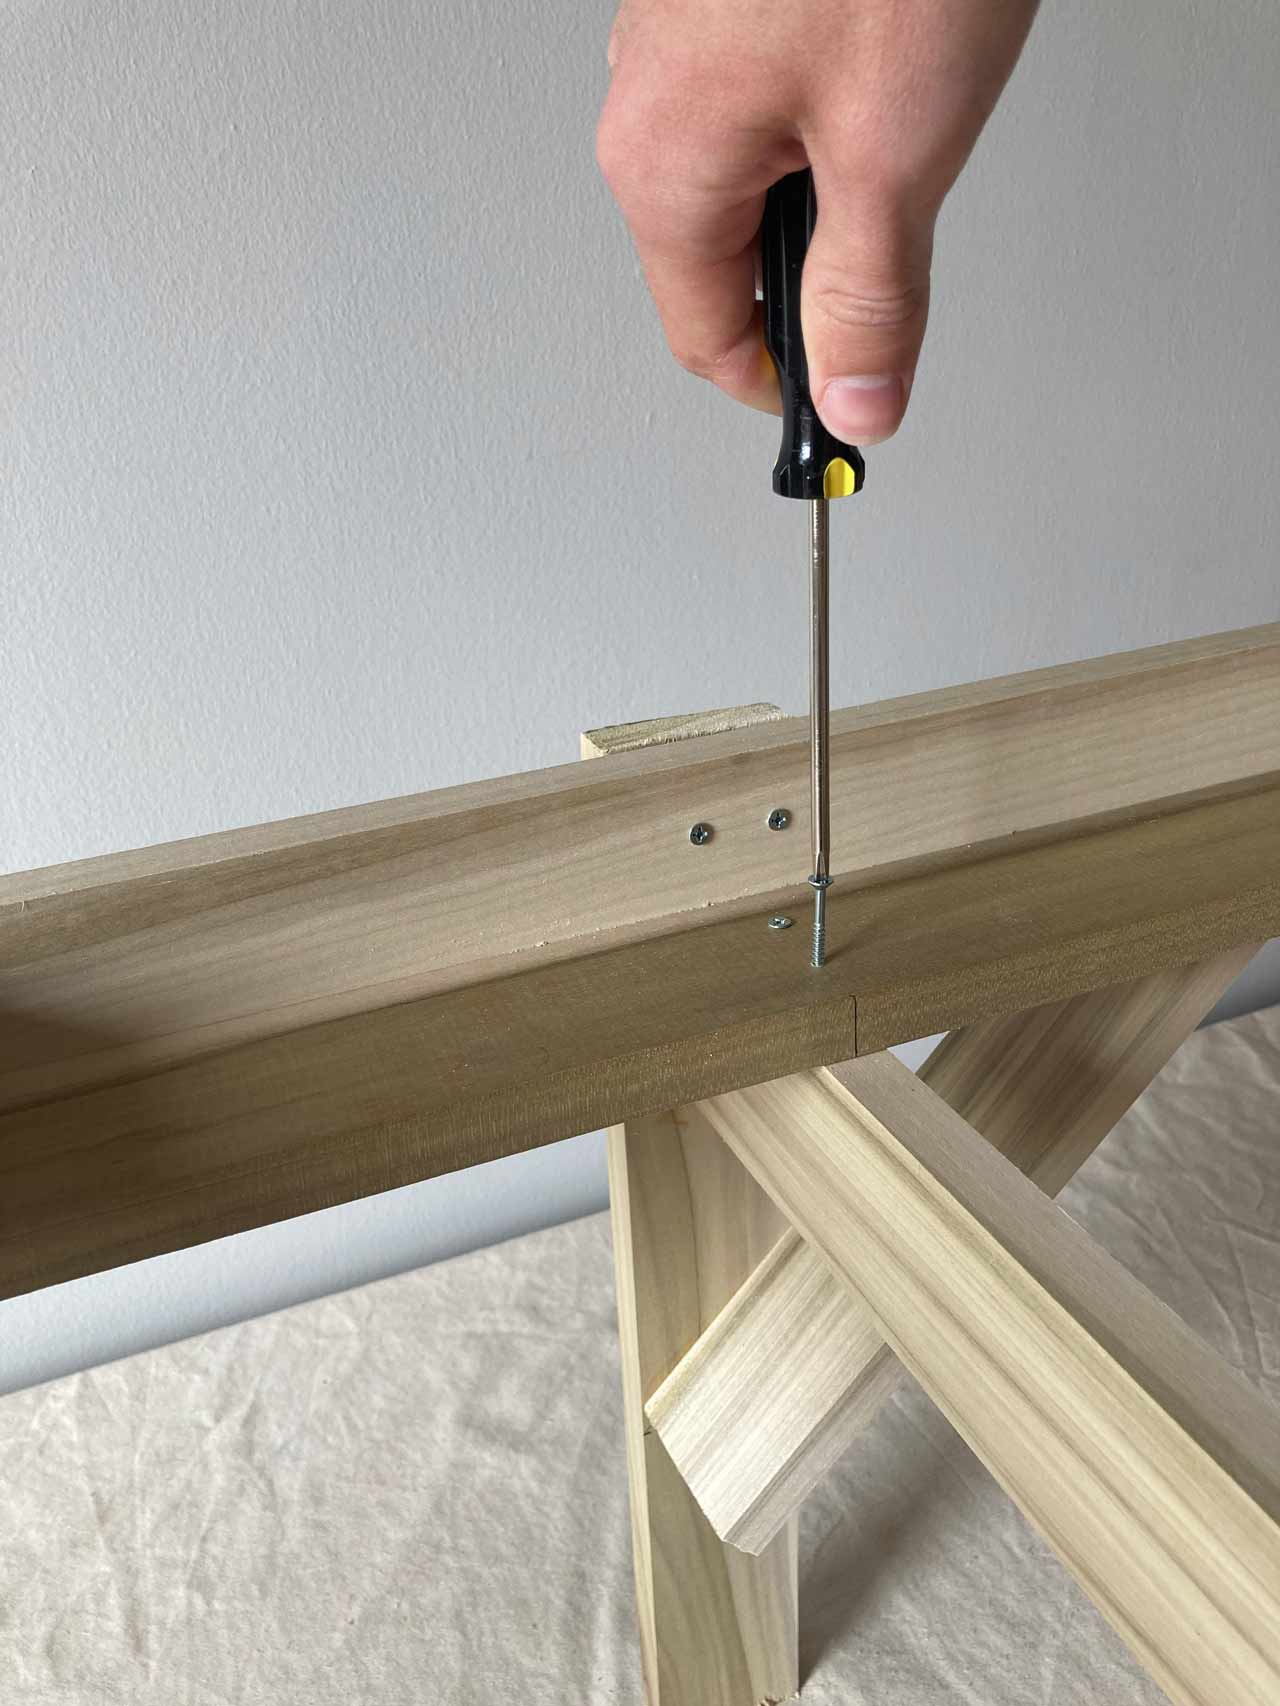
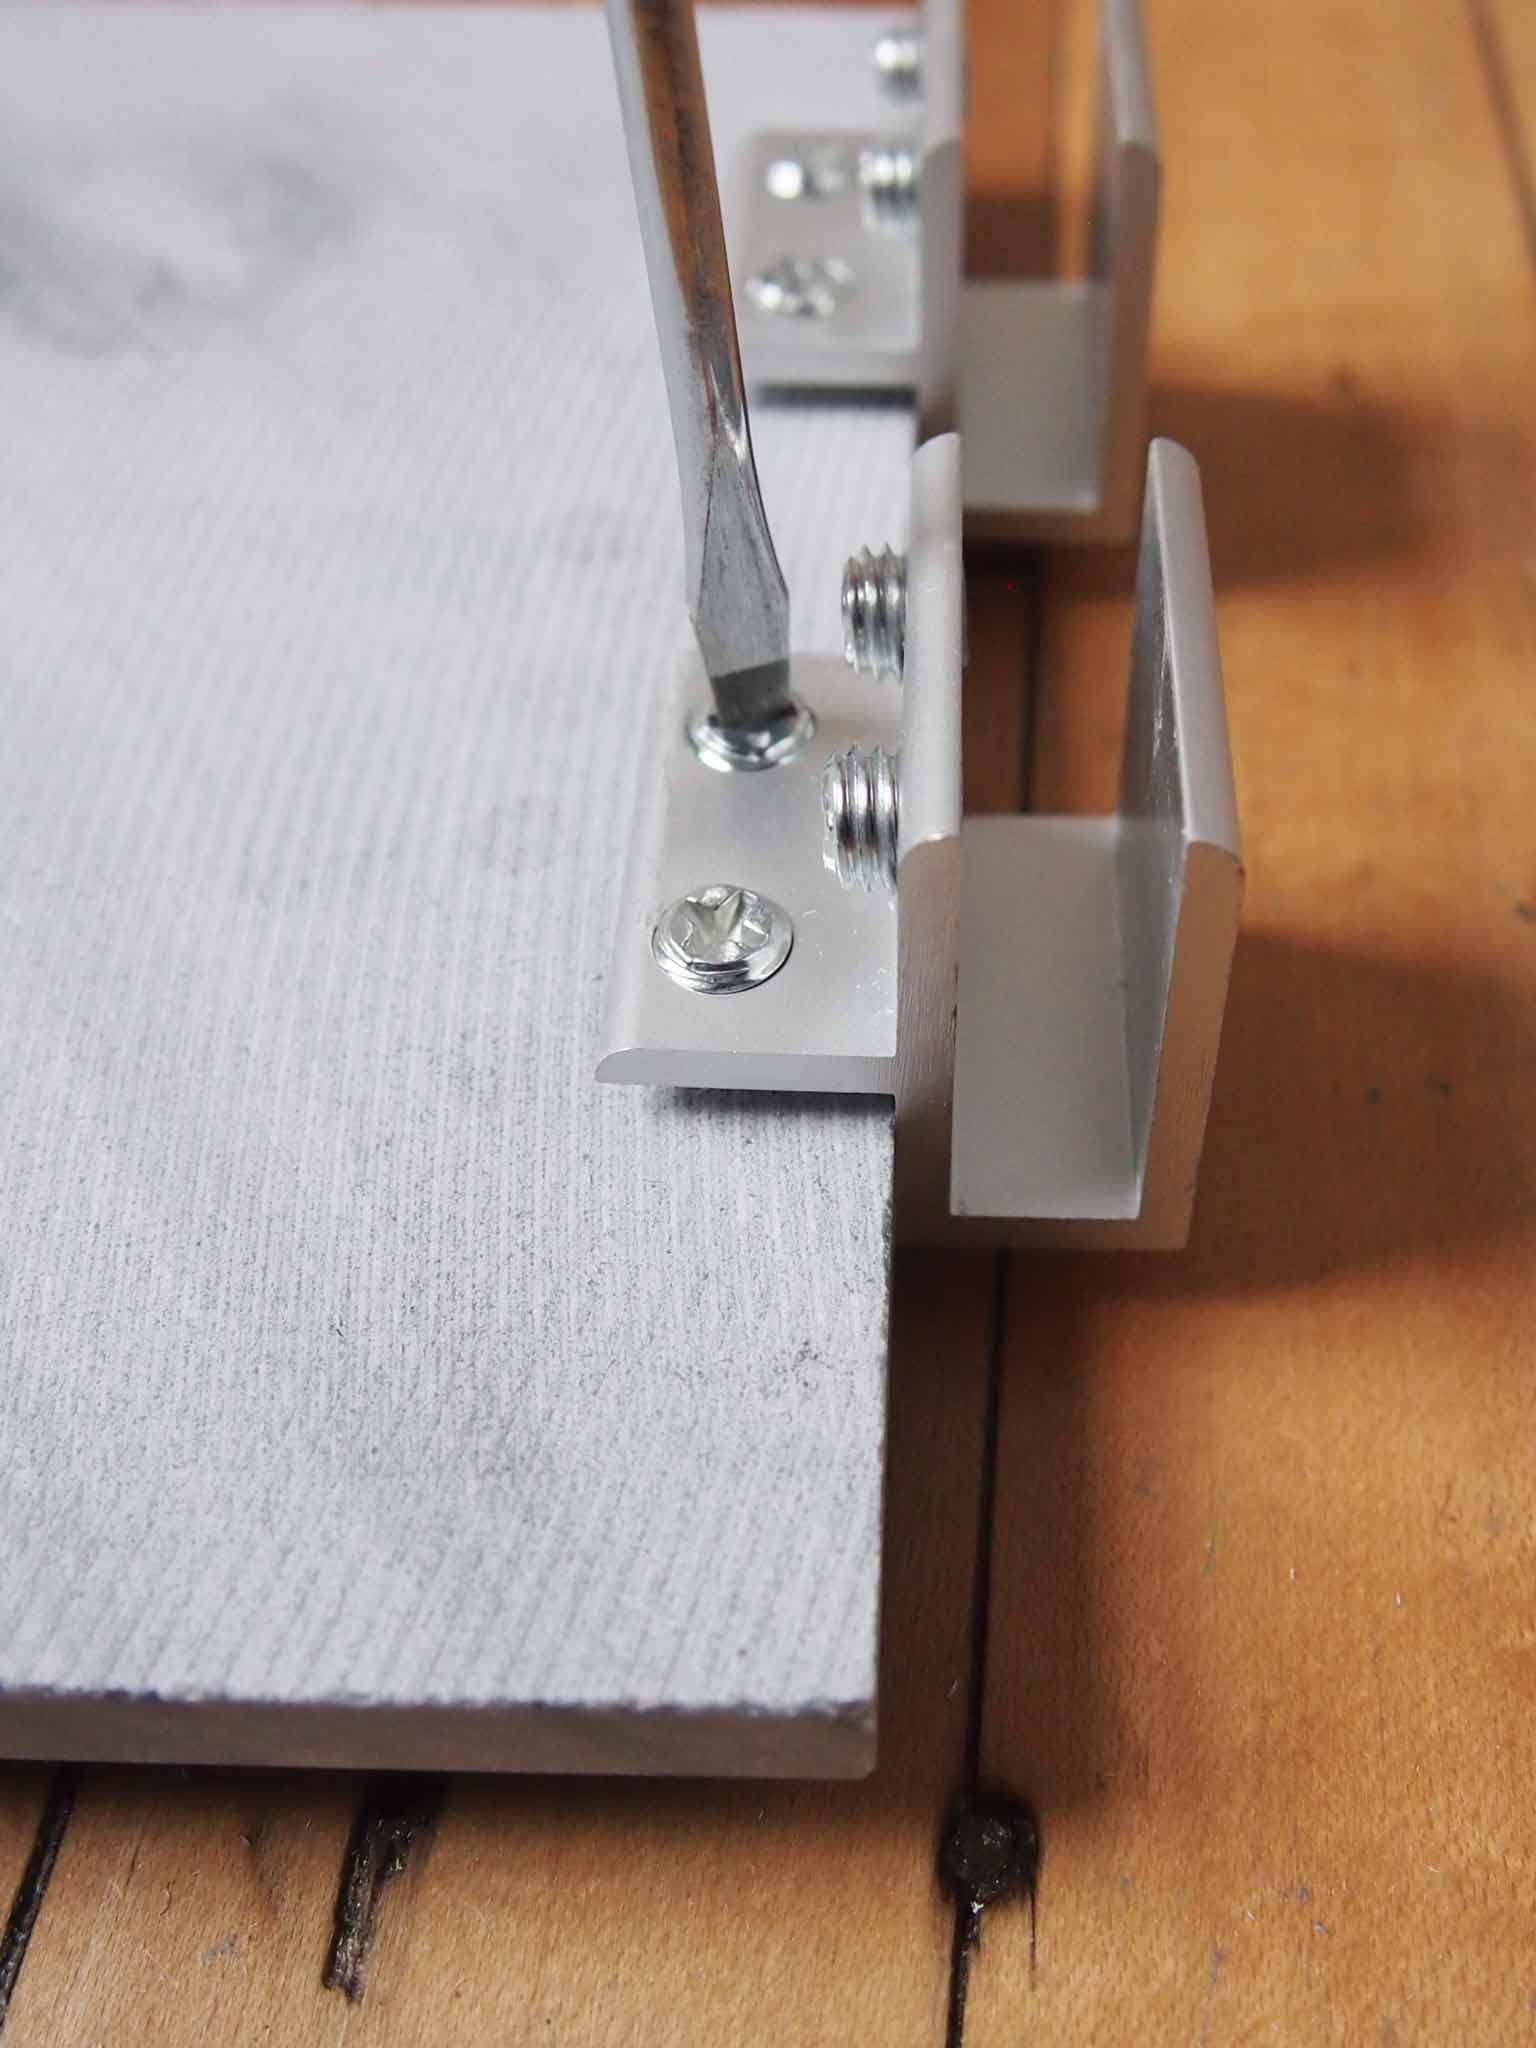
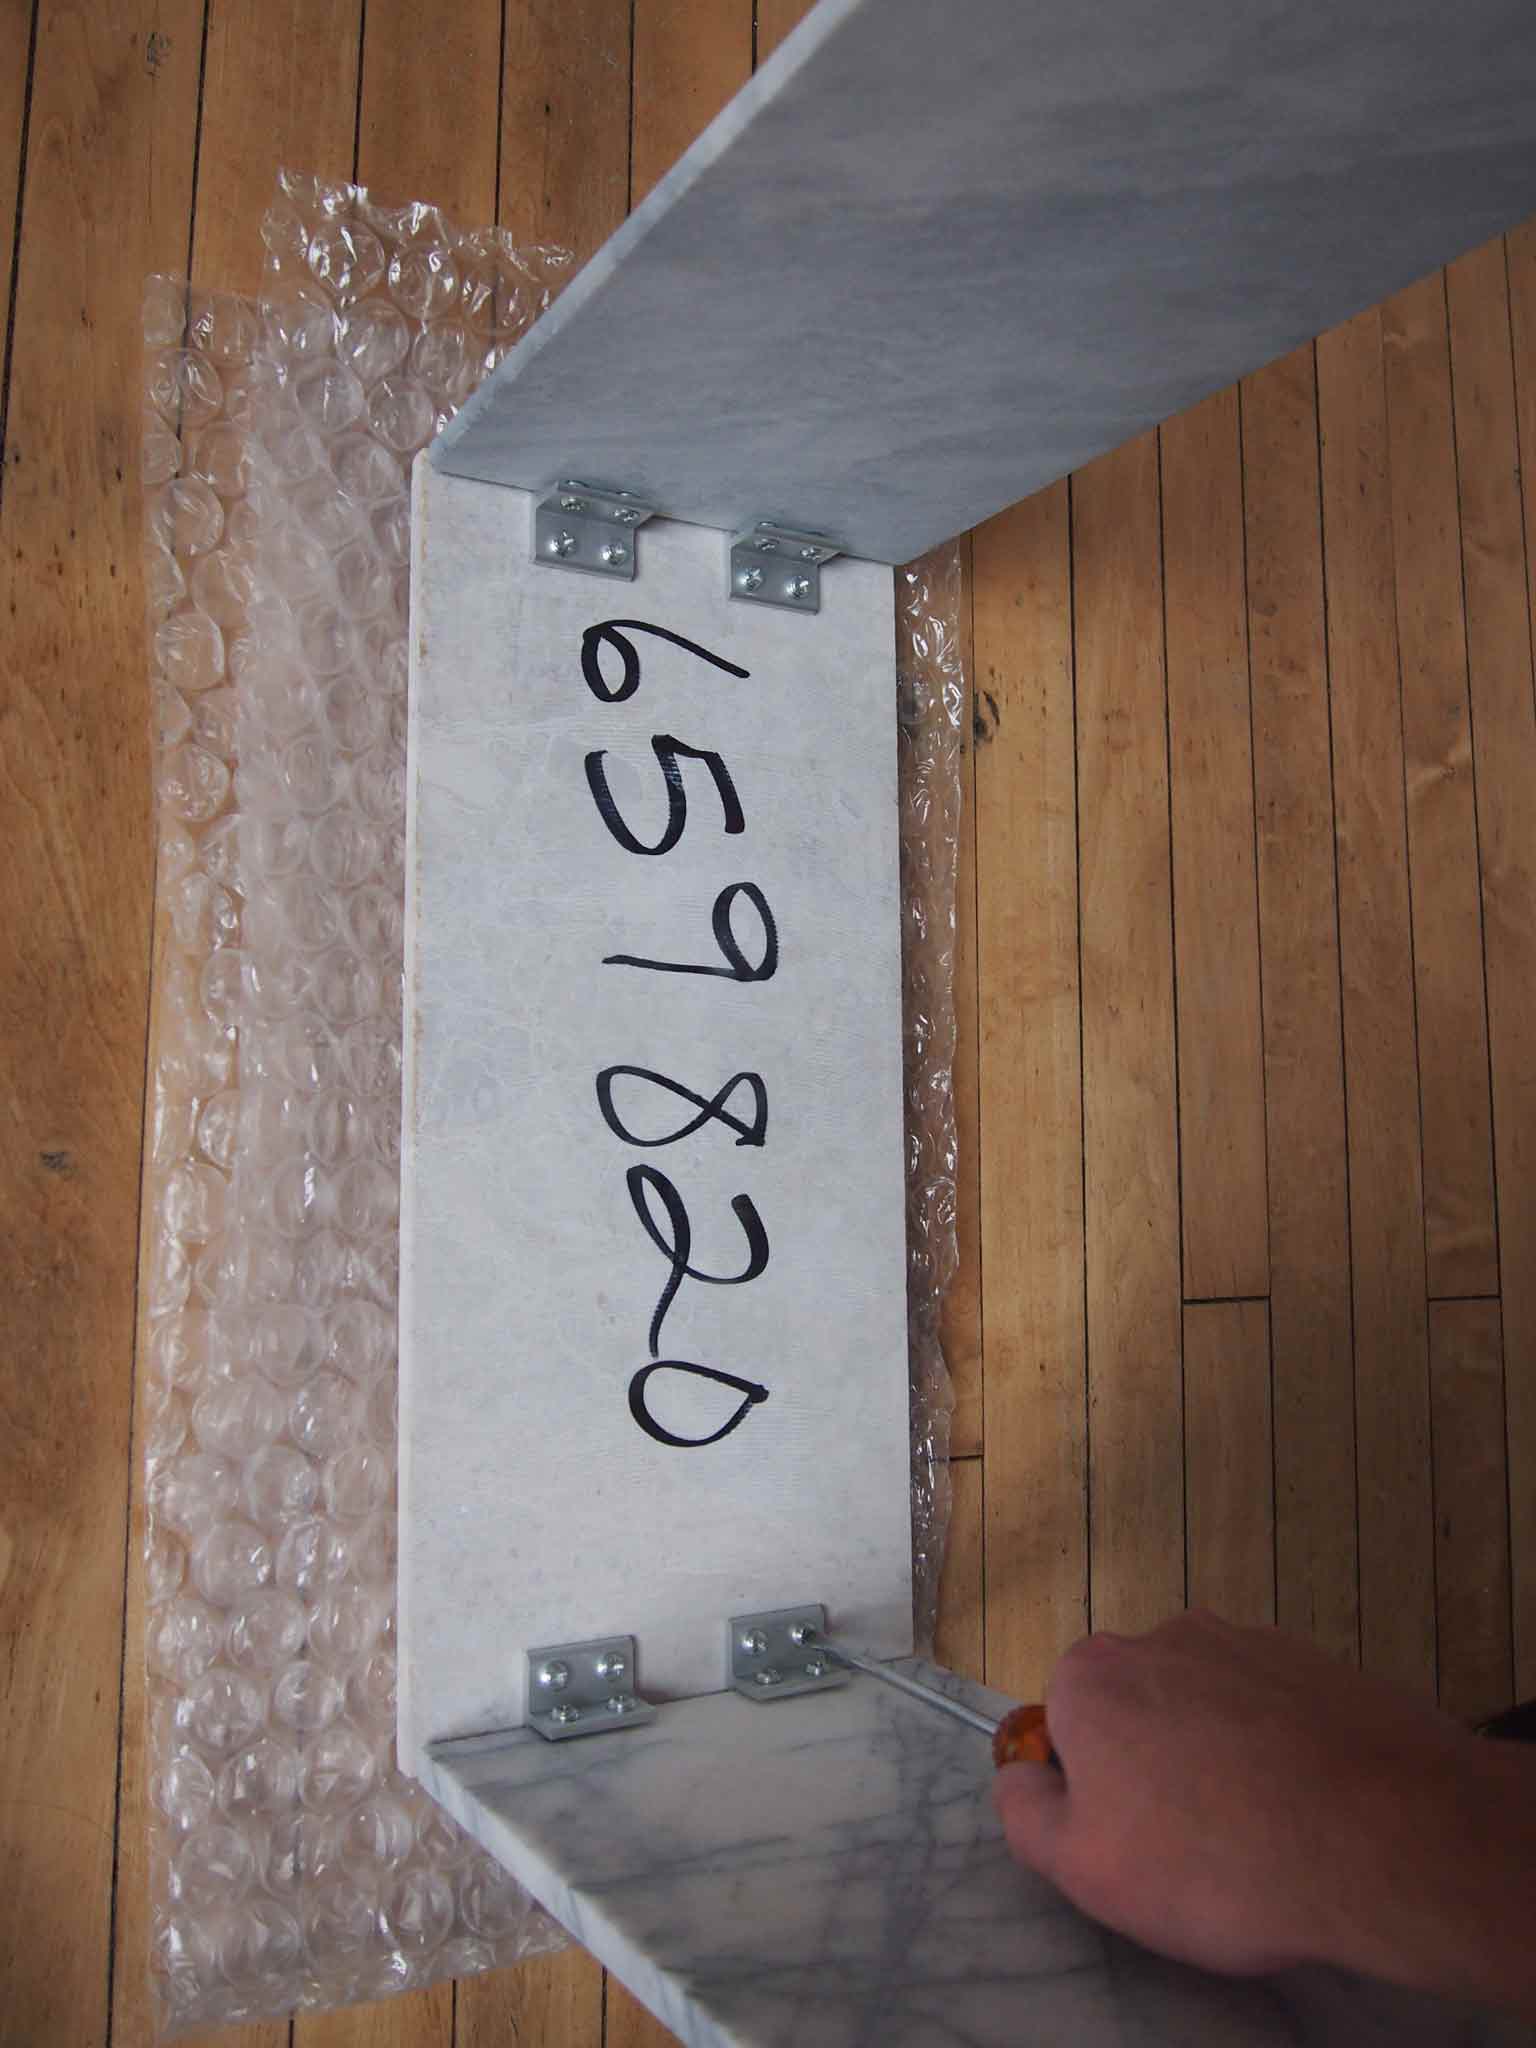
Flat Head Wood Screws, #6 x 1-1/2in (4 x 35mm)
Quantity required: 24
Tools
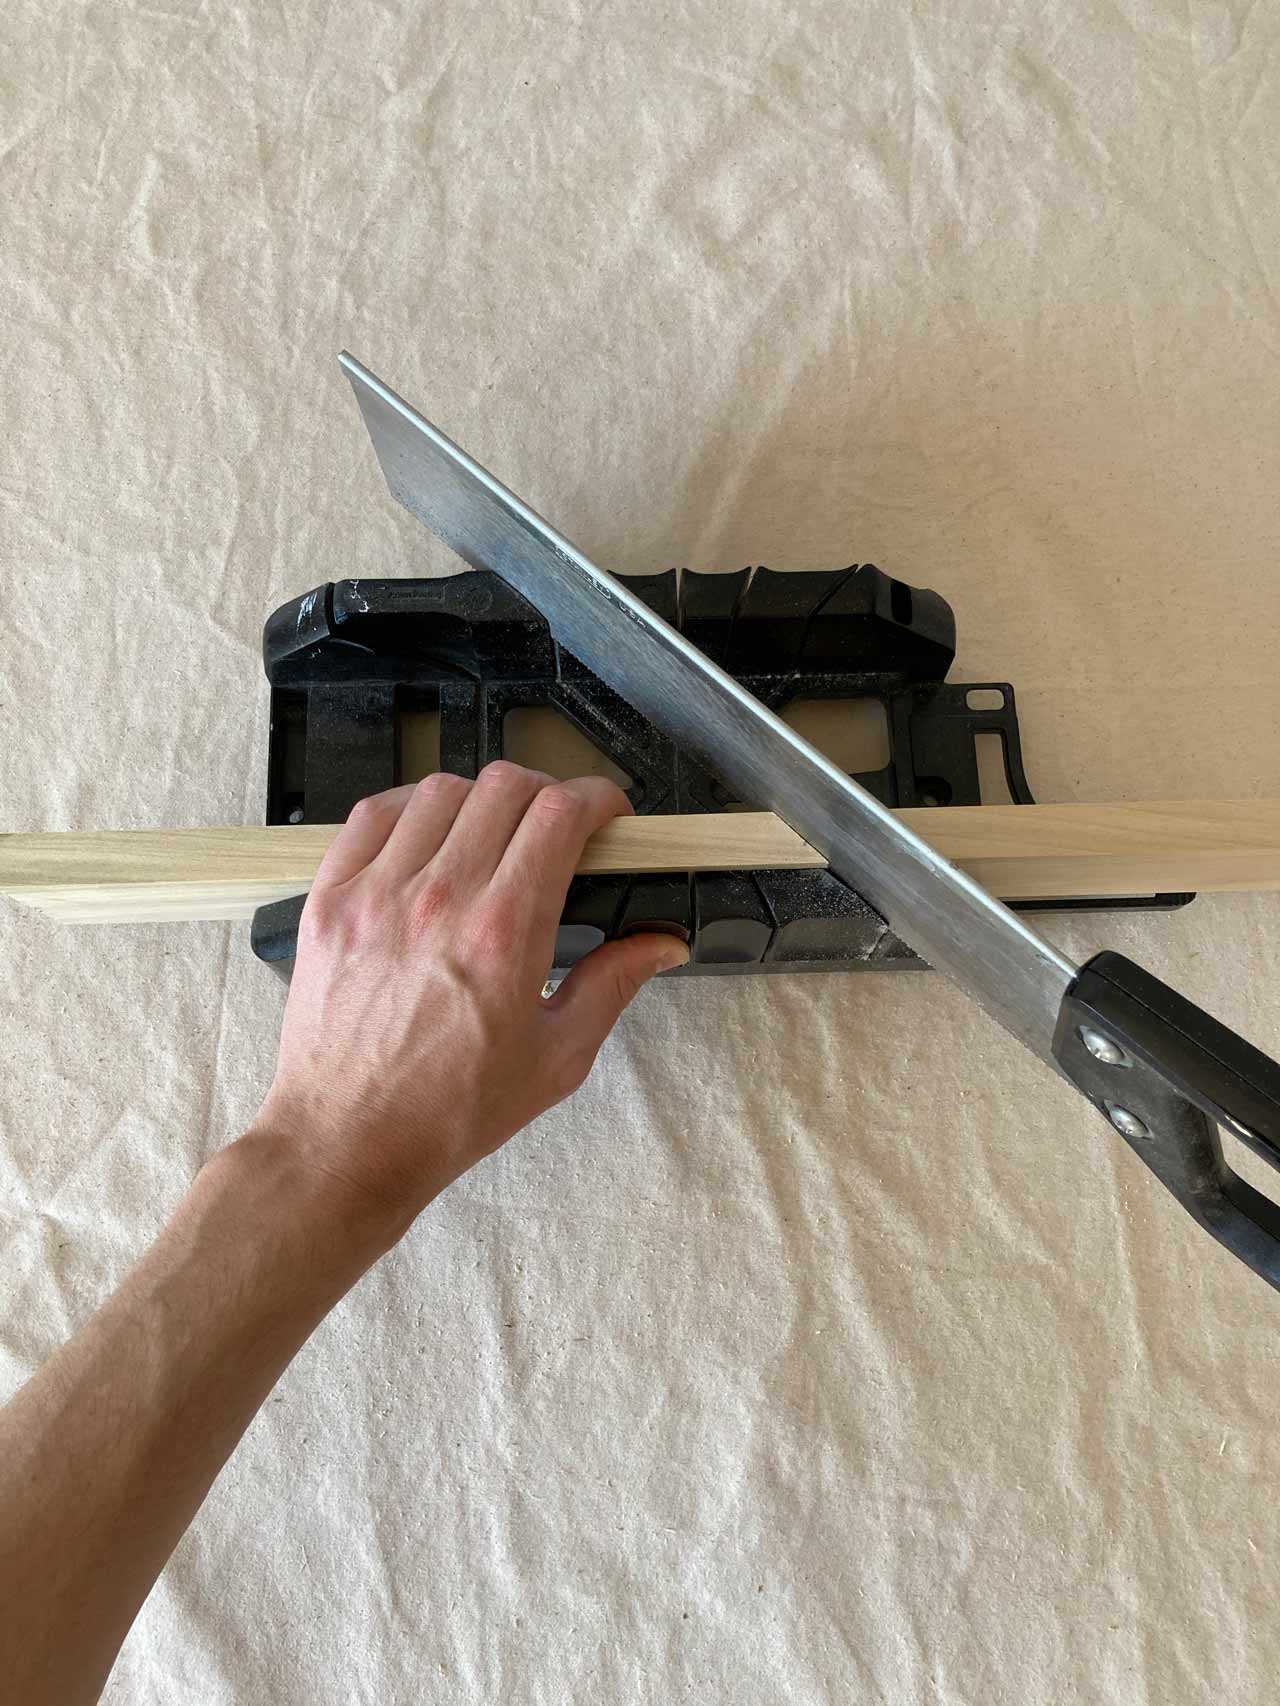
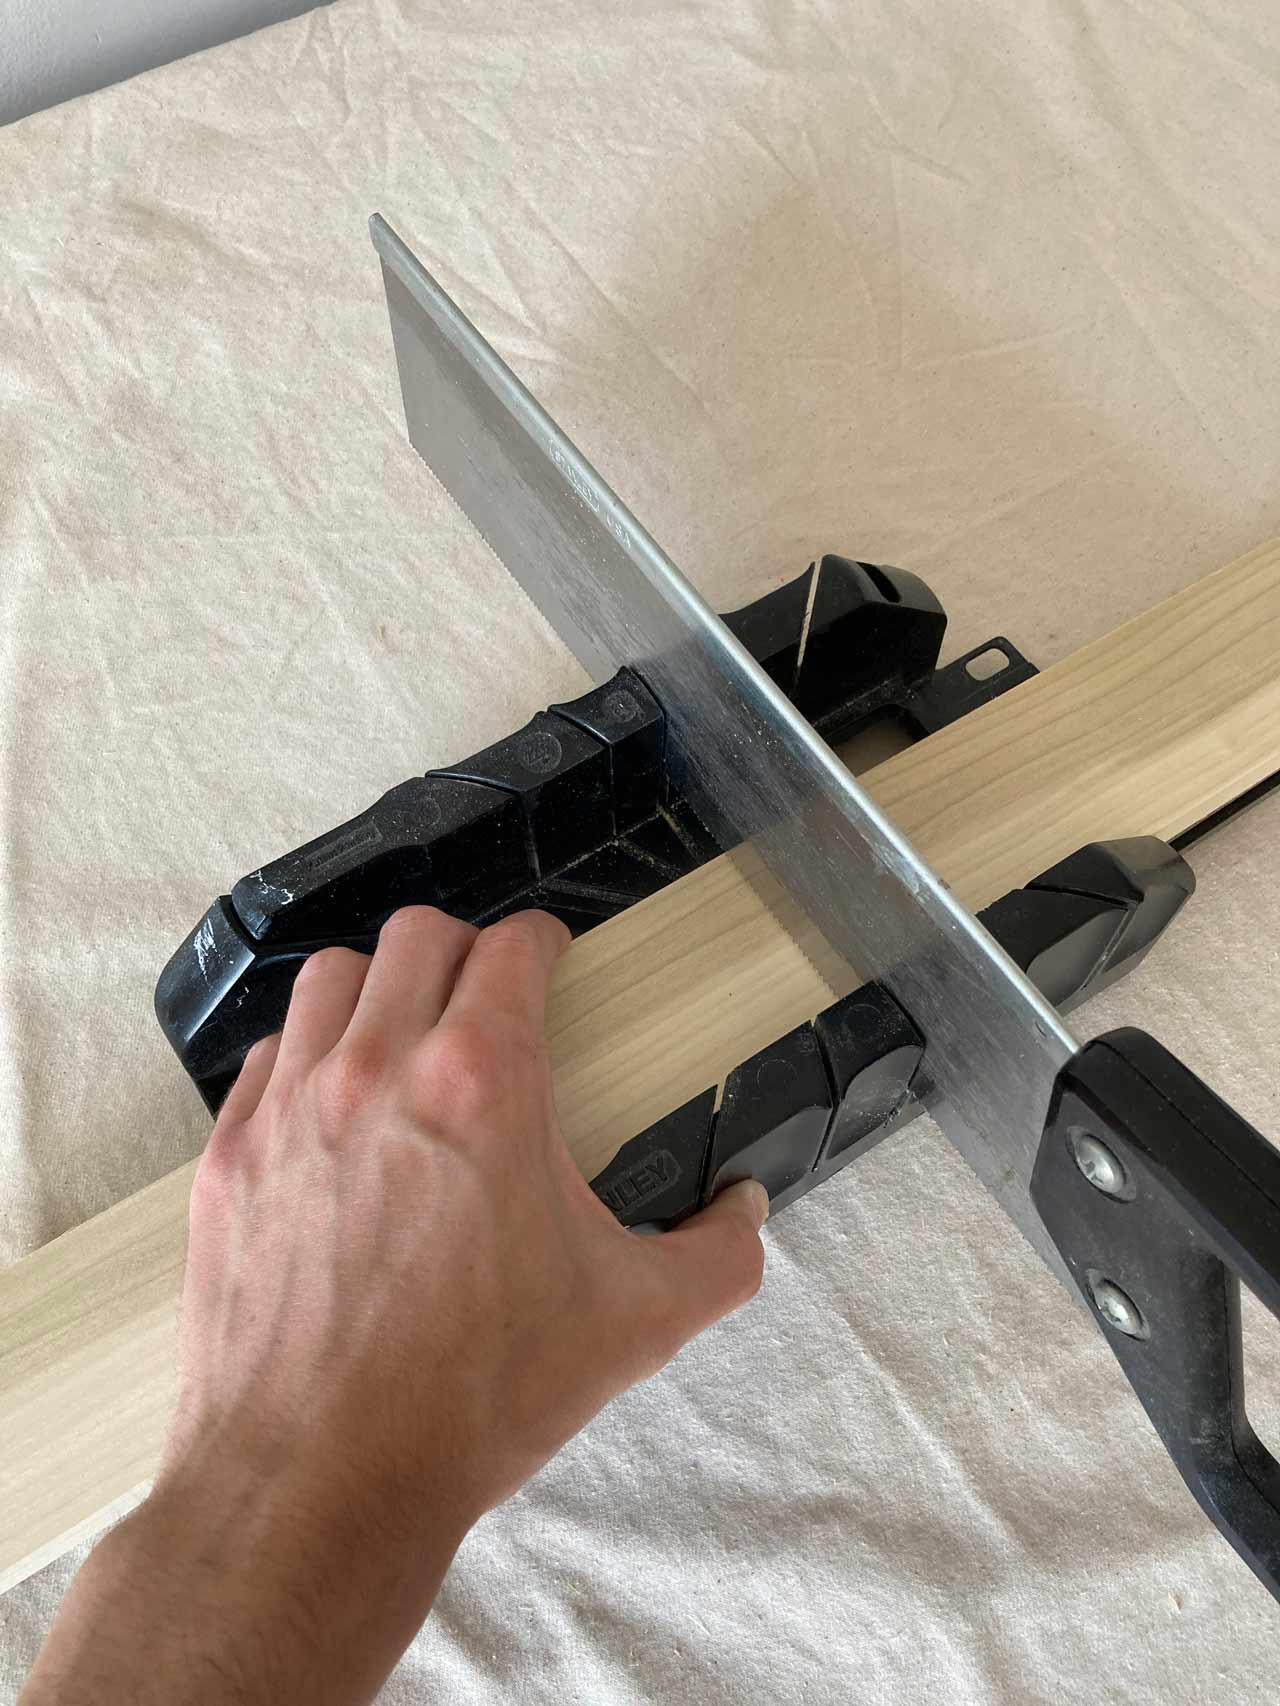
Hand Saw
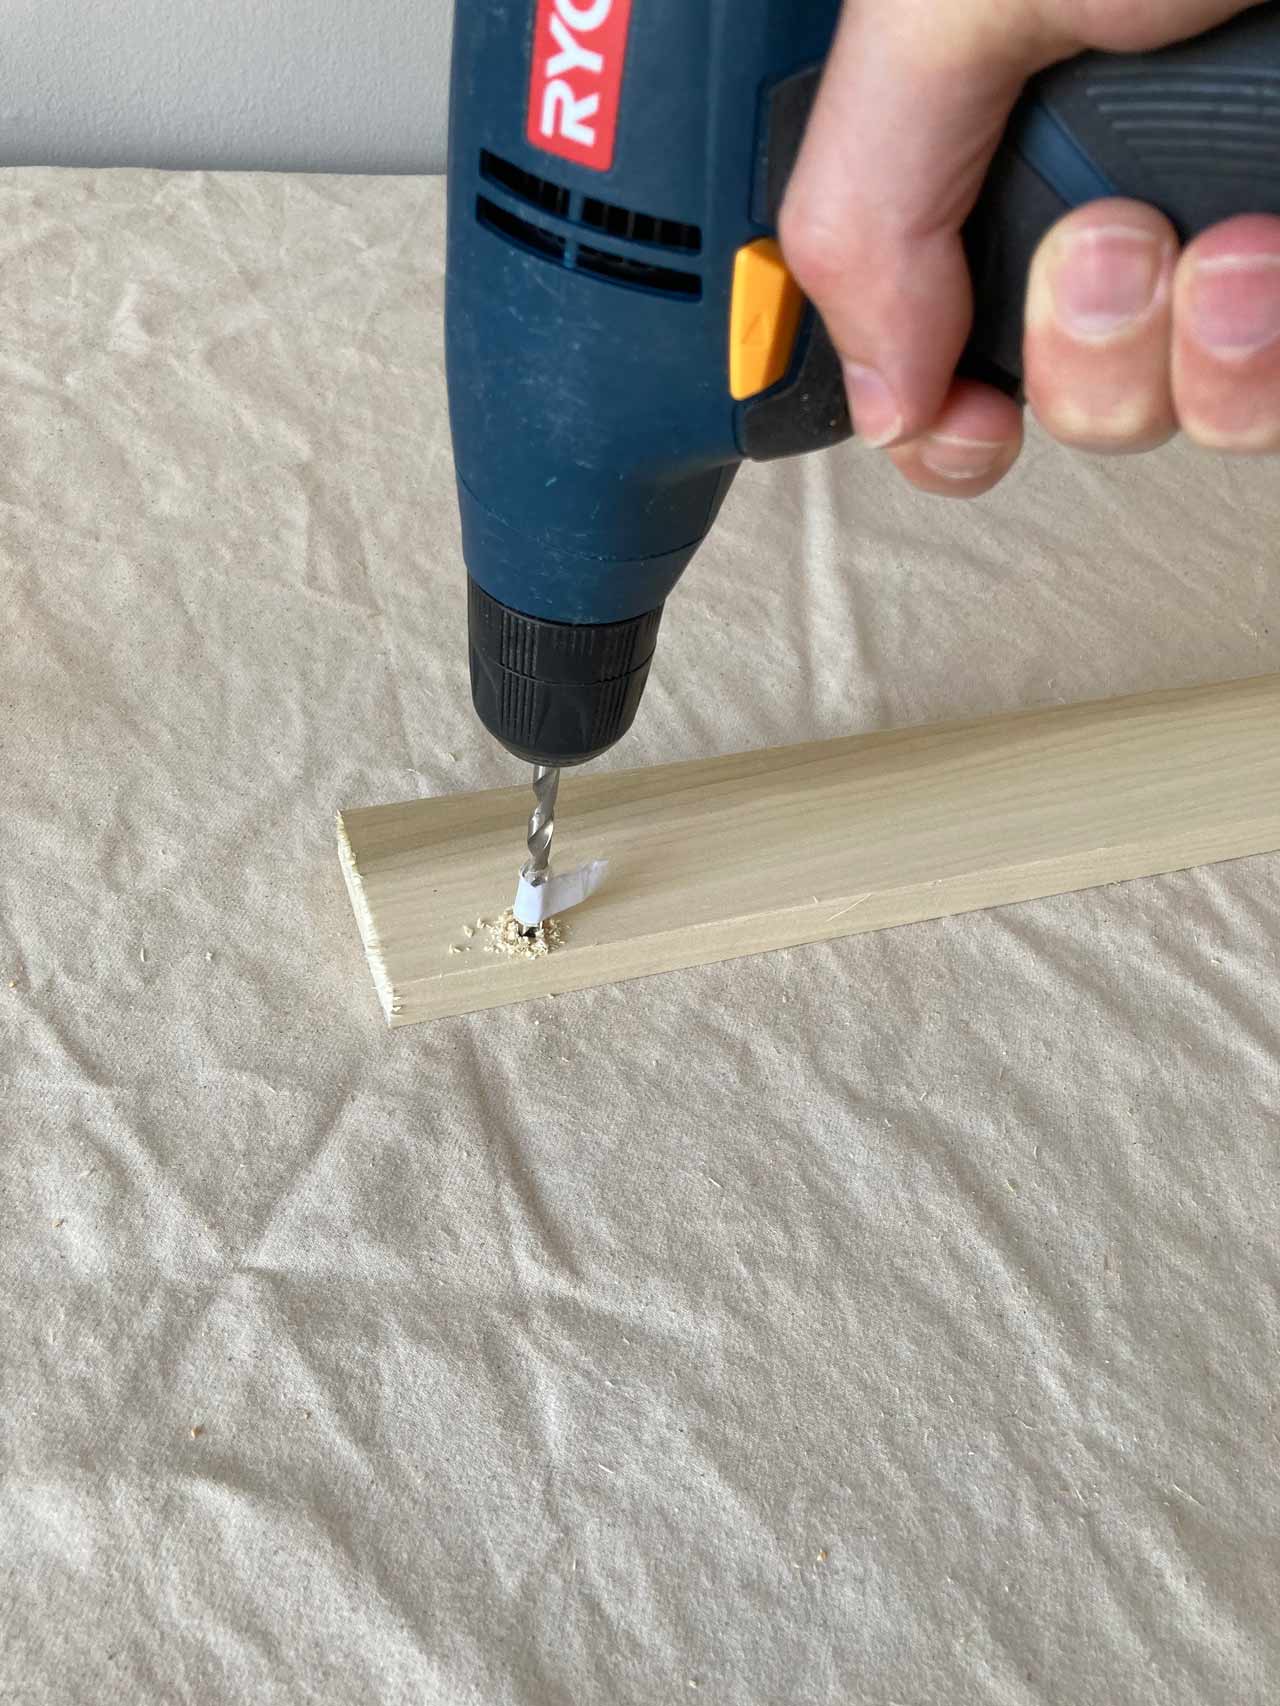
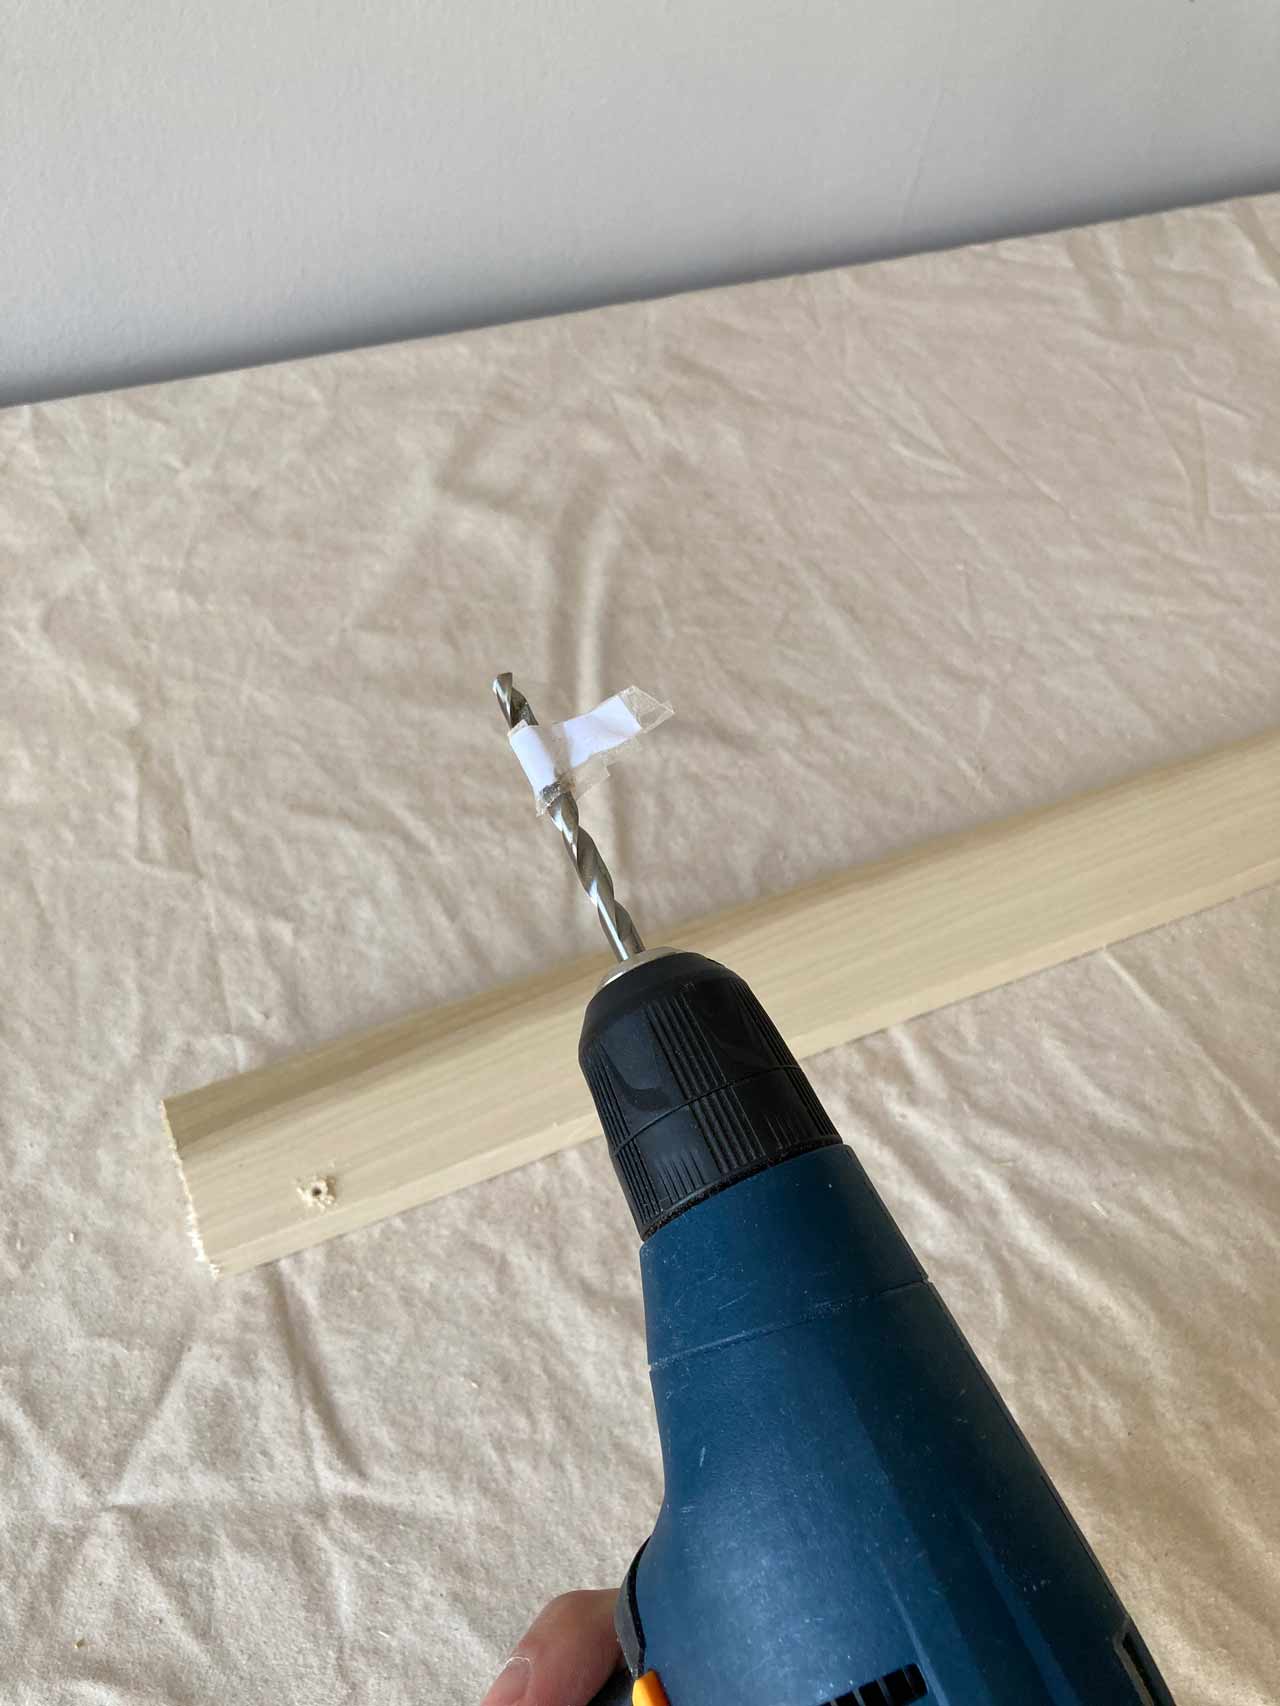
Power Drill
Drill Bits
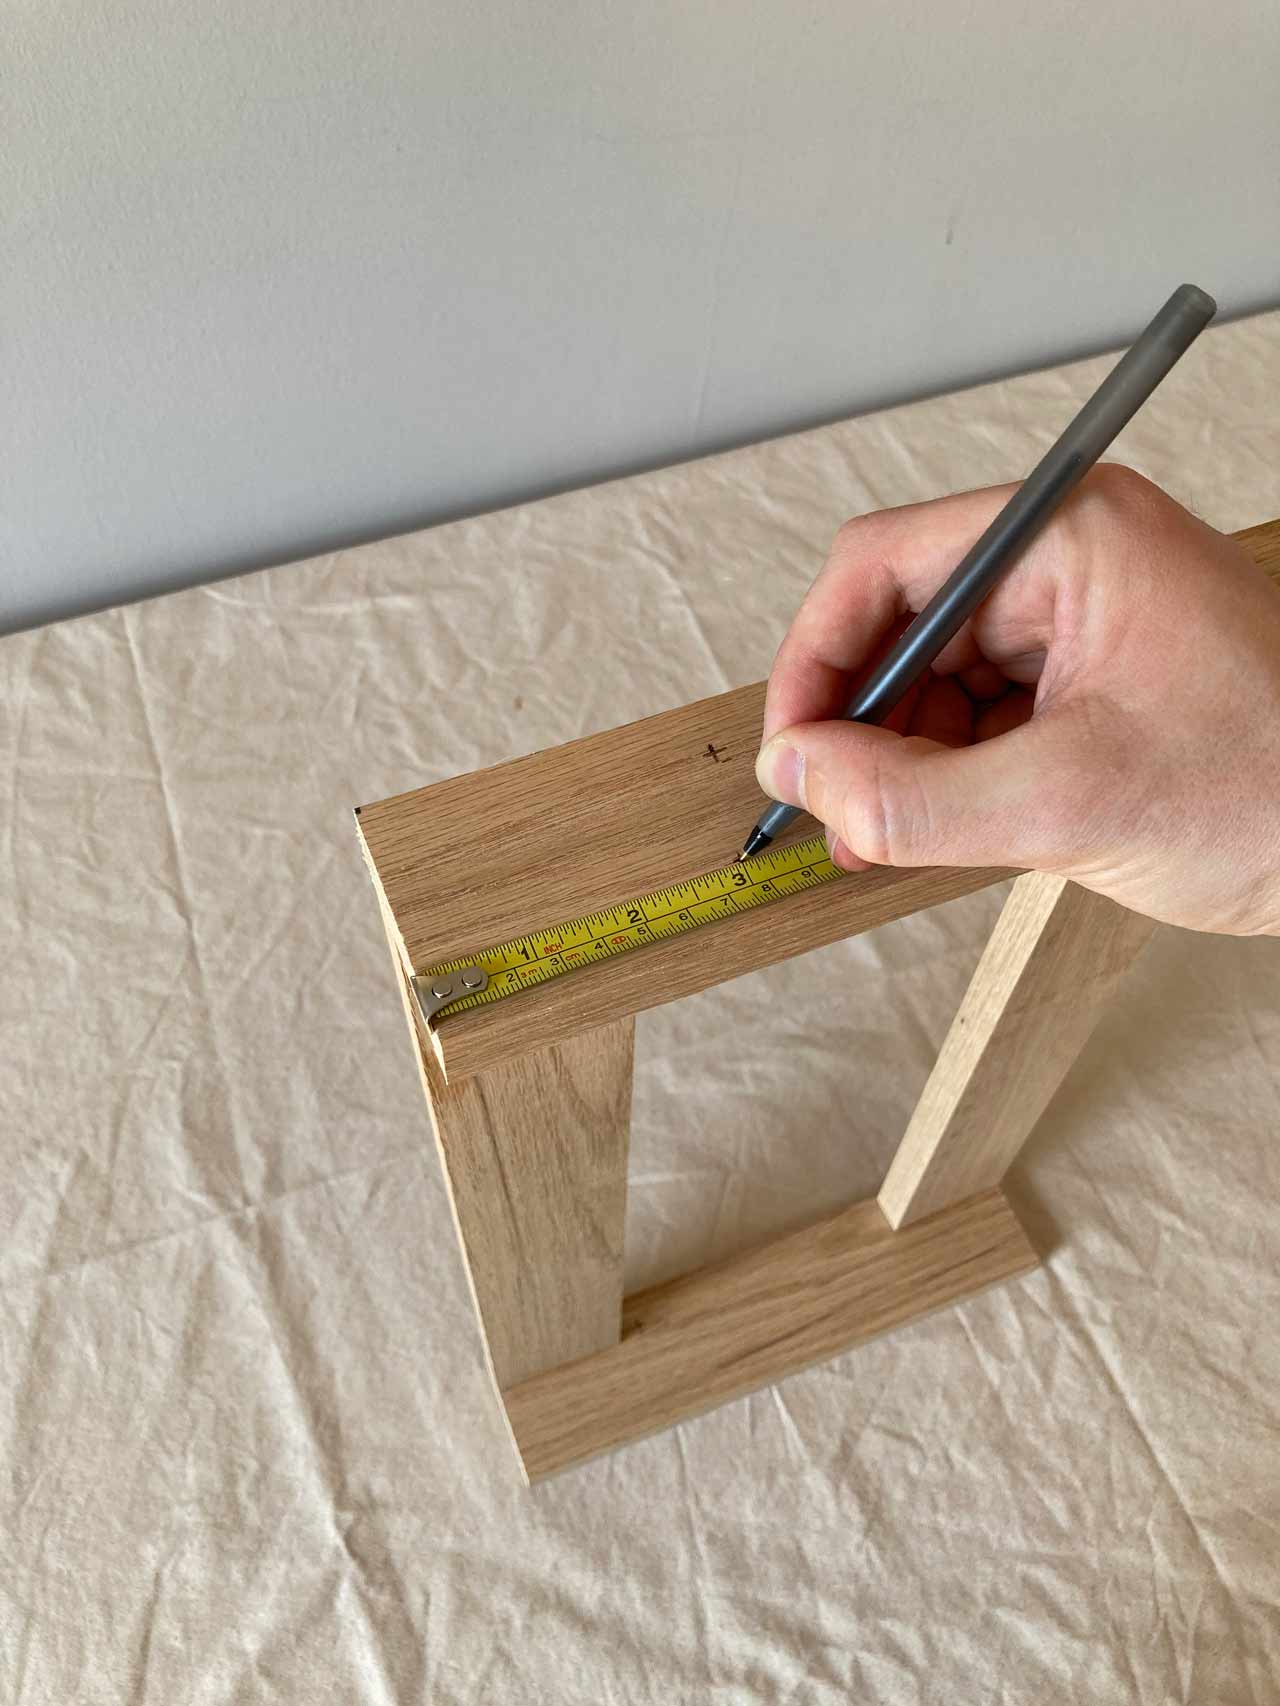
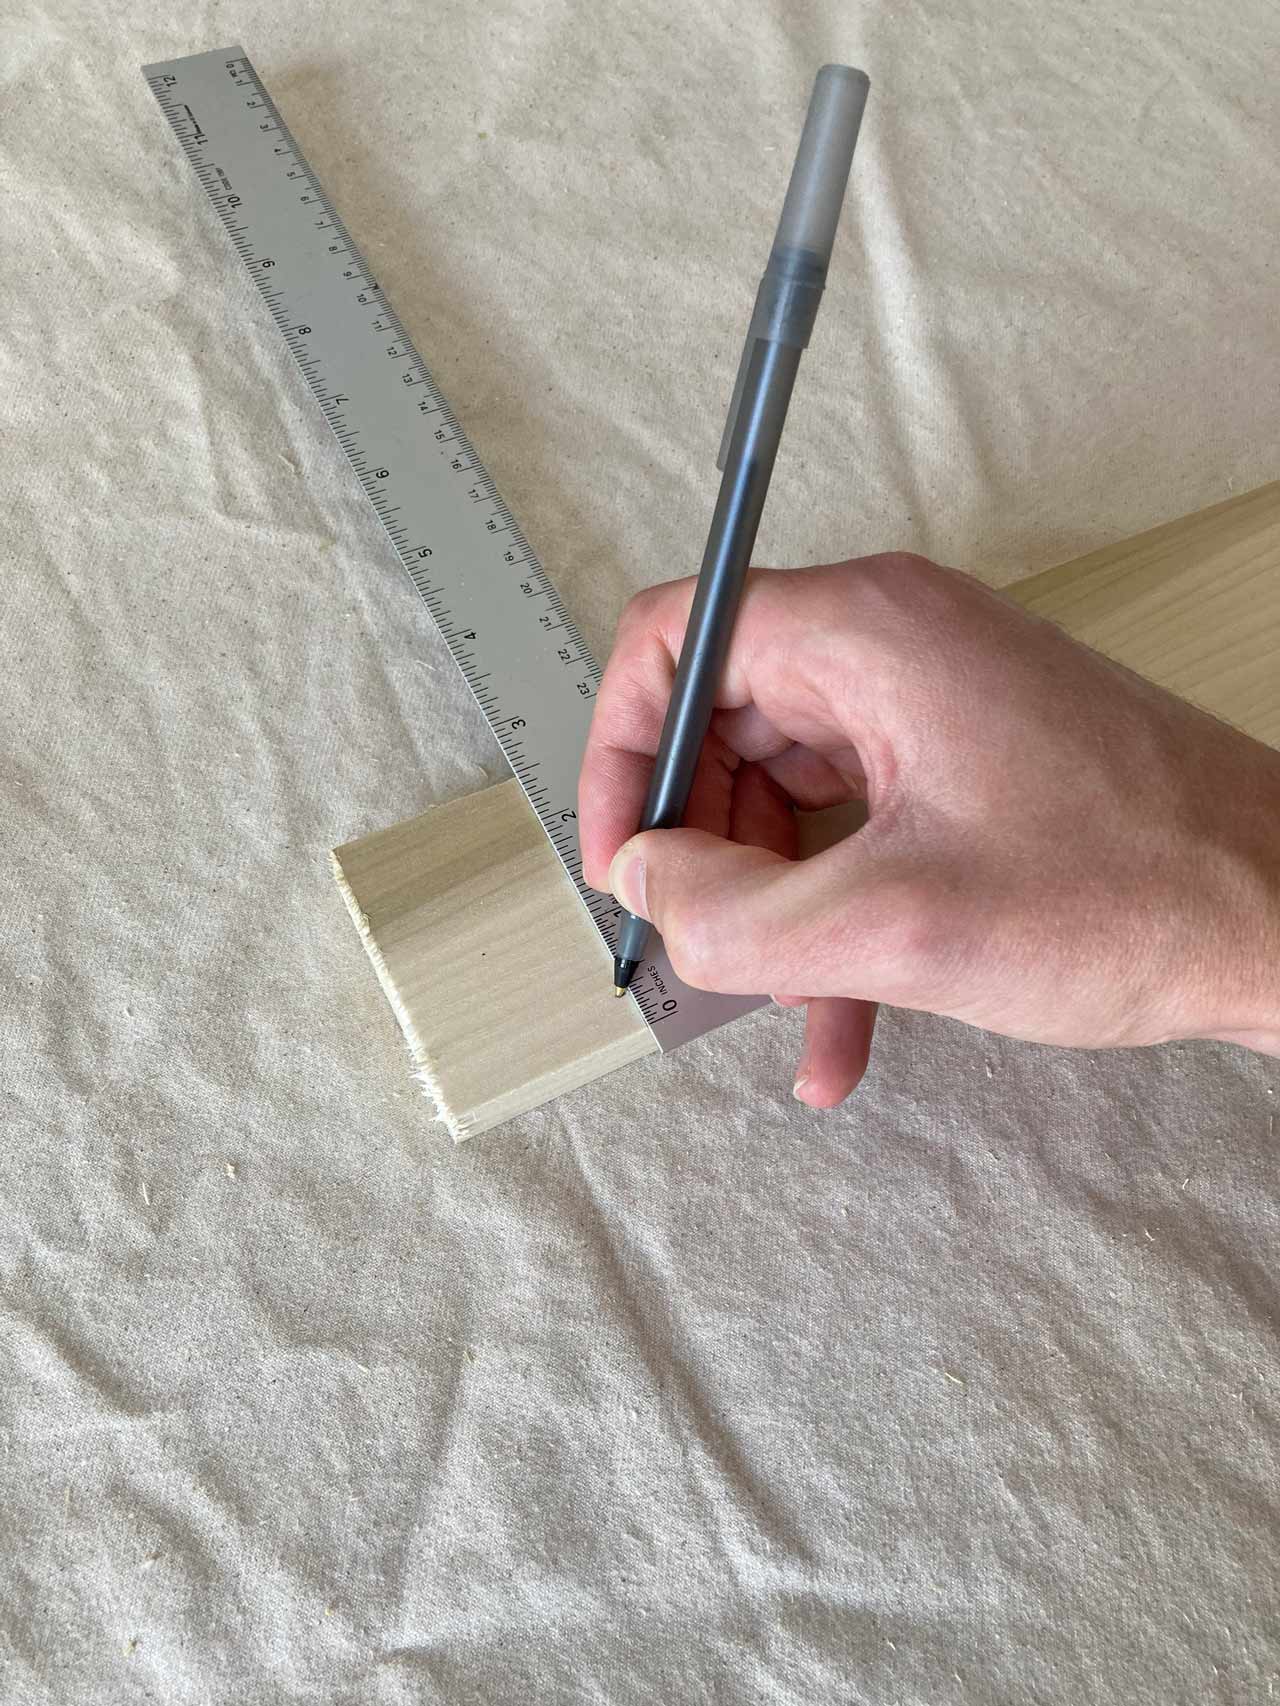
Ruler or Tape Measure
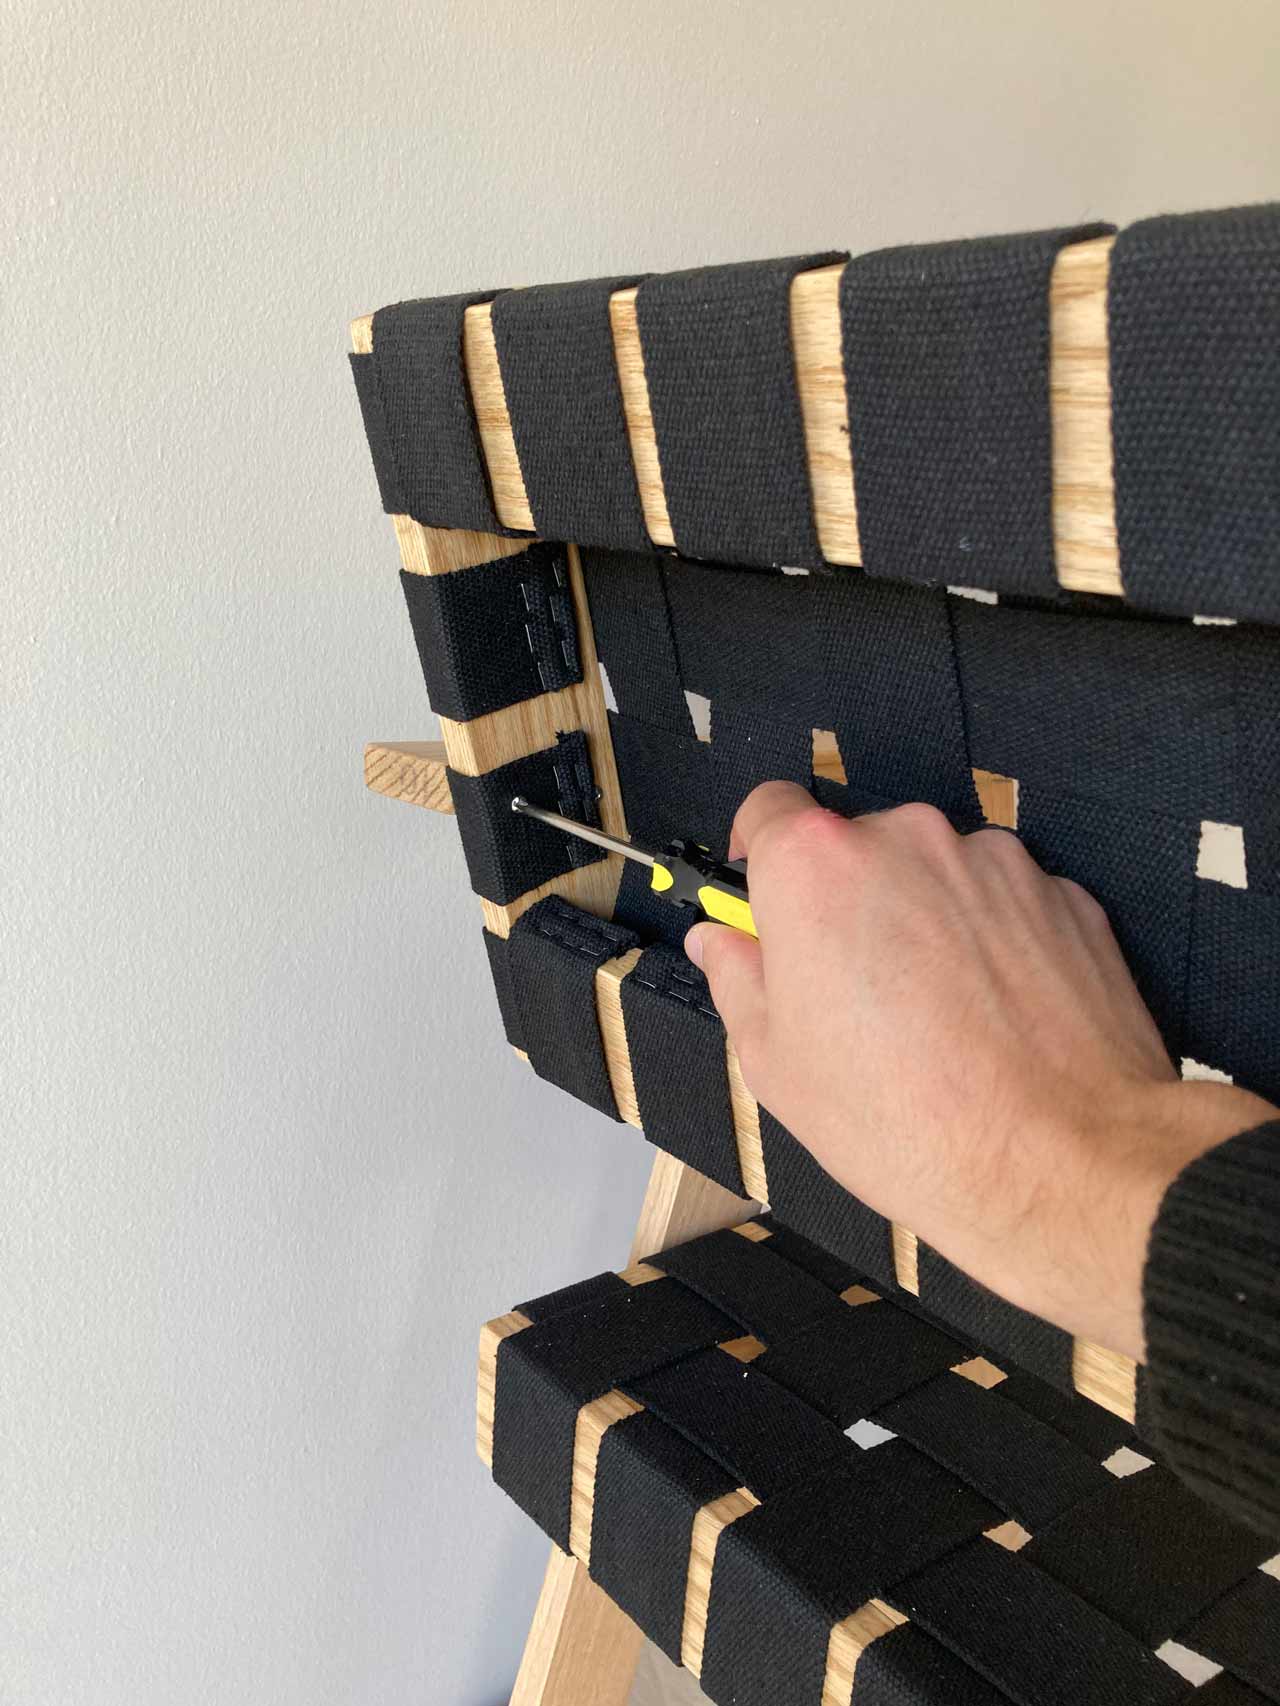
Screwdriver
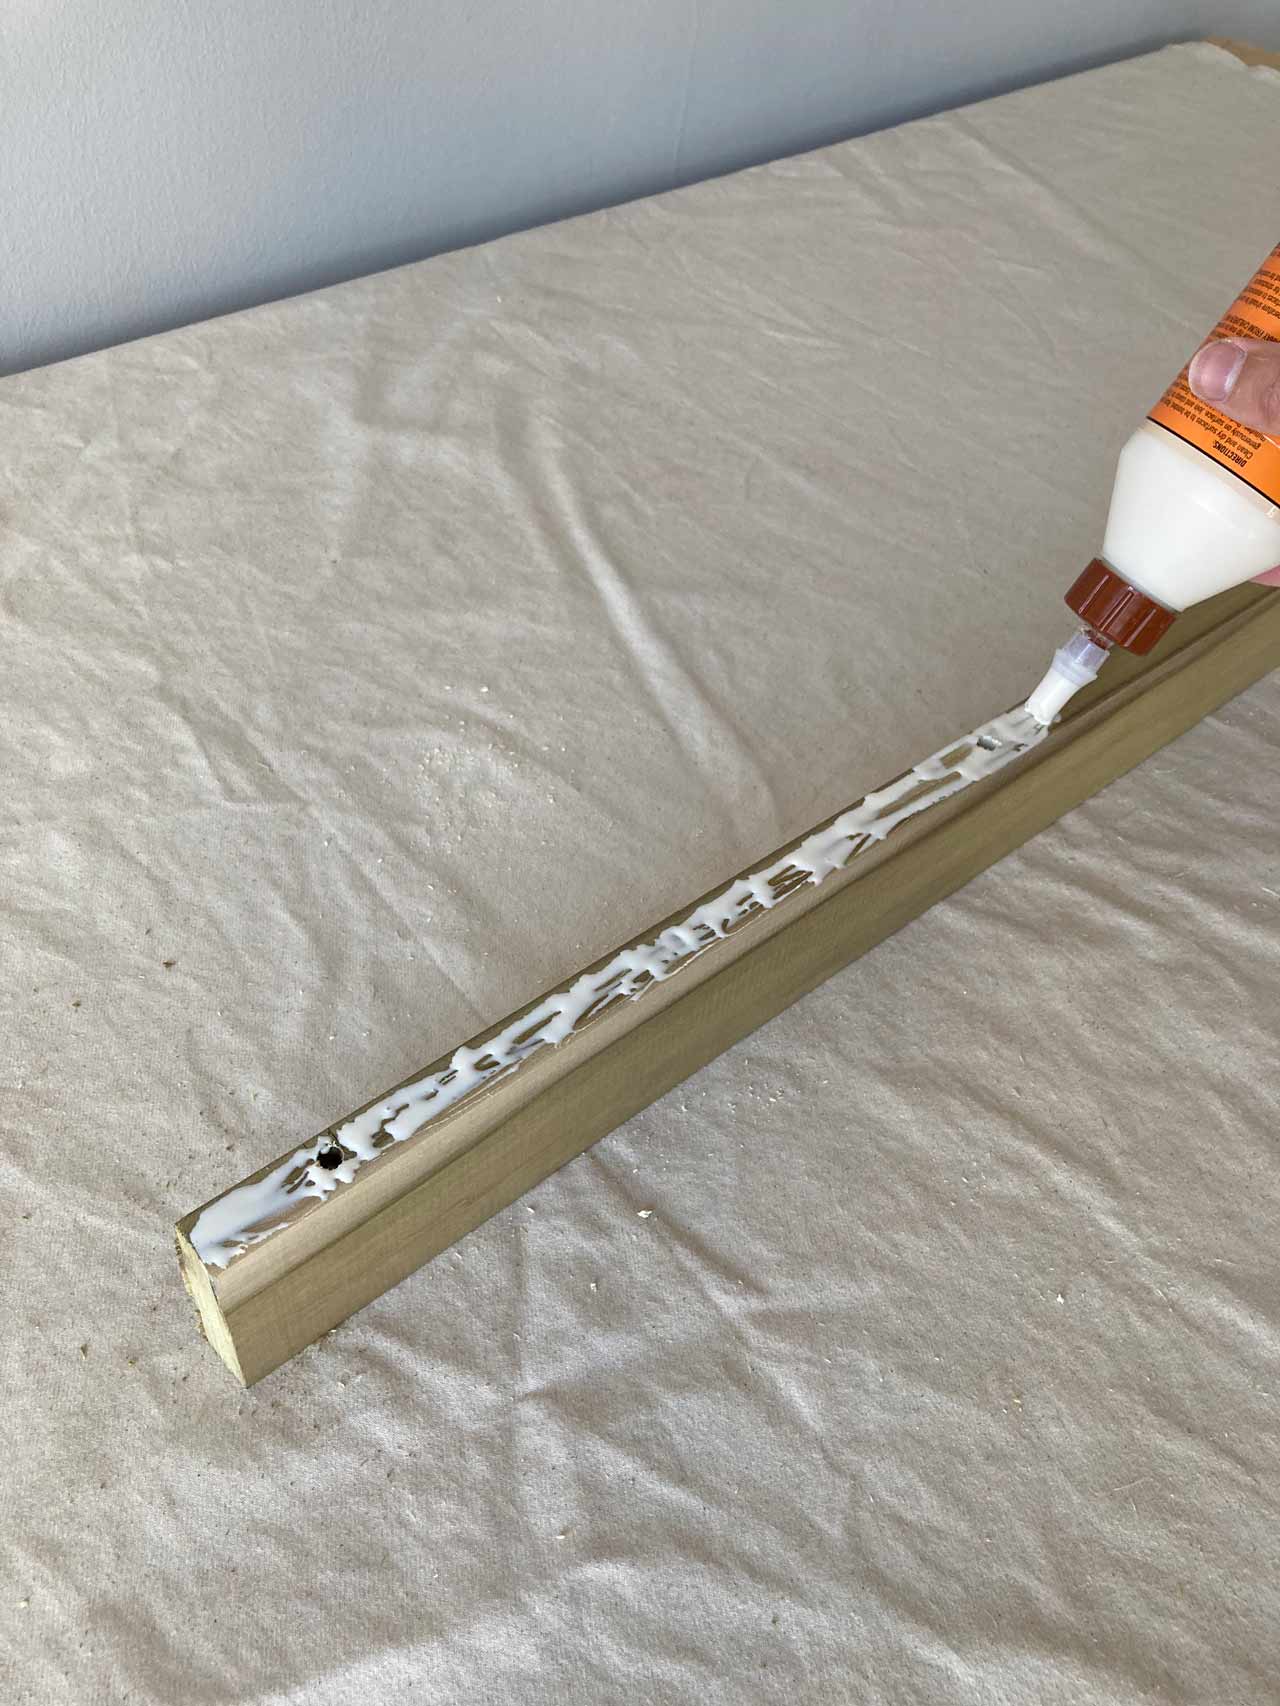
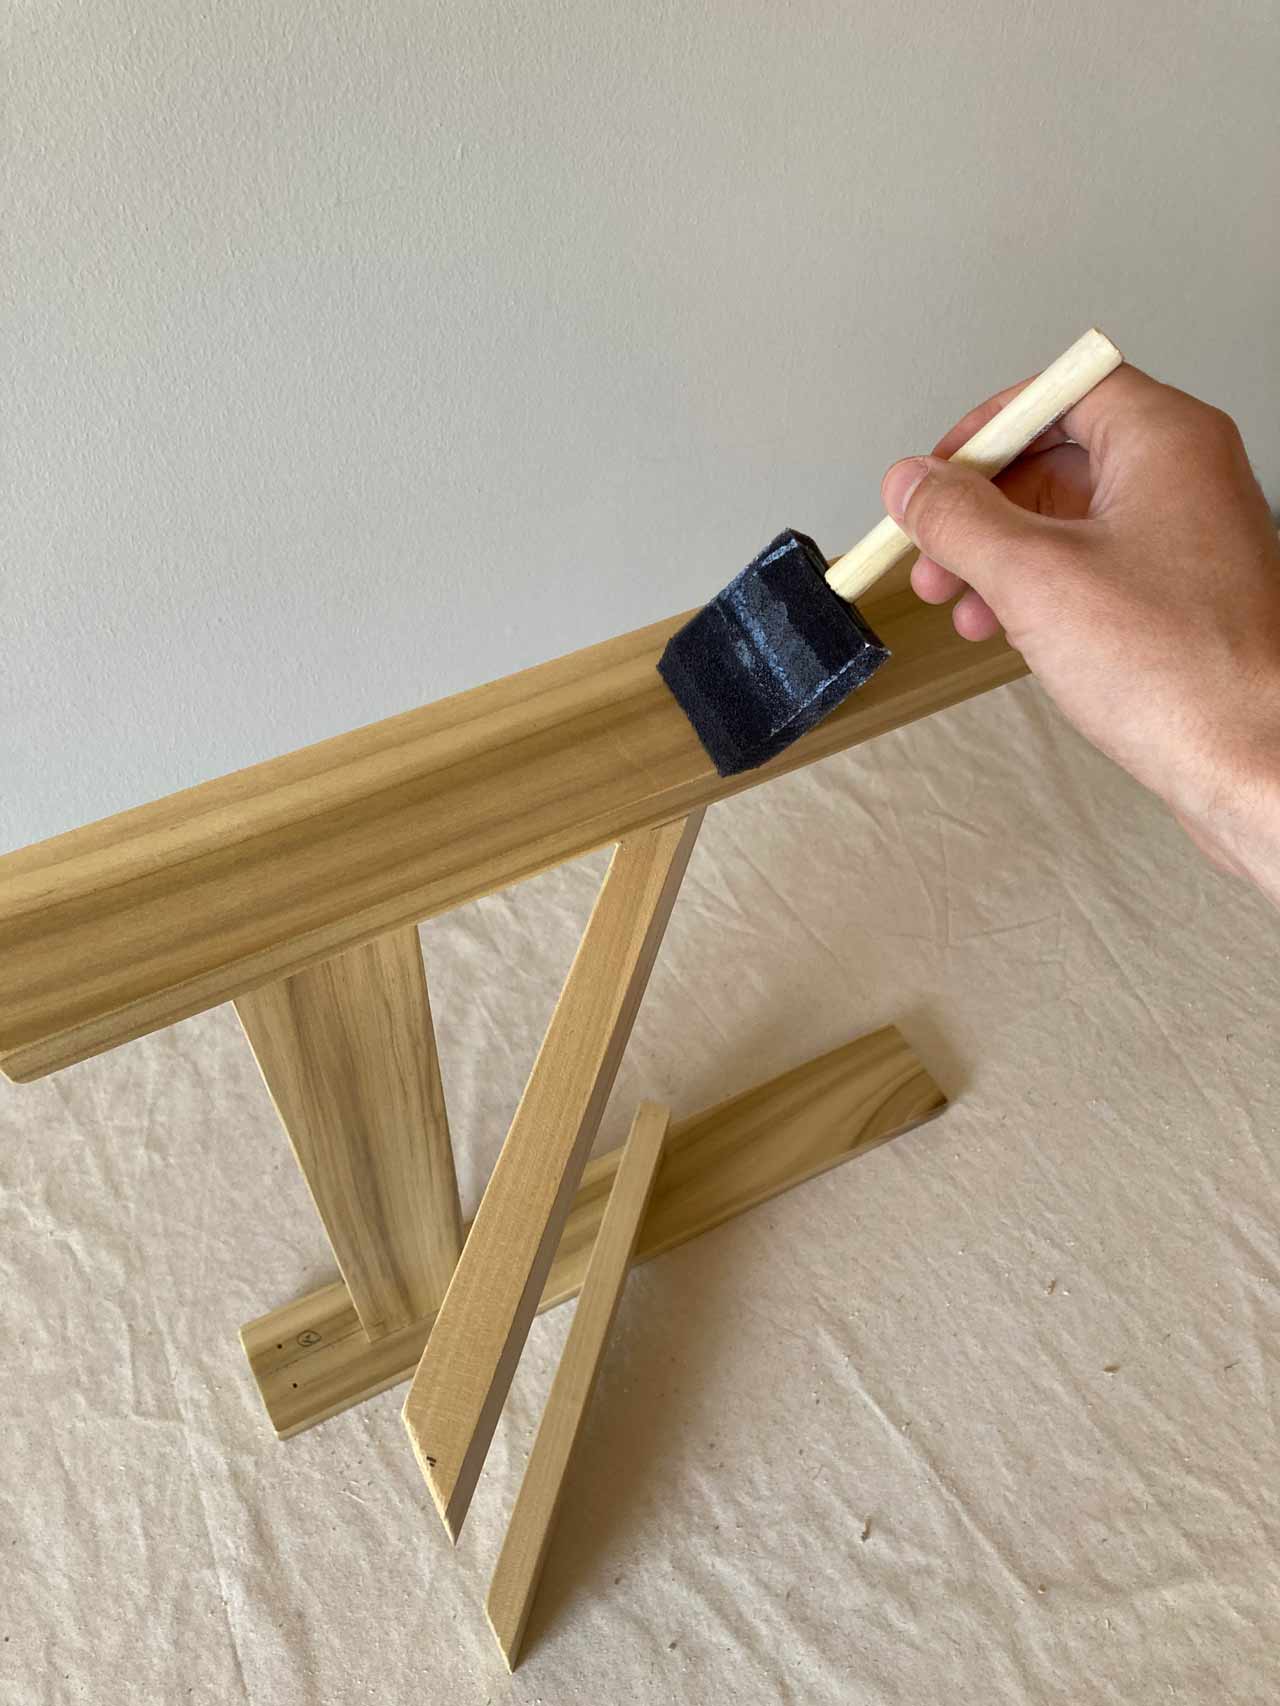
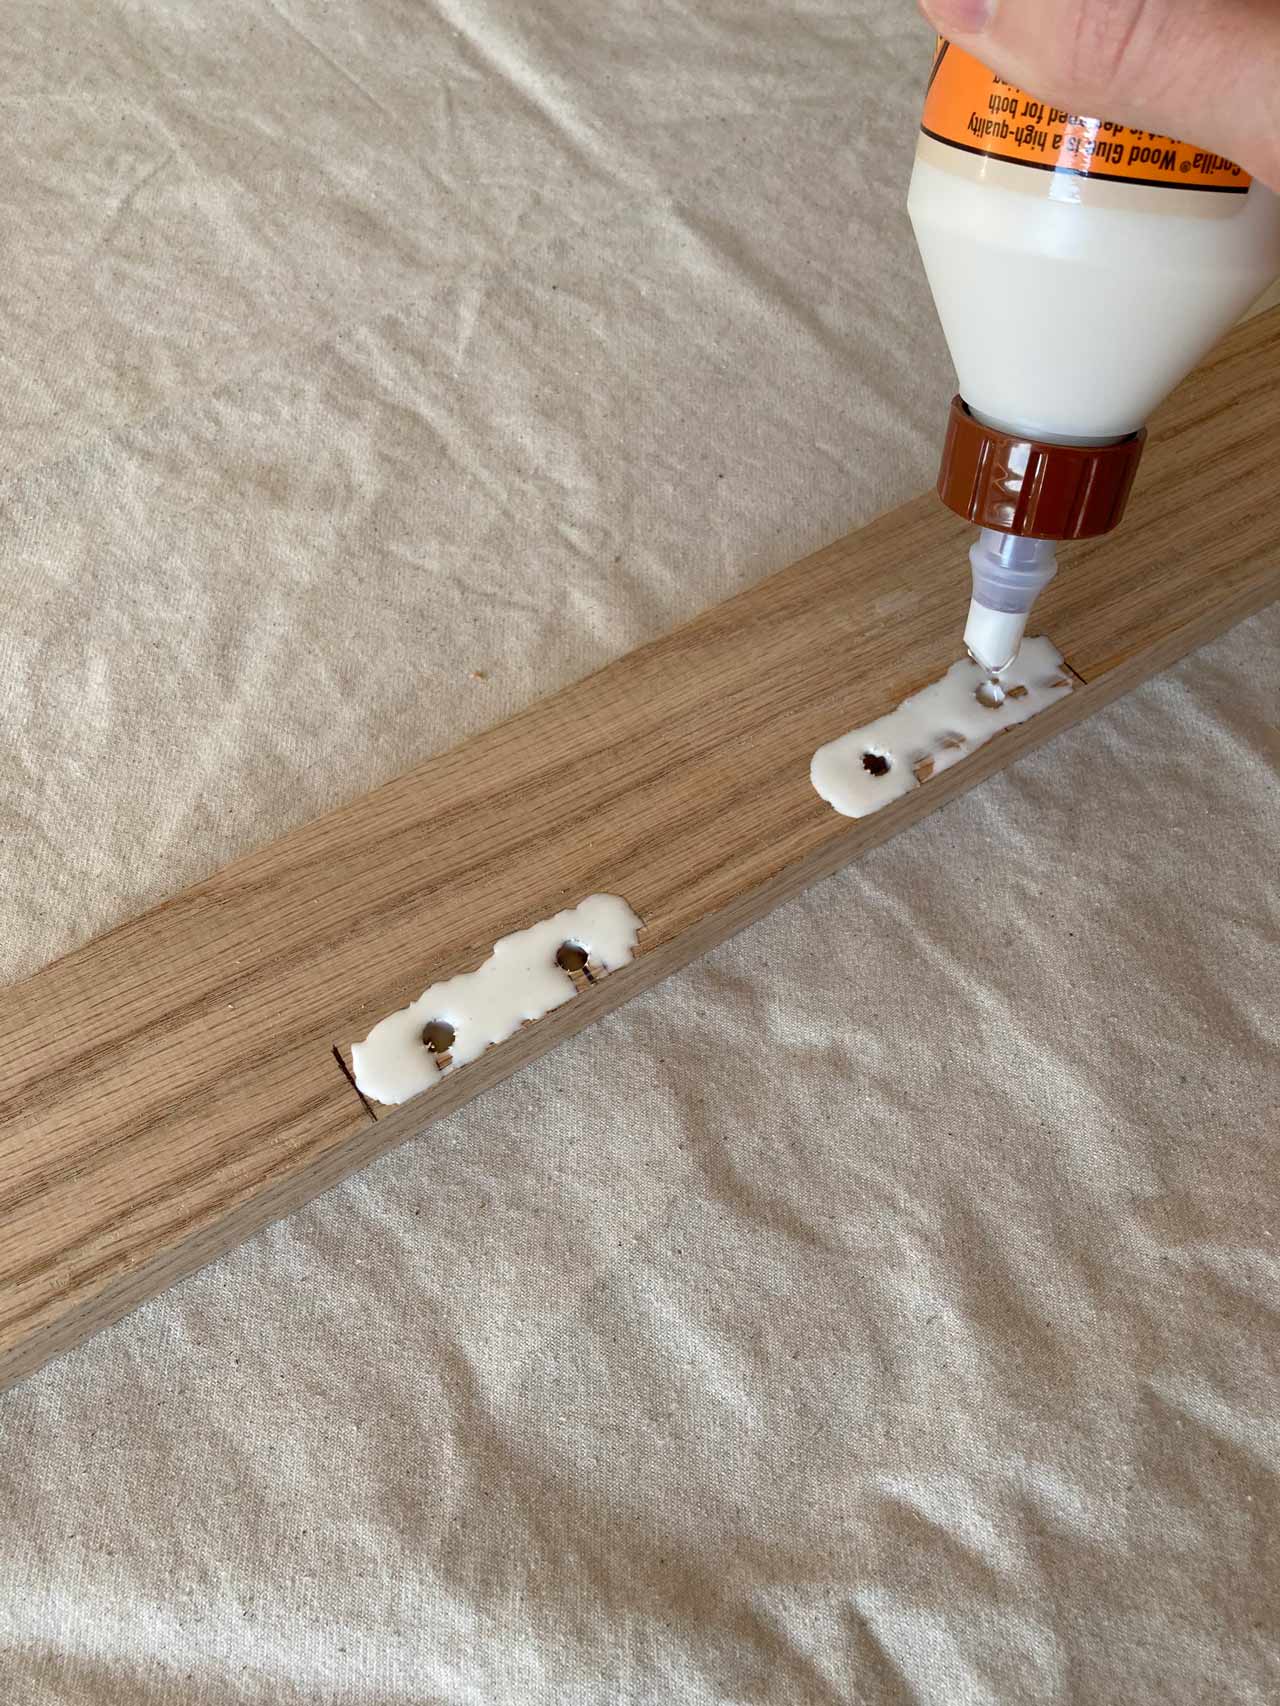
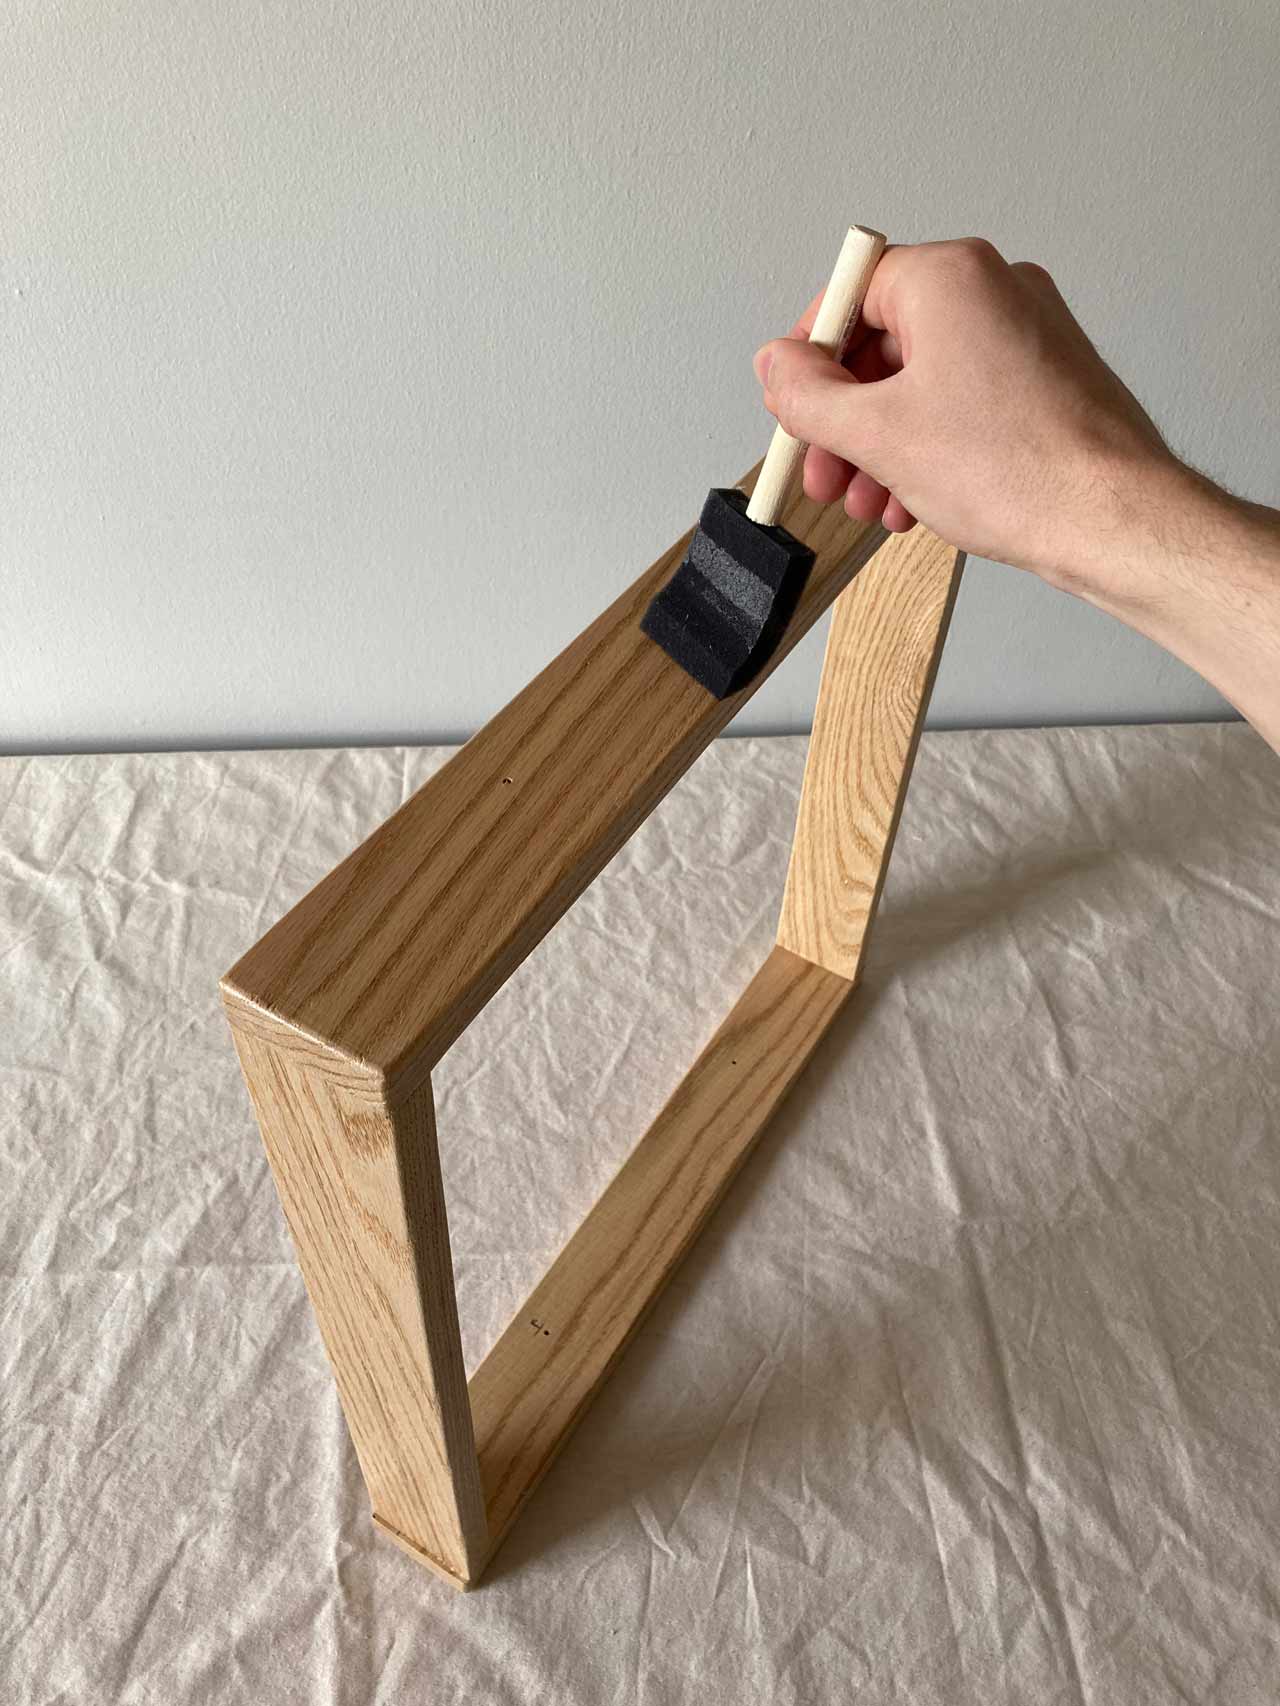
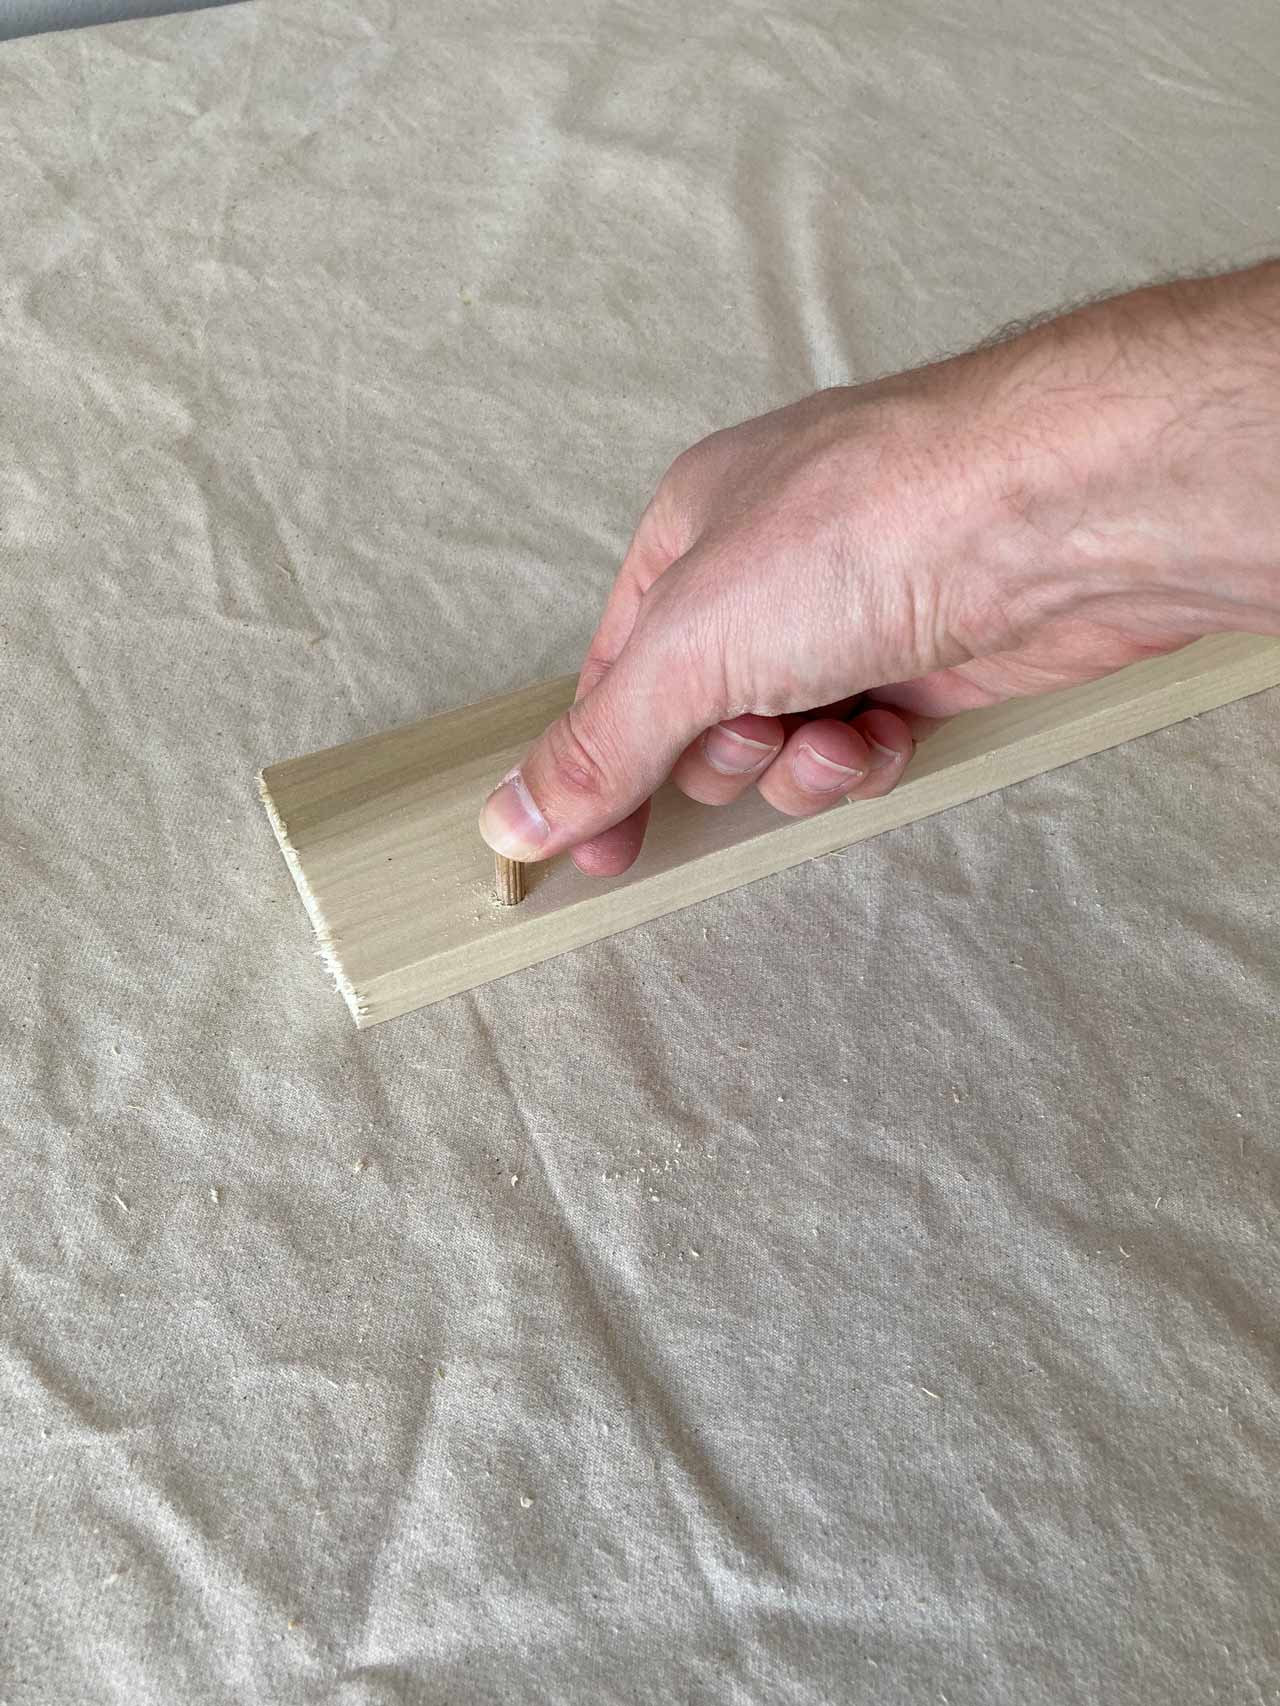
Wood Glue
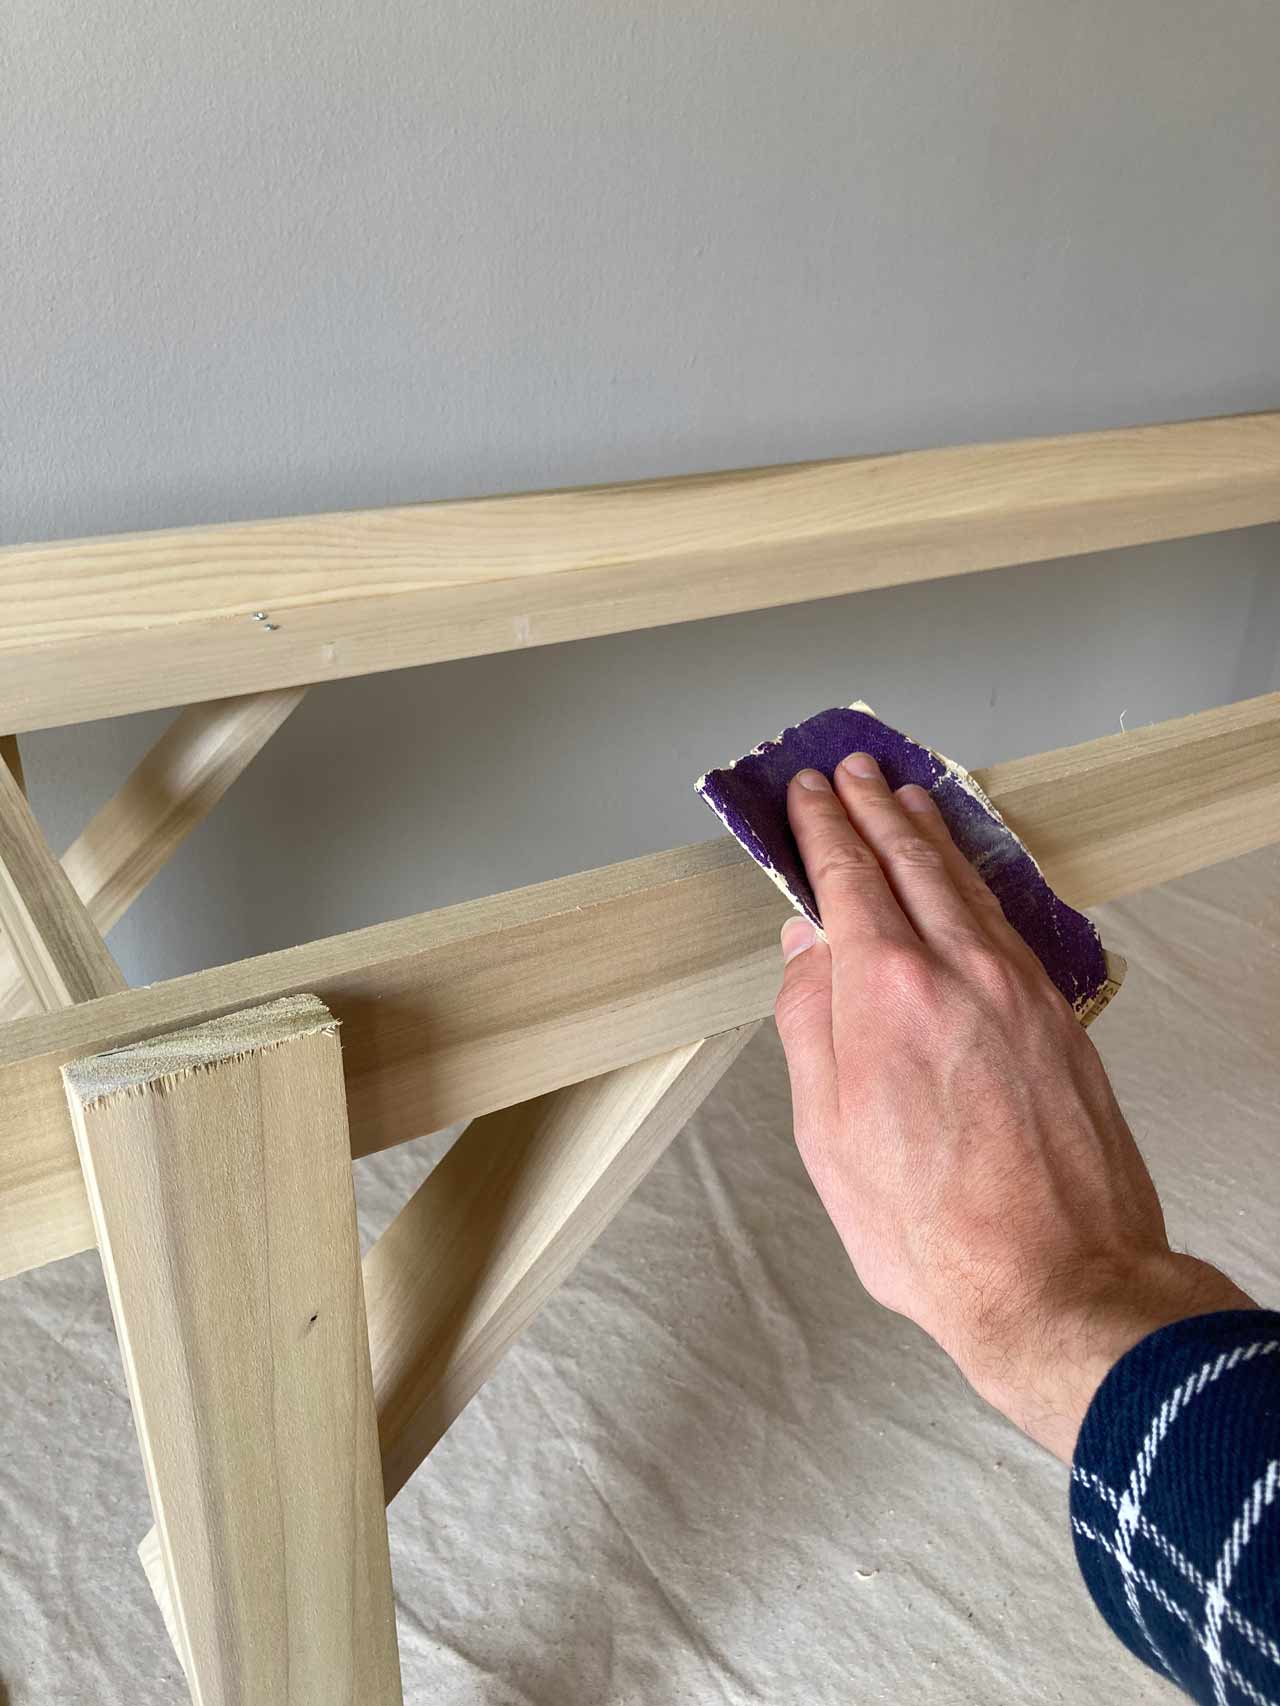
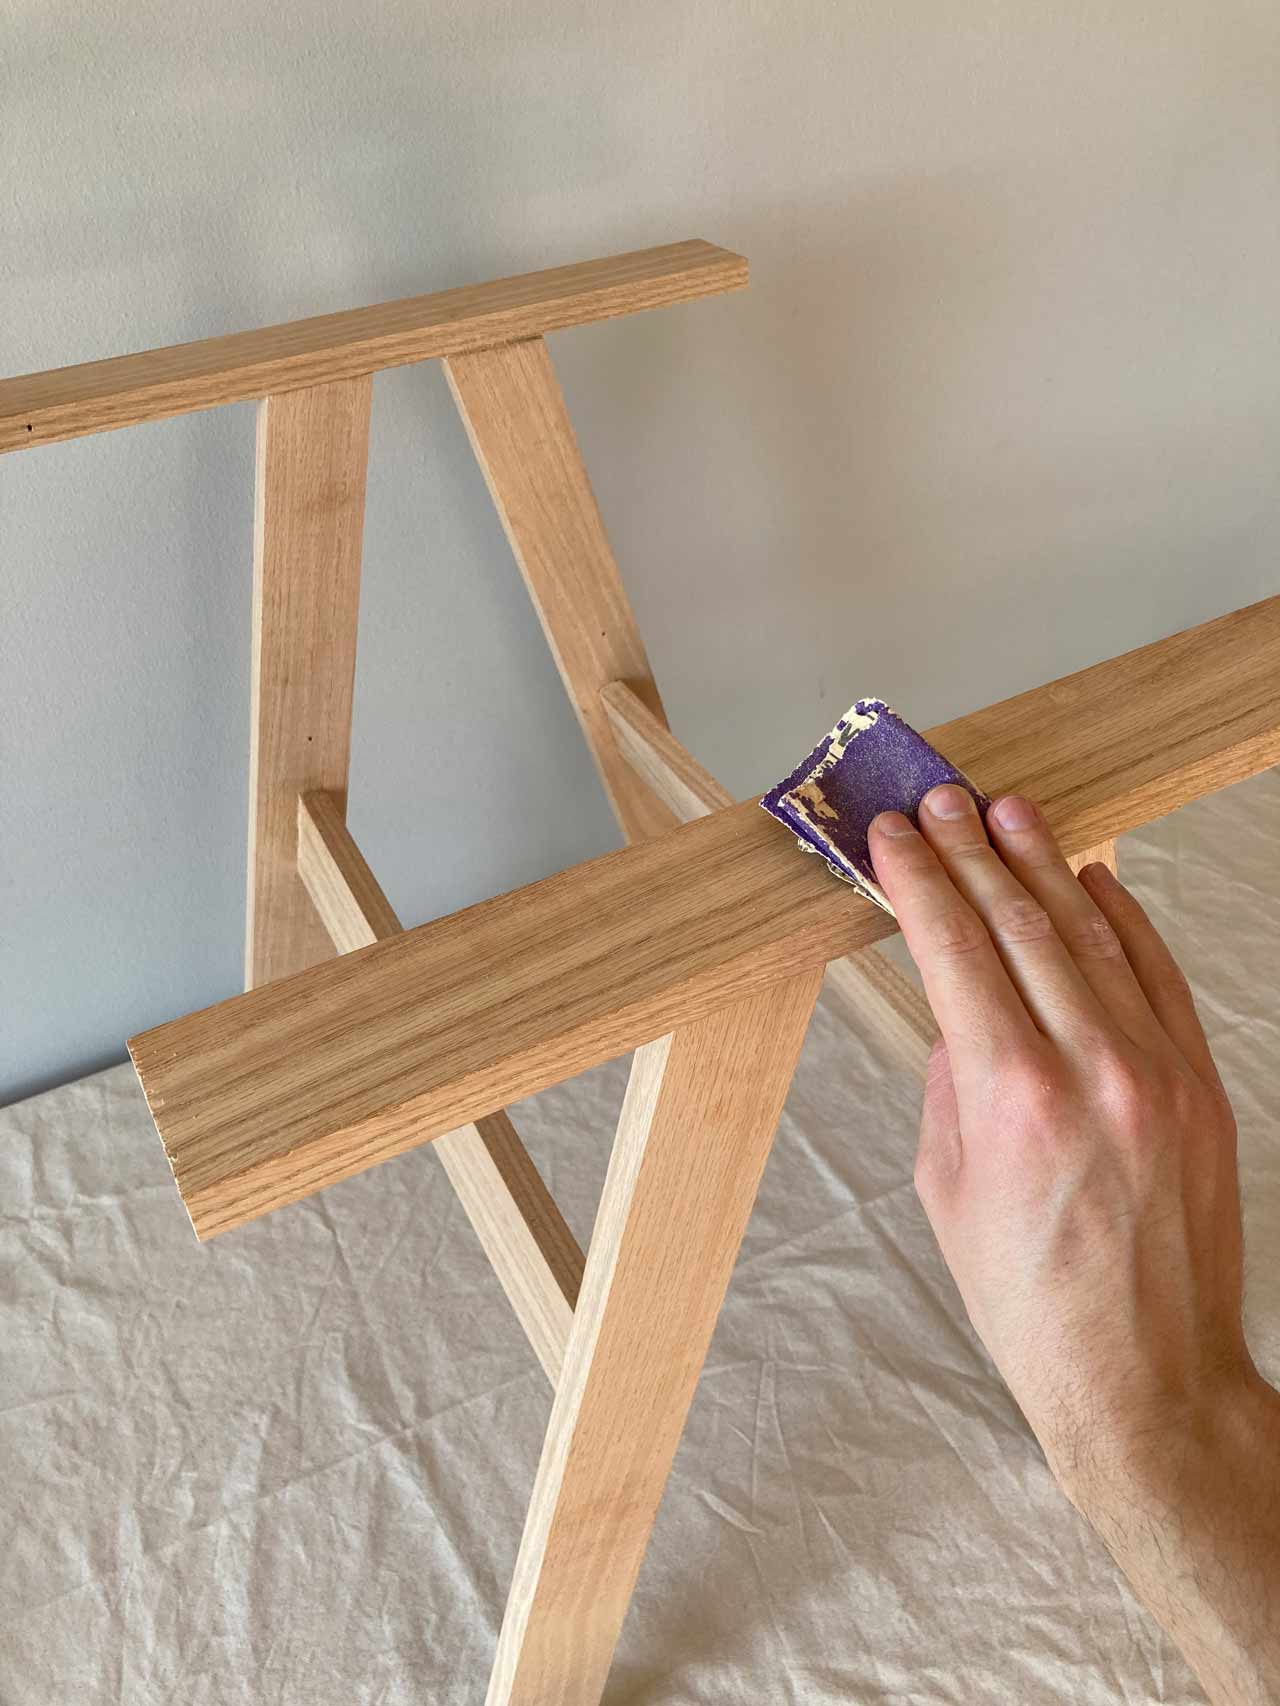
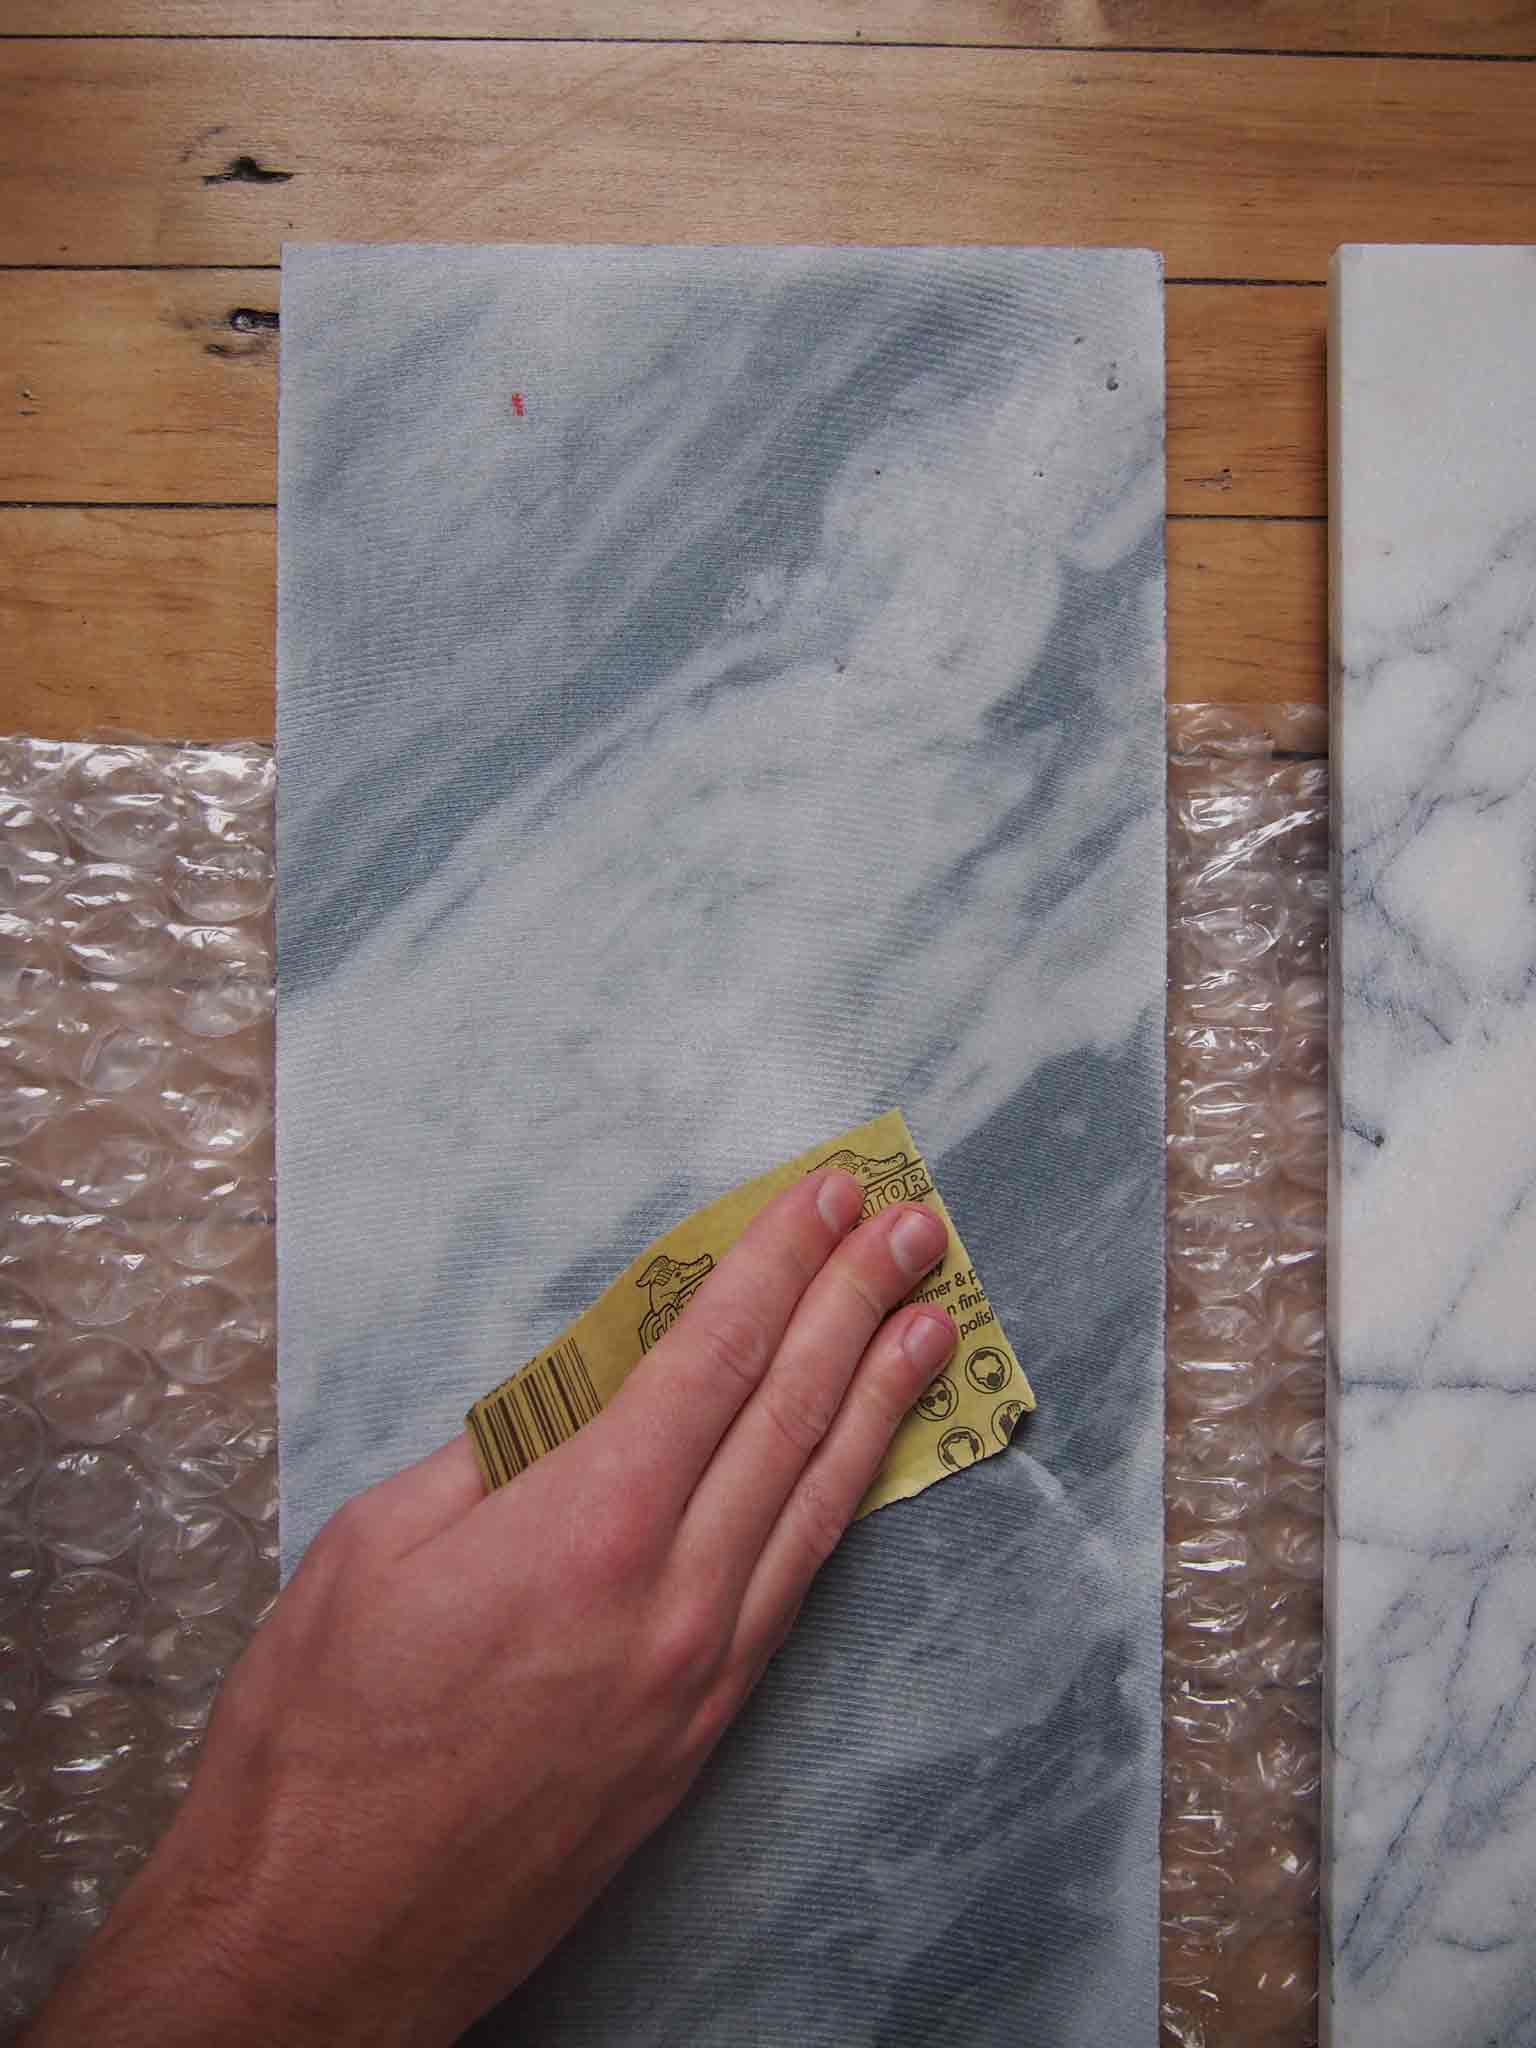
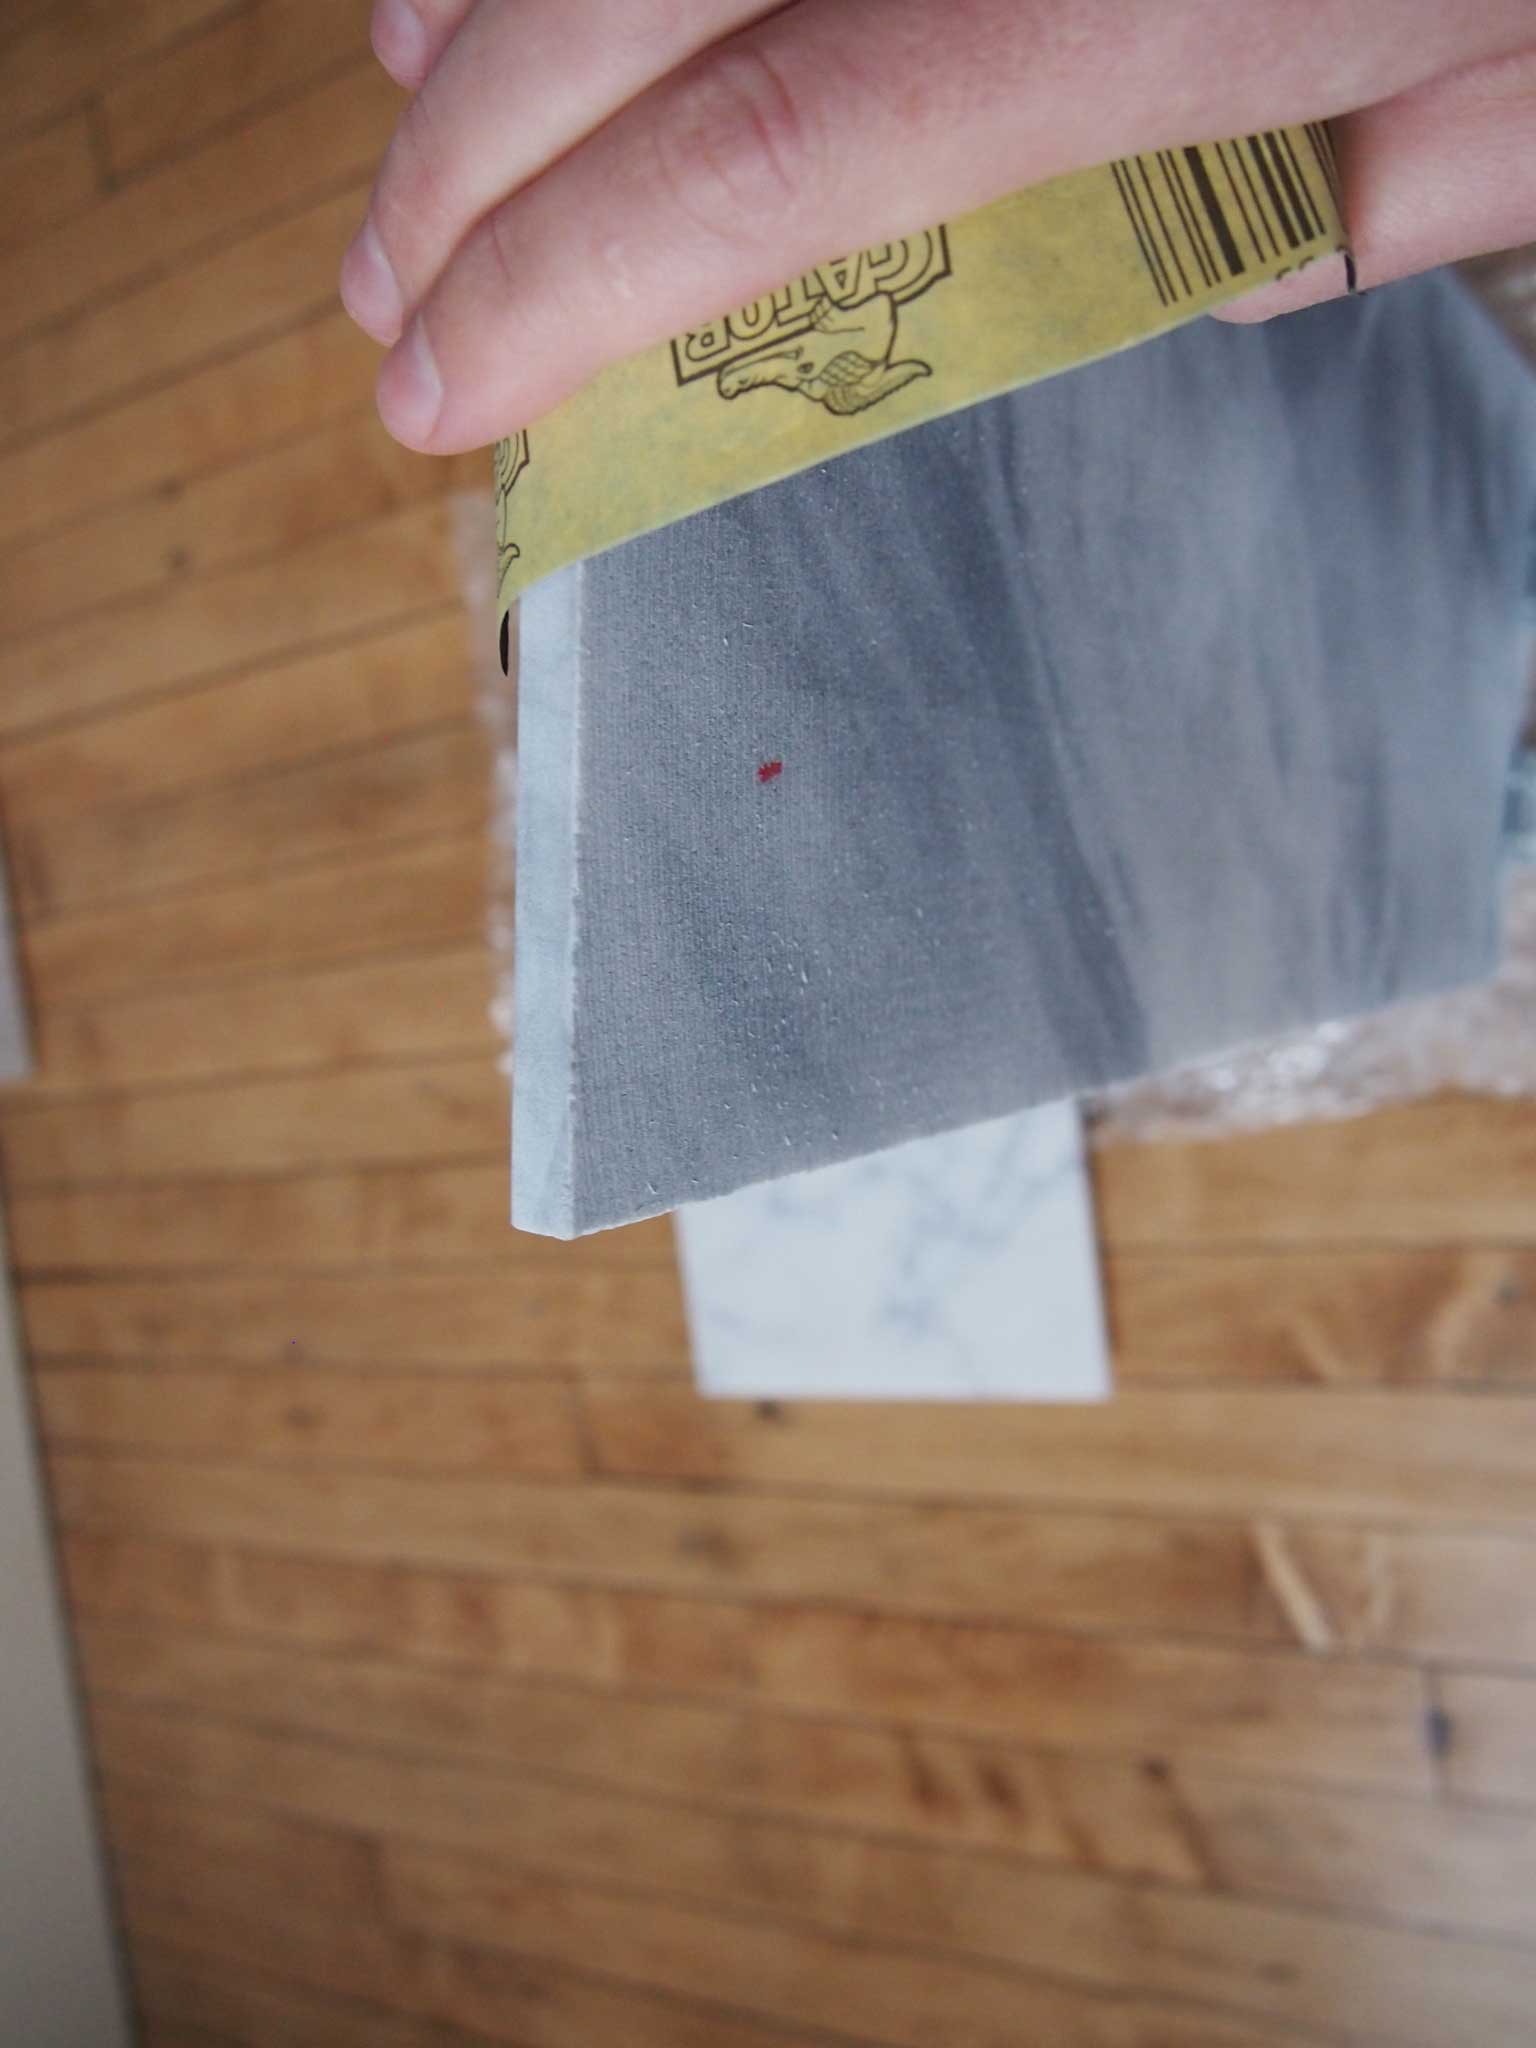
Sandpaper, 180 Grit
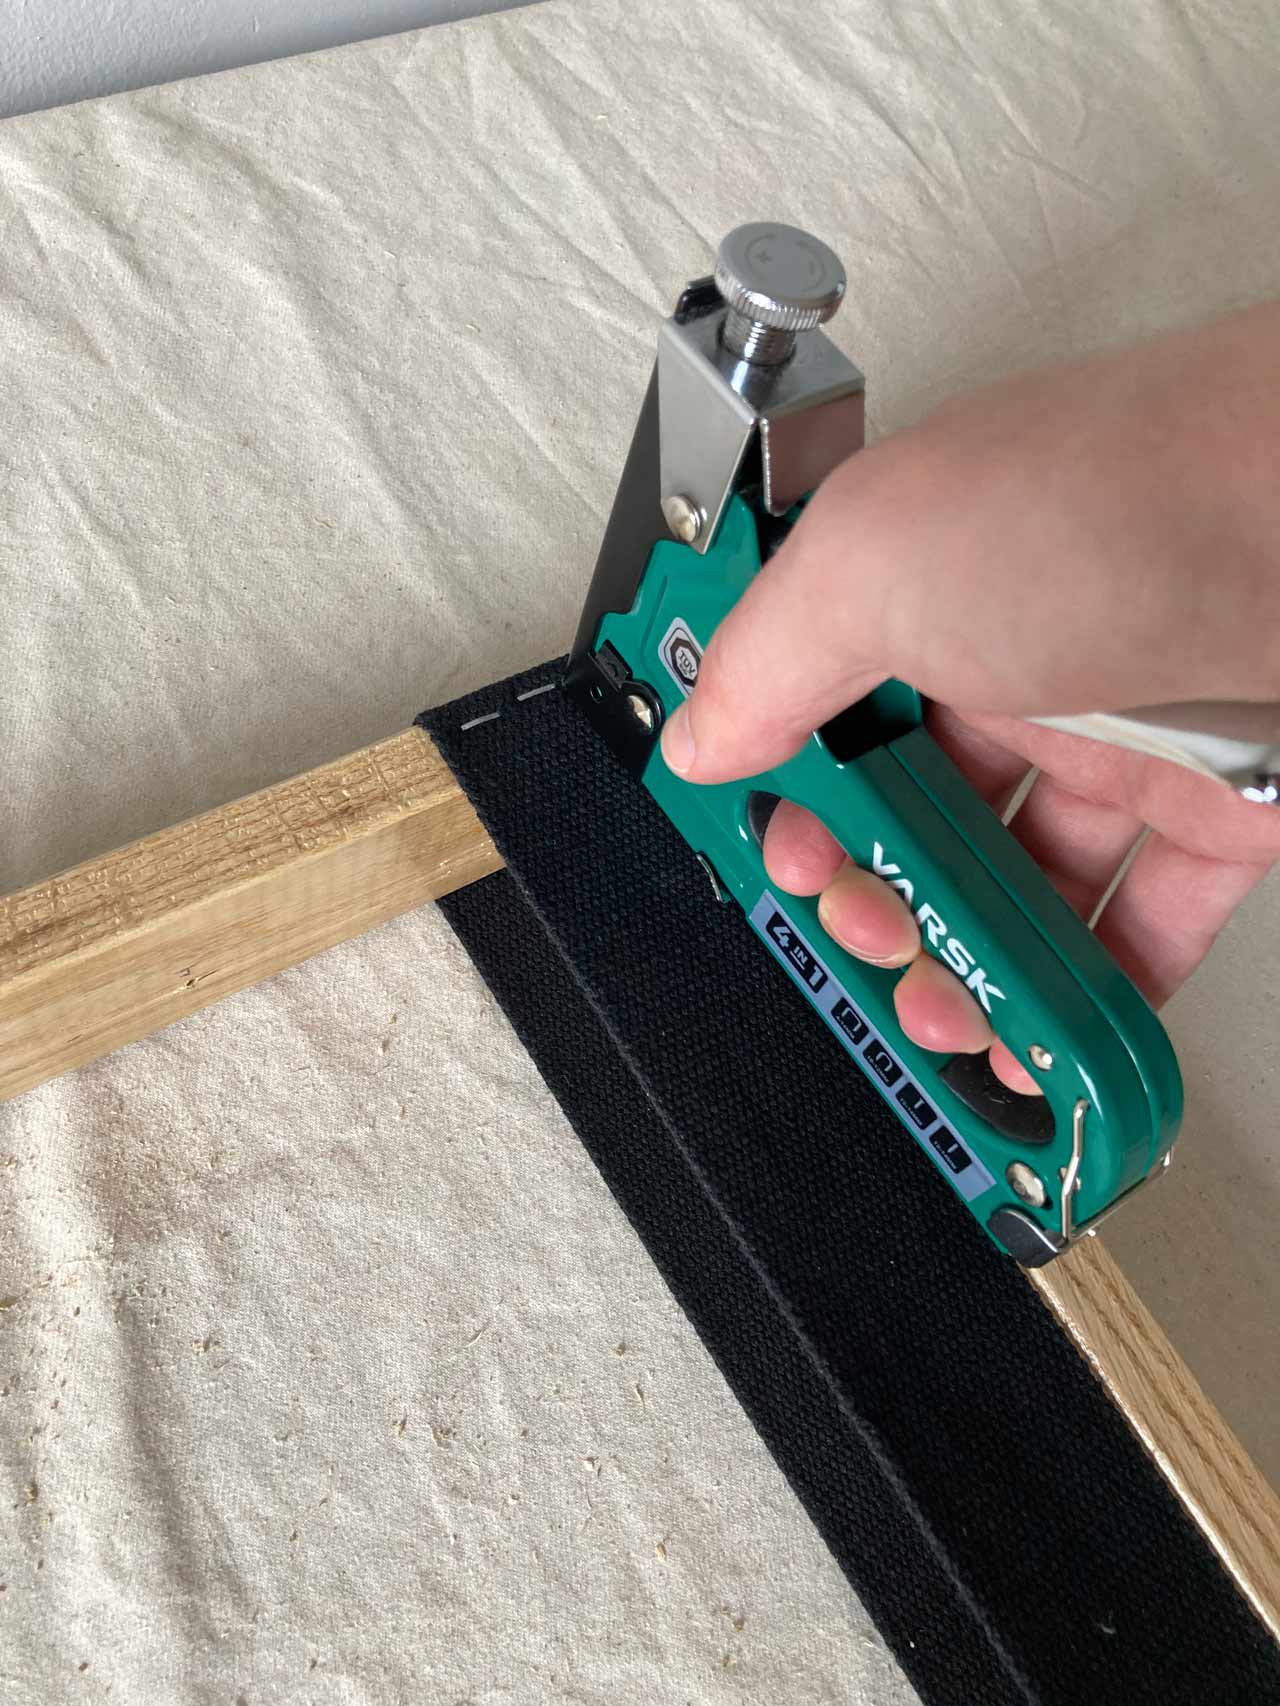
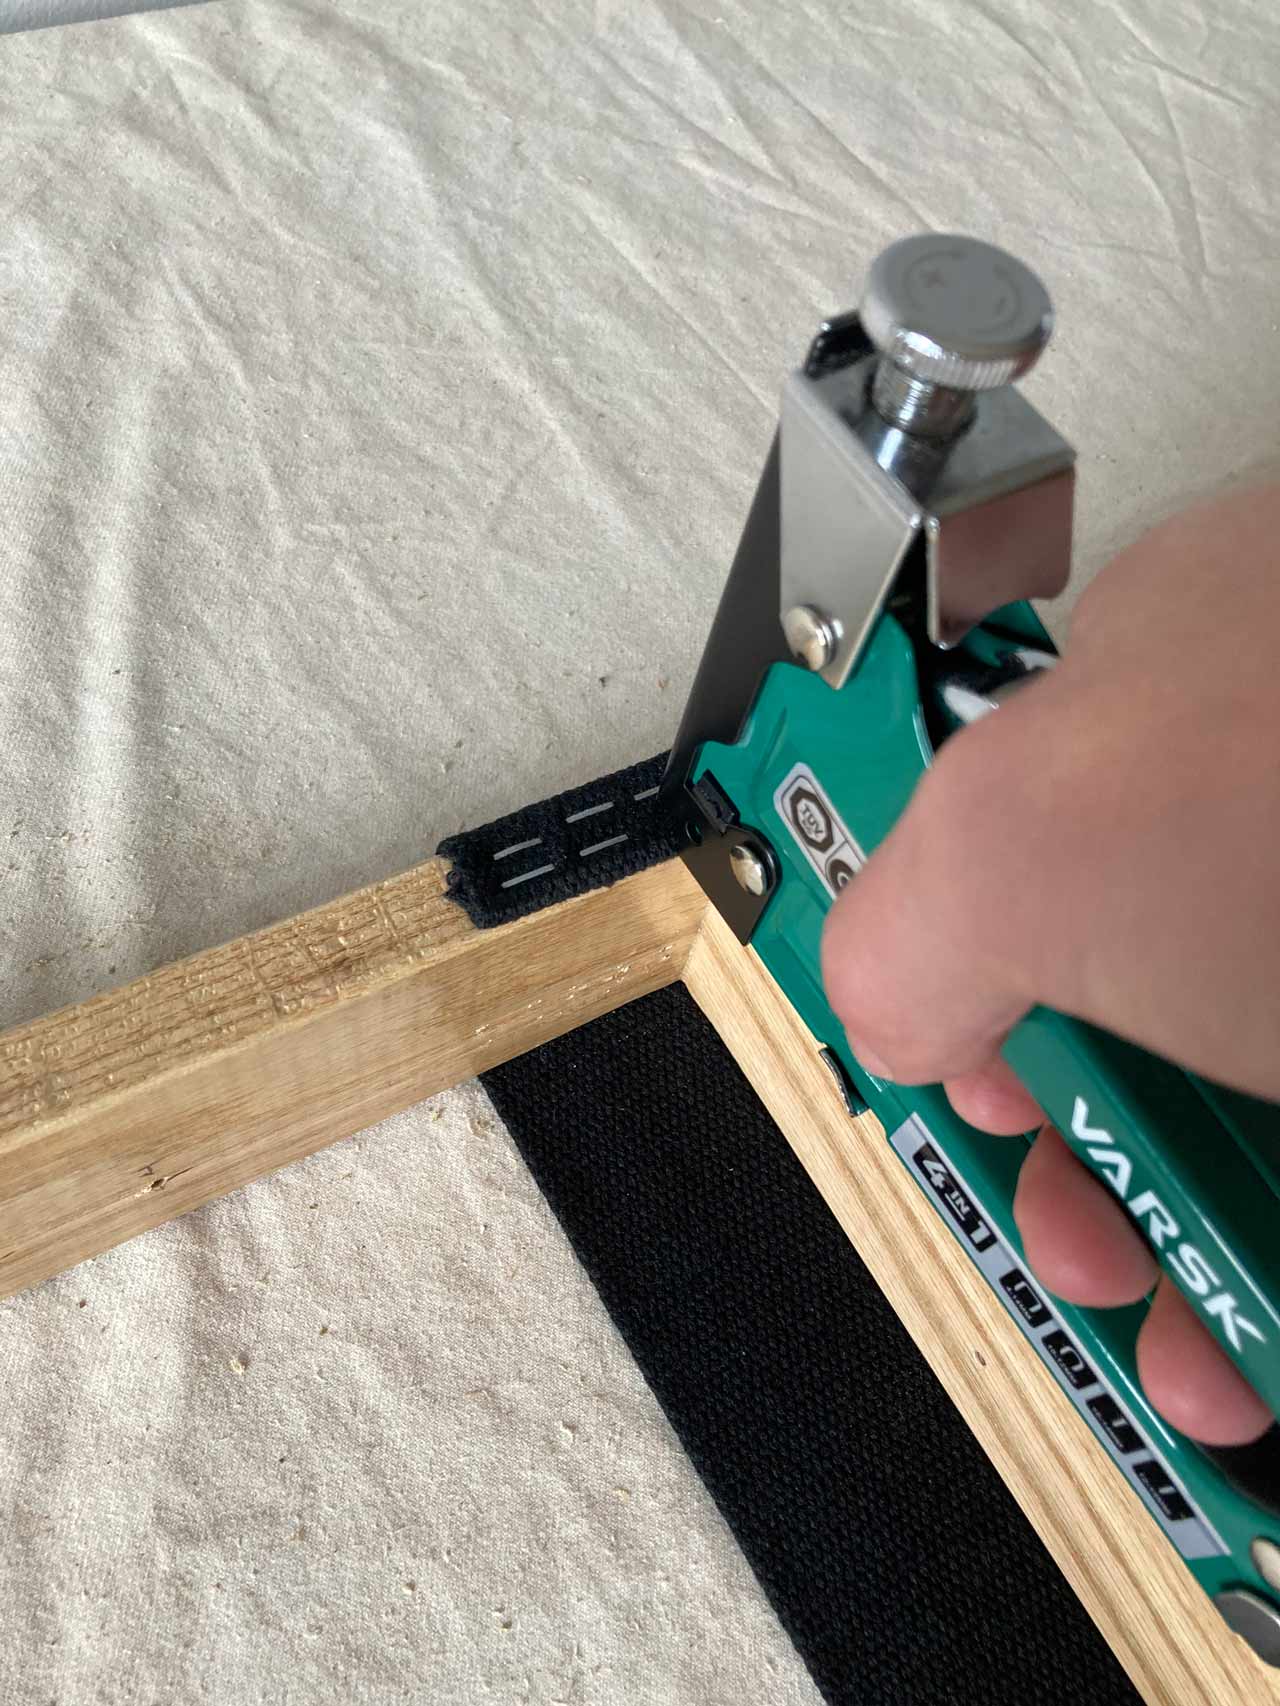
Heavy Duty Upholstery Staple Gun w/ Staples
Help Each Other