Rough and Ready Chair

Tord Boontje

Rough And Ready DIY Chair by Tord Boontje
Rough and Ready Chair

Designed by Tord Boontje
Published in Fall 2019

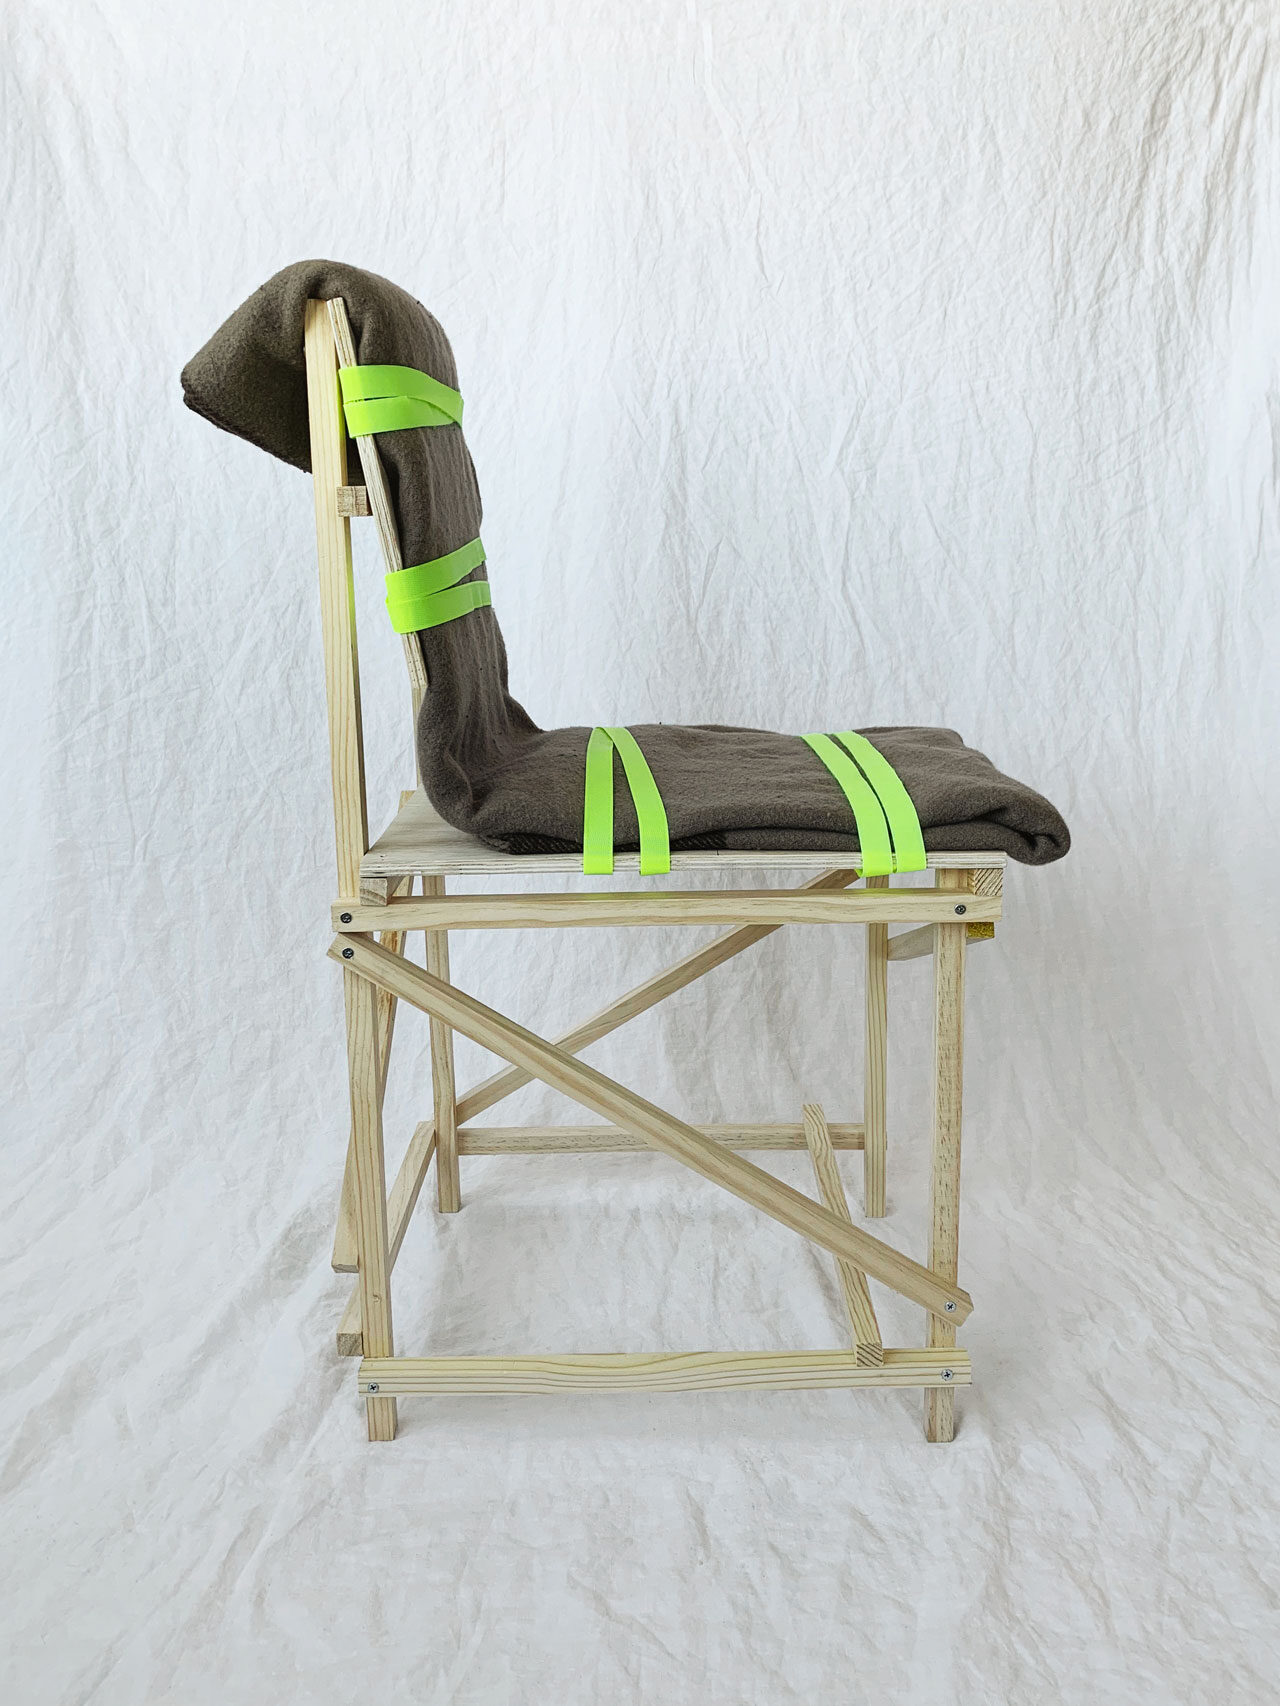
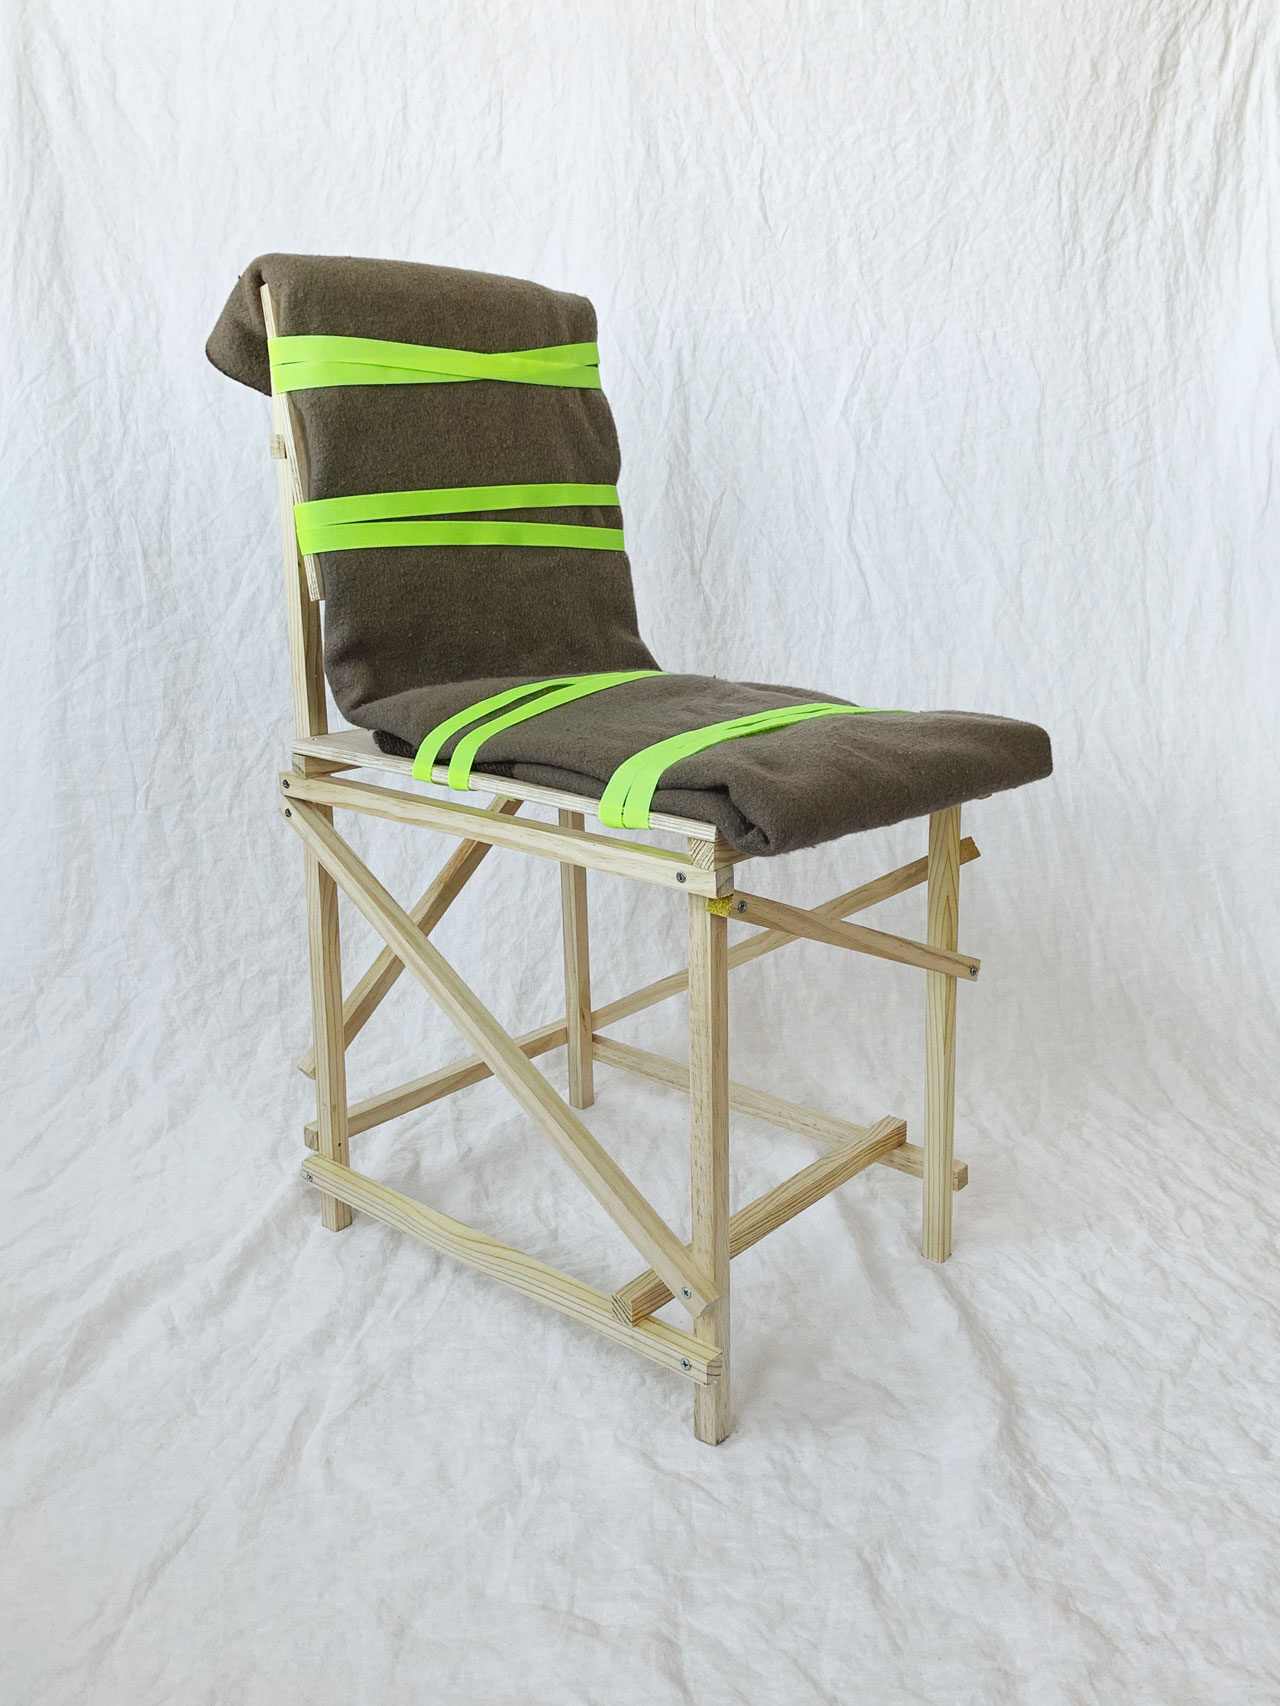
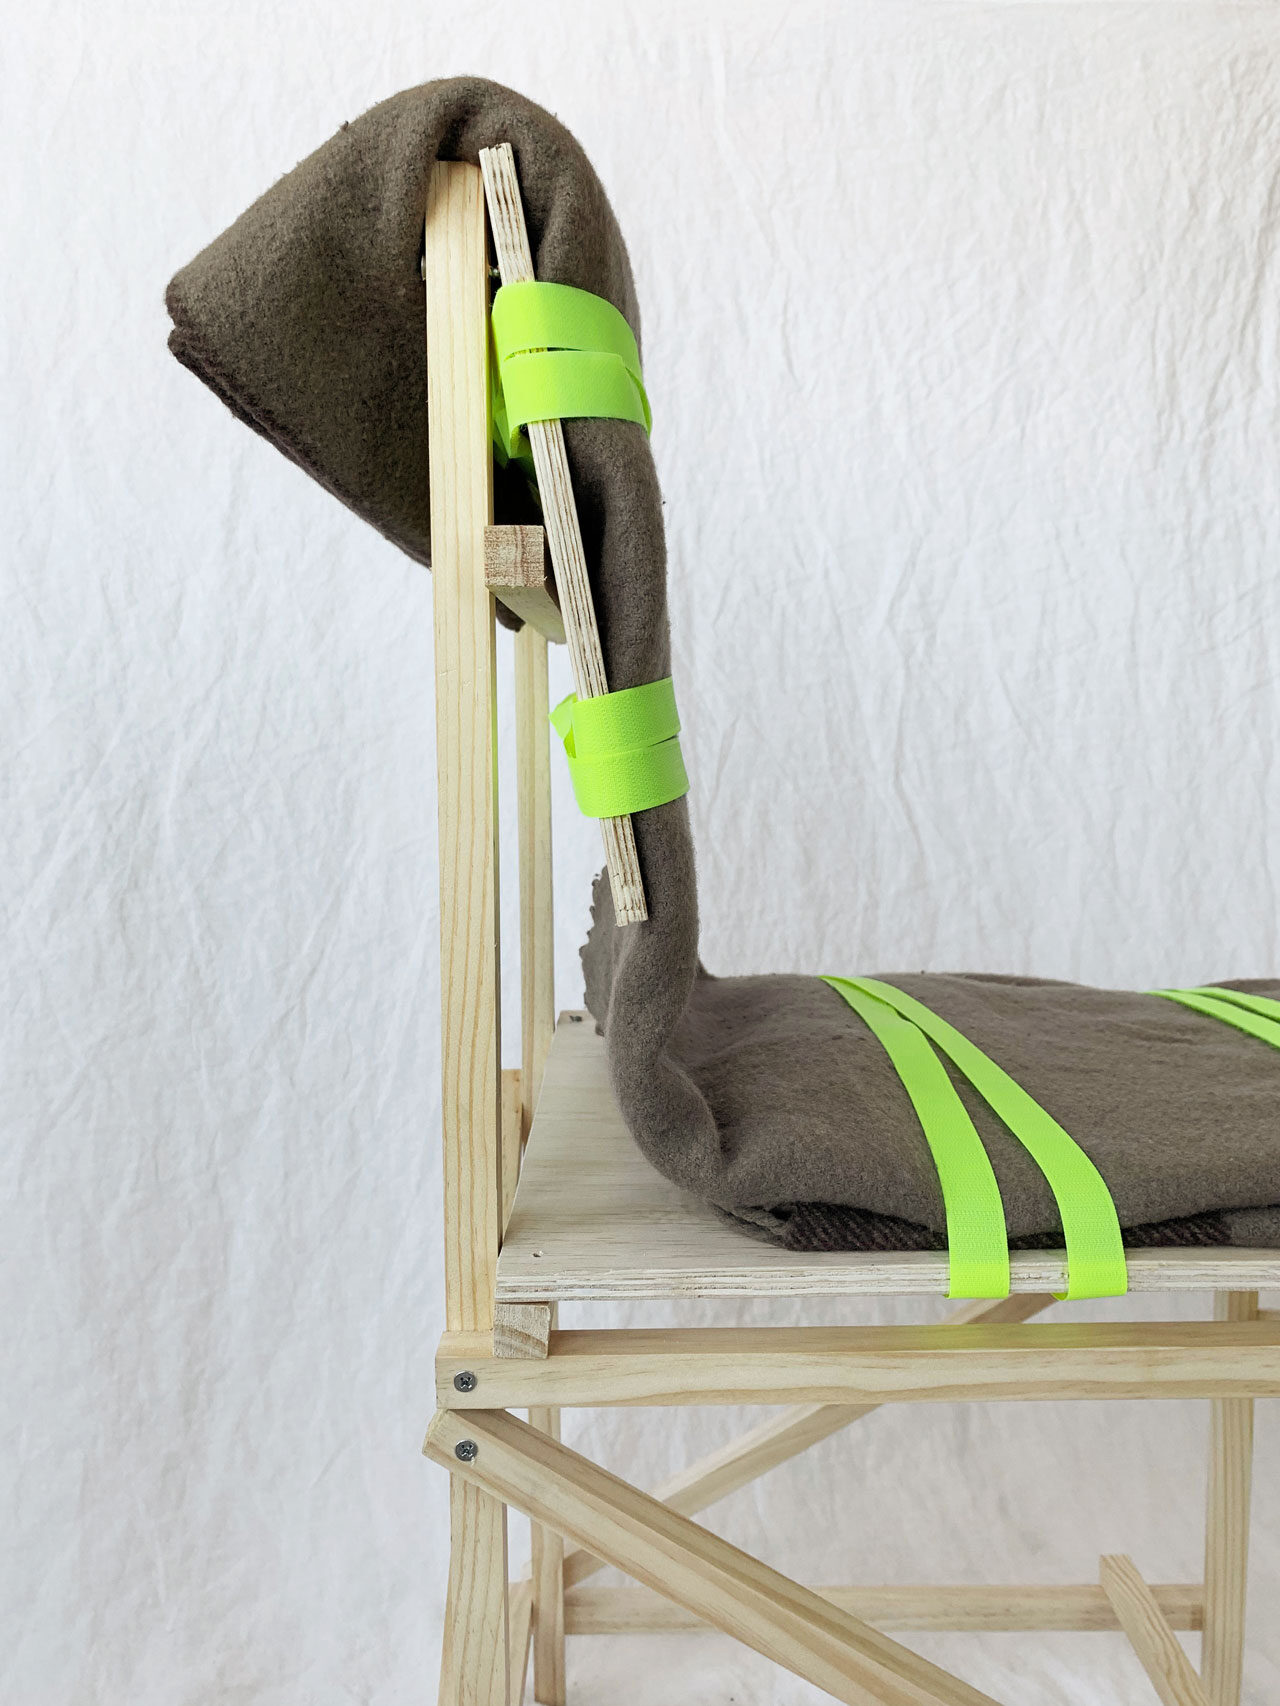
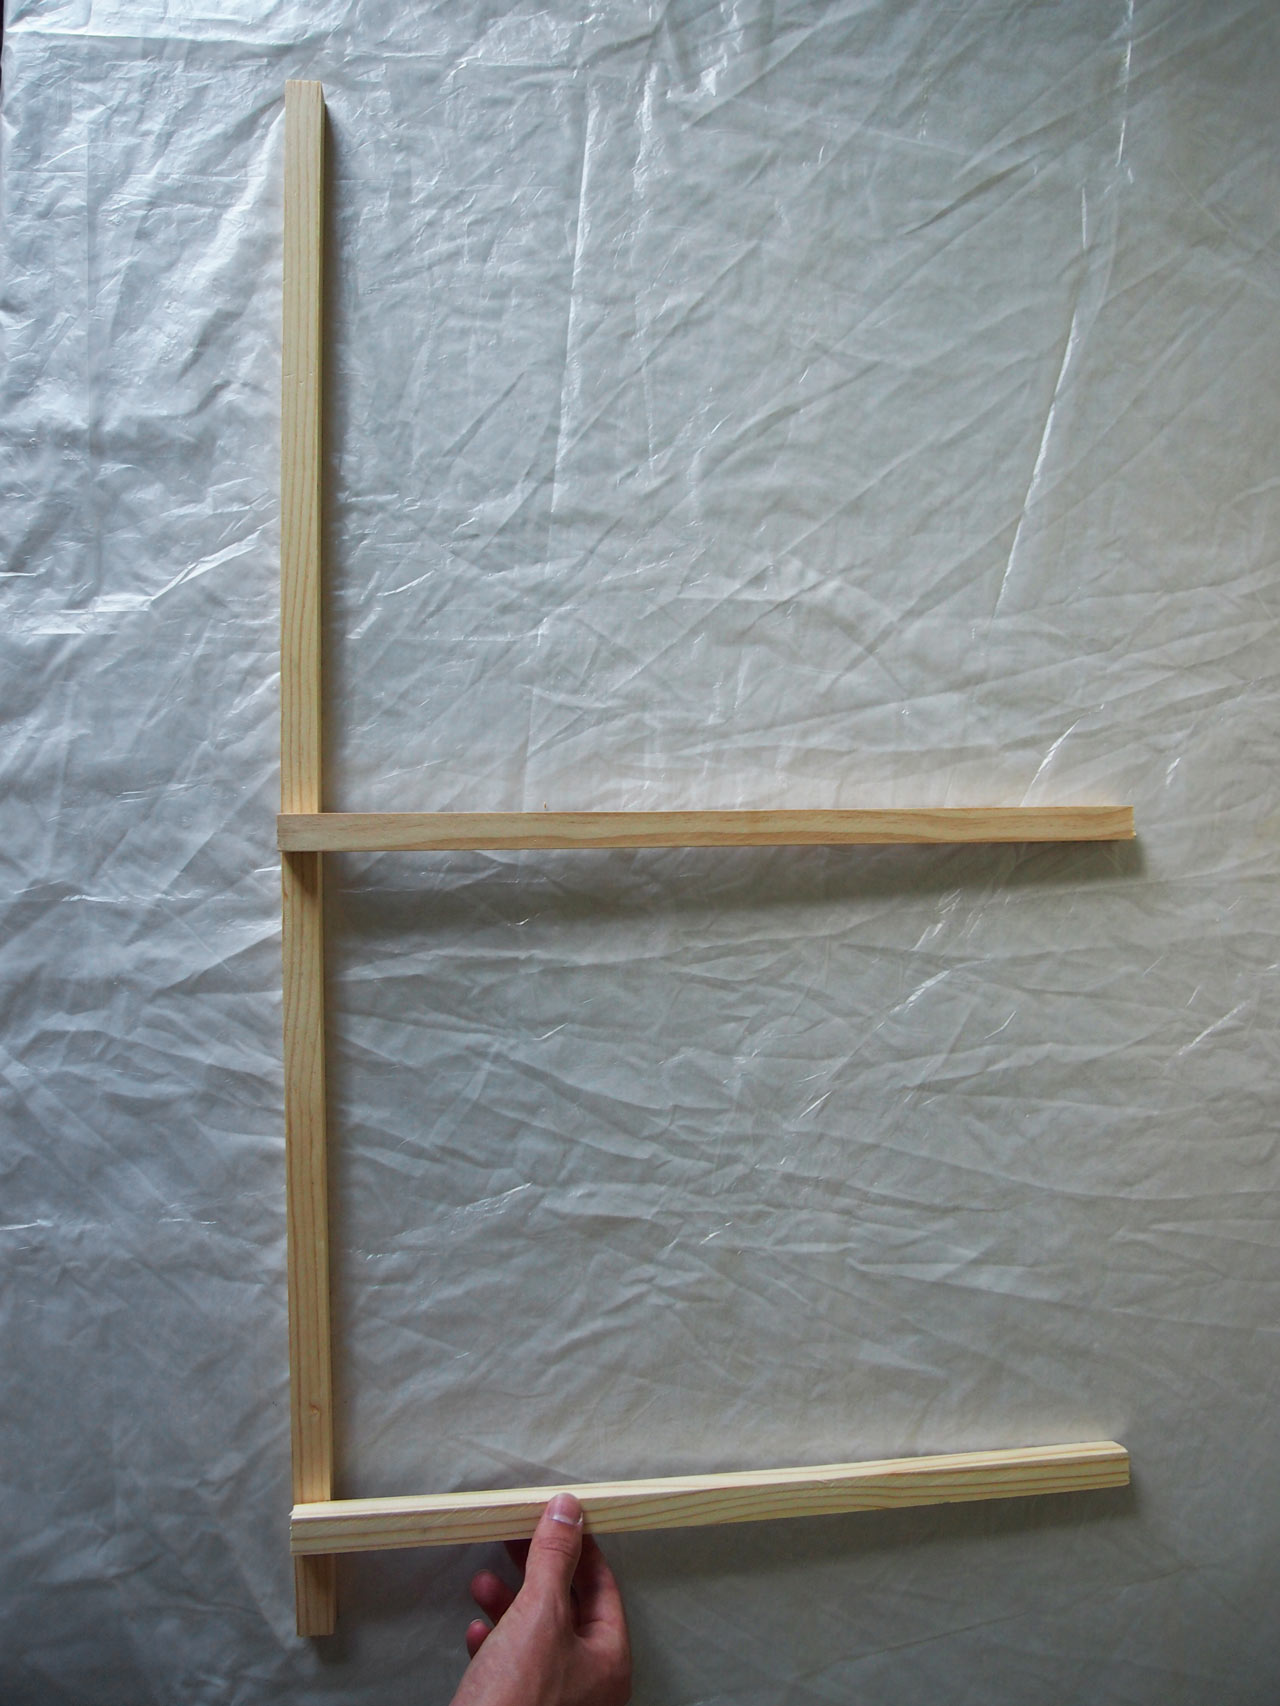
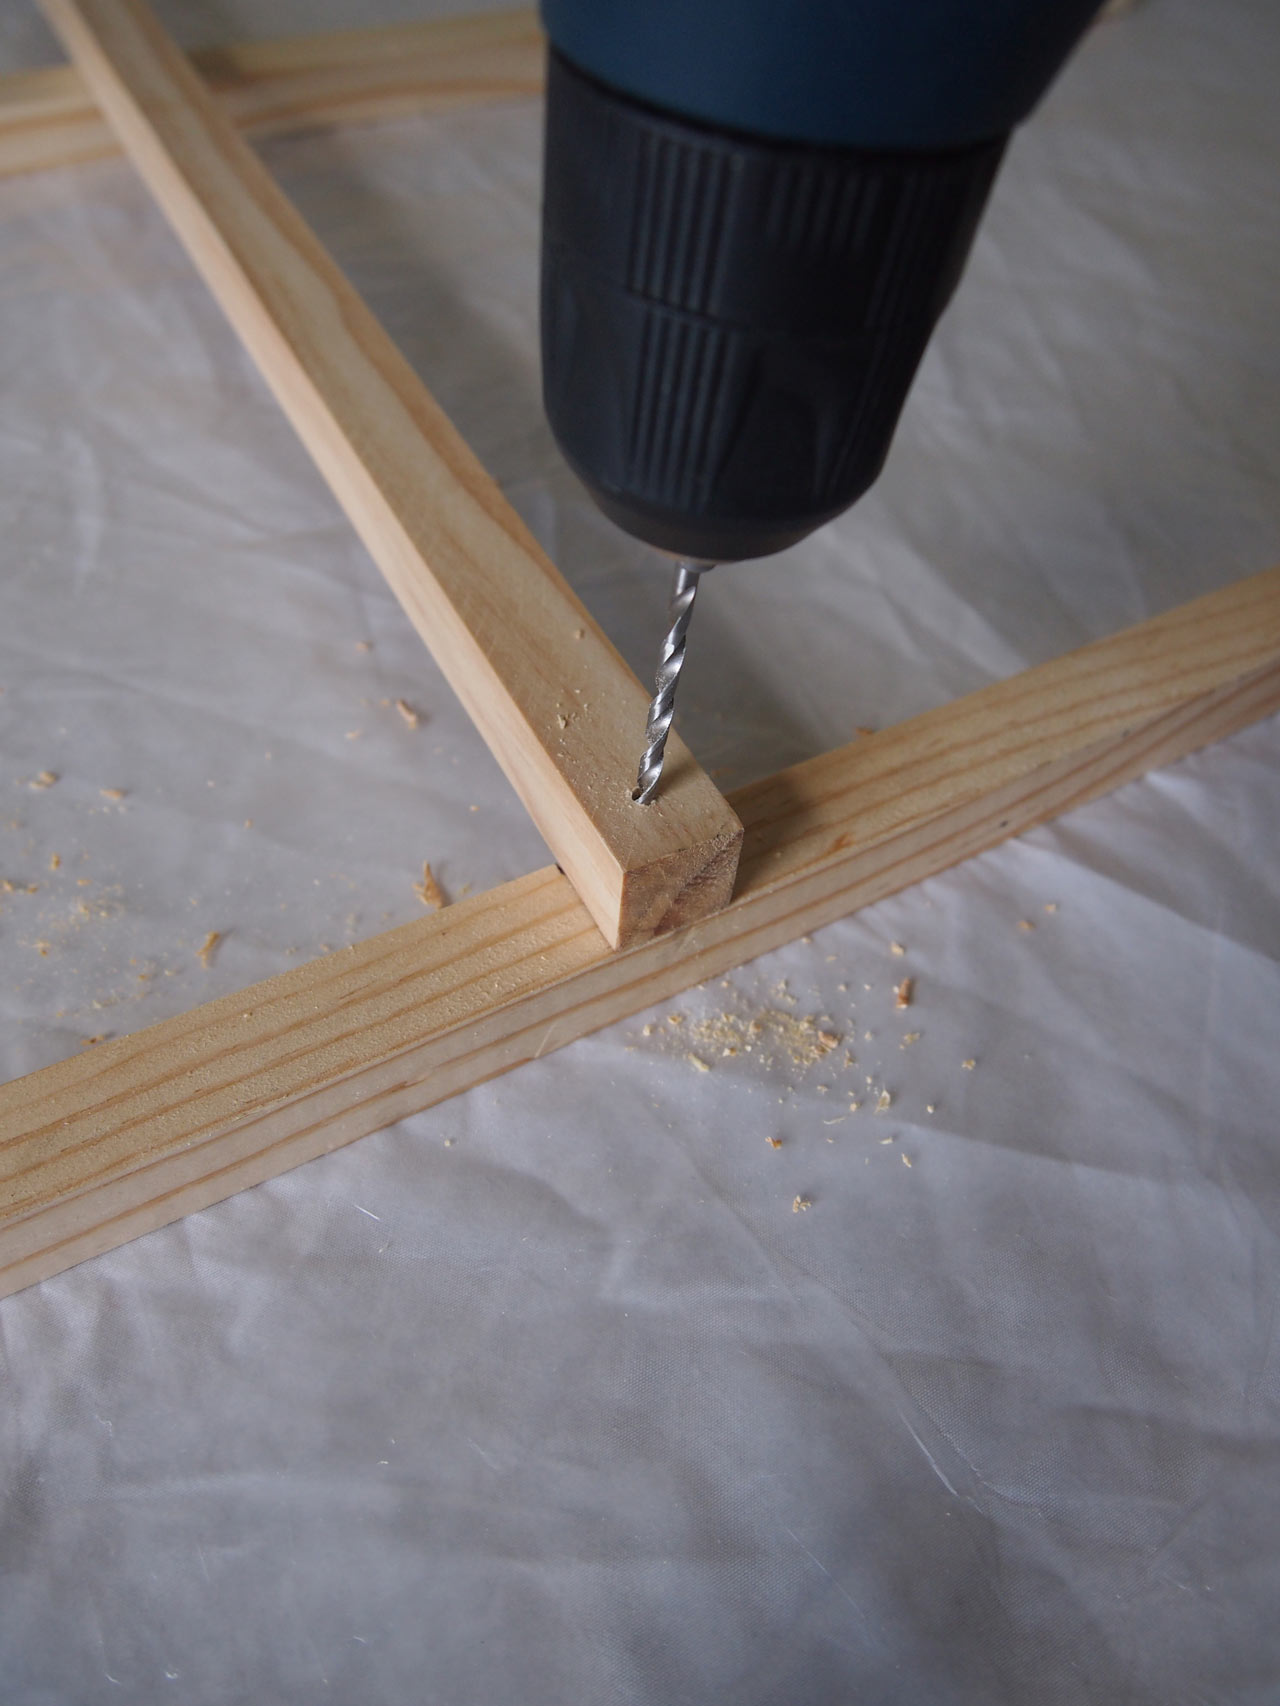
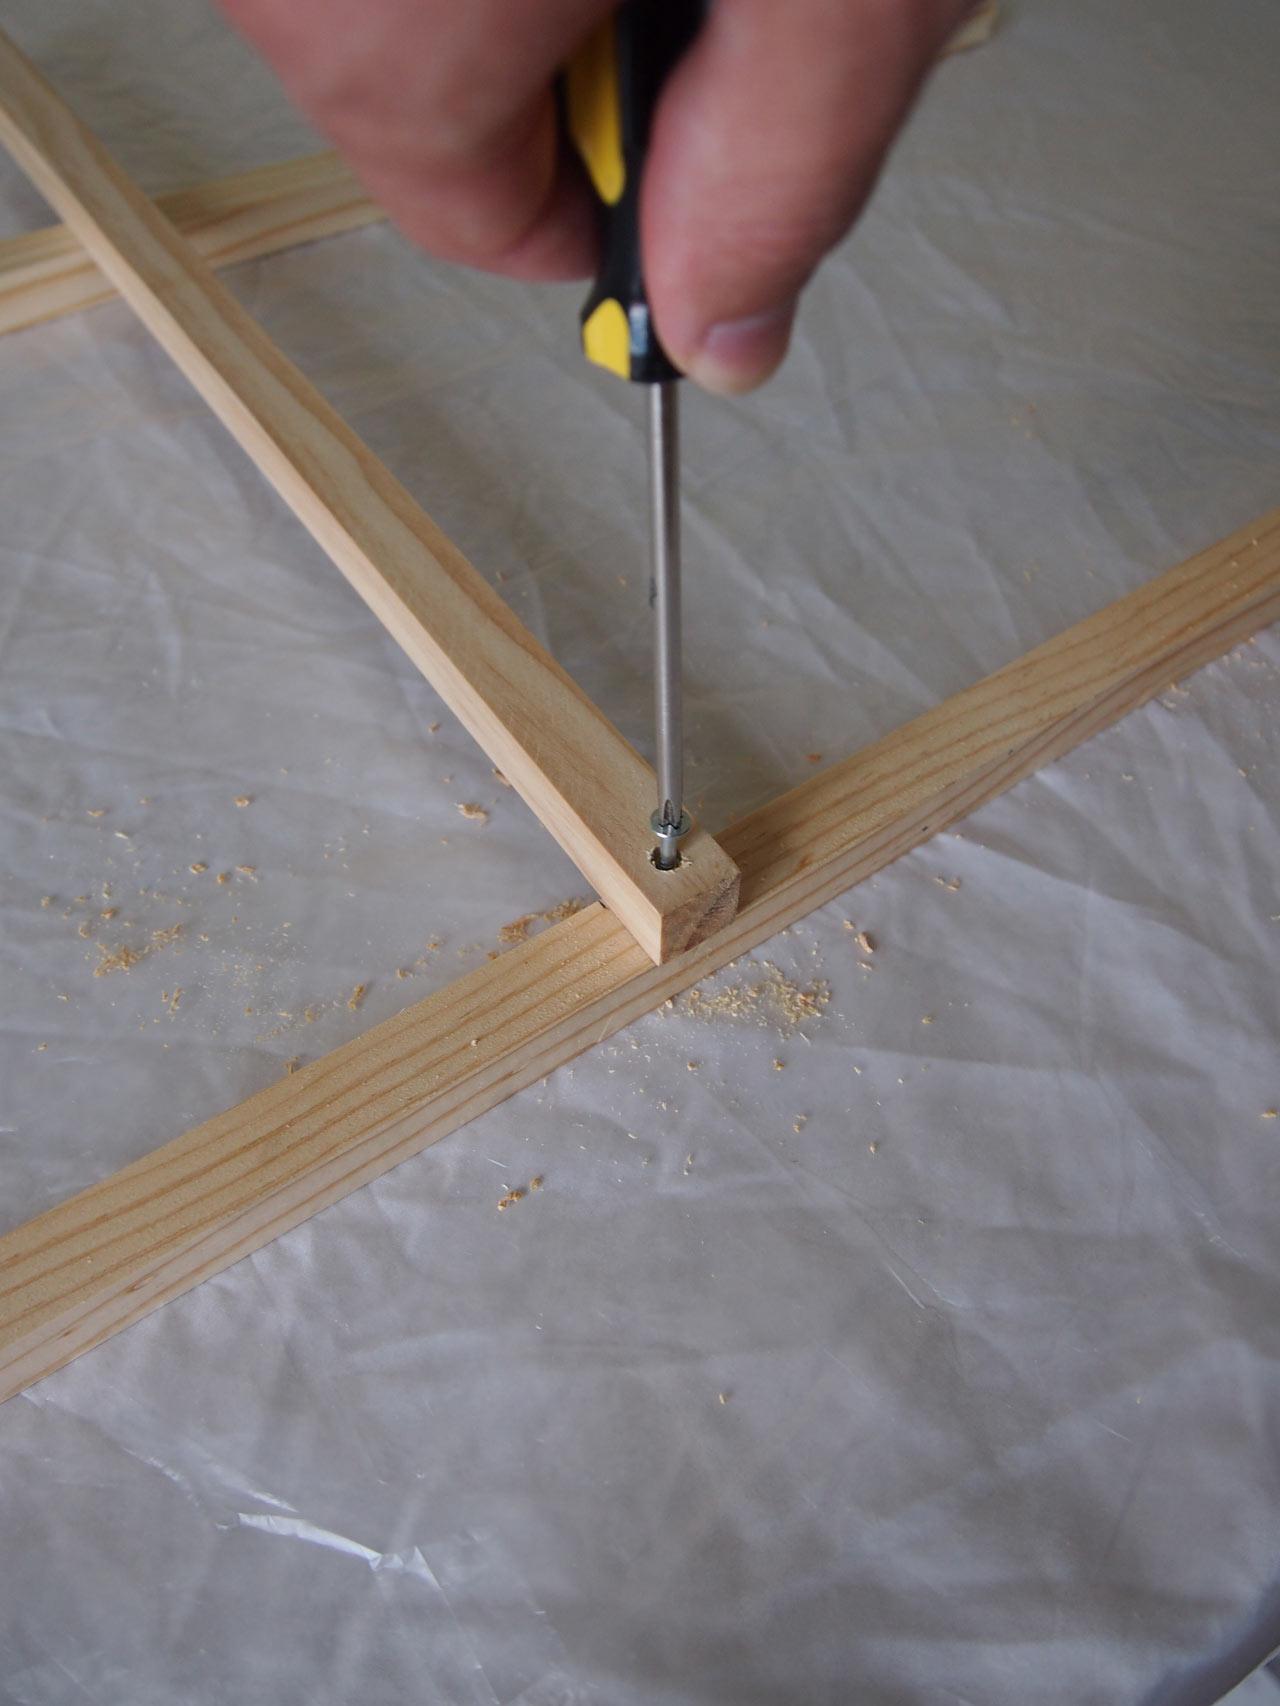
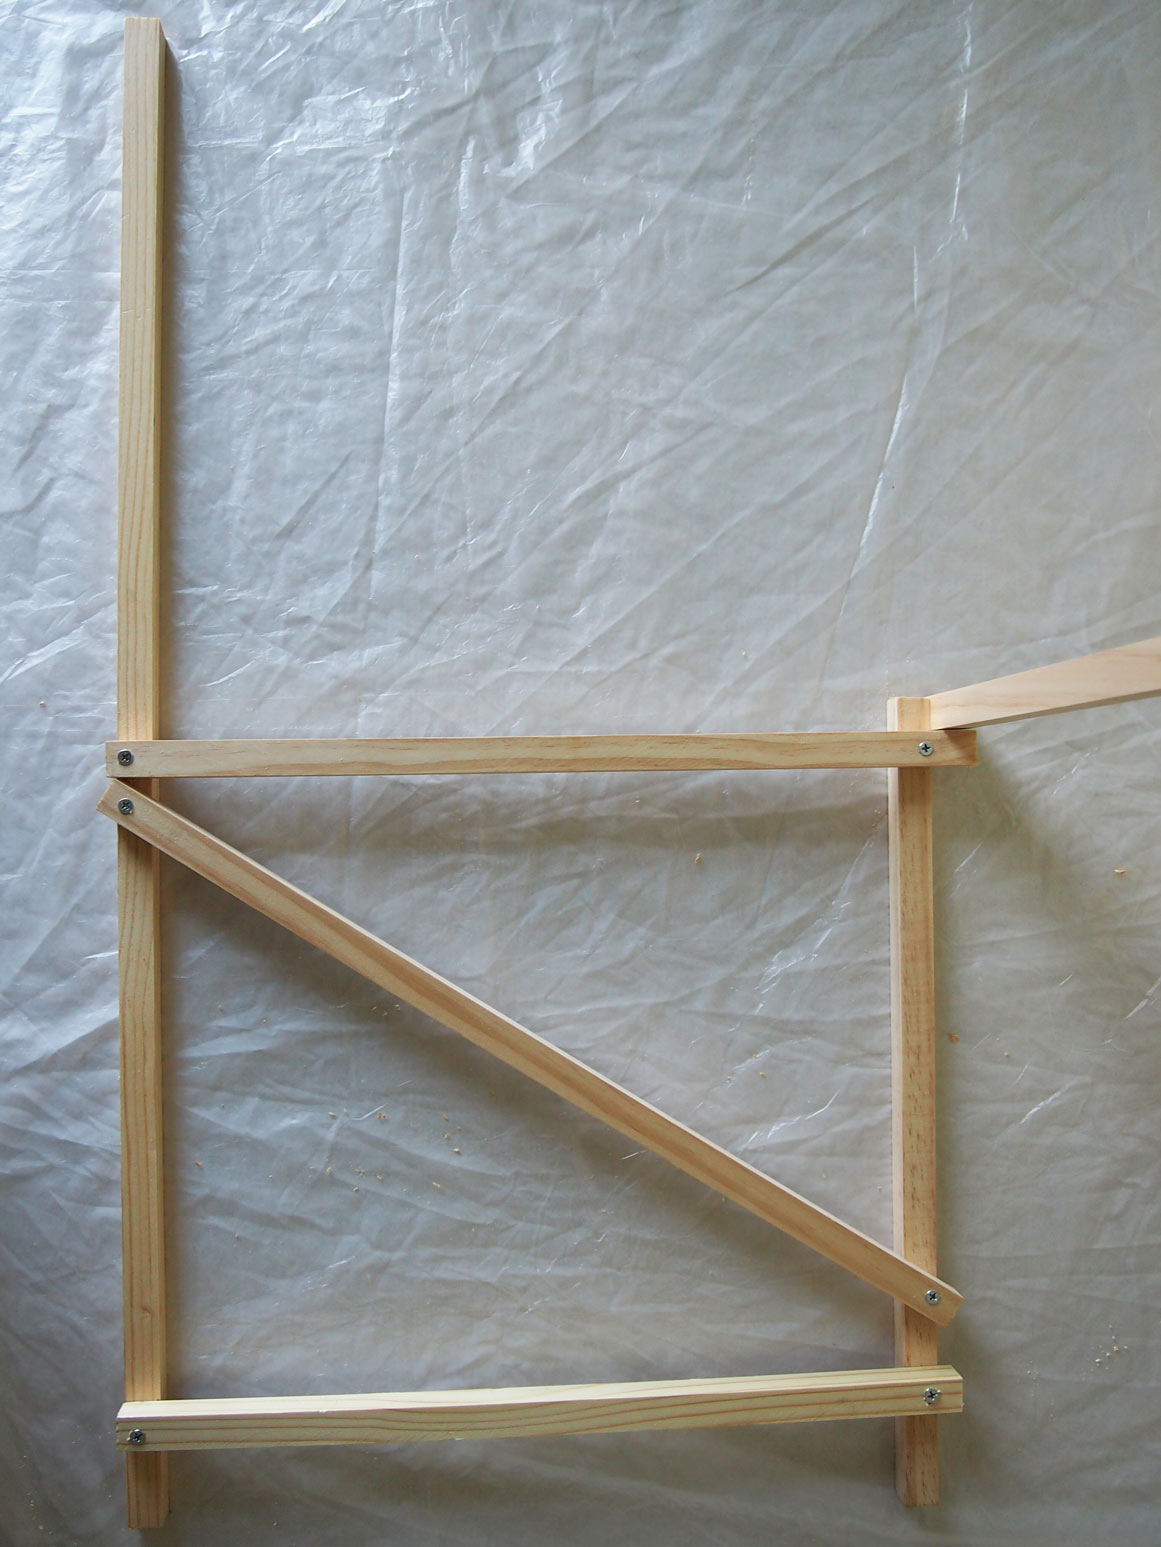
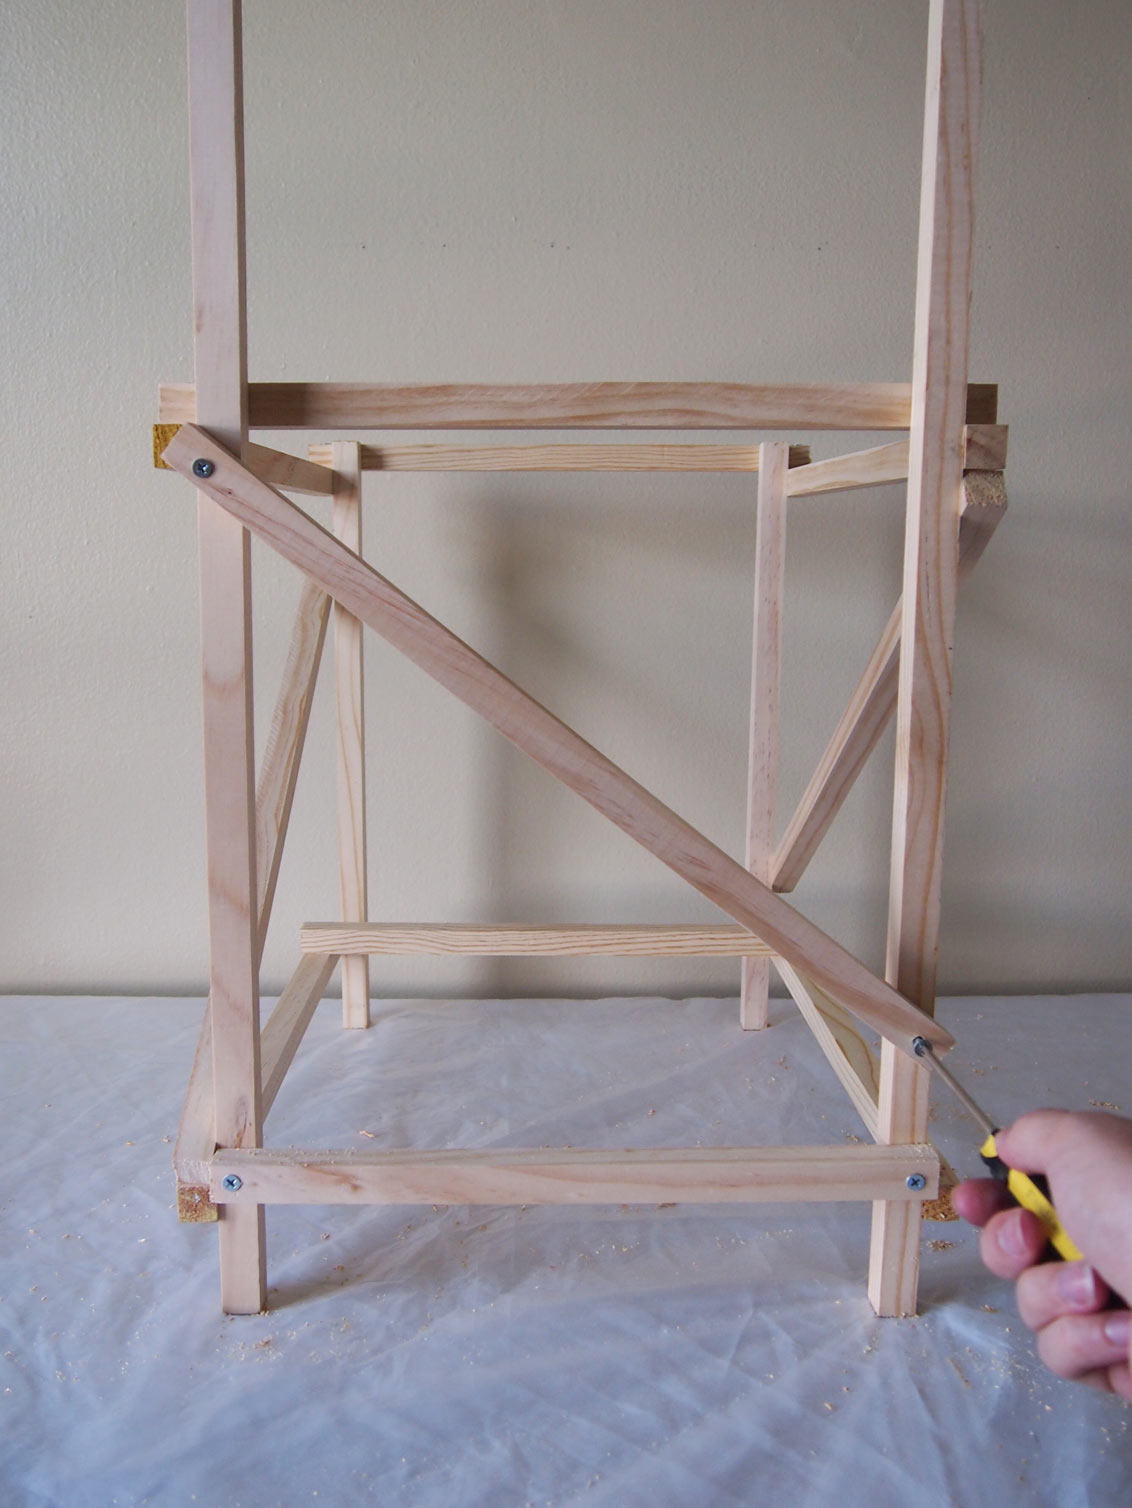
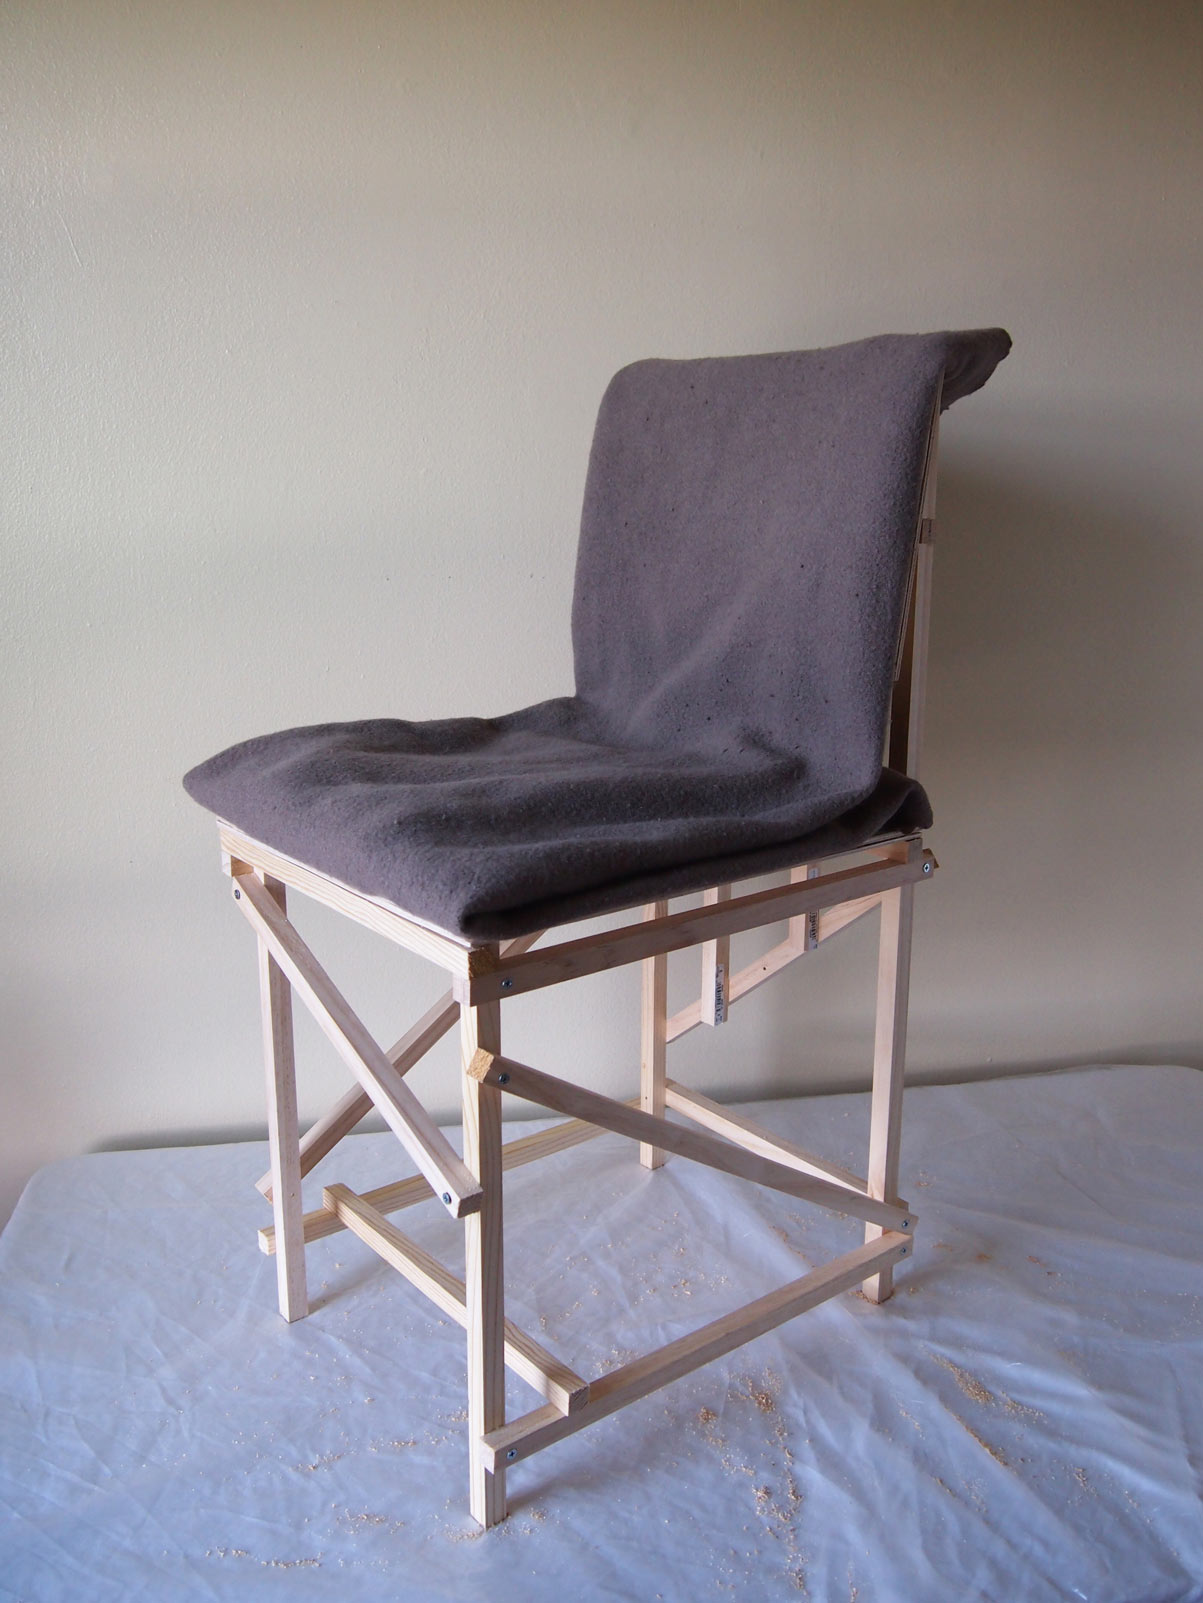
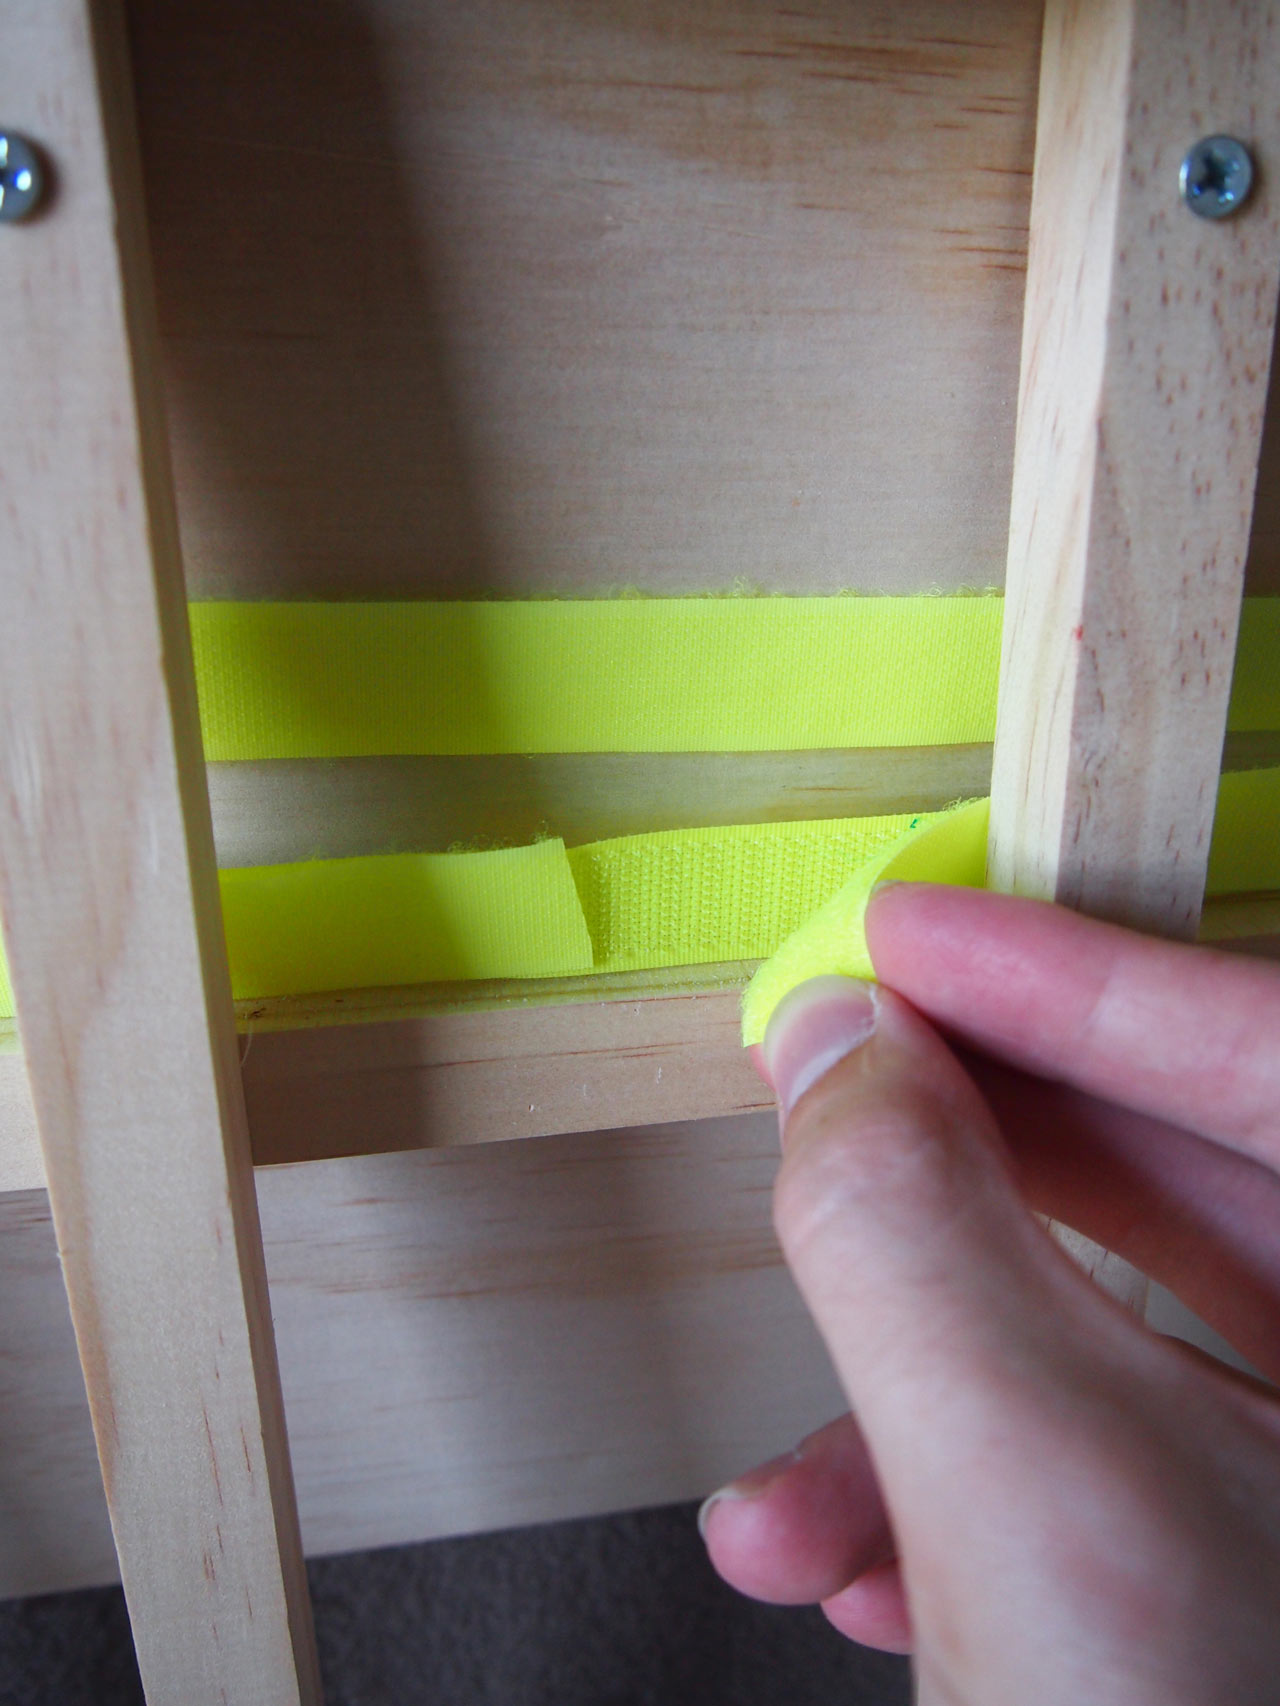
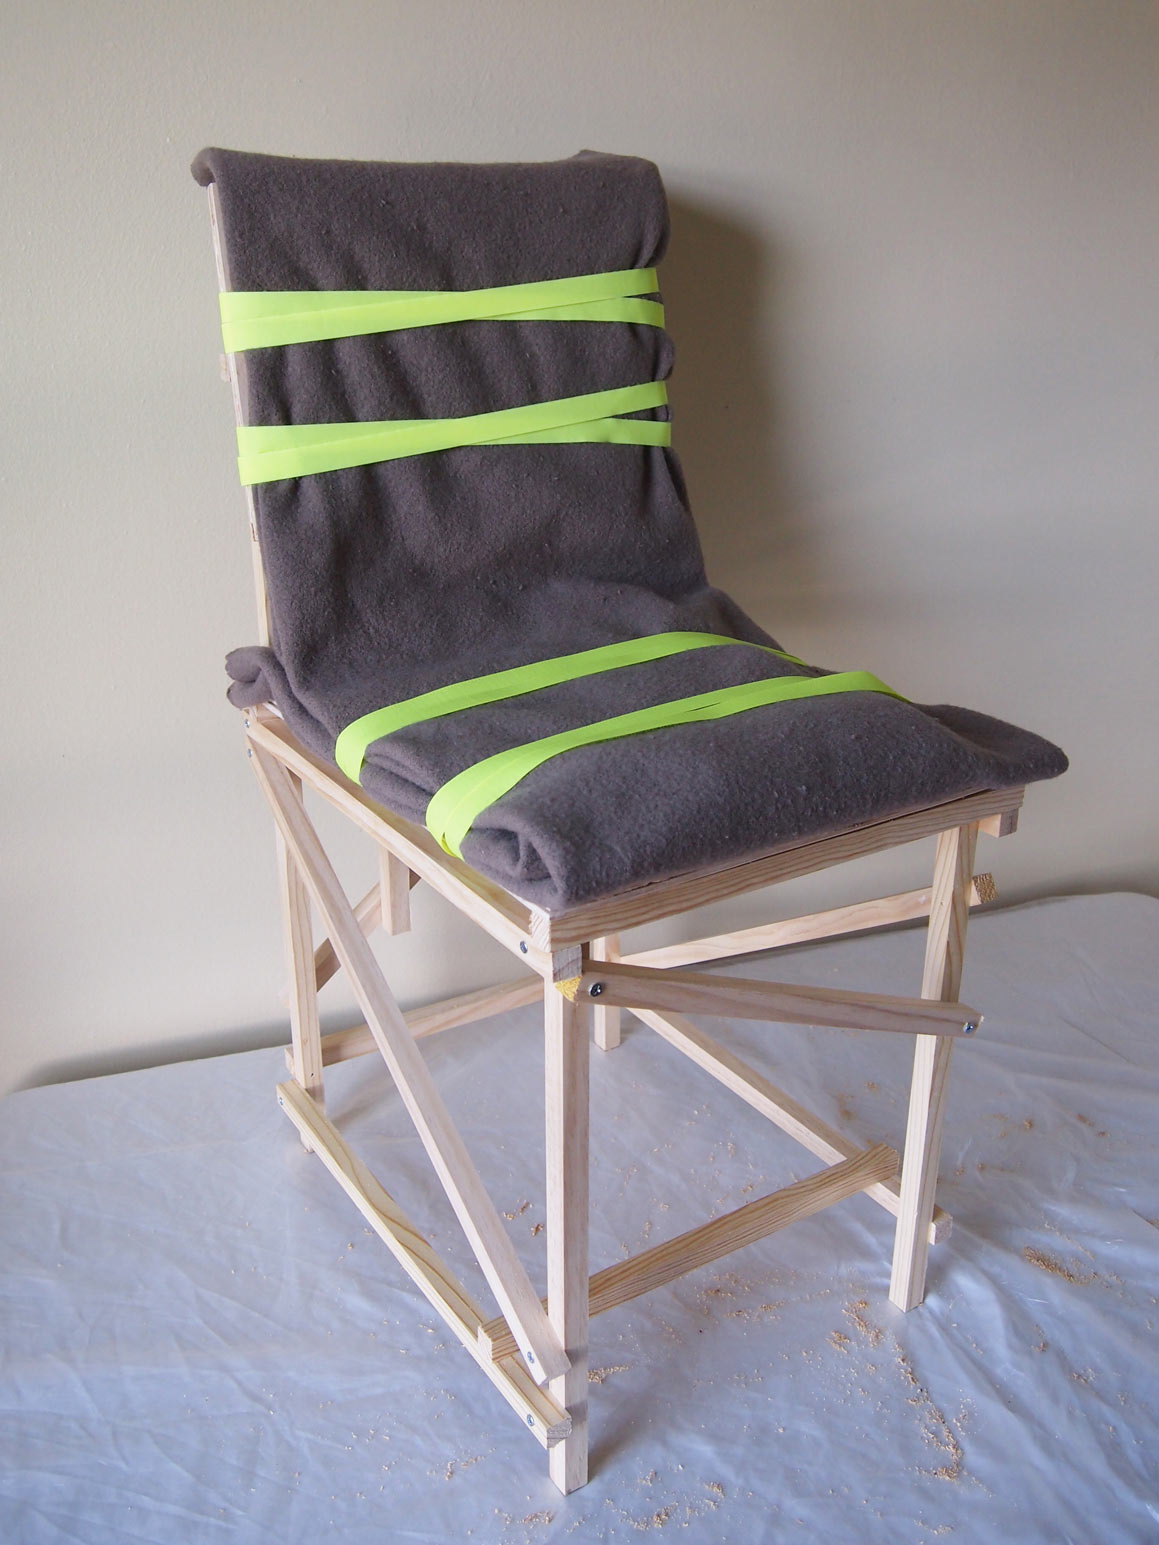
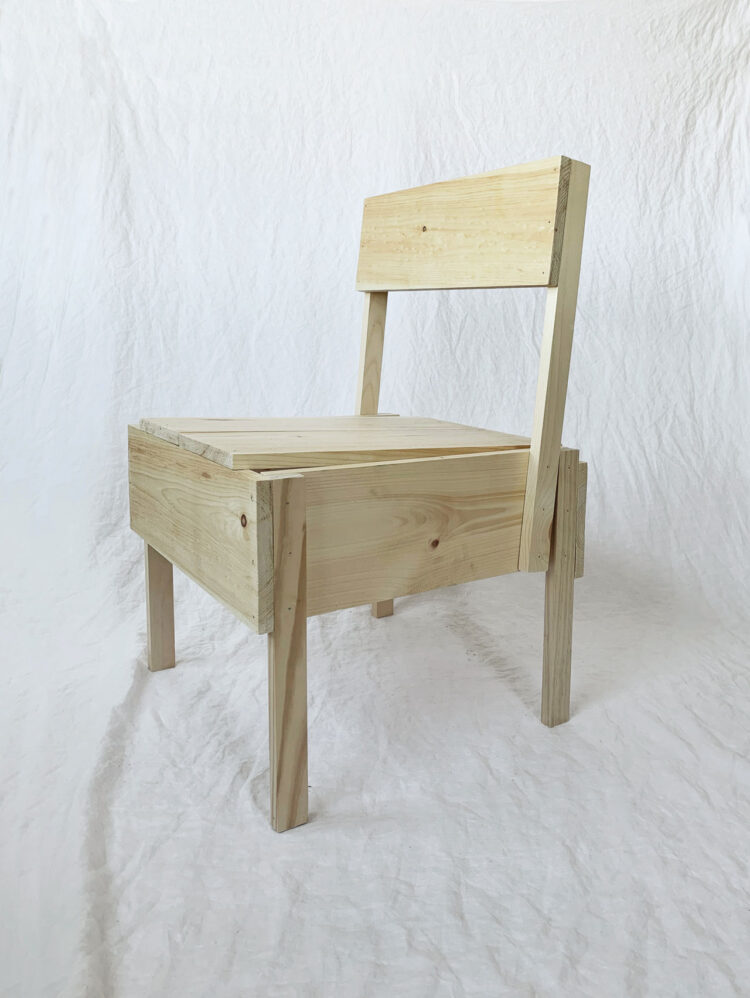
Tord Boontje’s visually striking Rough and Ready Chair utilizes a simple engineering trick, enhancing the strength of the brittle square frame by placing diagonal wooden pieces all around it. Its aesthetics are defined by whatever wood or spare blankets you happen to have on hand. The full assembly process takes up to 2 hours to complete, and the cost of parts really relies on how much you happen to already have. The design is also relatively easy to manipulate in order to make a bench or a stool.

Rough And Ready DIY Chair by Tord Boontje
Assembly
Index
Parts
Smooth Planed Pine Wood, 1in x 1in (34mm x 34mm)
*Any popular softwood can also be used, like Redwood. Metric measurements above are actual, not nominal, and availability may vary by location.
 
Quantity required: 2 pieces 32.5in (830mm) long, 2 pieces 18in (460mm) long, 2 pieces 18.5in (470mm) long, 2 pieces 18in (454mm) long, 2 pieces 21in (538mm) long, 4 pieces 15in (380mm) long, 1 pieces 13.5in (340mm) long, 1 pieces 17.5in (440mm) long, 1 pieces 14in (350mm) long
Plywood, 1/2in (12mm) thickness
 
Quantity required: 1 piece 18in x 15in (450mm x 380mm), 1 piece 10in x 15in (250mm x 380mm)
Flat Head Wood Screws, #6 x 1-1/2in (4 x 35mm)
 
Quantity required: 64
Towel or Blanket
 
Quantity required: 1
Hook and Loop (or Velcro), 1/2in (13mm) wide
Quantity required: 15ft (4.5m)
Tools
Hand Saw
Power Drill
Drill Bits
Ruler or Tape Measure
Screwdriver
Square (or flat object with 90 degree angle)
Help Each Other

Sedia 1 Chair

Enzo Mari

Sedia 1 autoprogettazione DIY Chair by Enzo Mari
Sedia 1 Chair

Designed by Enzo Mari
Published in Fall 2019

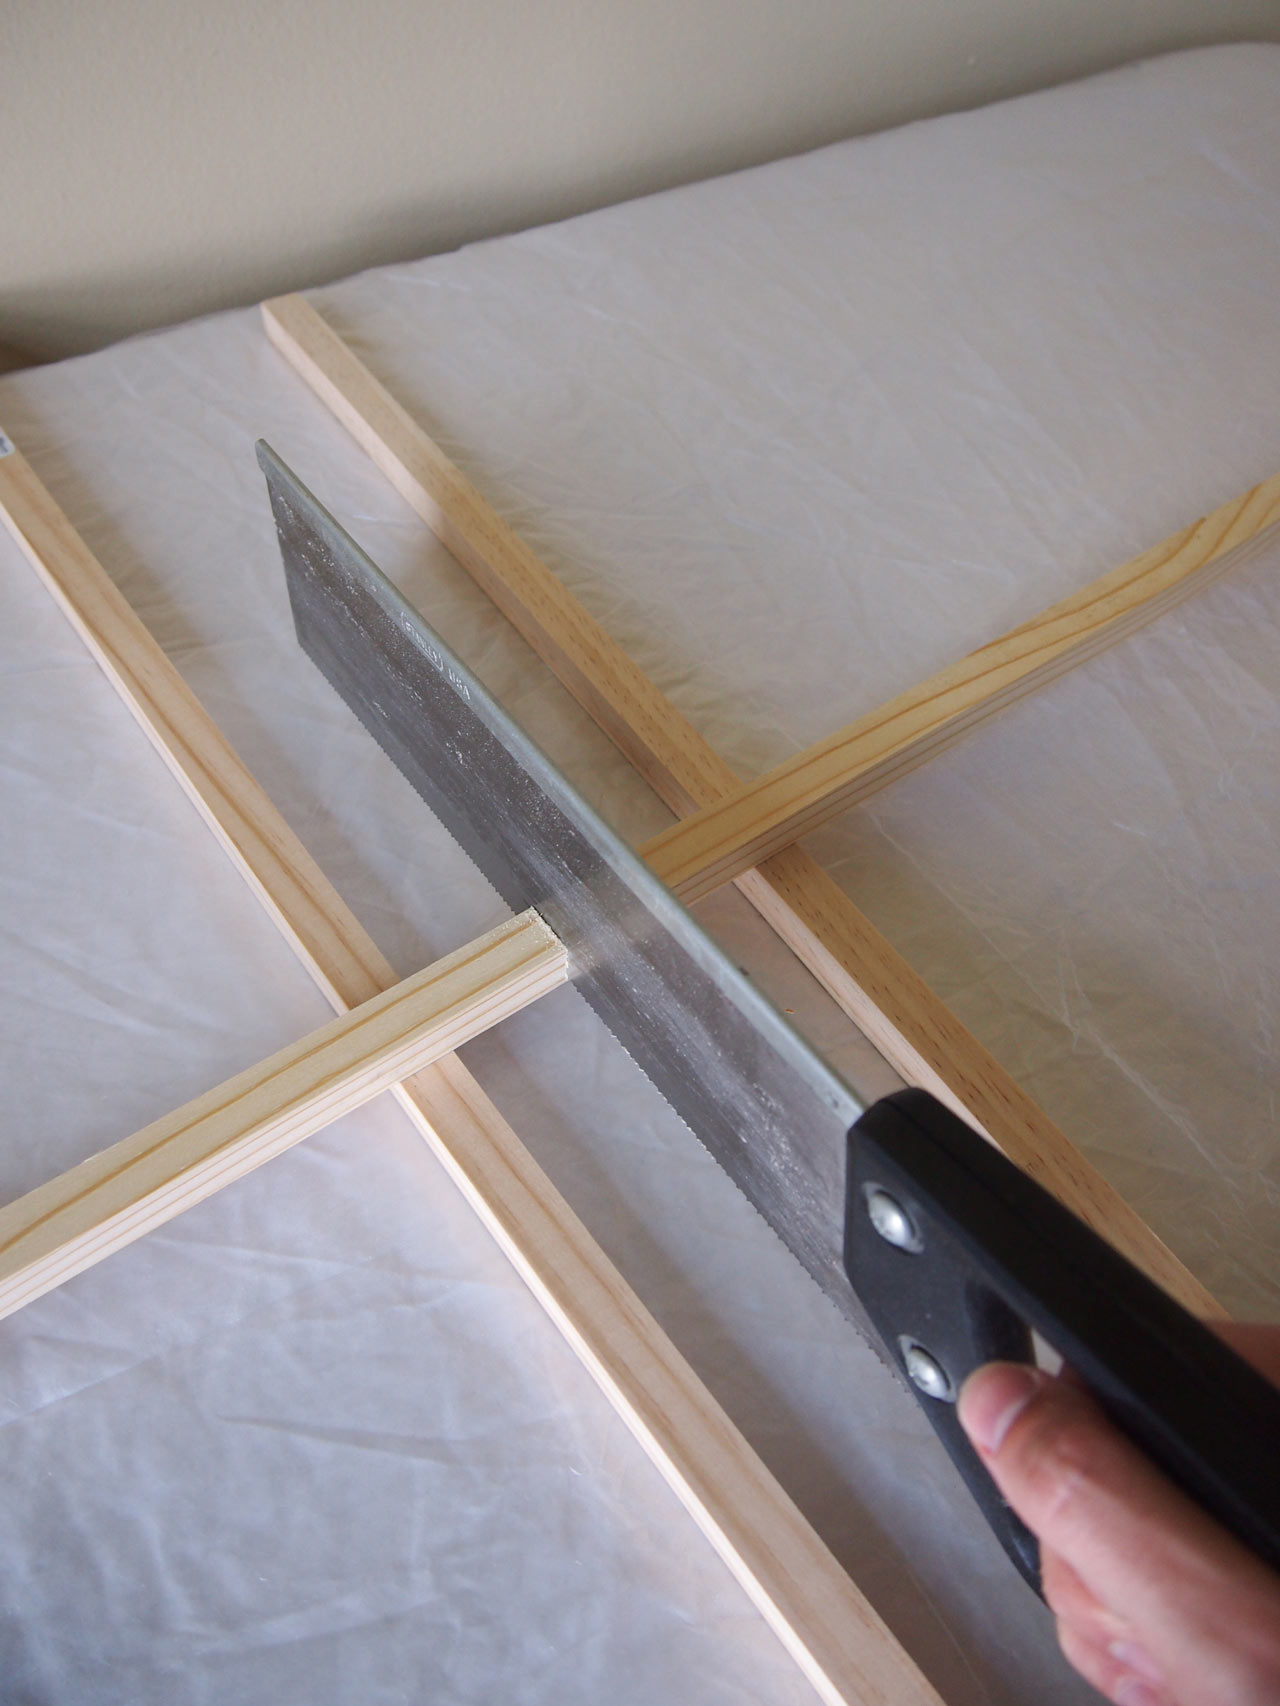
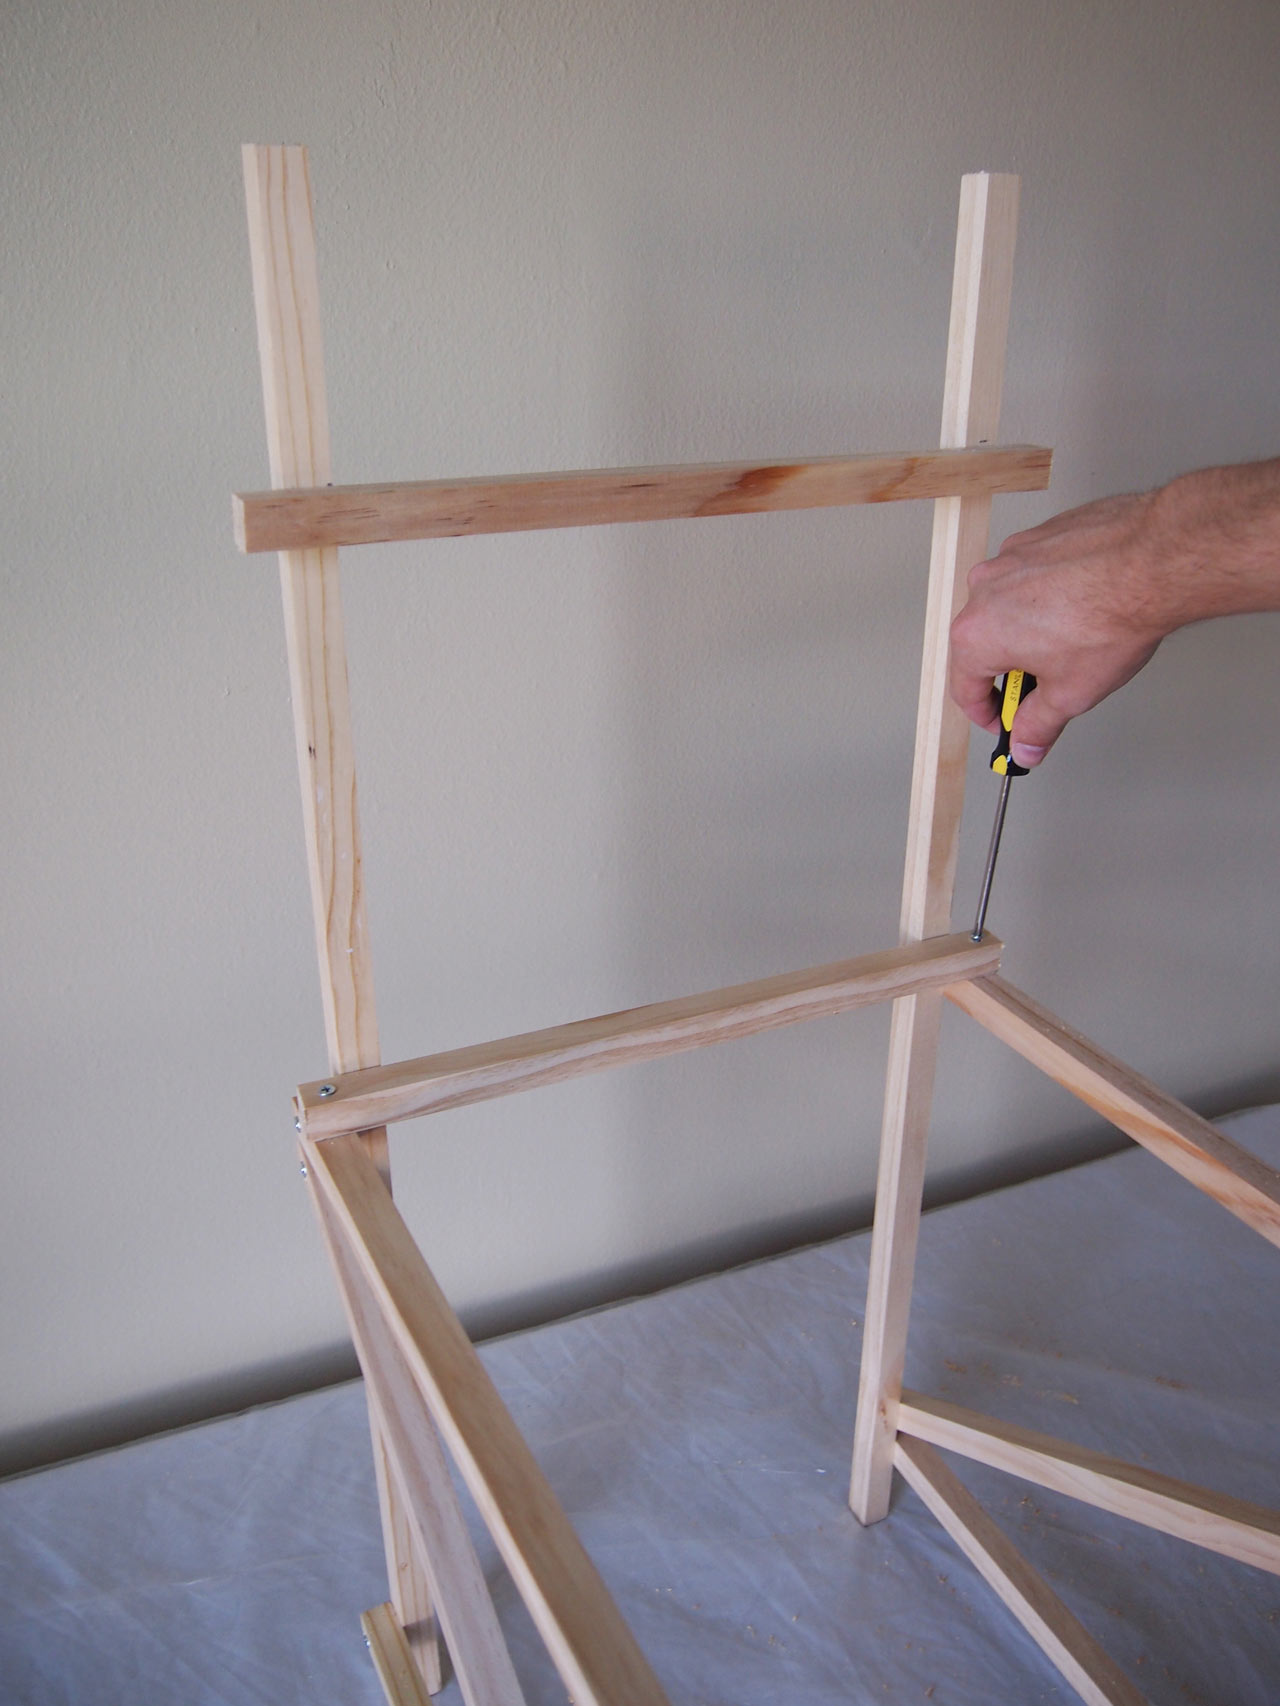
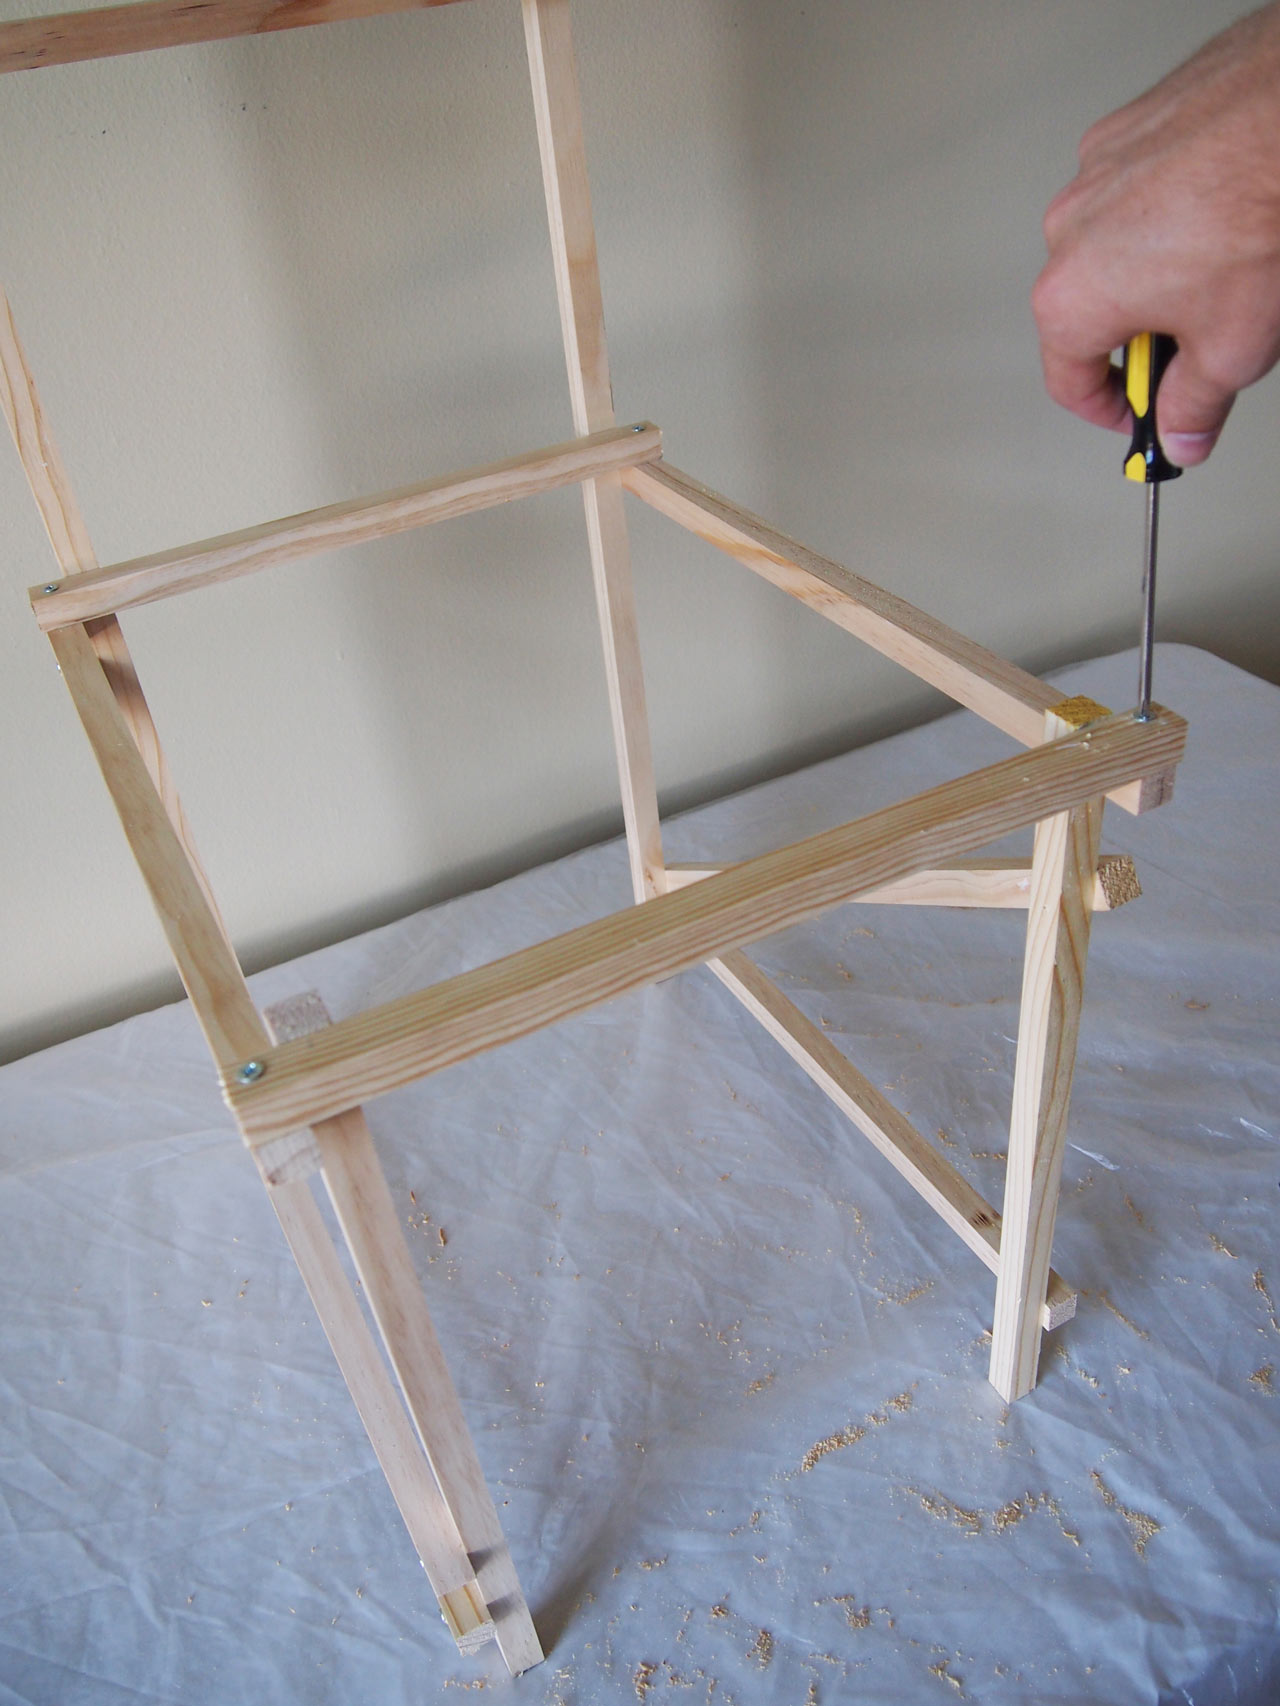
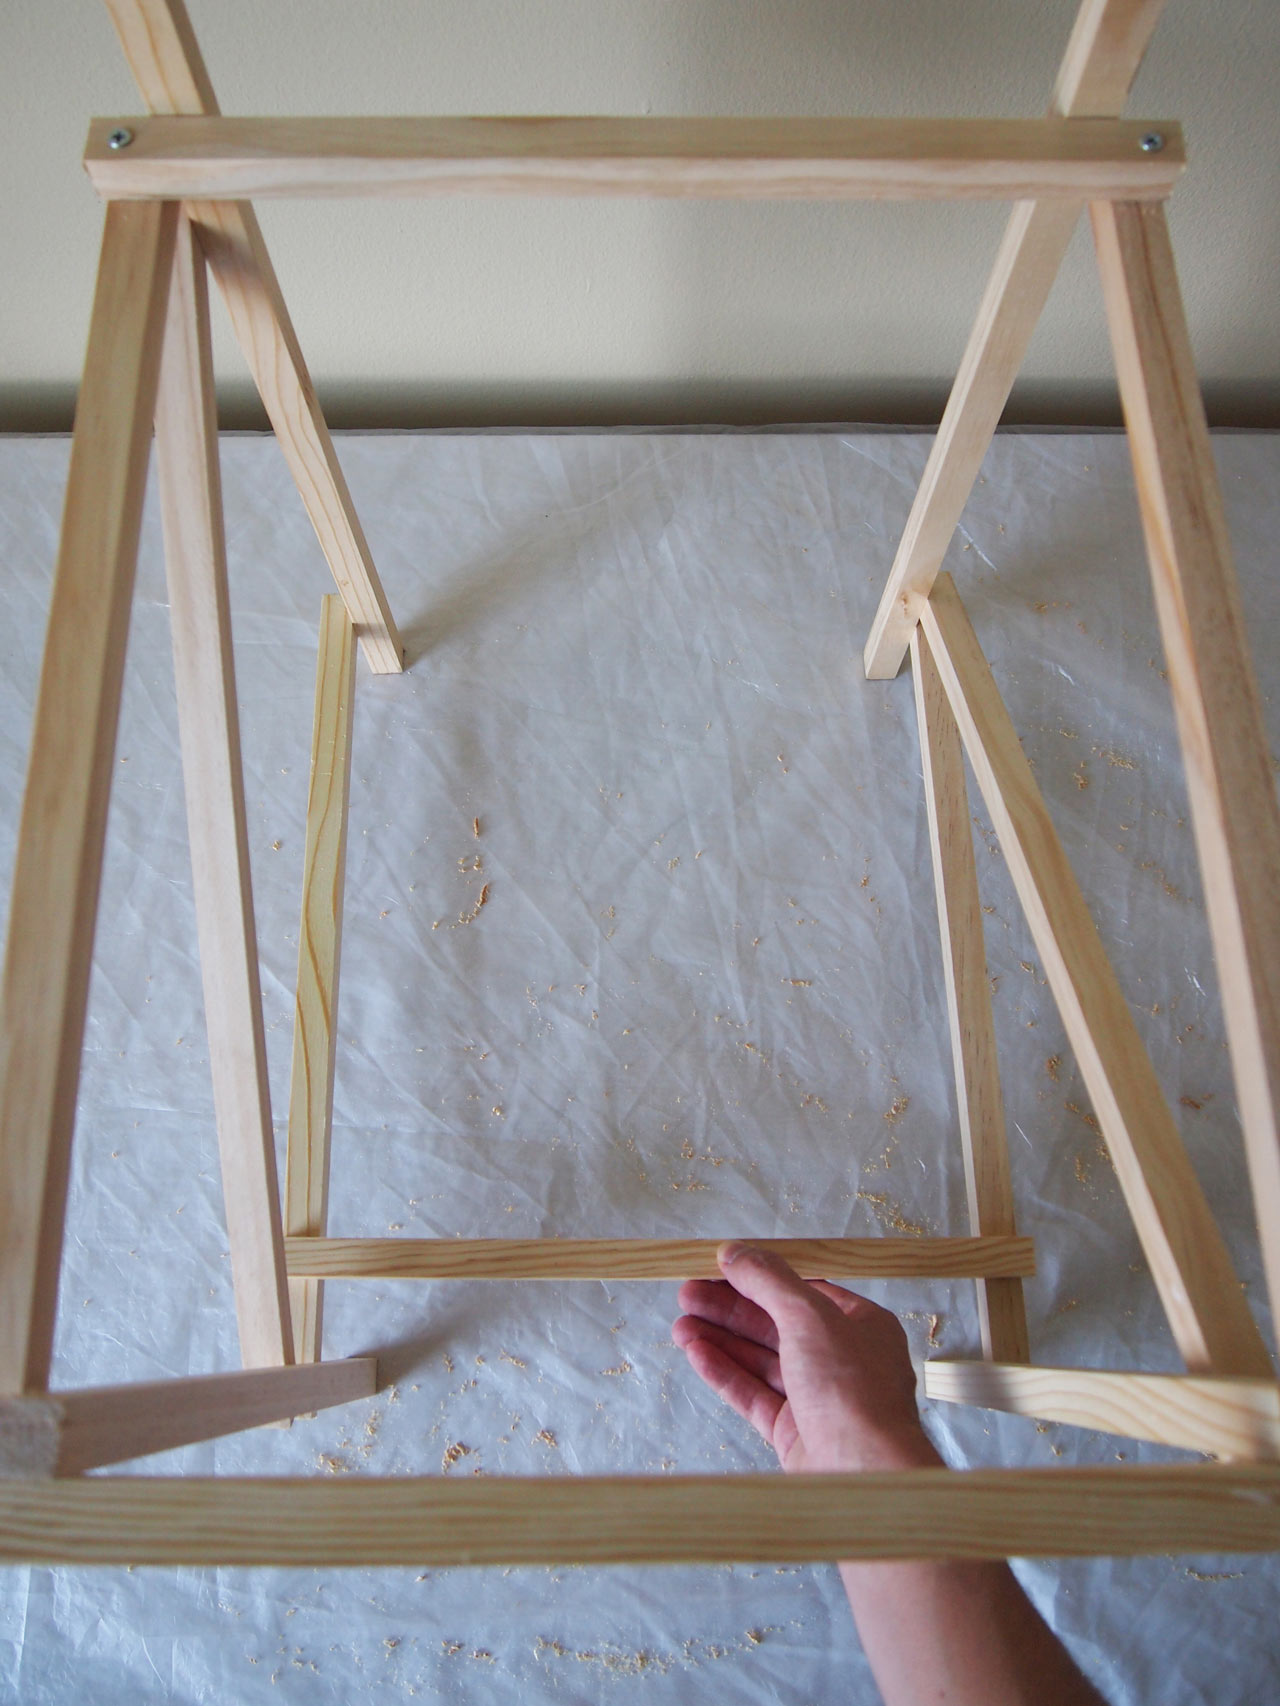
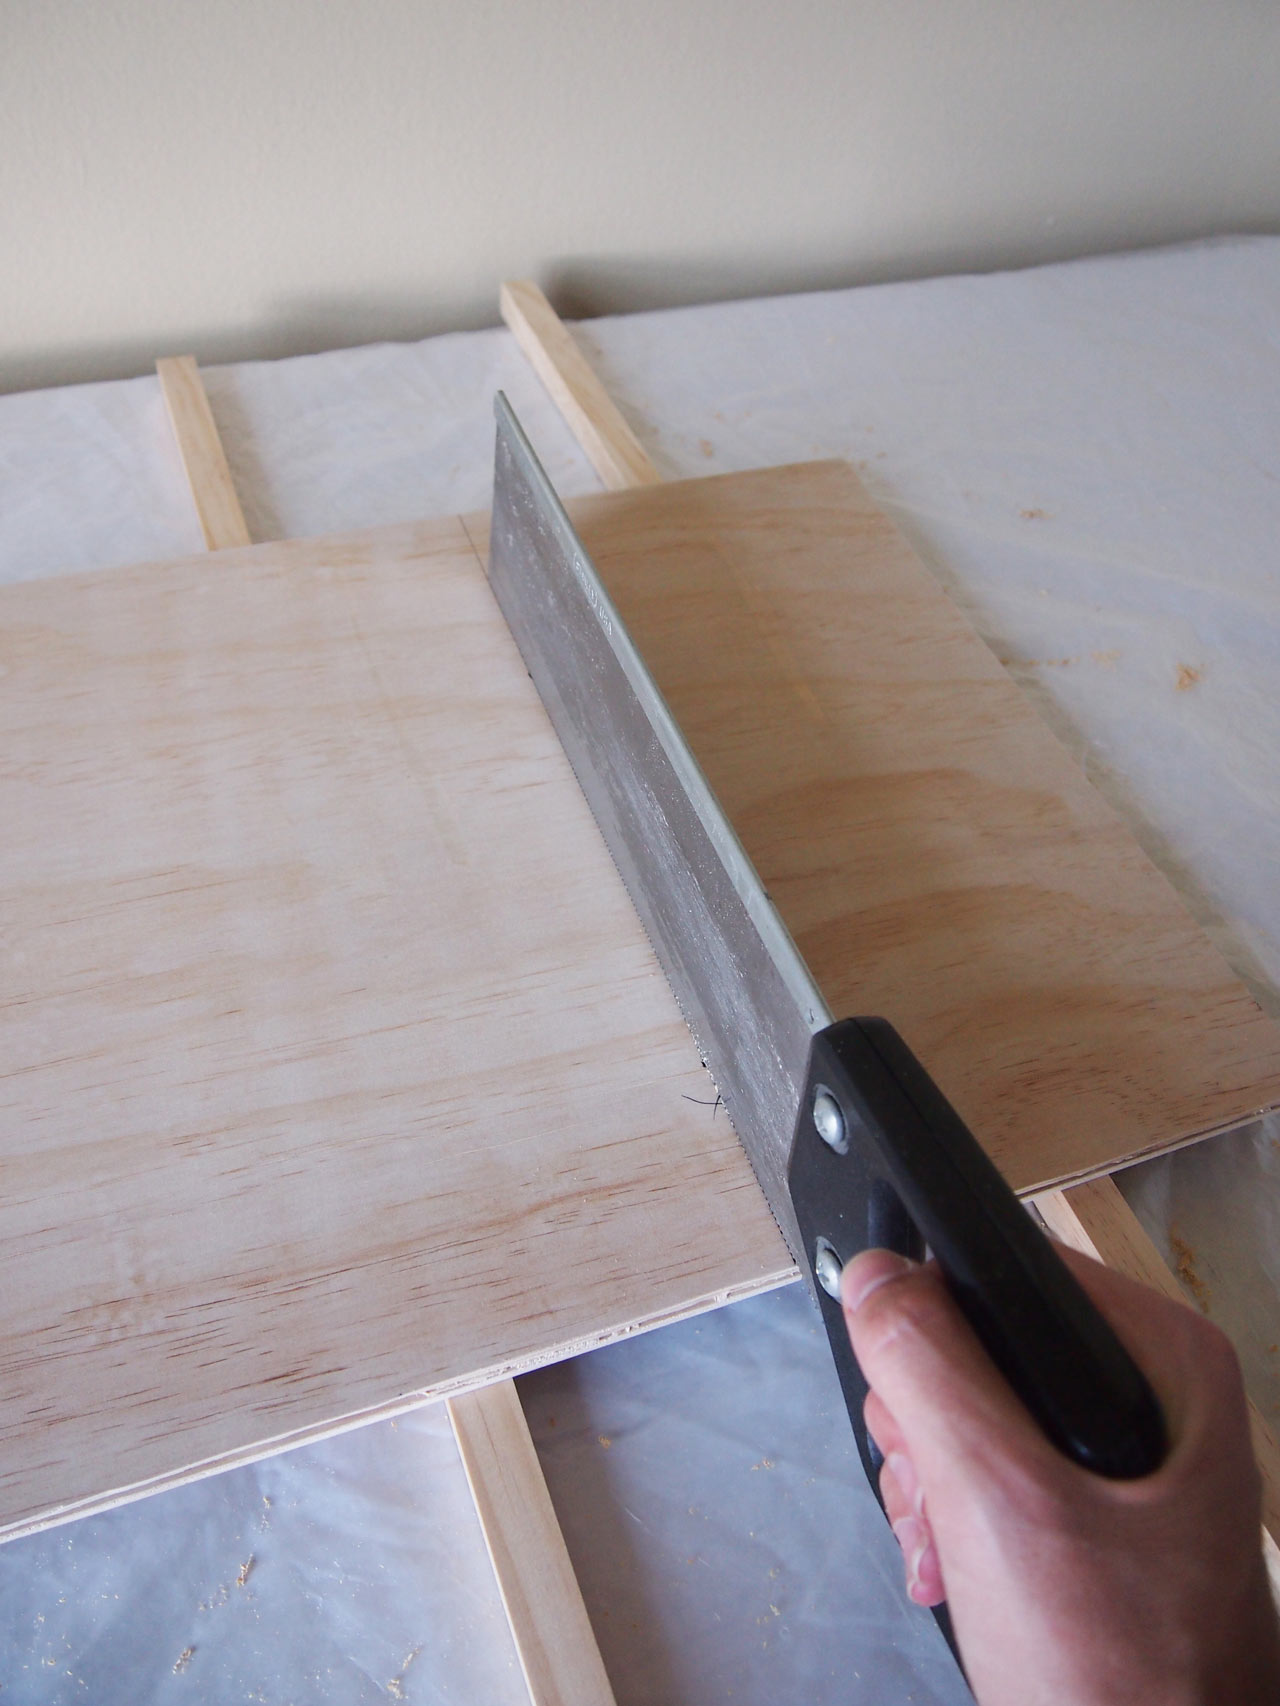
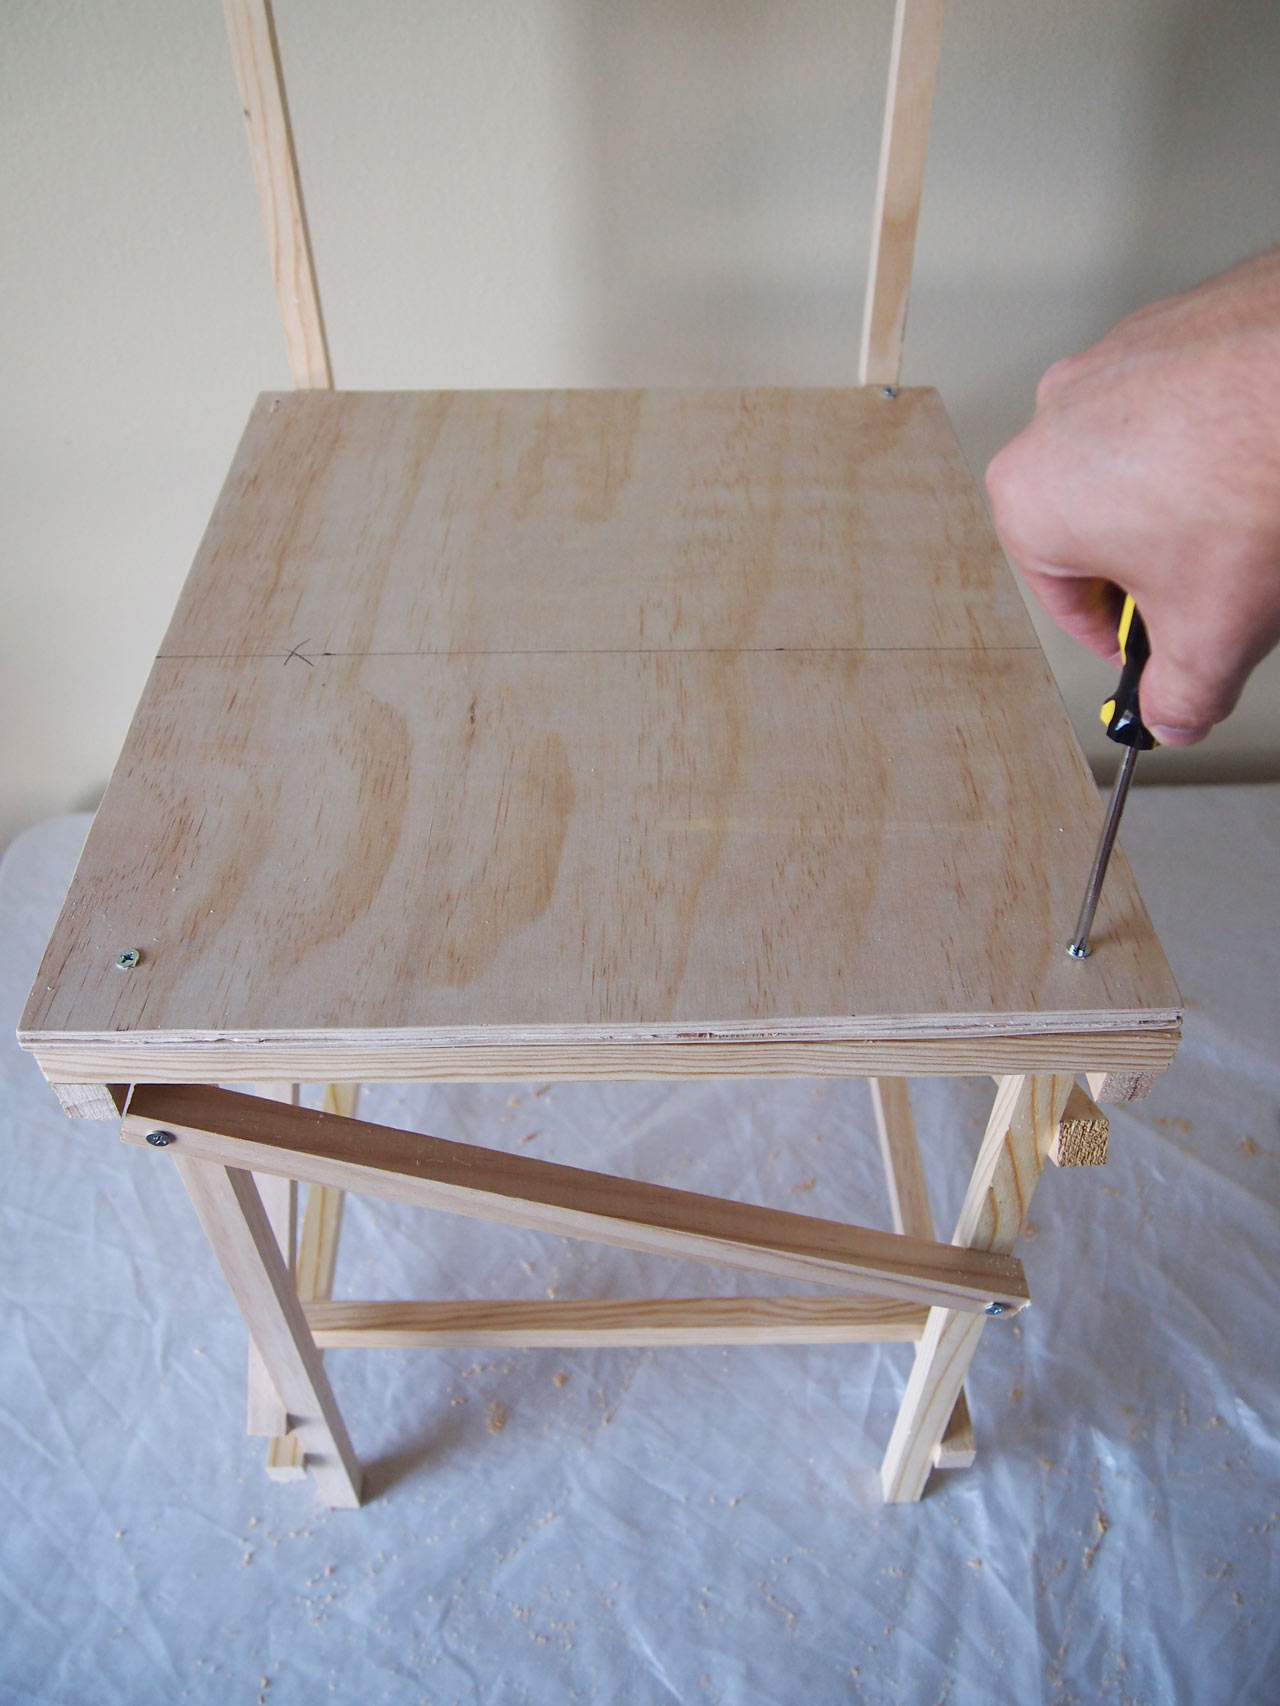
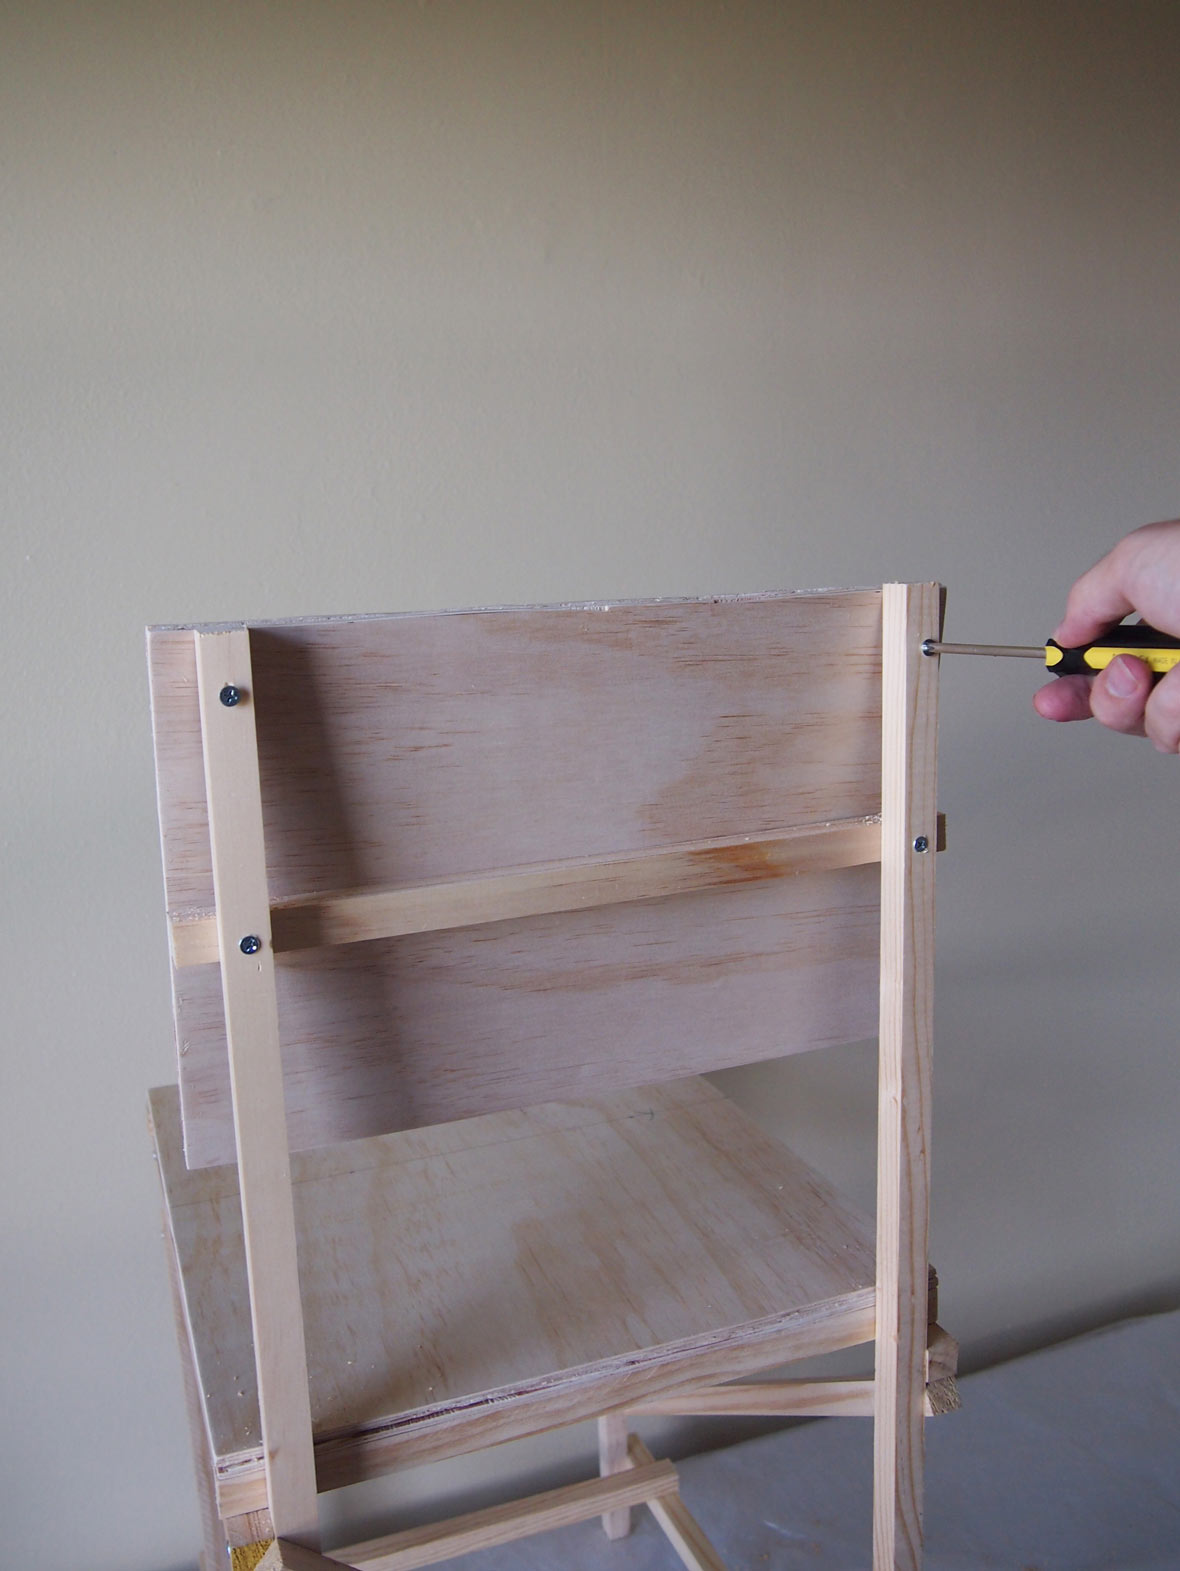
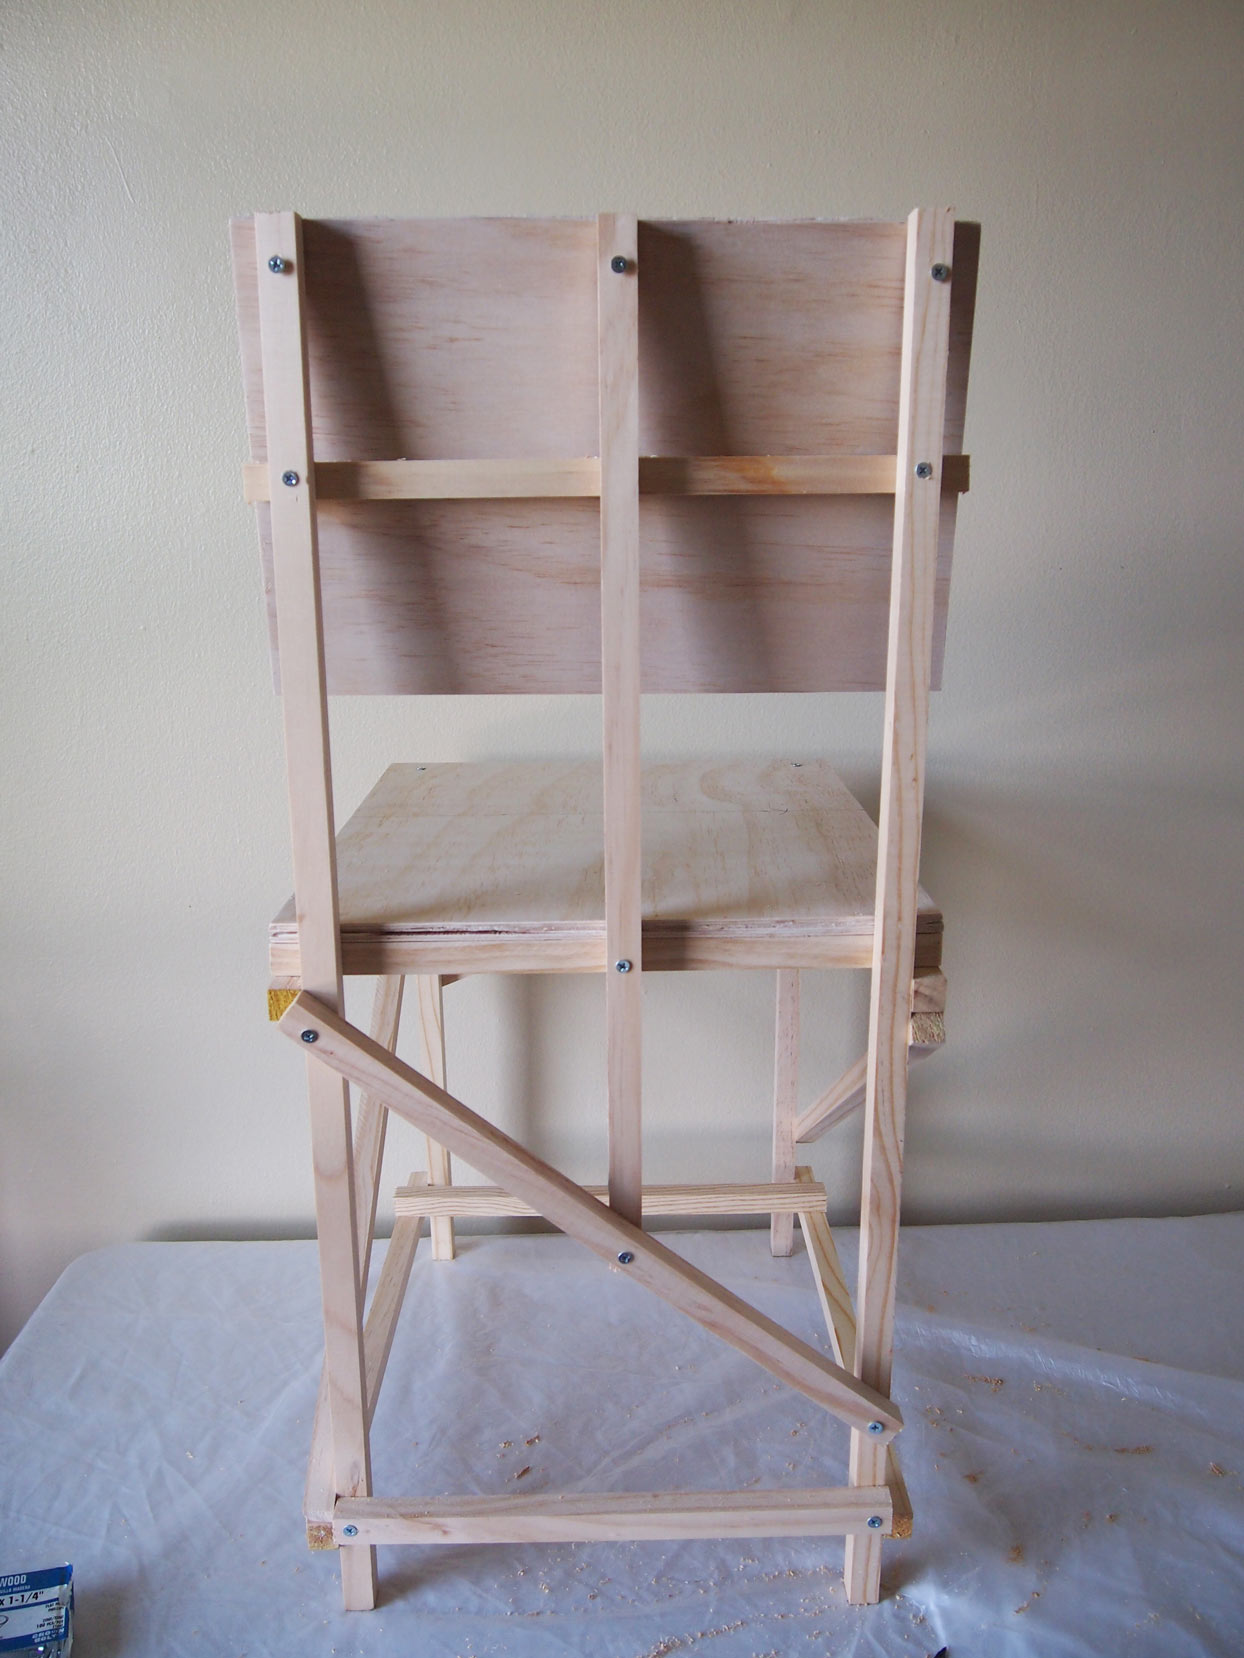
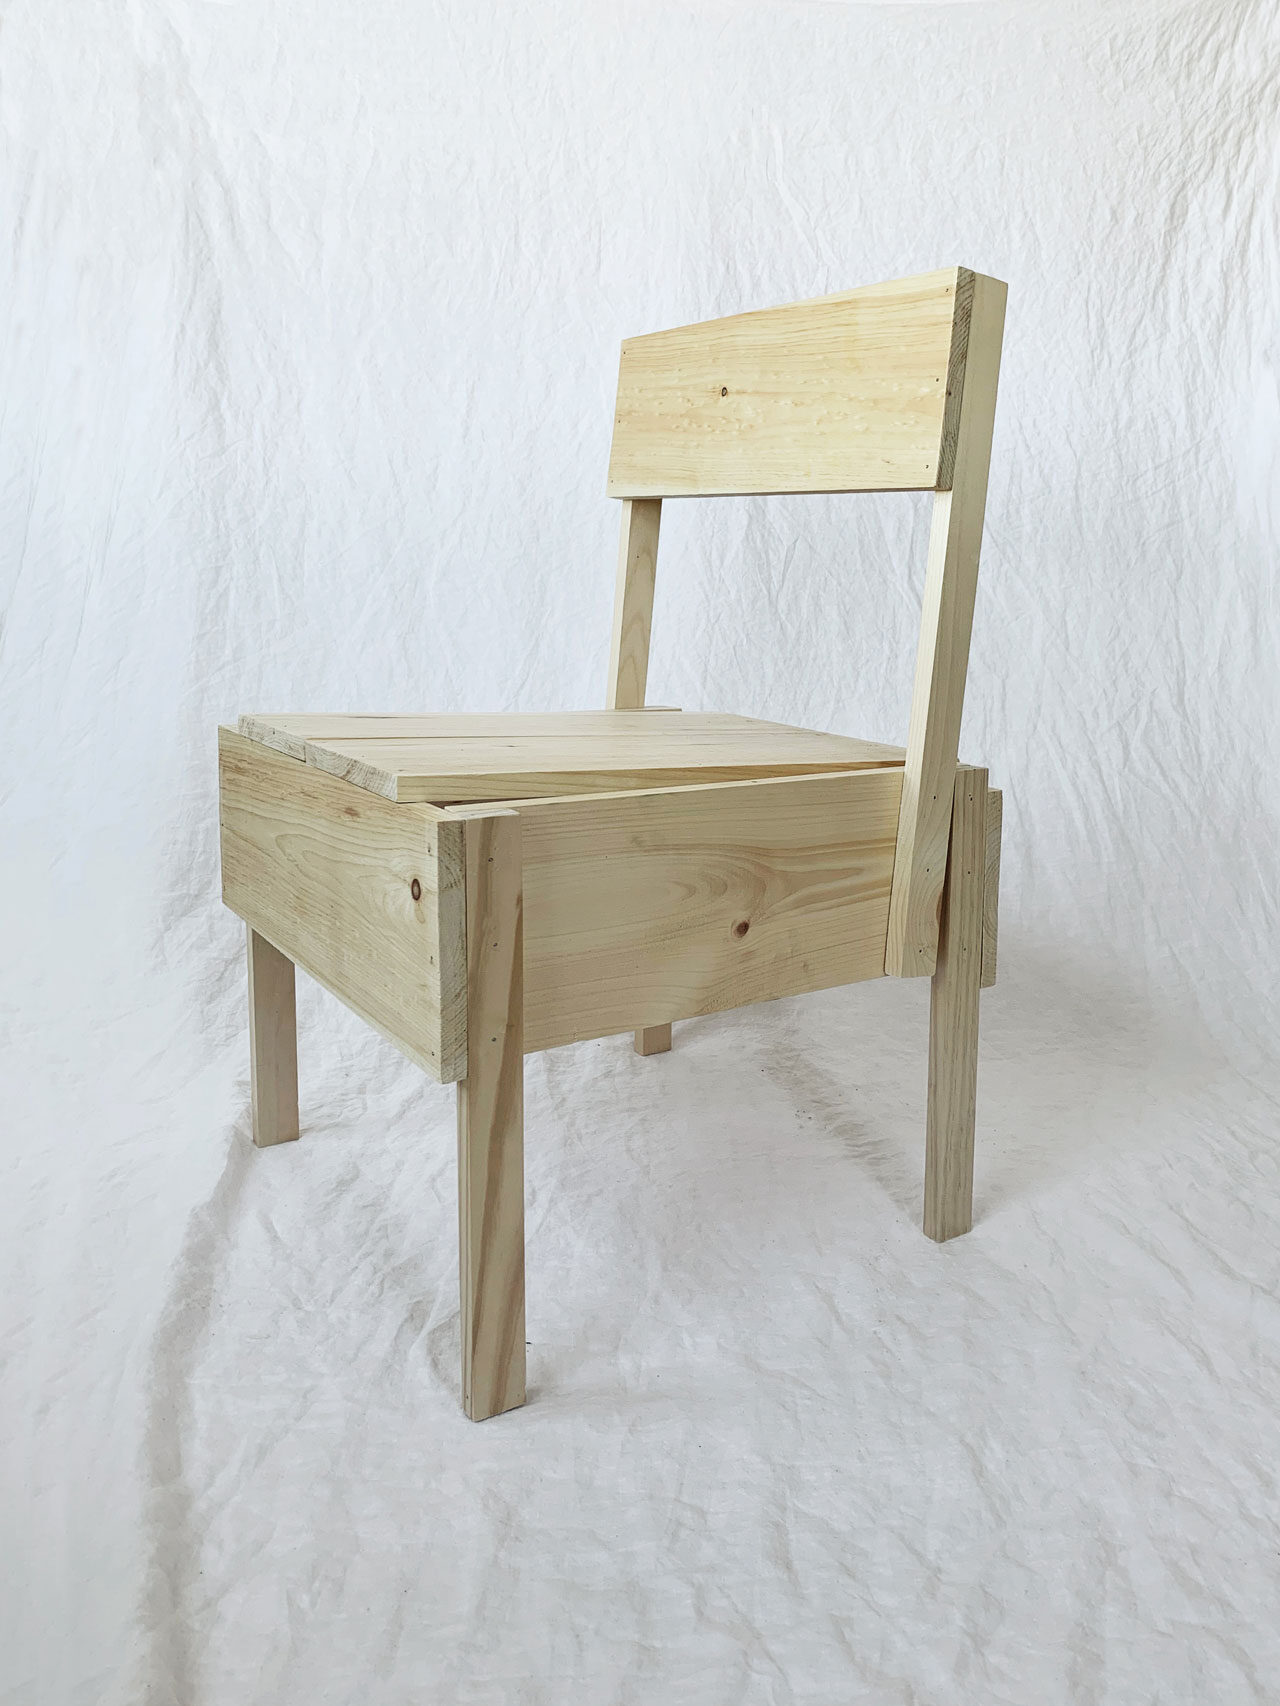
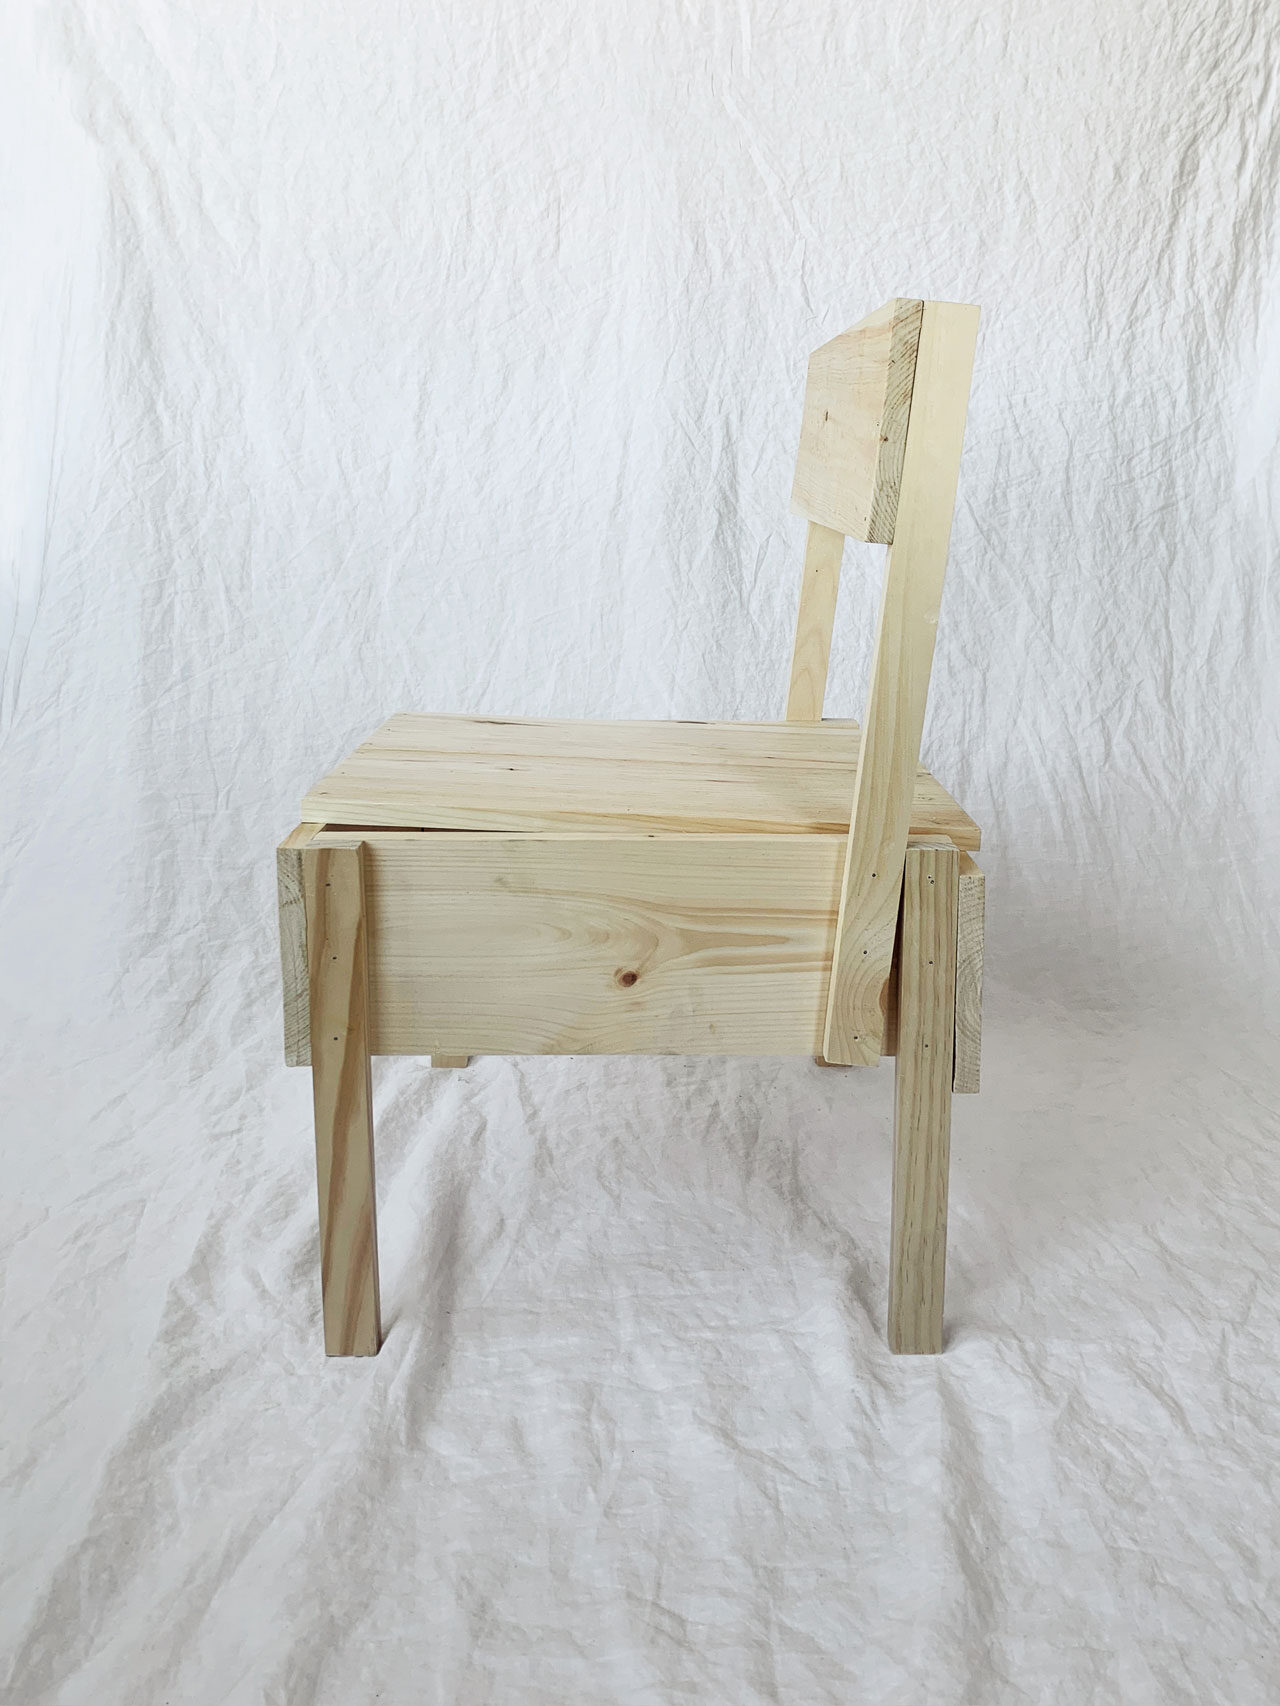
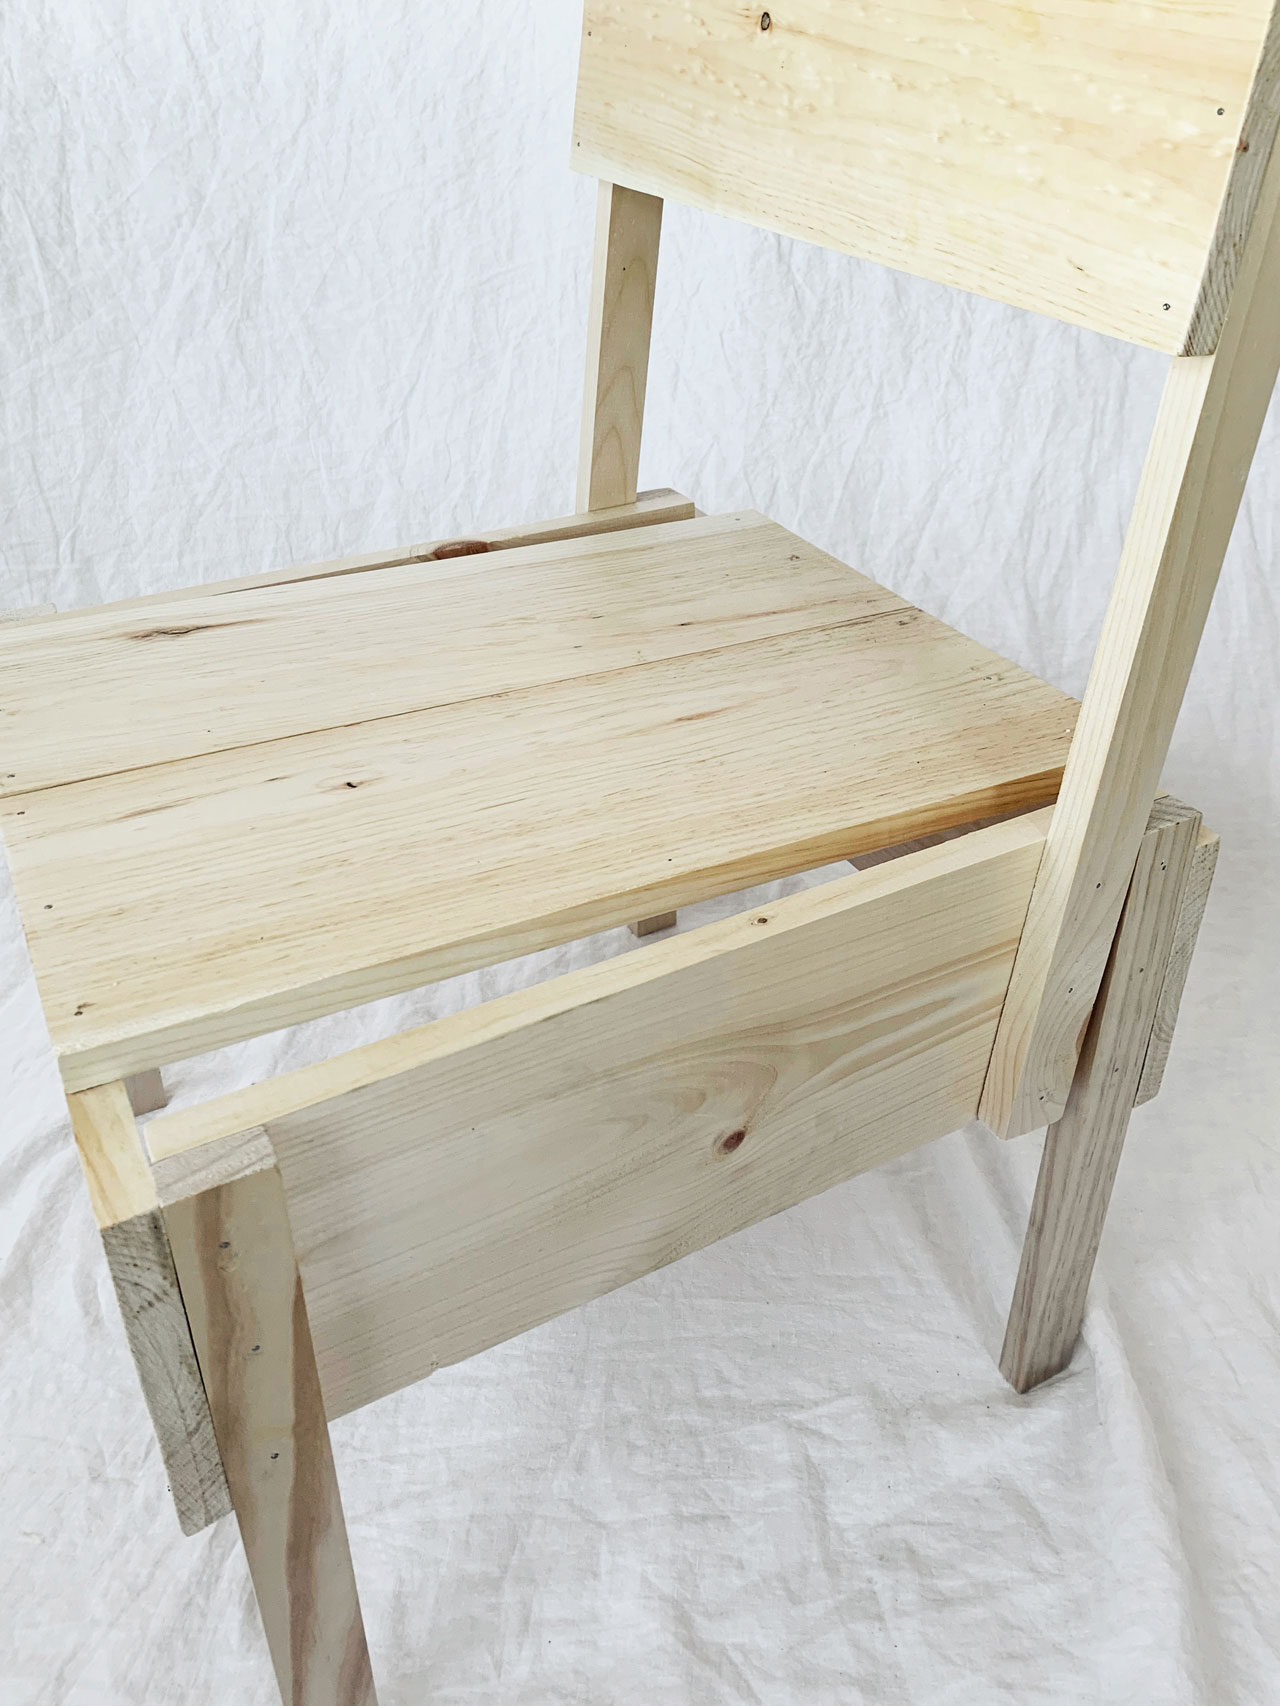
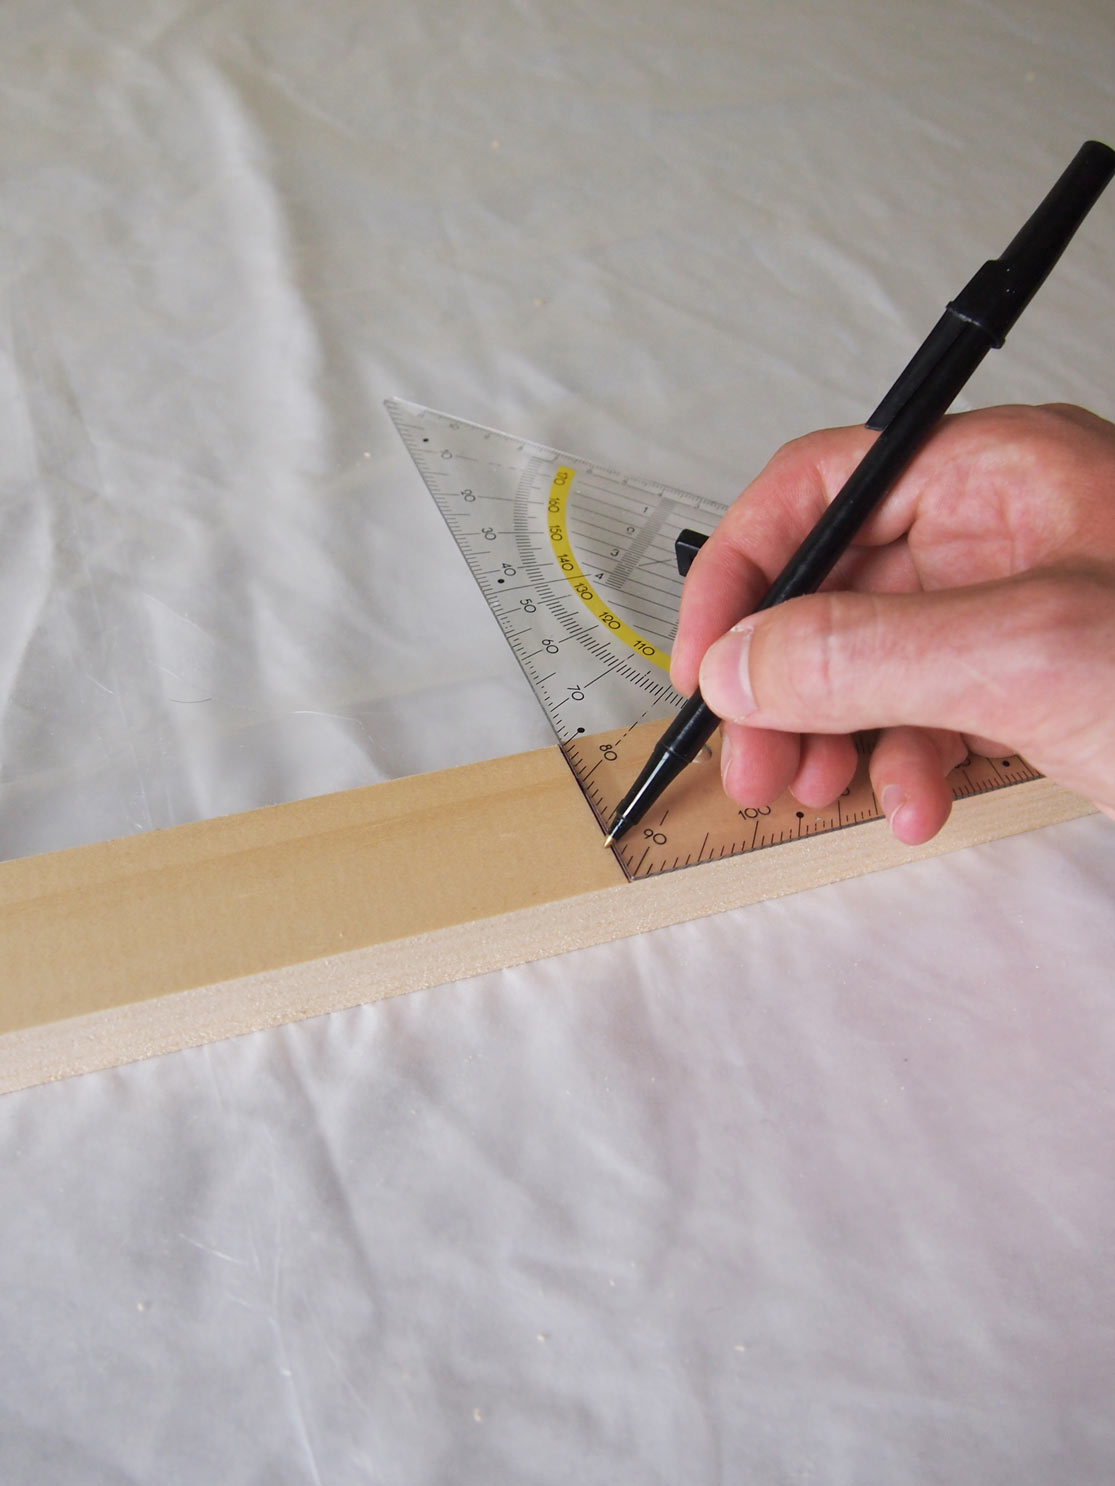
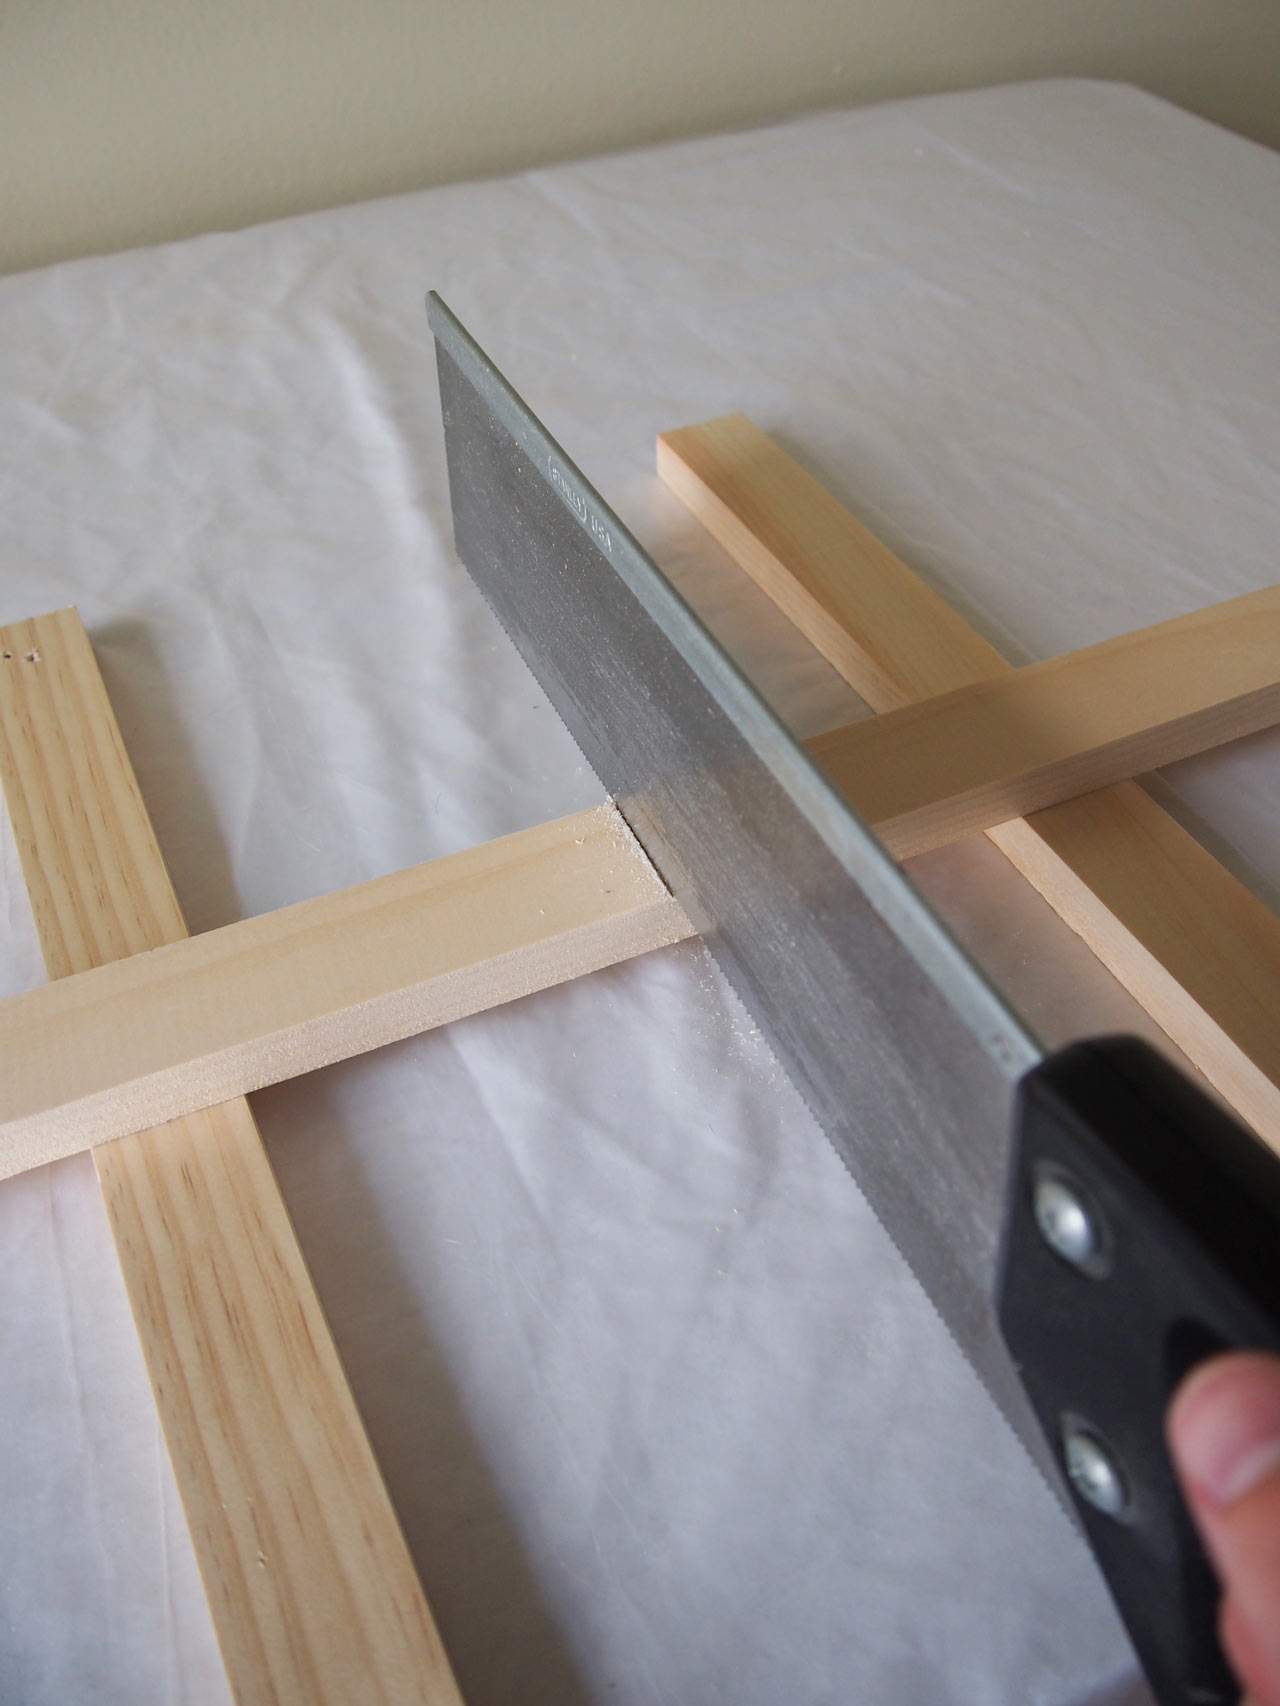
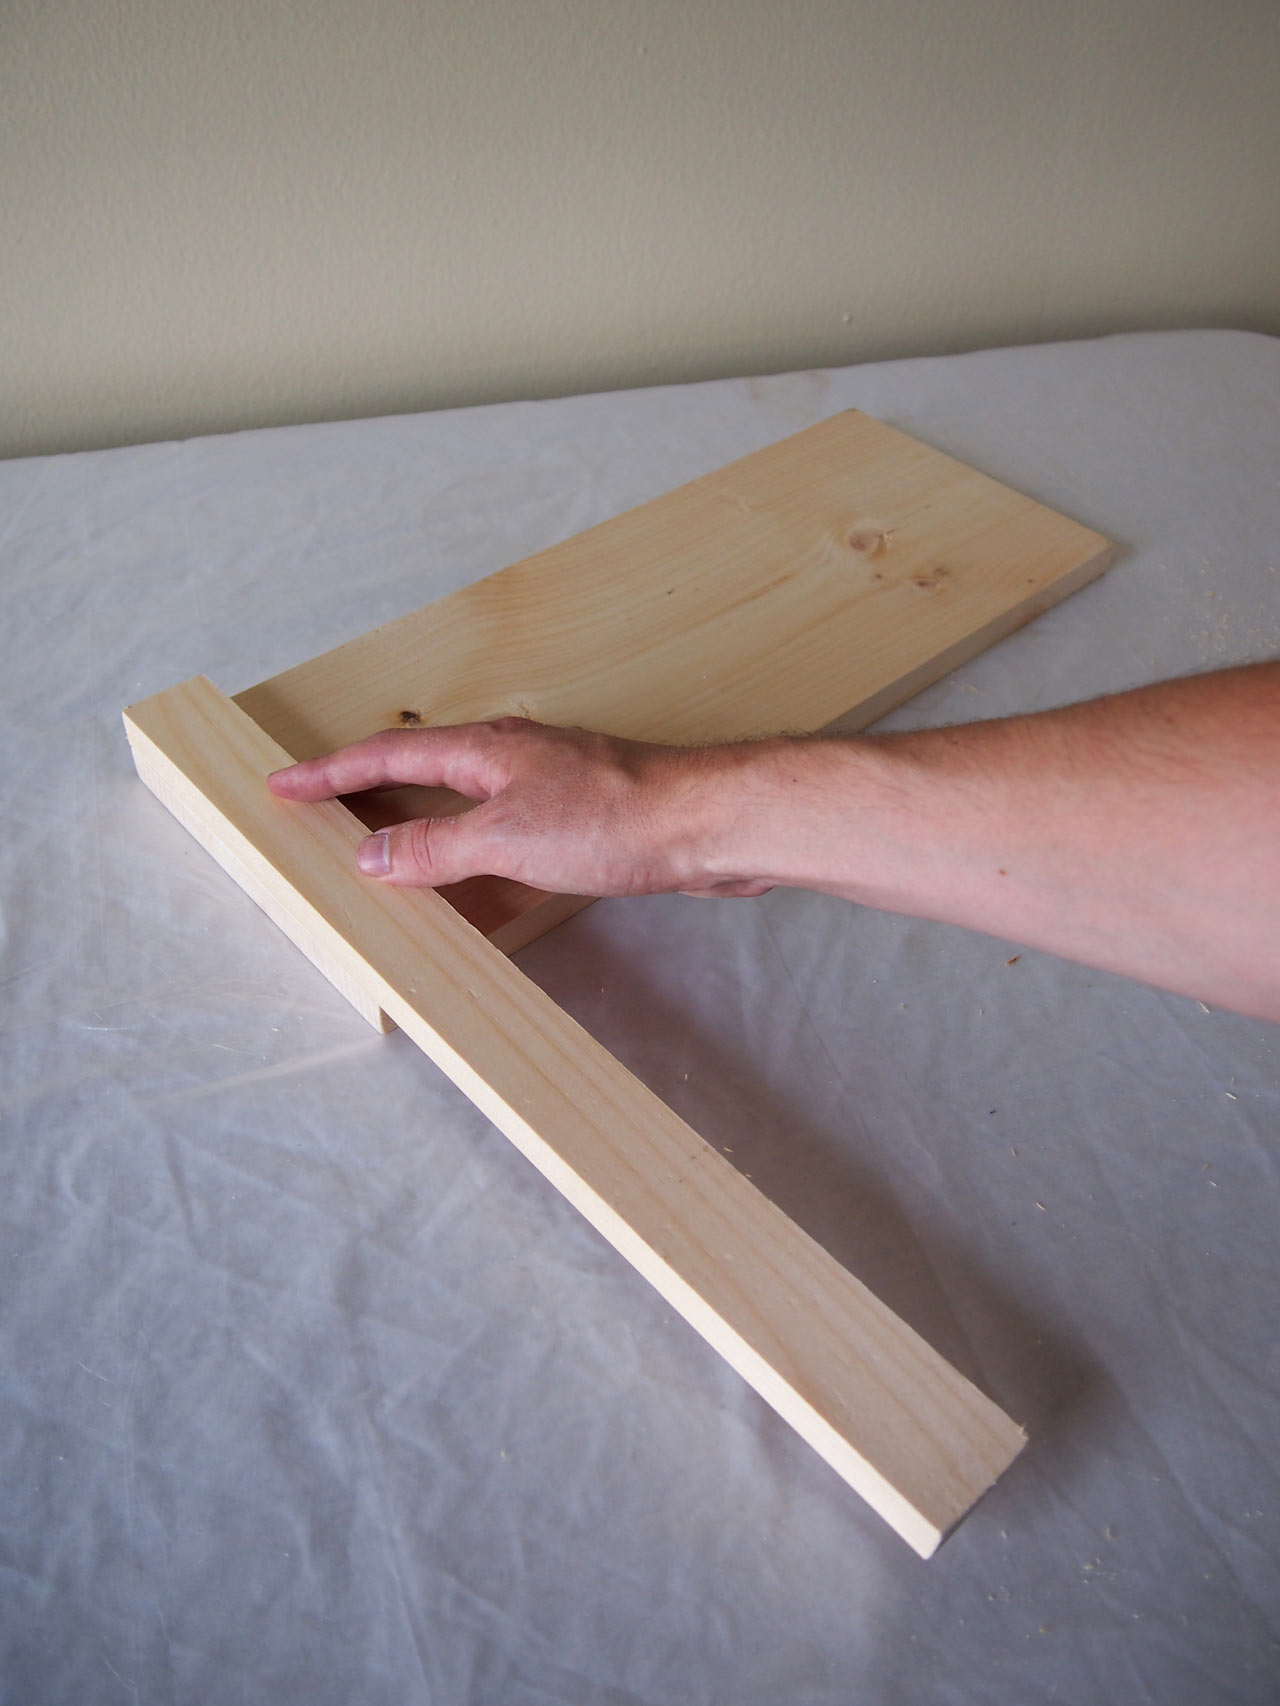
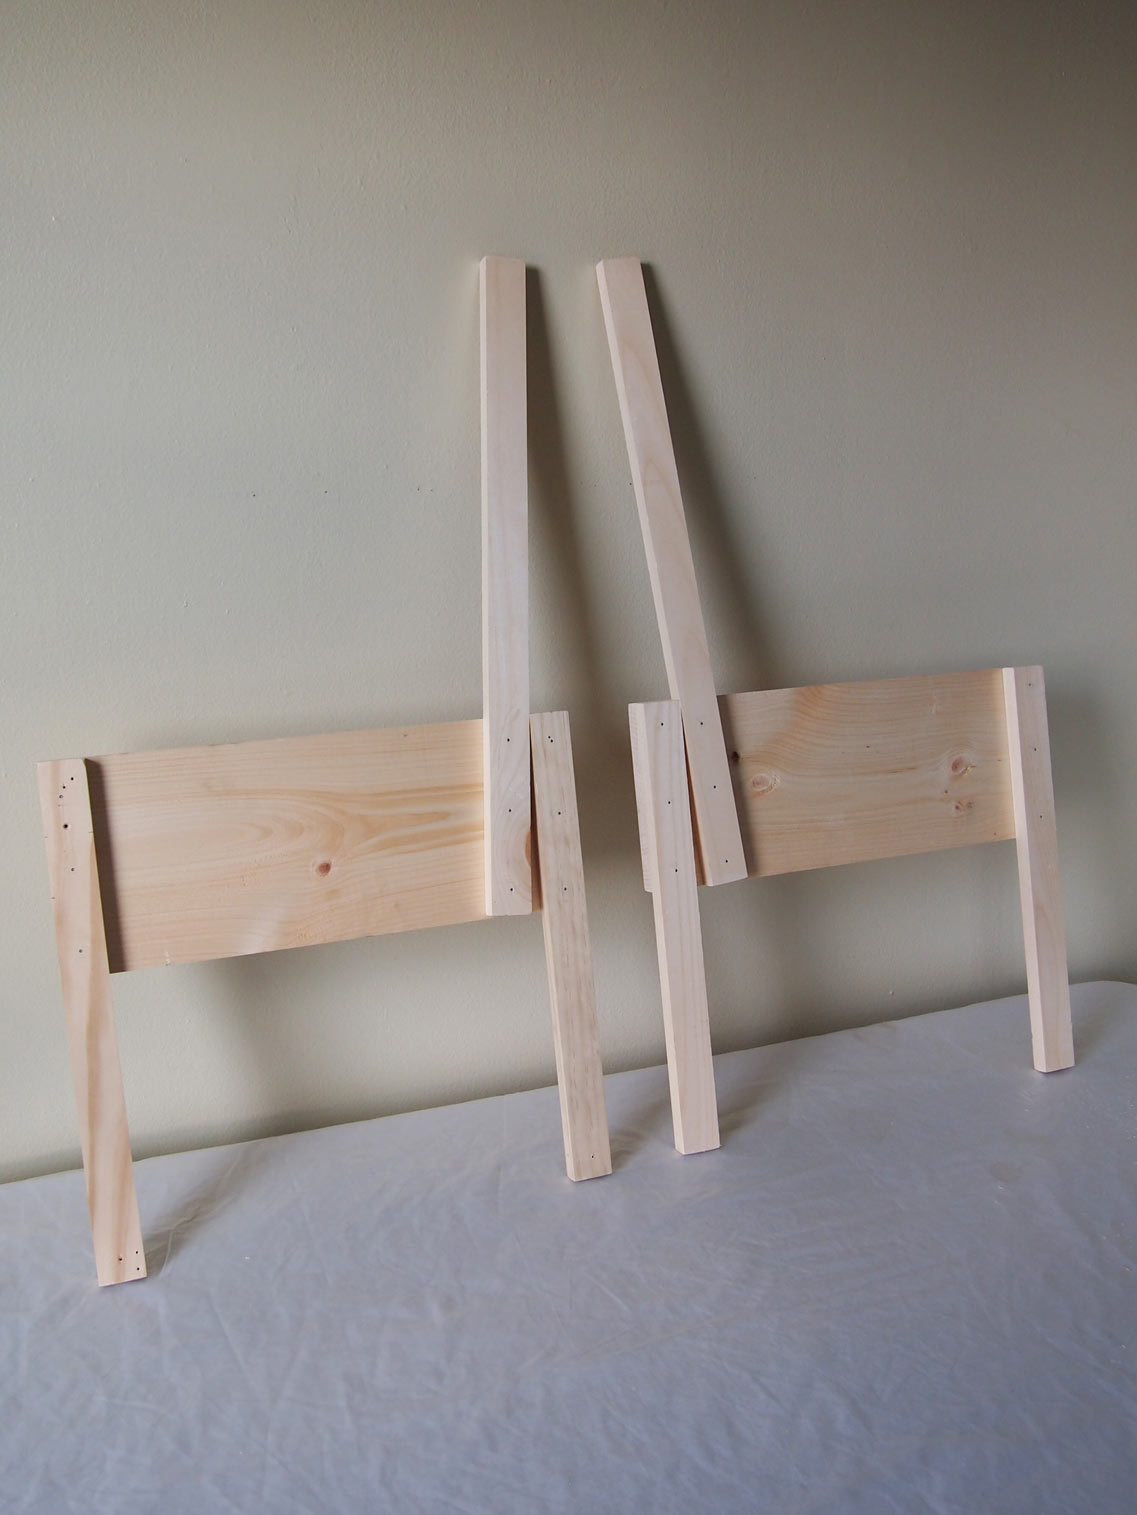
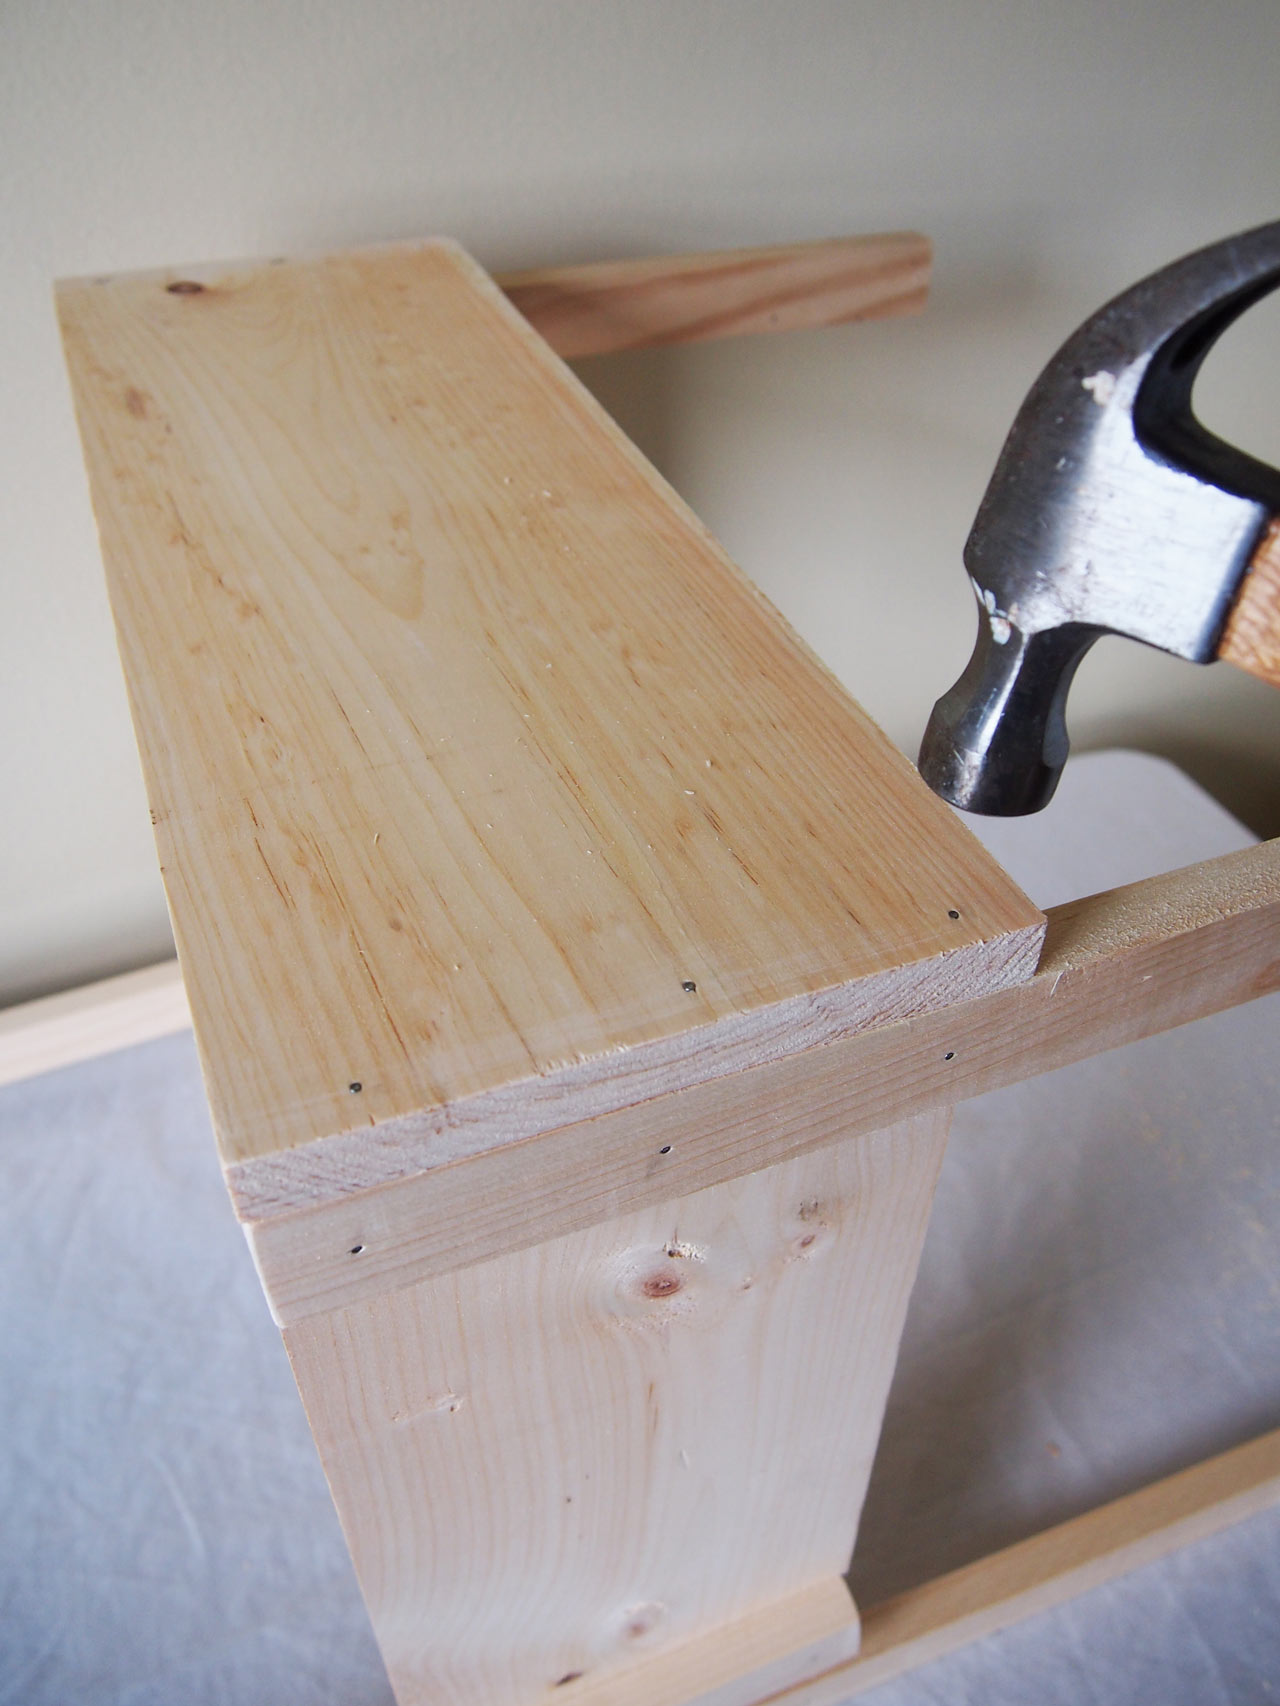
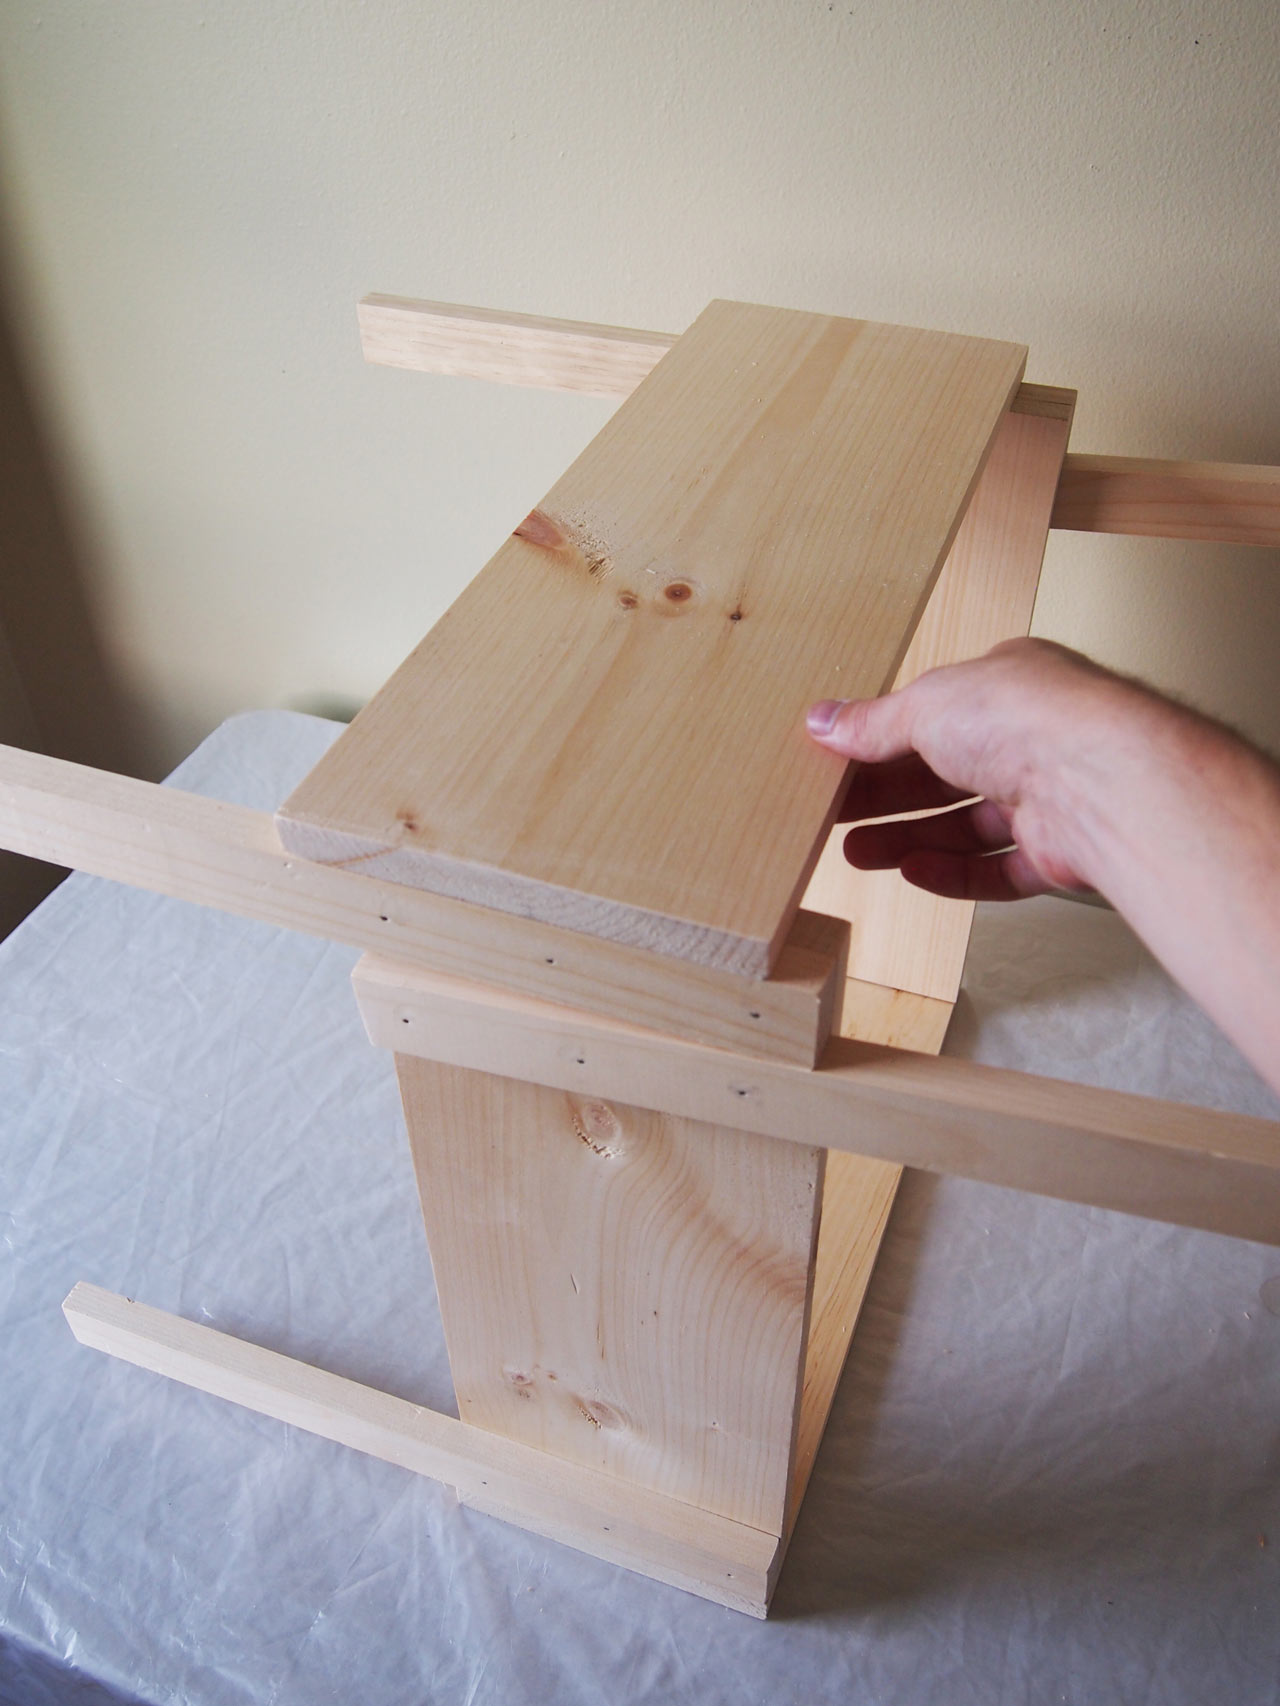
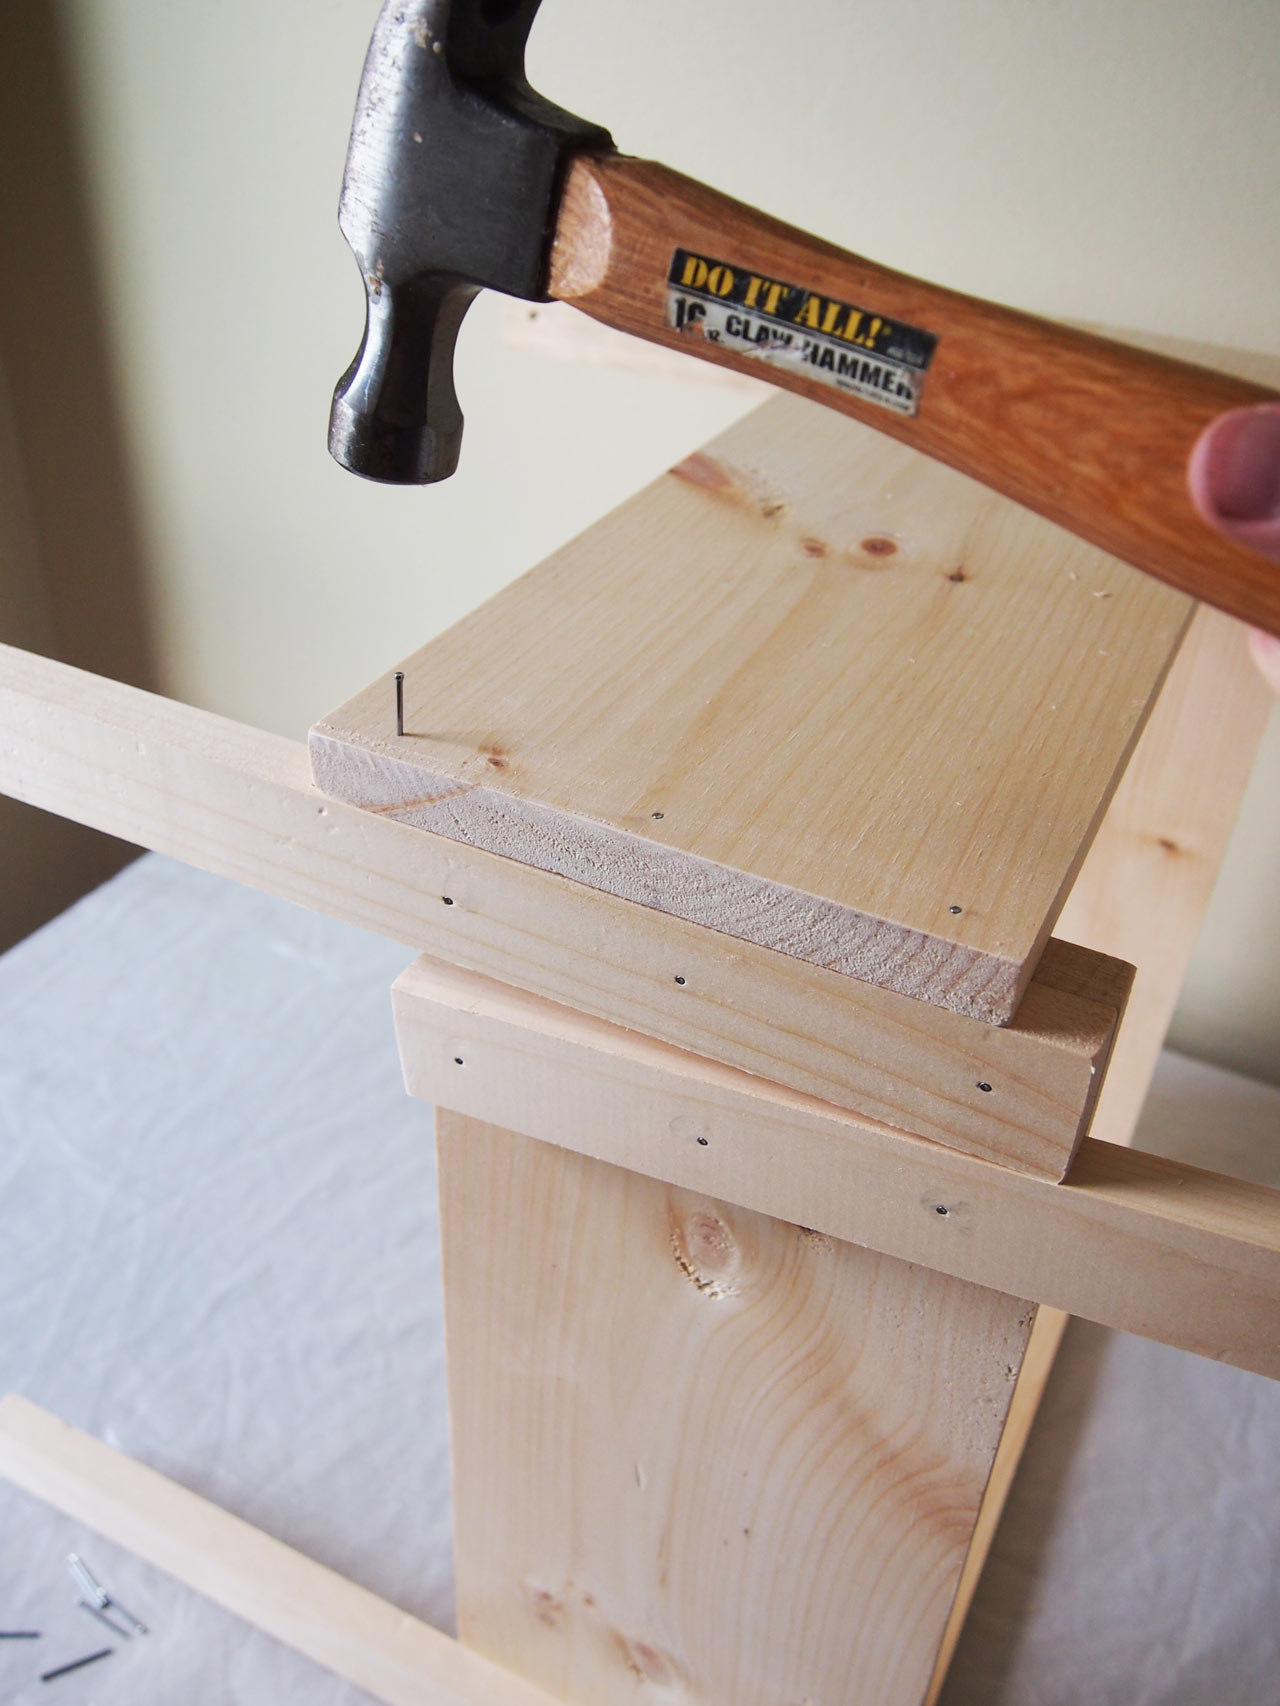
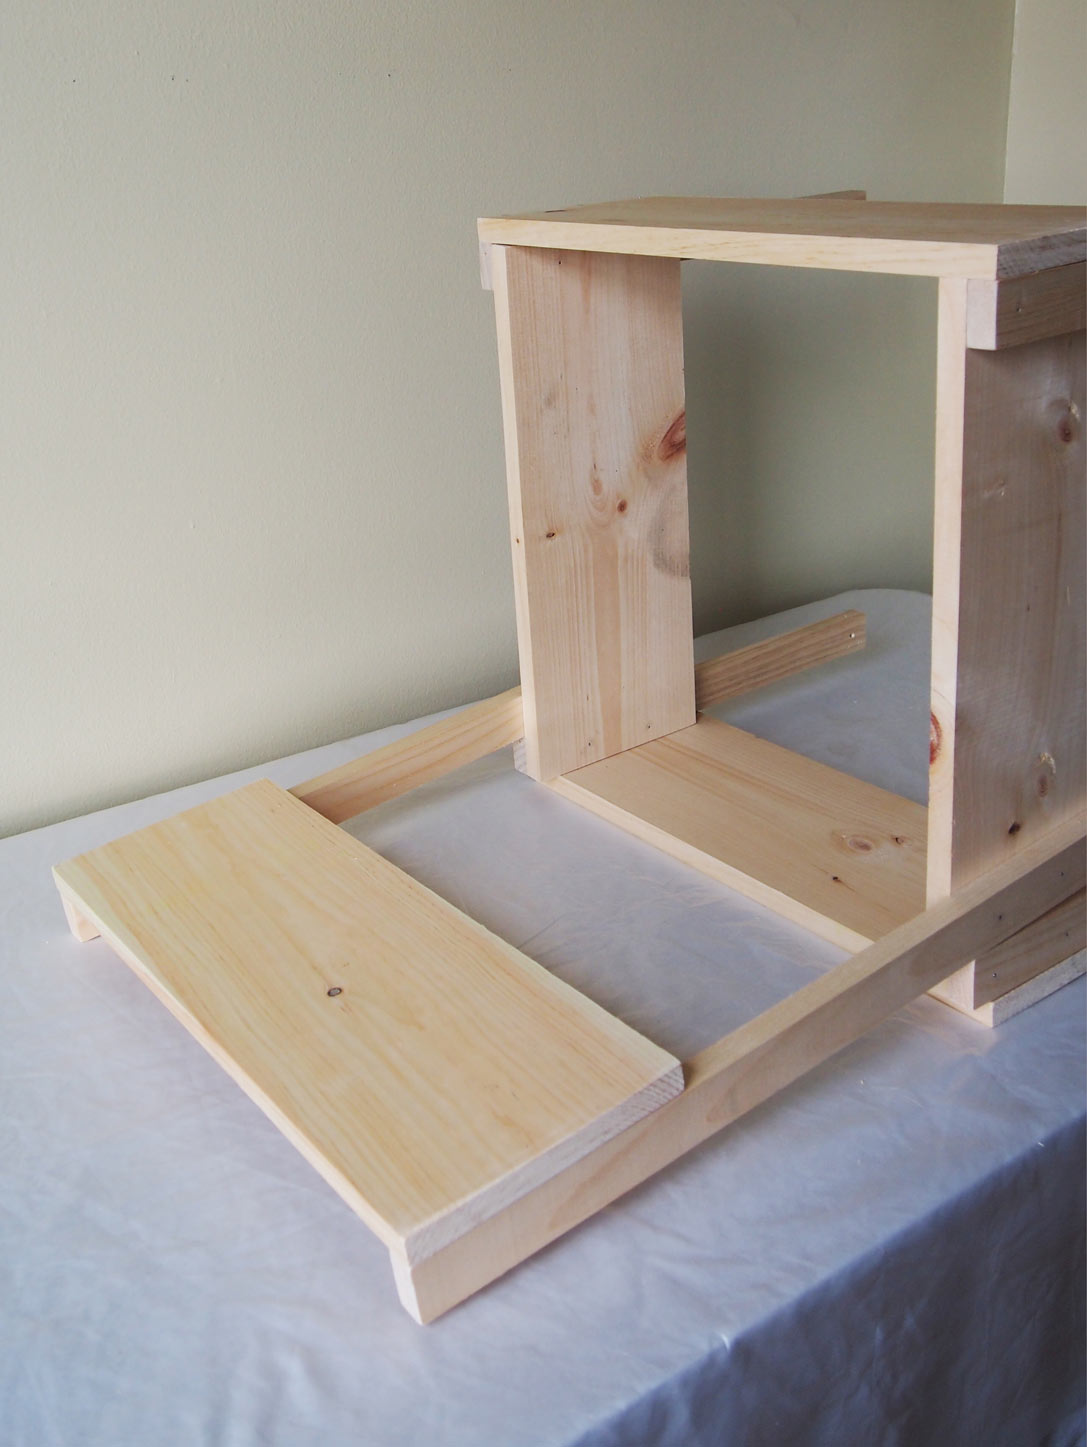
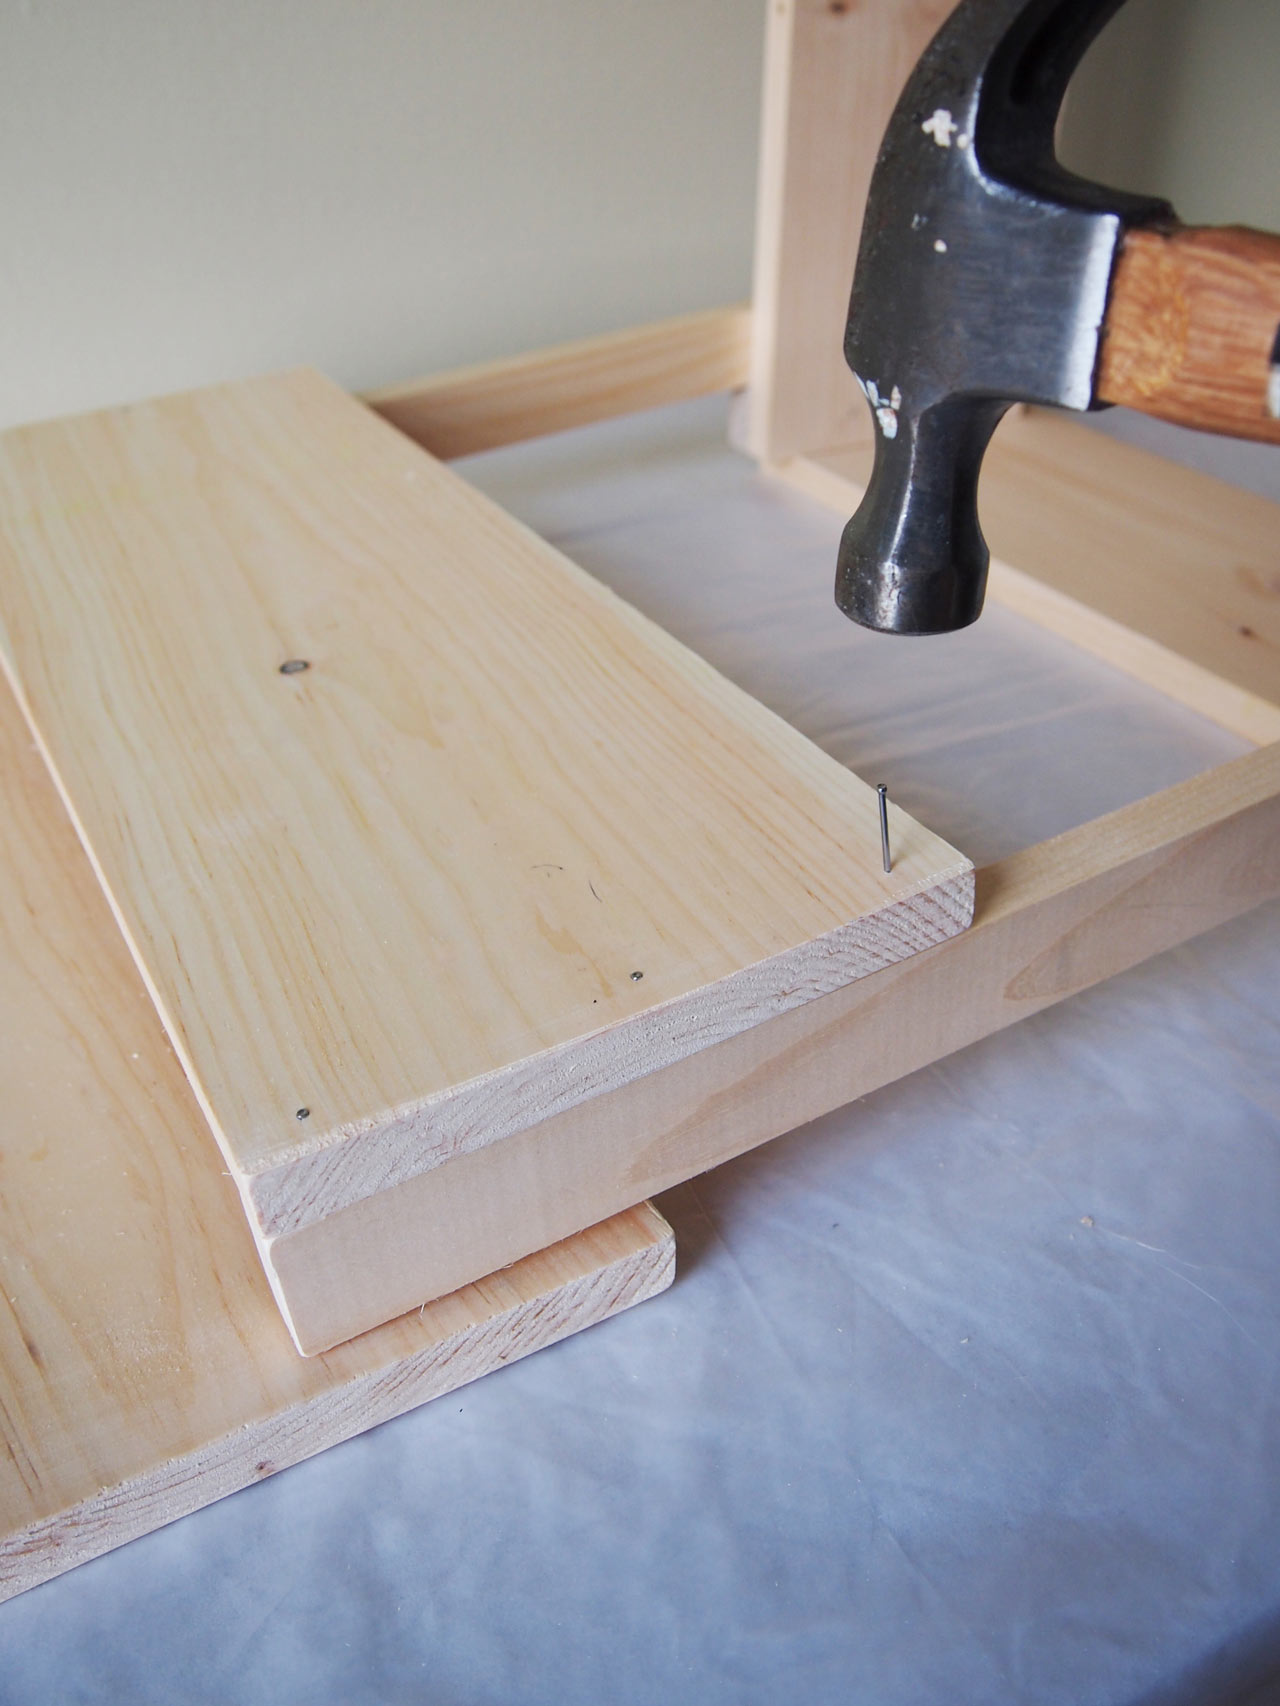
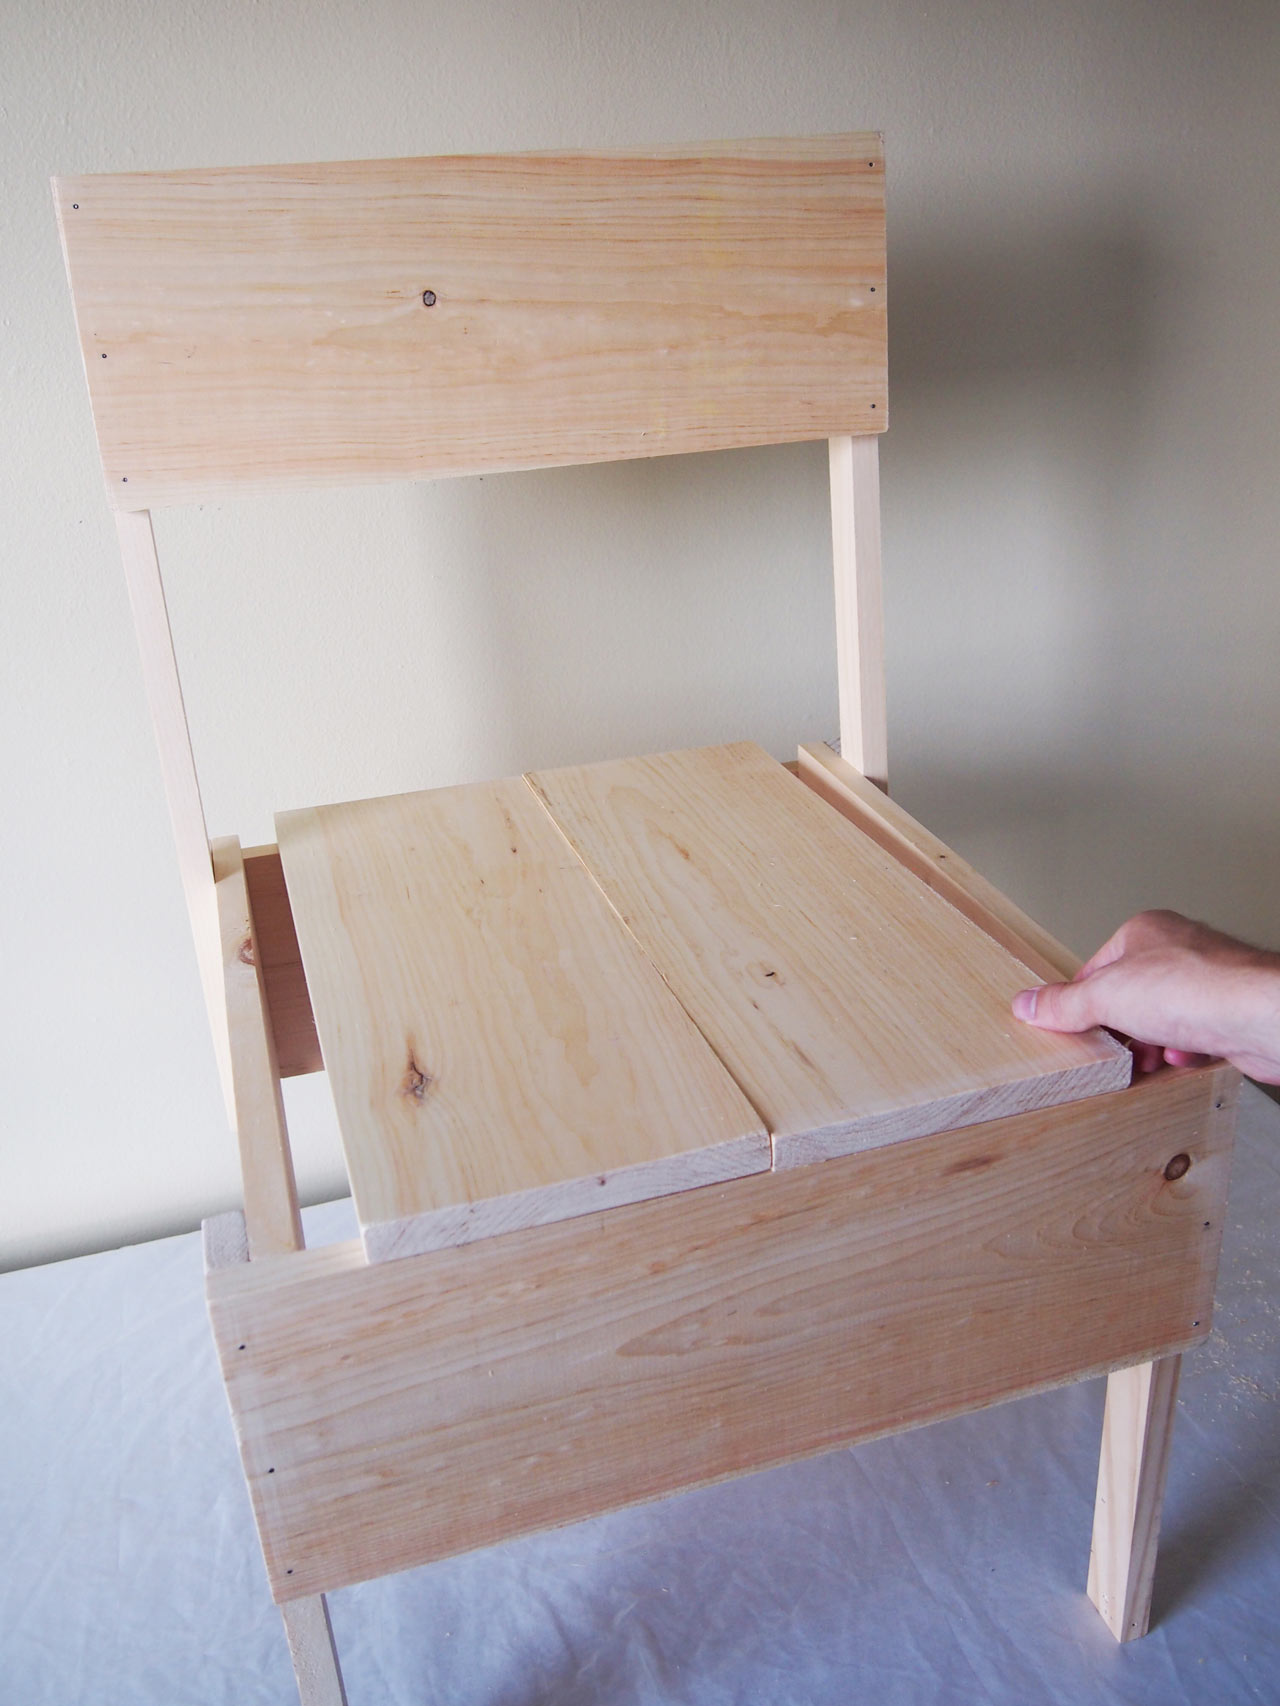
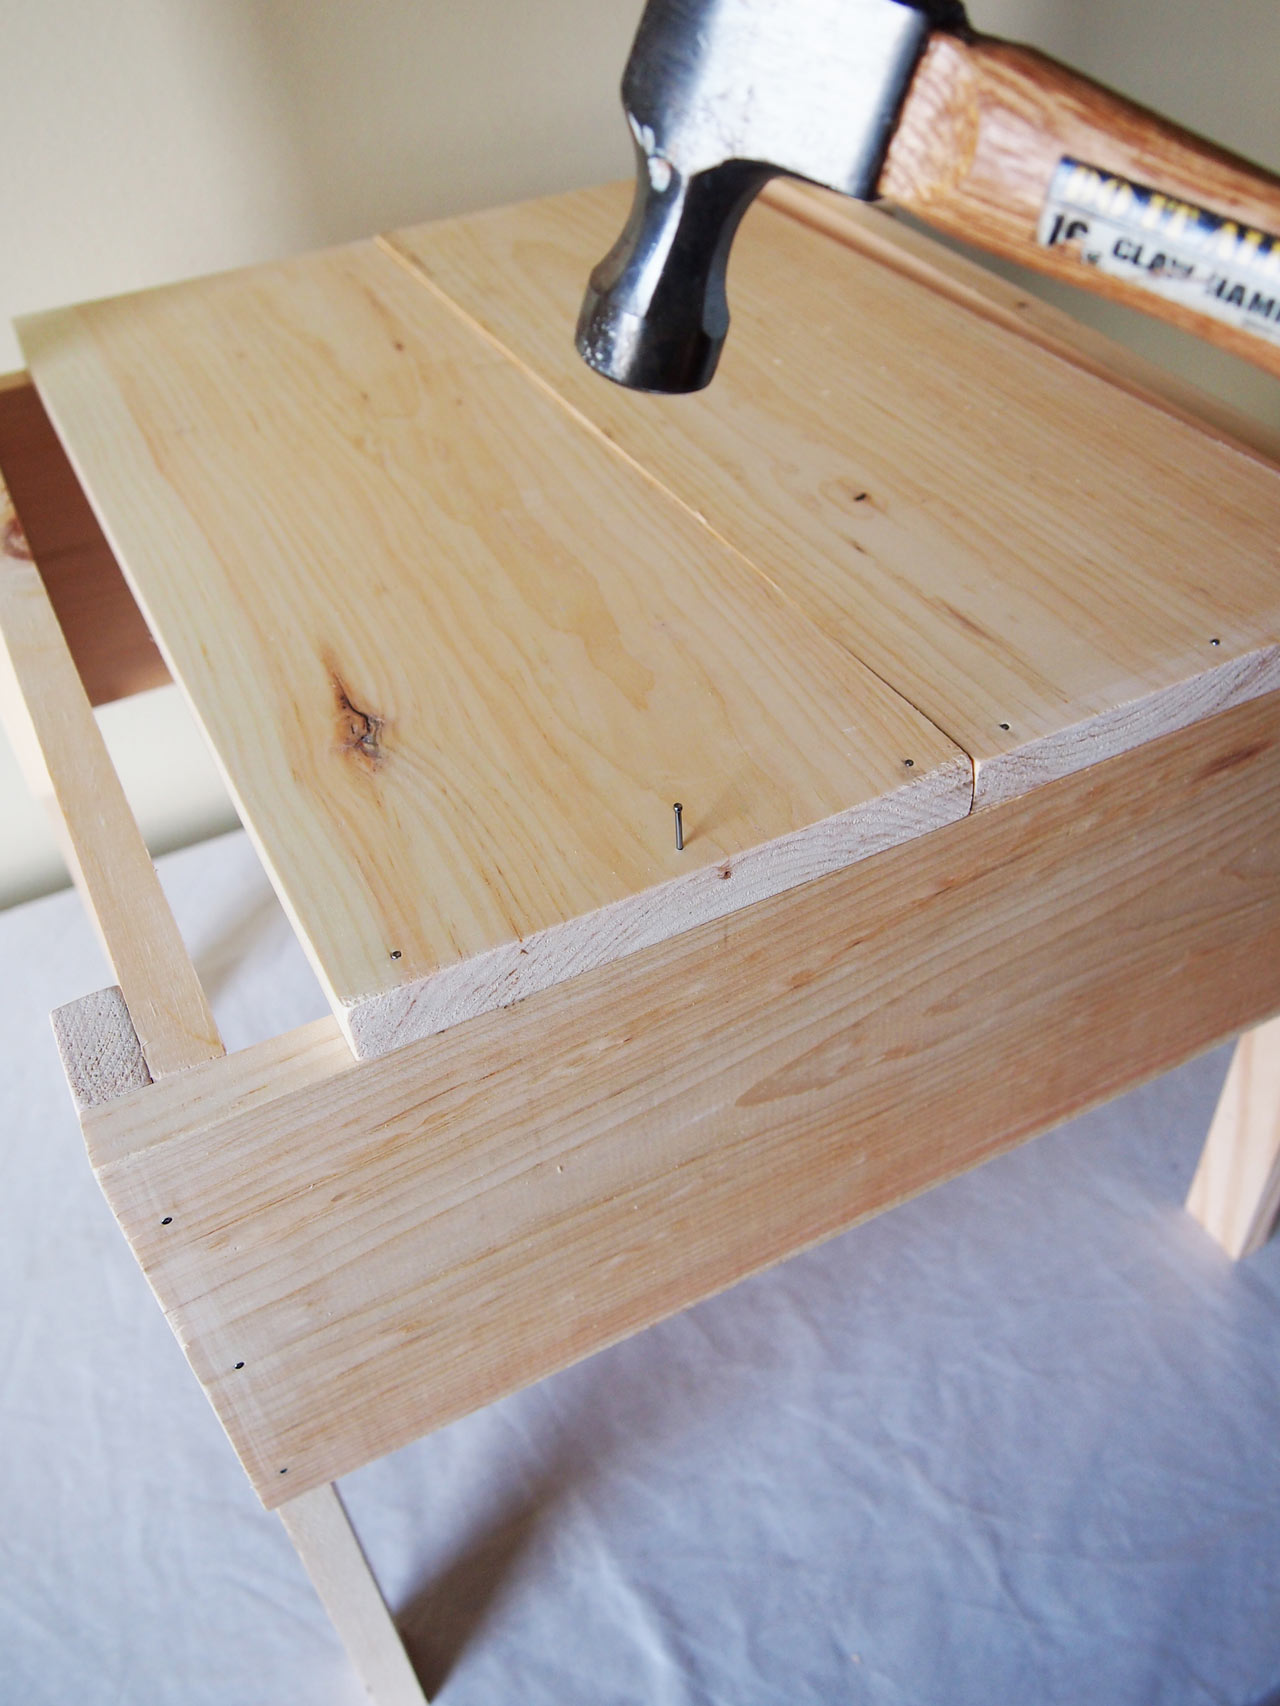
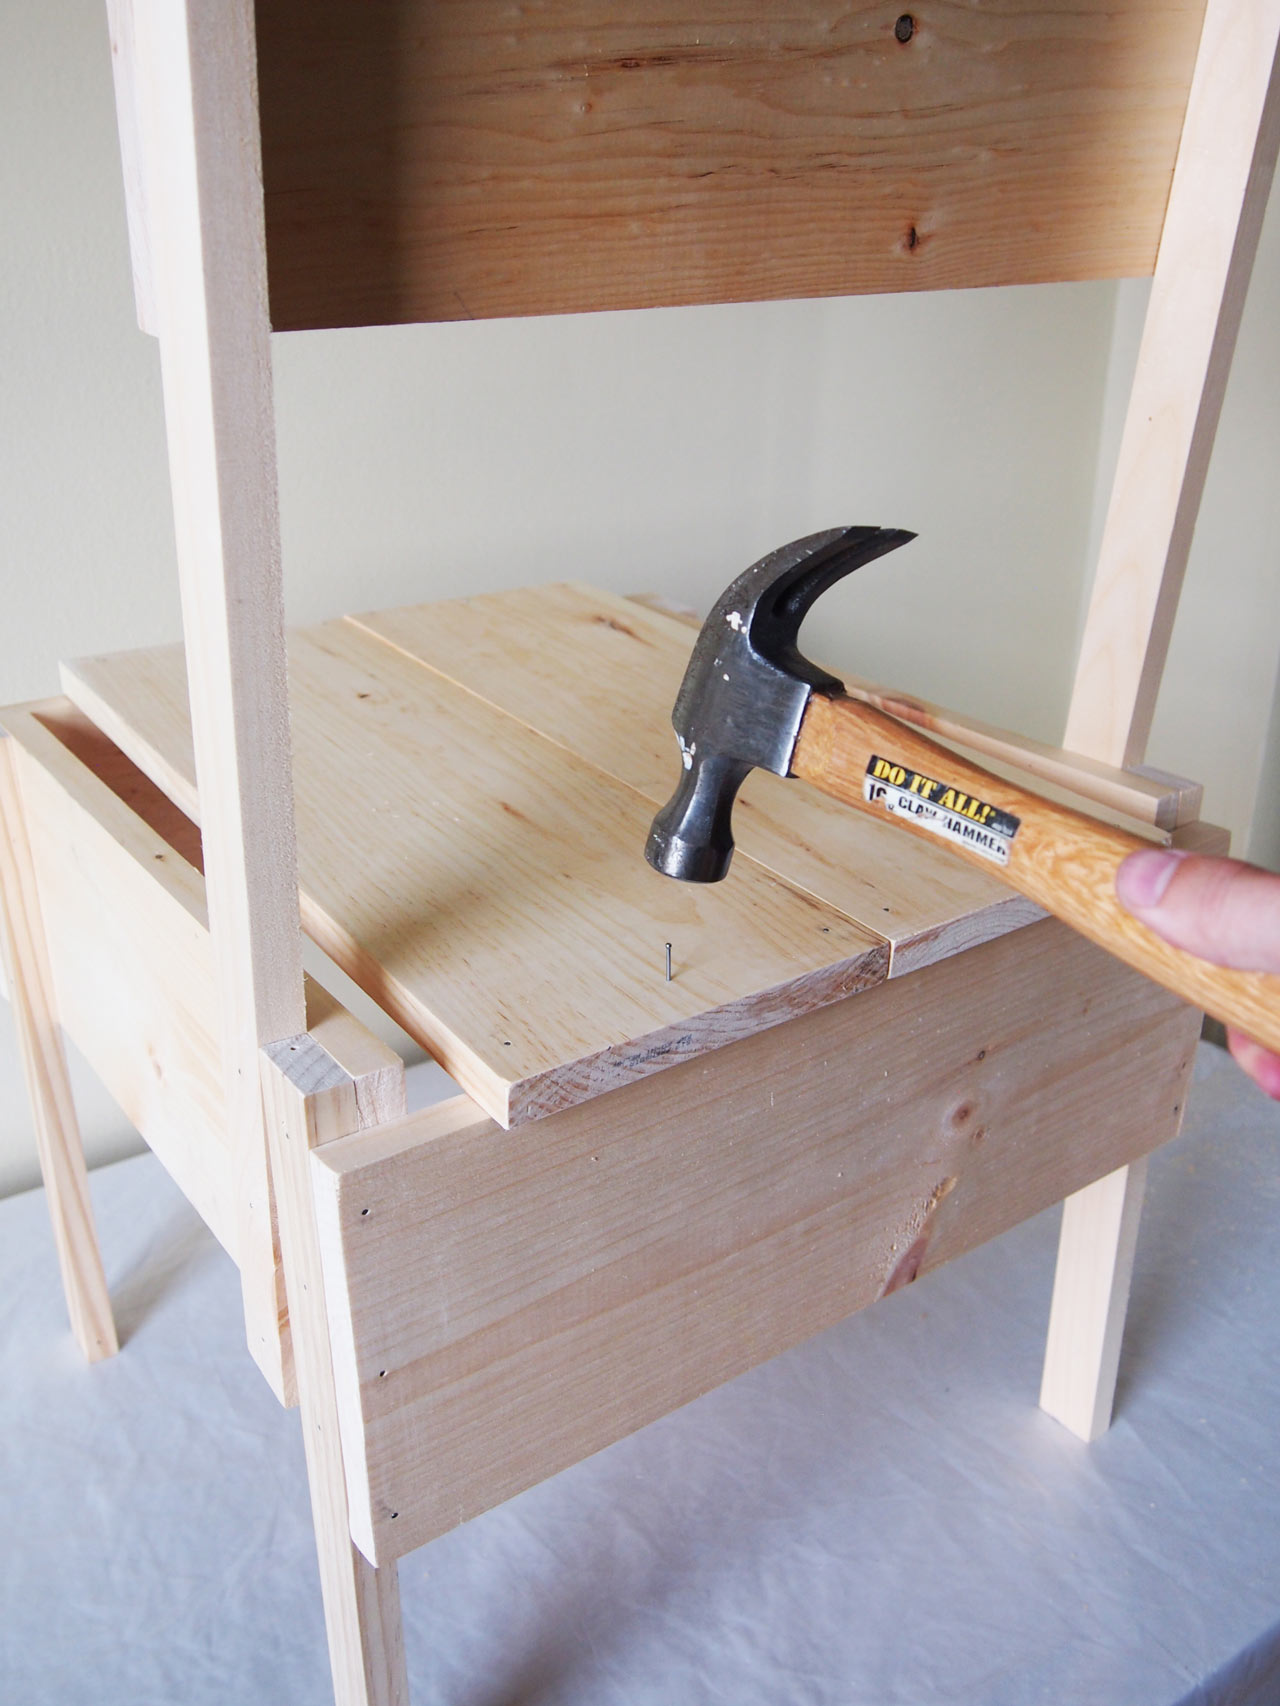
Originally published in Enzo Mari’s Autoprogettazione, alongside a full collection of easy to assemble furniture, the Sedia 1 Chair has emerged as the most recognized piece from the collection. It requires the simple manual processes of sawing lengths of softwood and hammering the pieces together with nails. The full assembly process takes up to 2 hours to complete. Each chair costs under 25 USD on average to produce.

Sedia 1 autoprogettazione DIY Chair by Enzo Mari
Assembly
Index
Parts
Smooth Planed Pine Wood, 1in x 8in (20.5mm x 194mm)
*Any popular softwood can also be used, like Redwood. Metric measurements above are actual, not nominal, and availability may vary by location. 18mm x 194mm wood can also be used though it is not preferred.
 
Quantity required: 2 pieces 20.5in (52cm) long, 3 pieces 19.5in (50cm) long, 2 pieces 18.5in (47cm) long
Smooth Planed Pine Wood, 1in x 2in (20.5mm x 44mm)
*Any popular softwood can also be used, like Redwood. Metric measurements above are actual, not nominal, and availability may vary by location. 18mm x 44mm wood can also be used though it is not preferred.
 
Quantity required: 2 pieces 24in (61cm) long, 4 pieces 17.5in (44cm) long
Nails, 1-1/2in (40mm) Length
 
Quantity required: 48
Tools
Hand Saw
Ruler or Tape Measure
Square (or flat object with 90 degree angle)
Hammer
Sandpaper, 180 Grit
Help Each Other

Translucent Pepper + Salt Mill

Aandersson

DIY plastic Pepper Mill designed by Aandersson
Translucent Pepper + Salt Mill

Design and photography by AANDERSSON
Published in Spring 2019

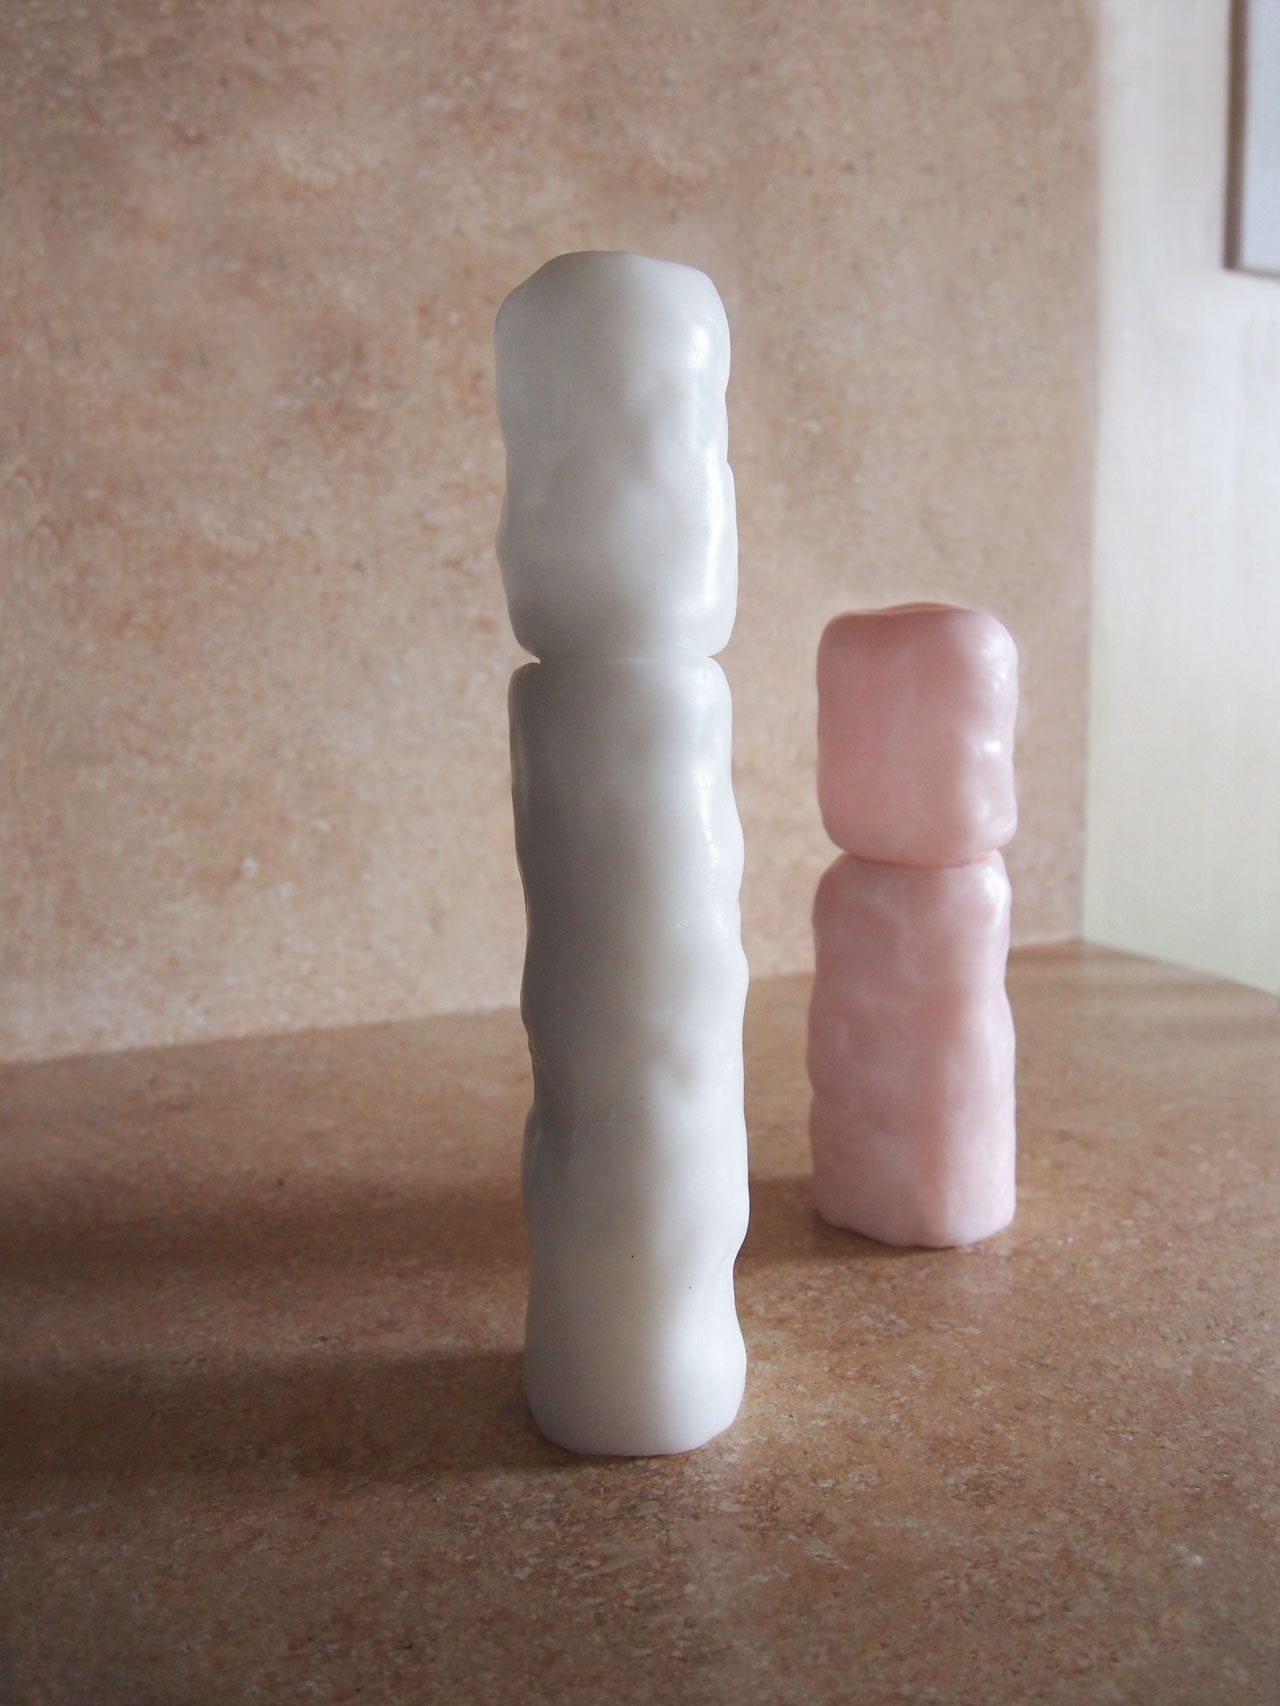
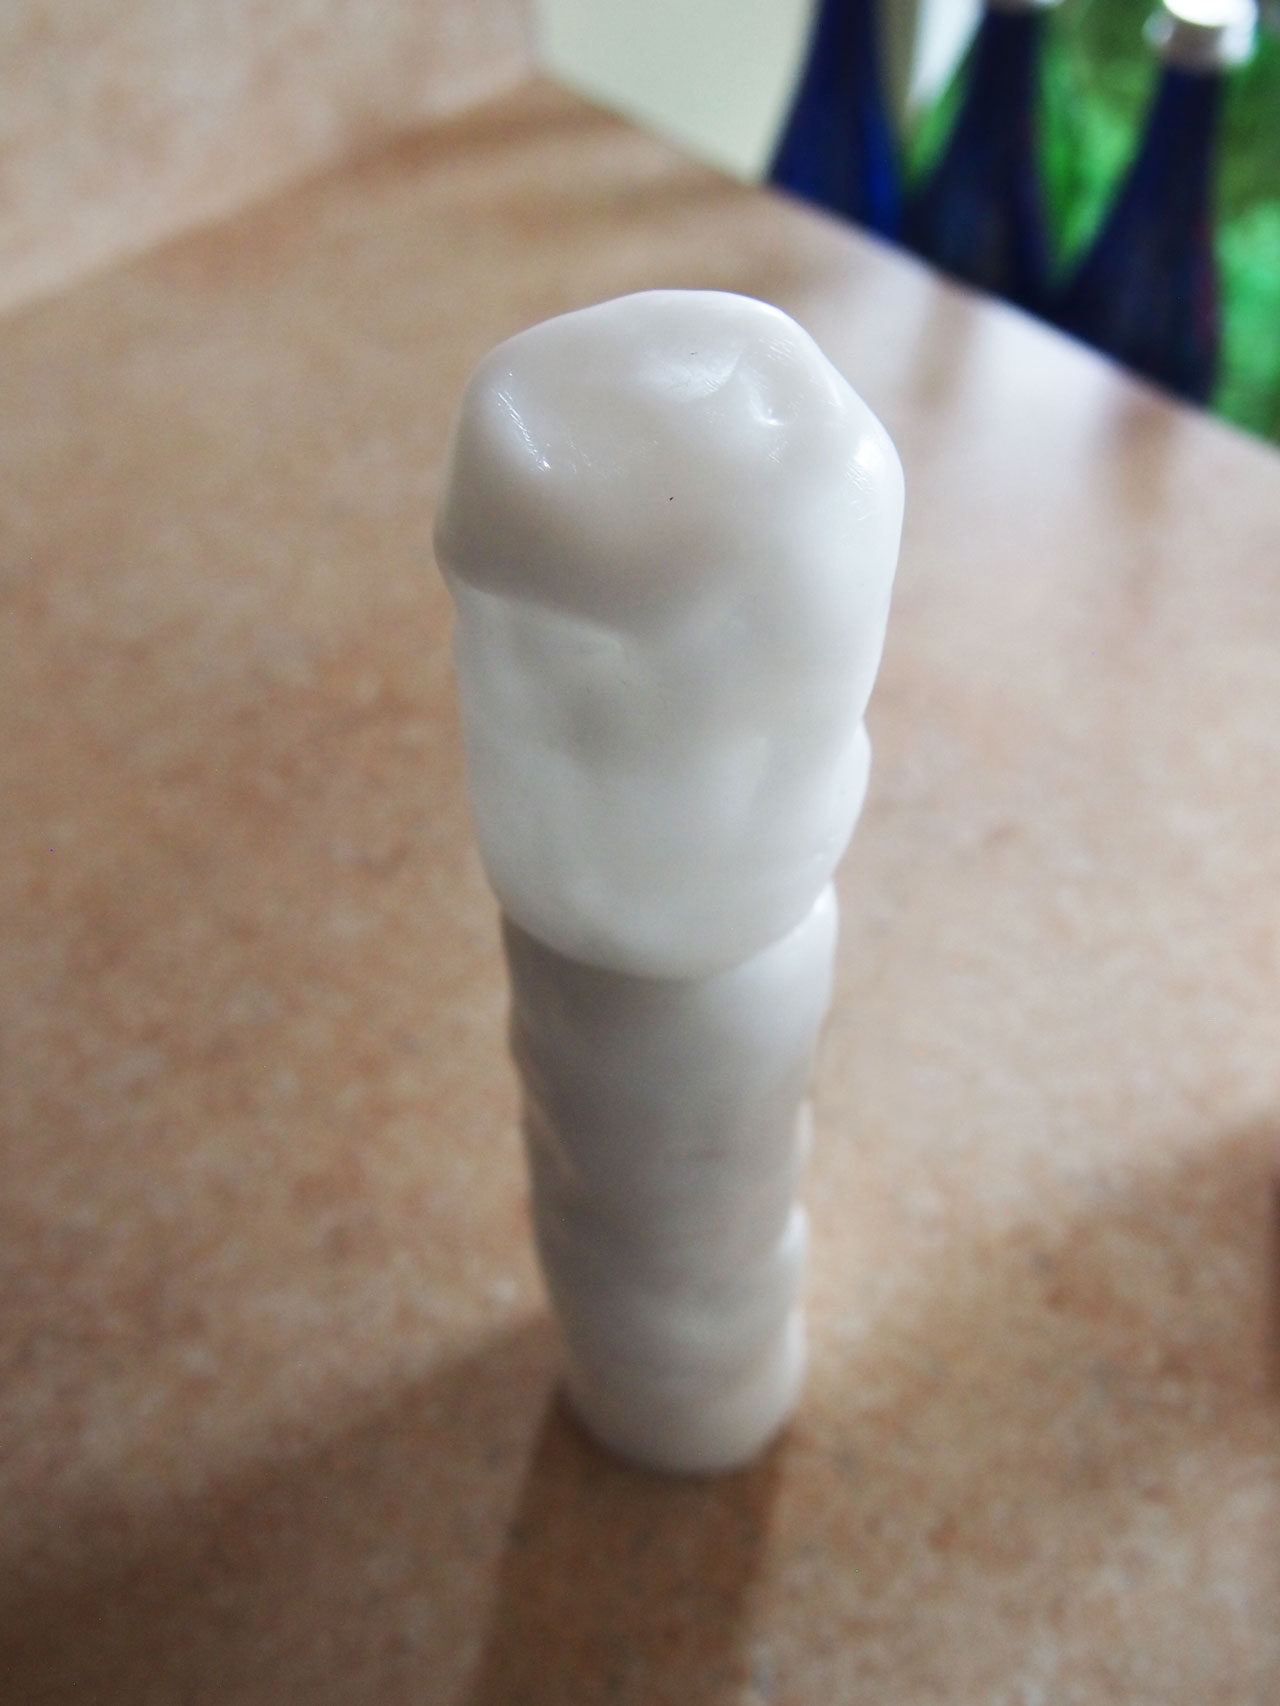
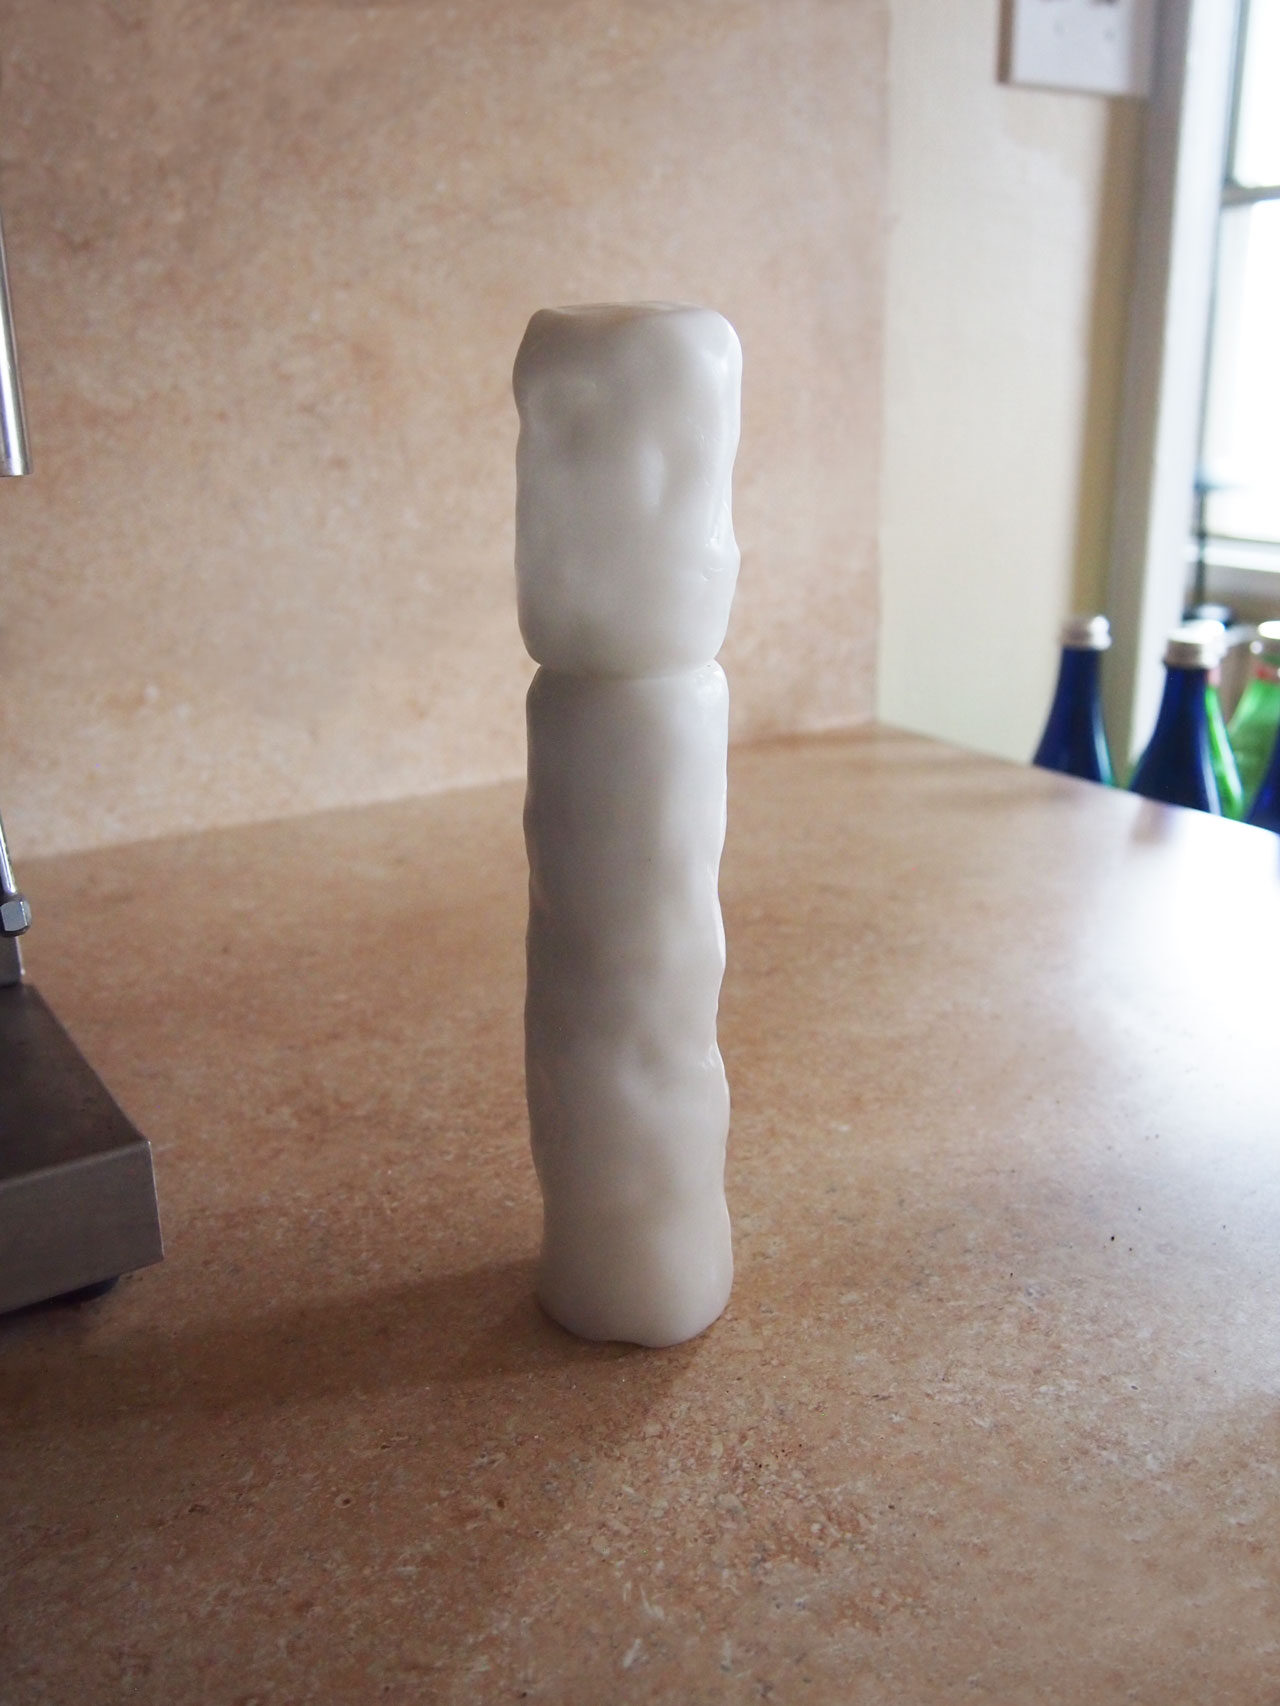
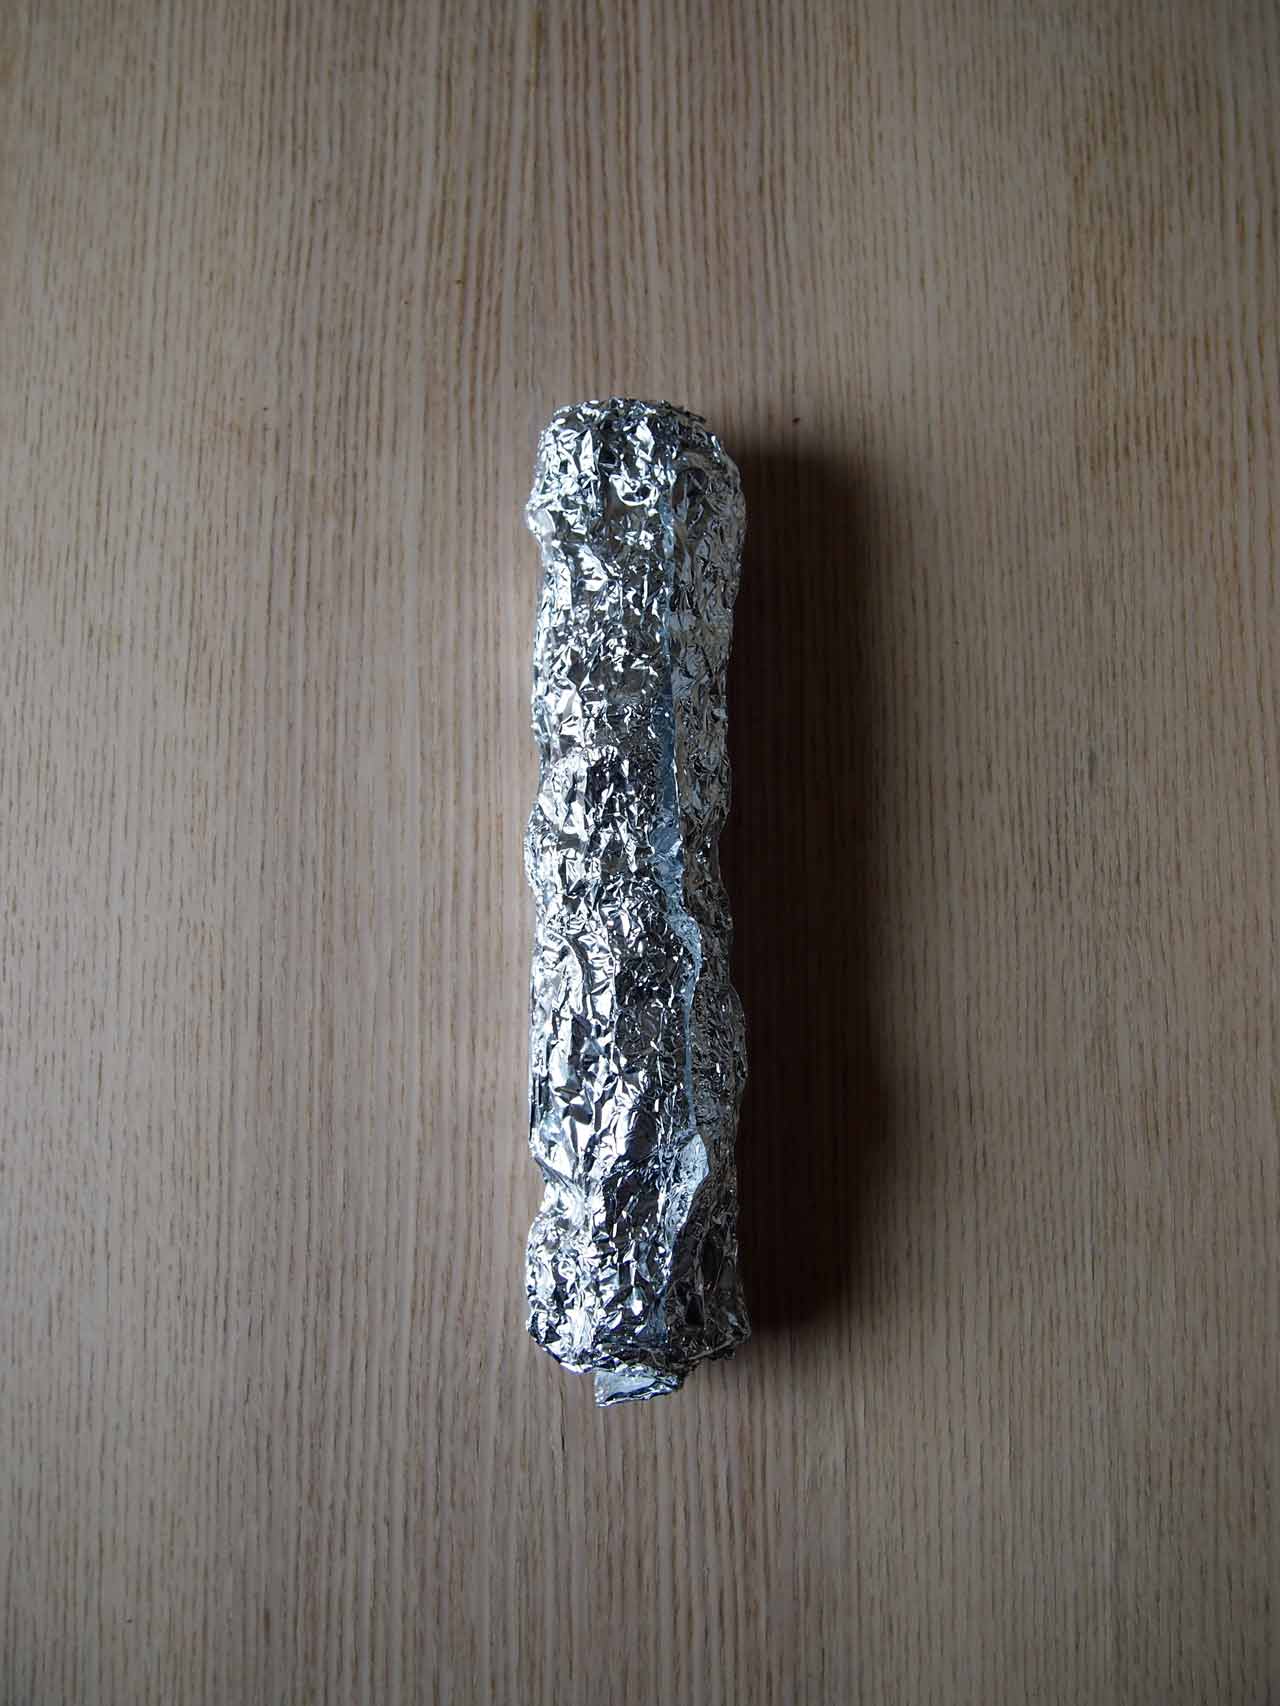
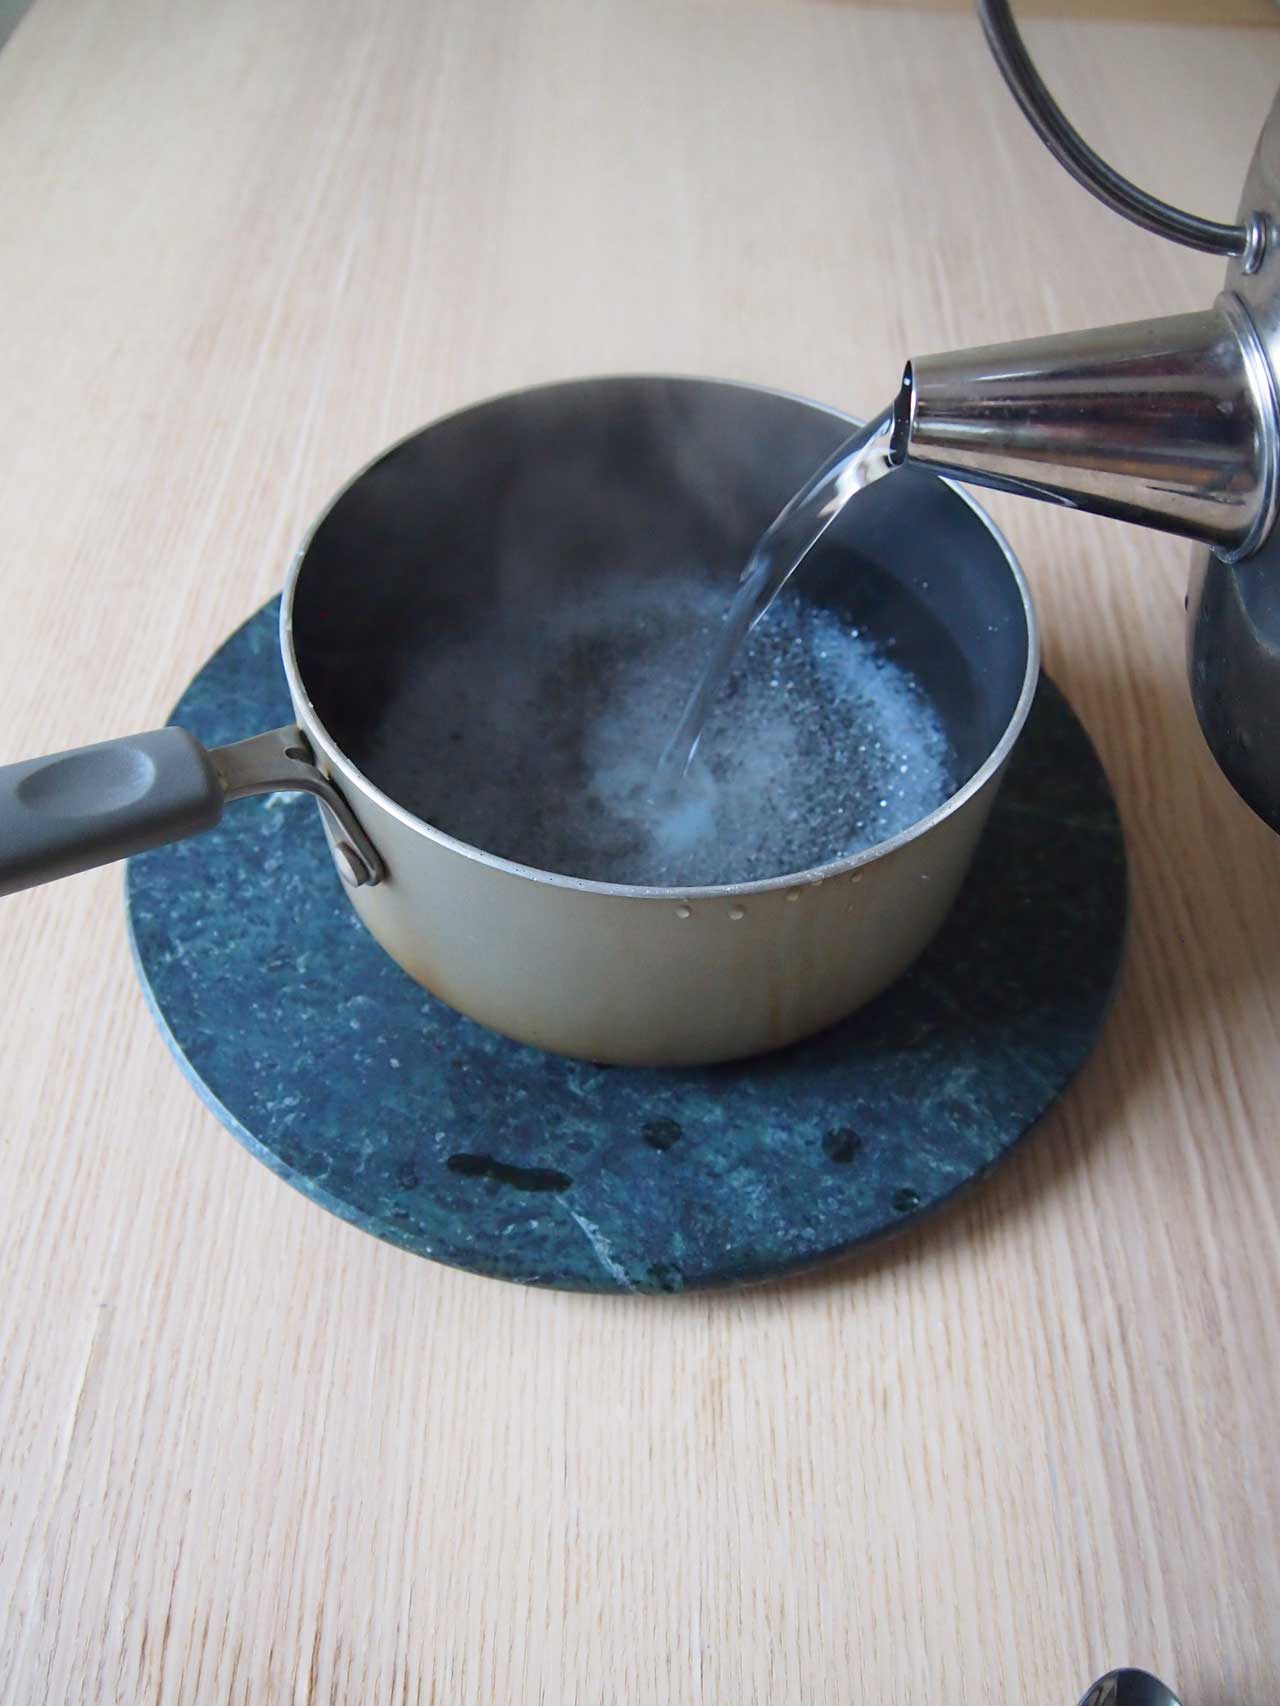
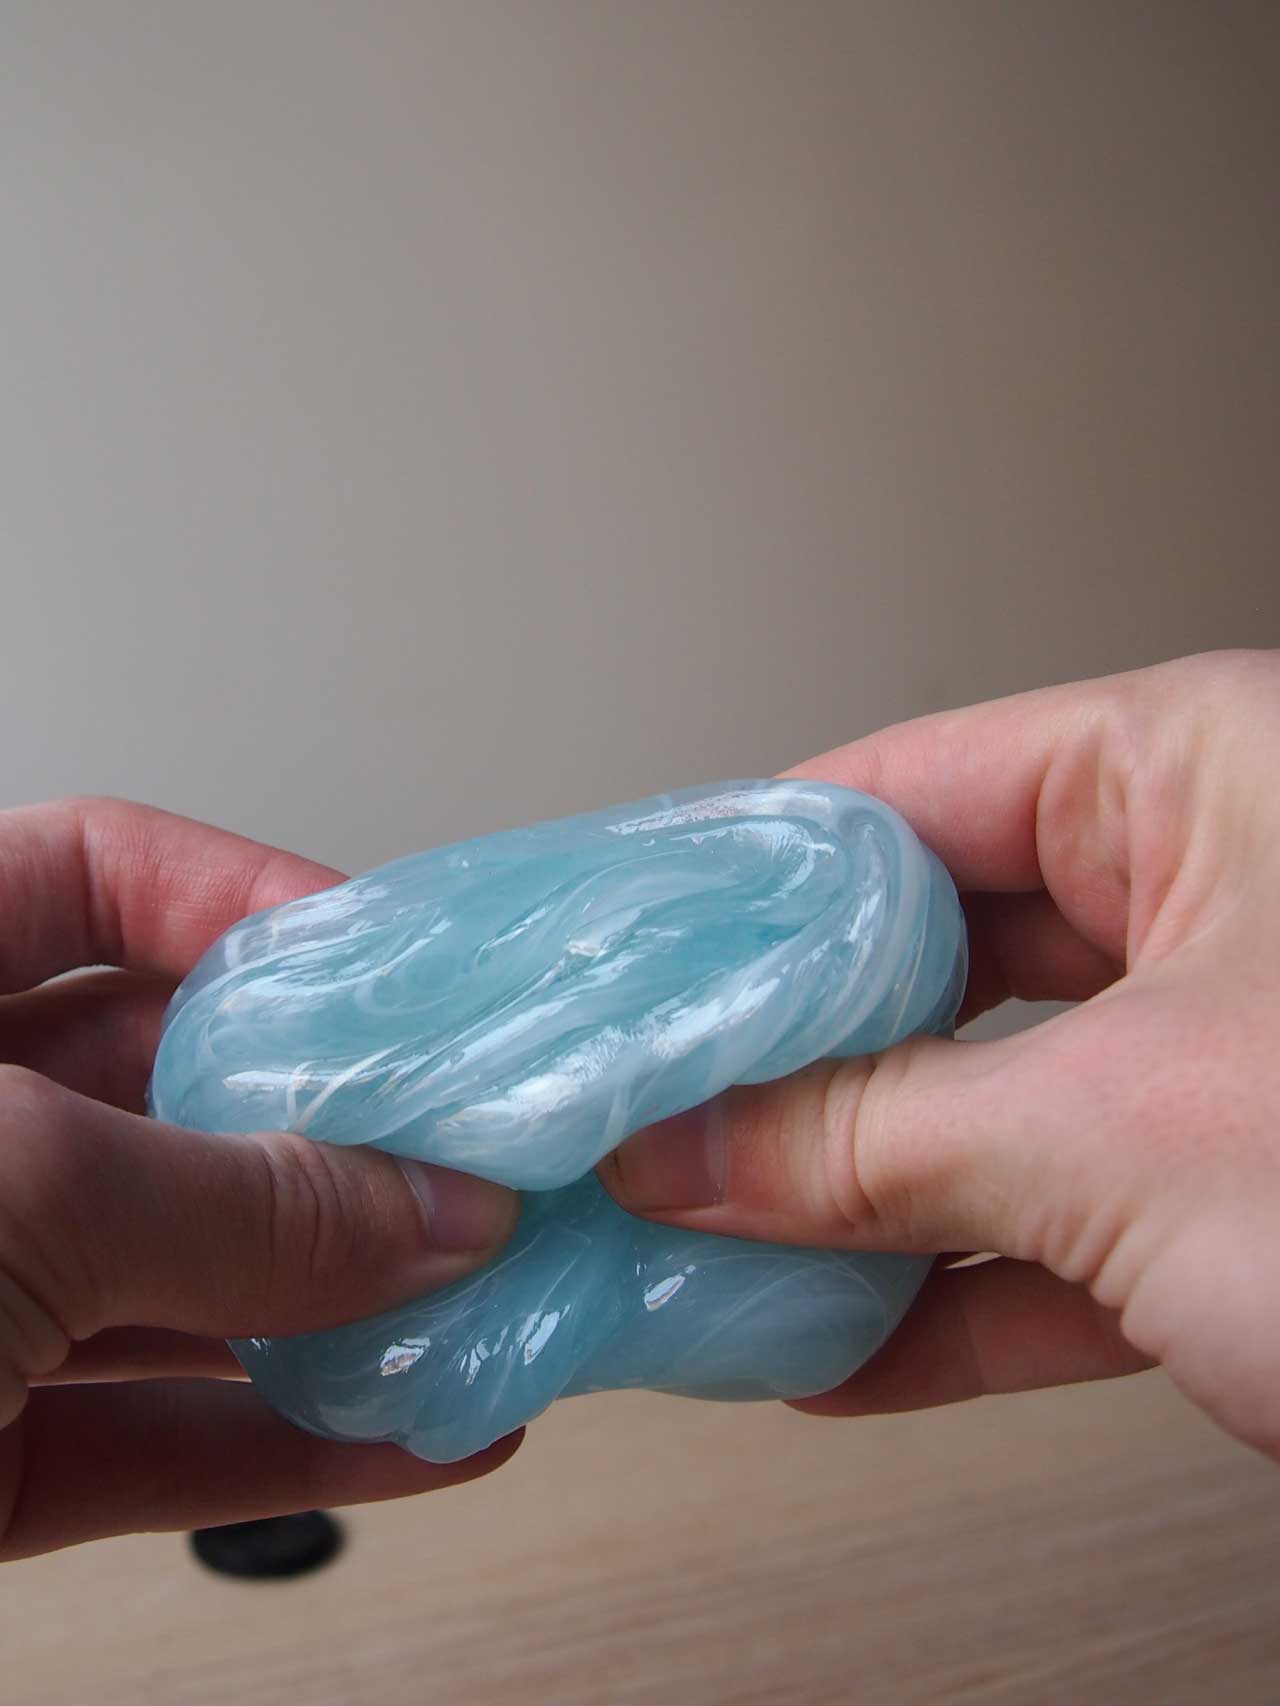
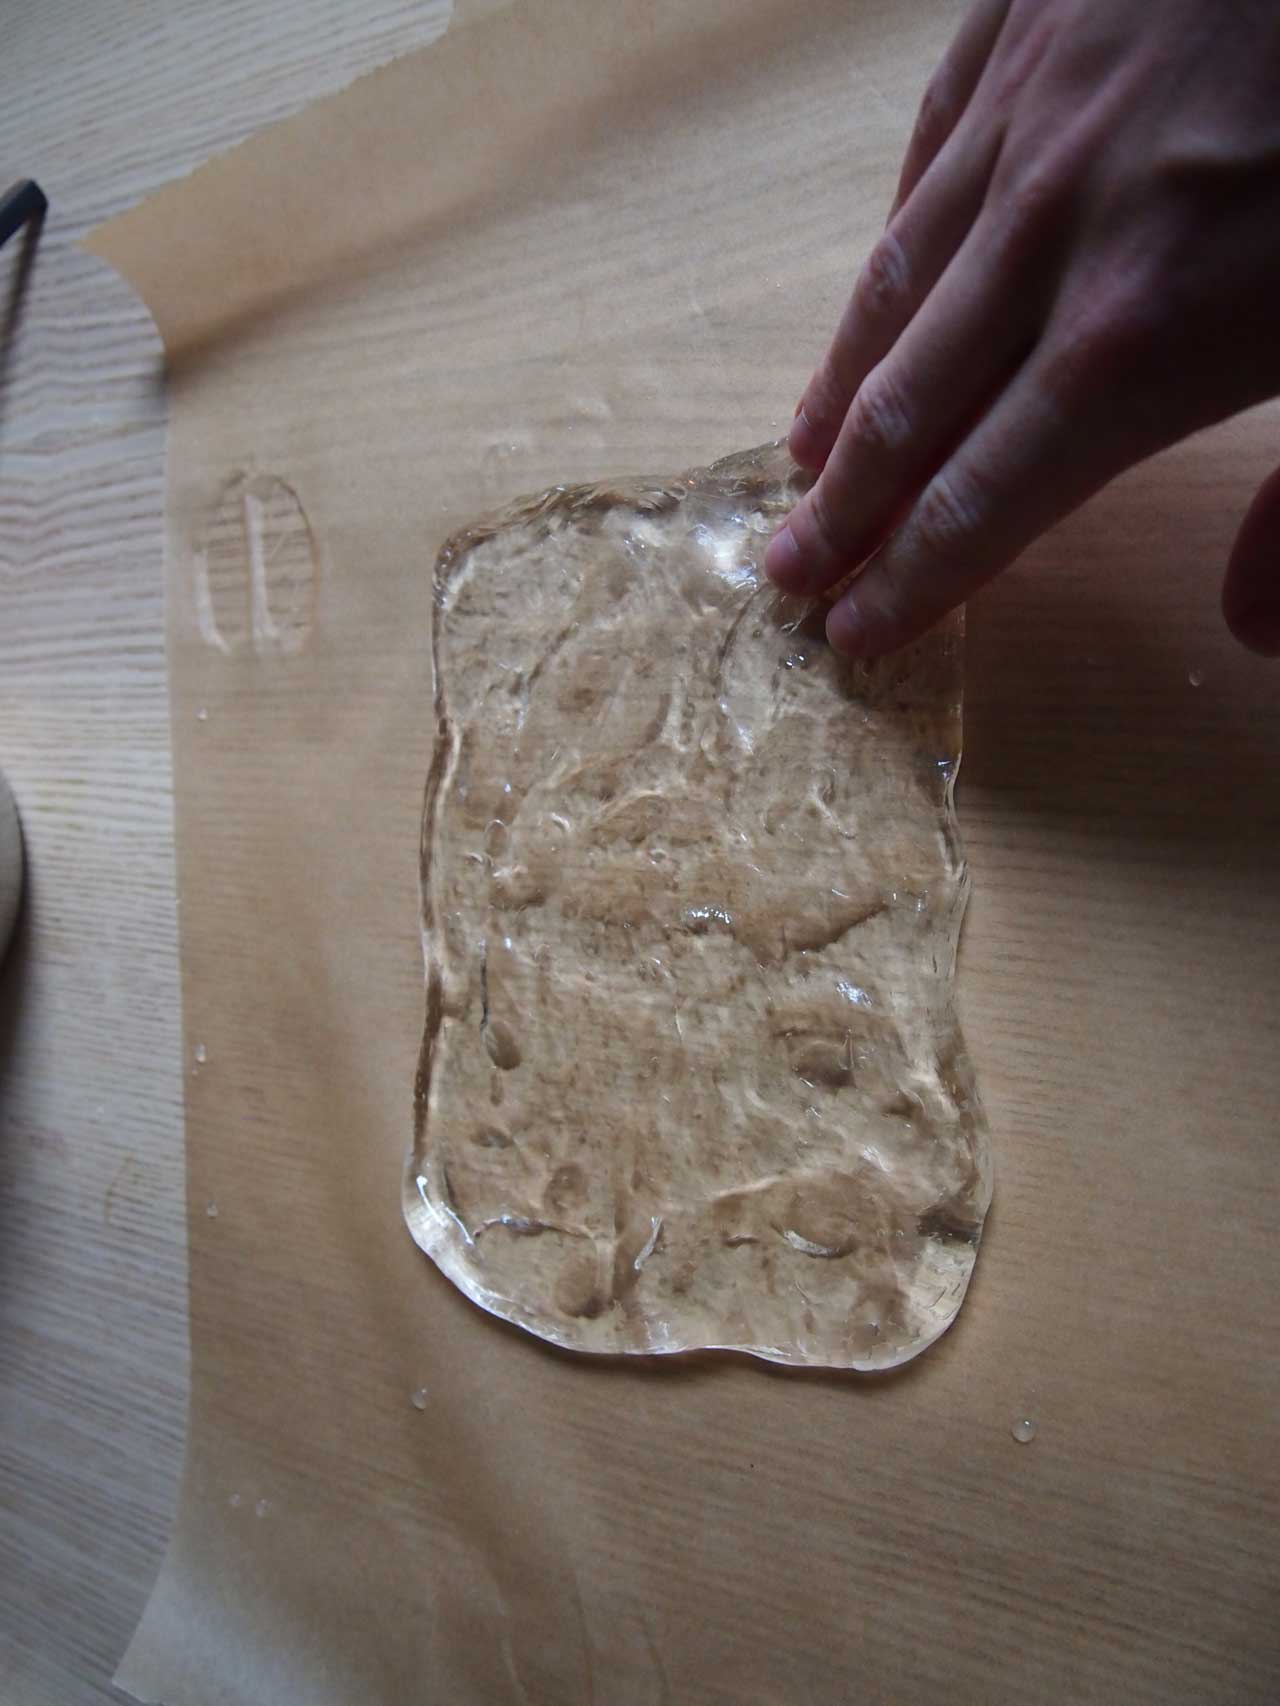
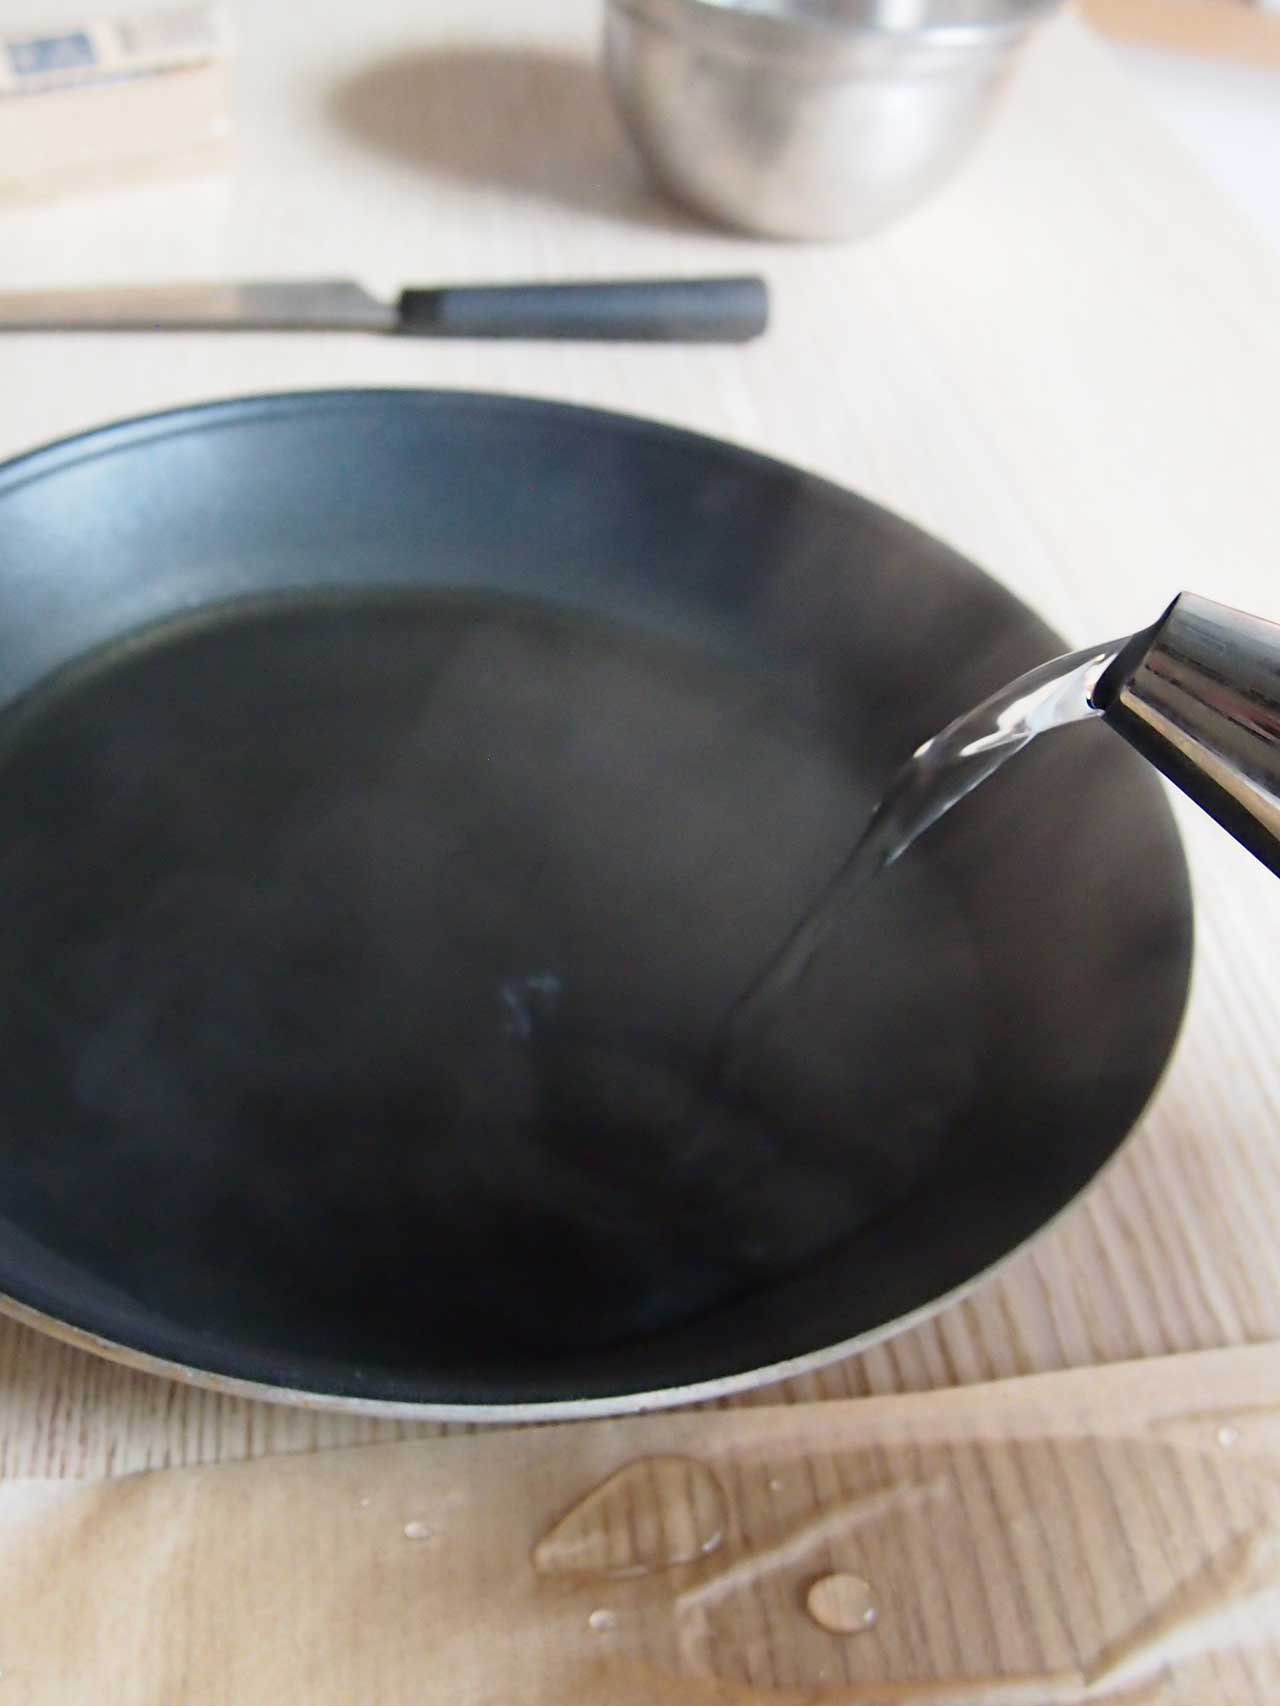
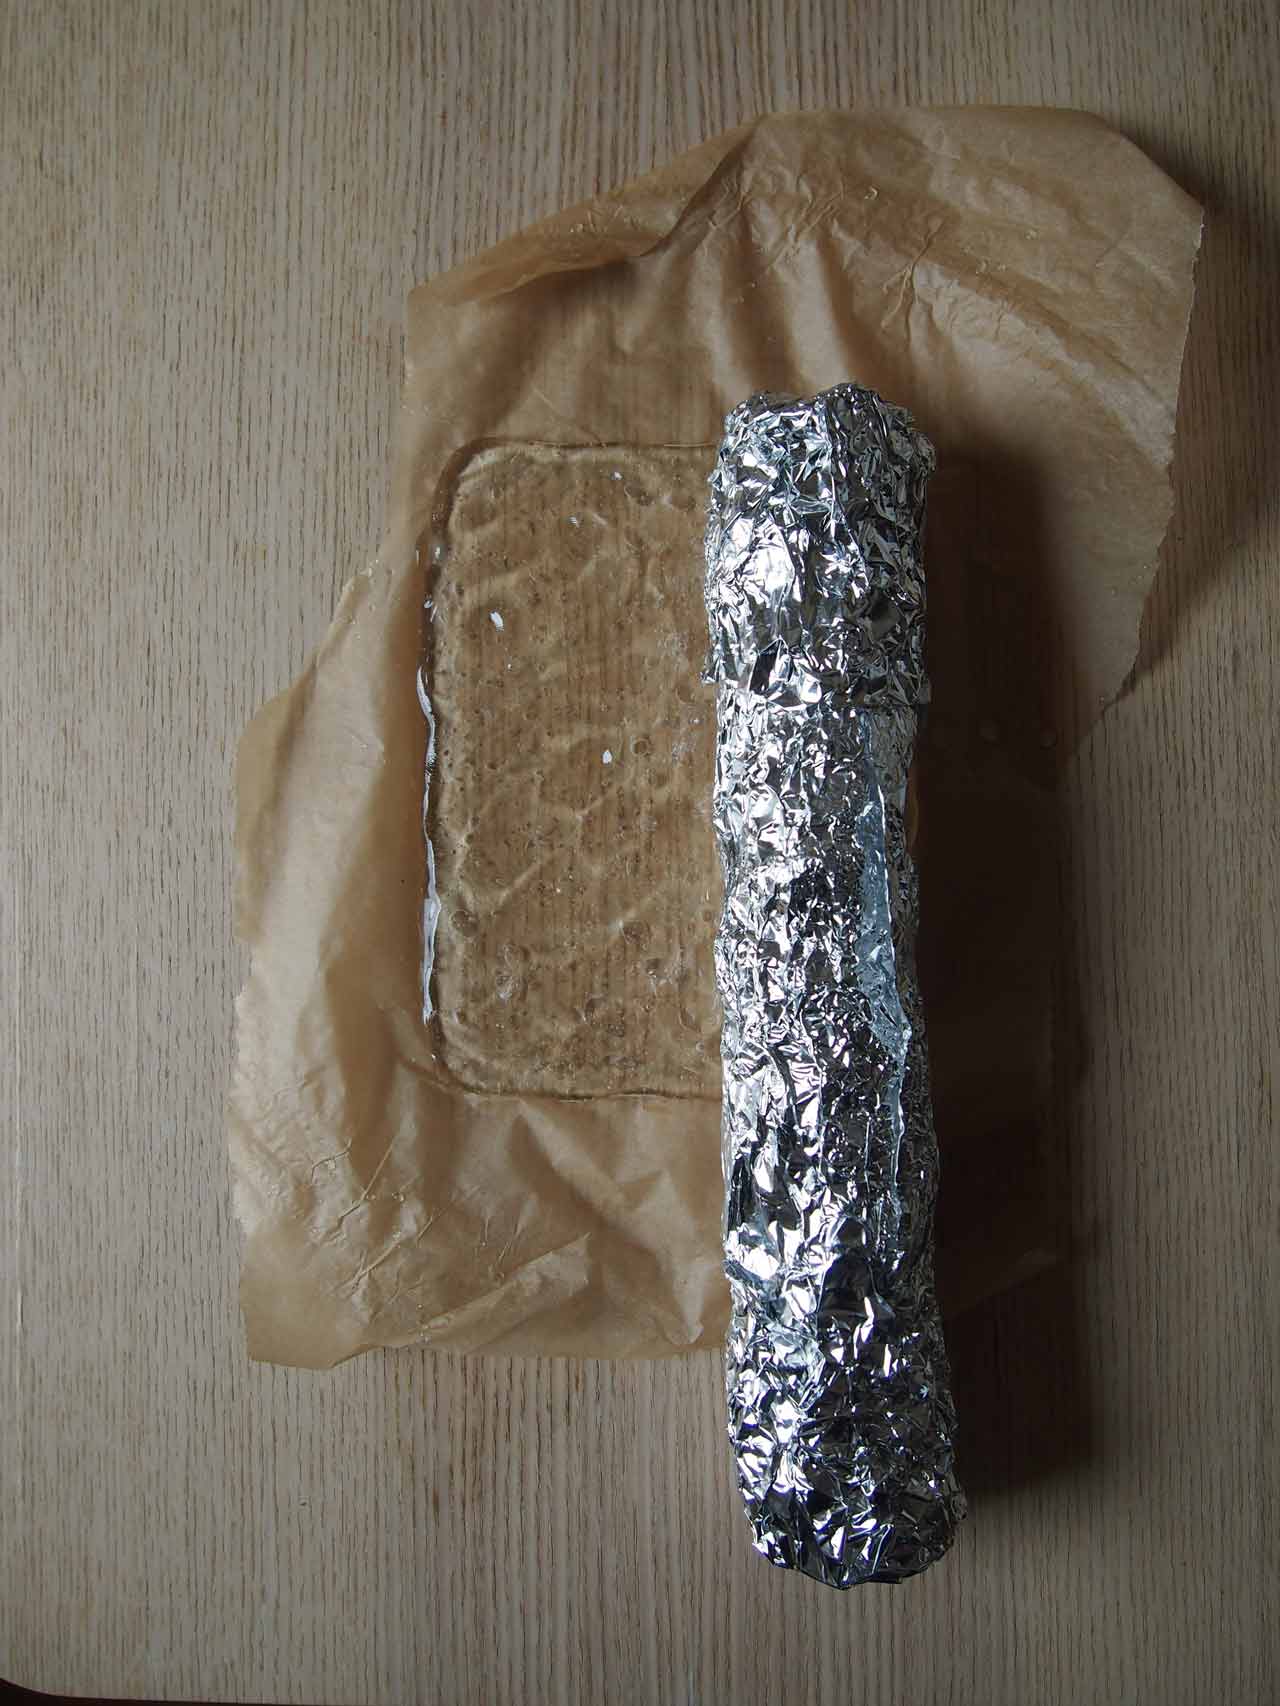
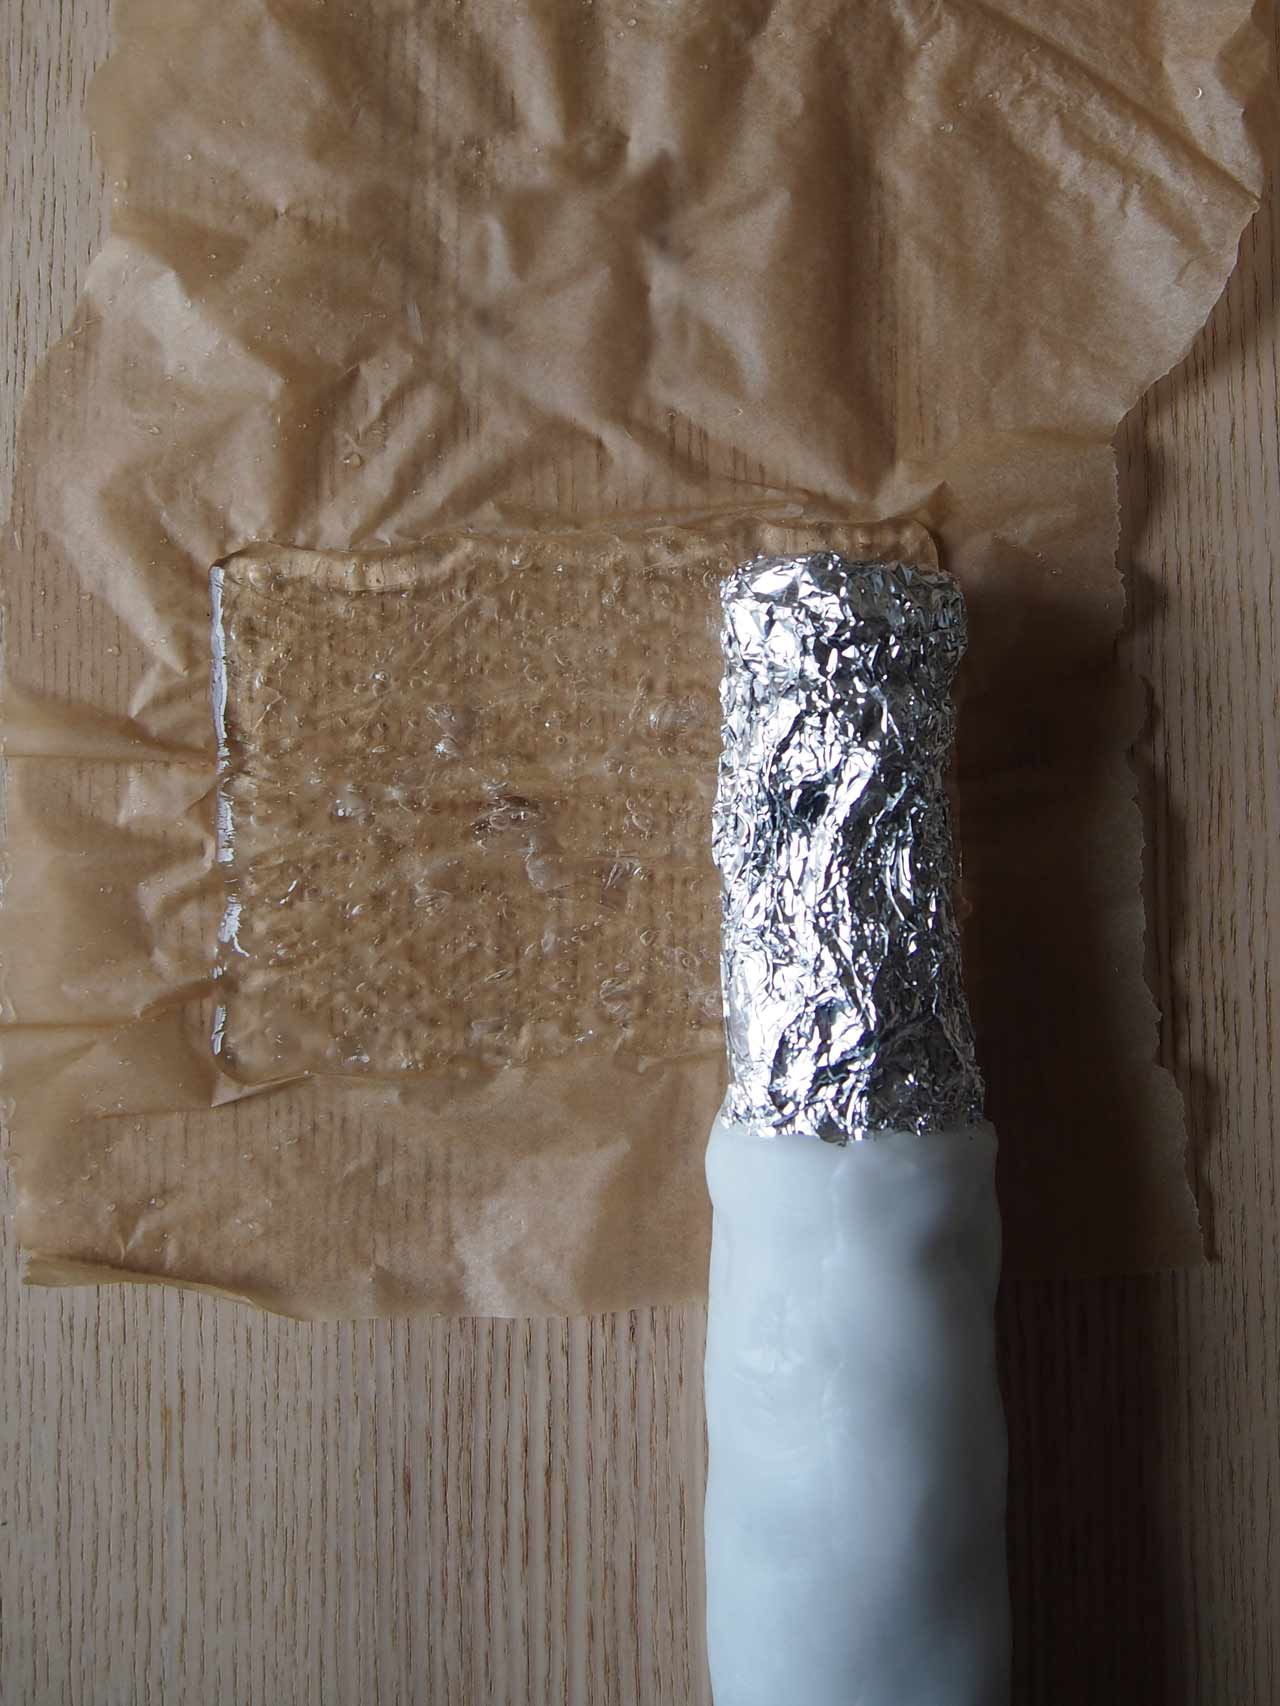
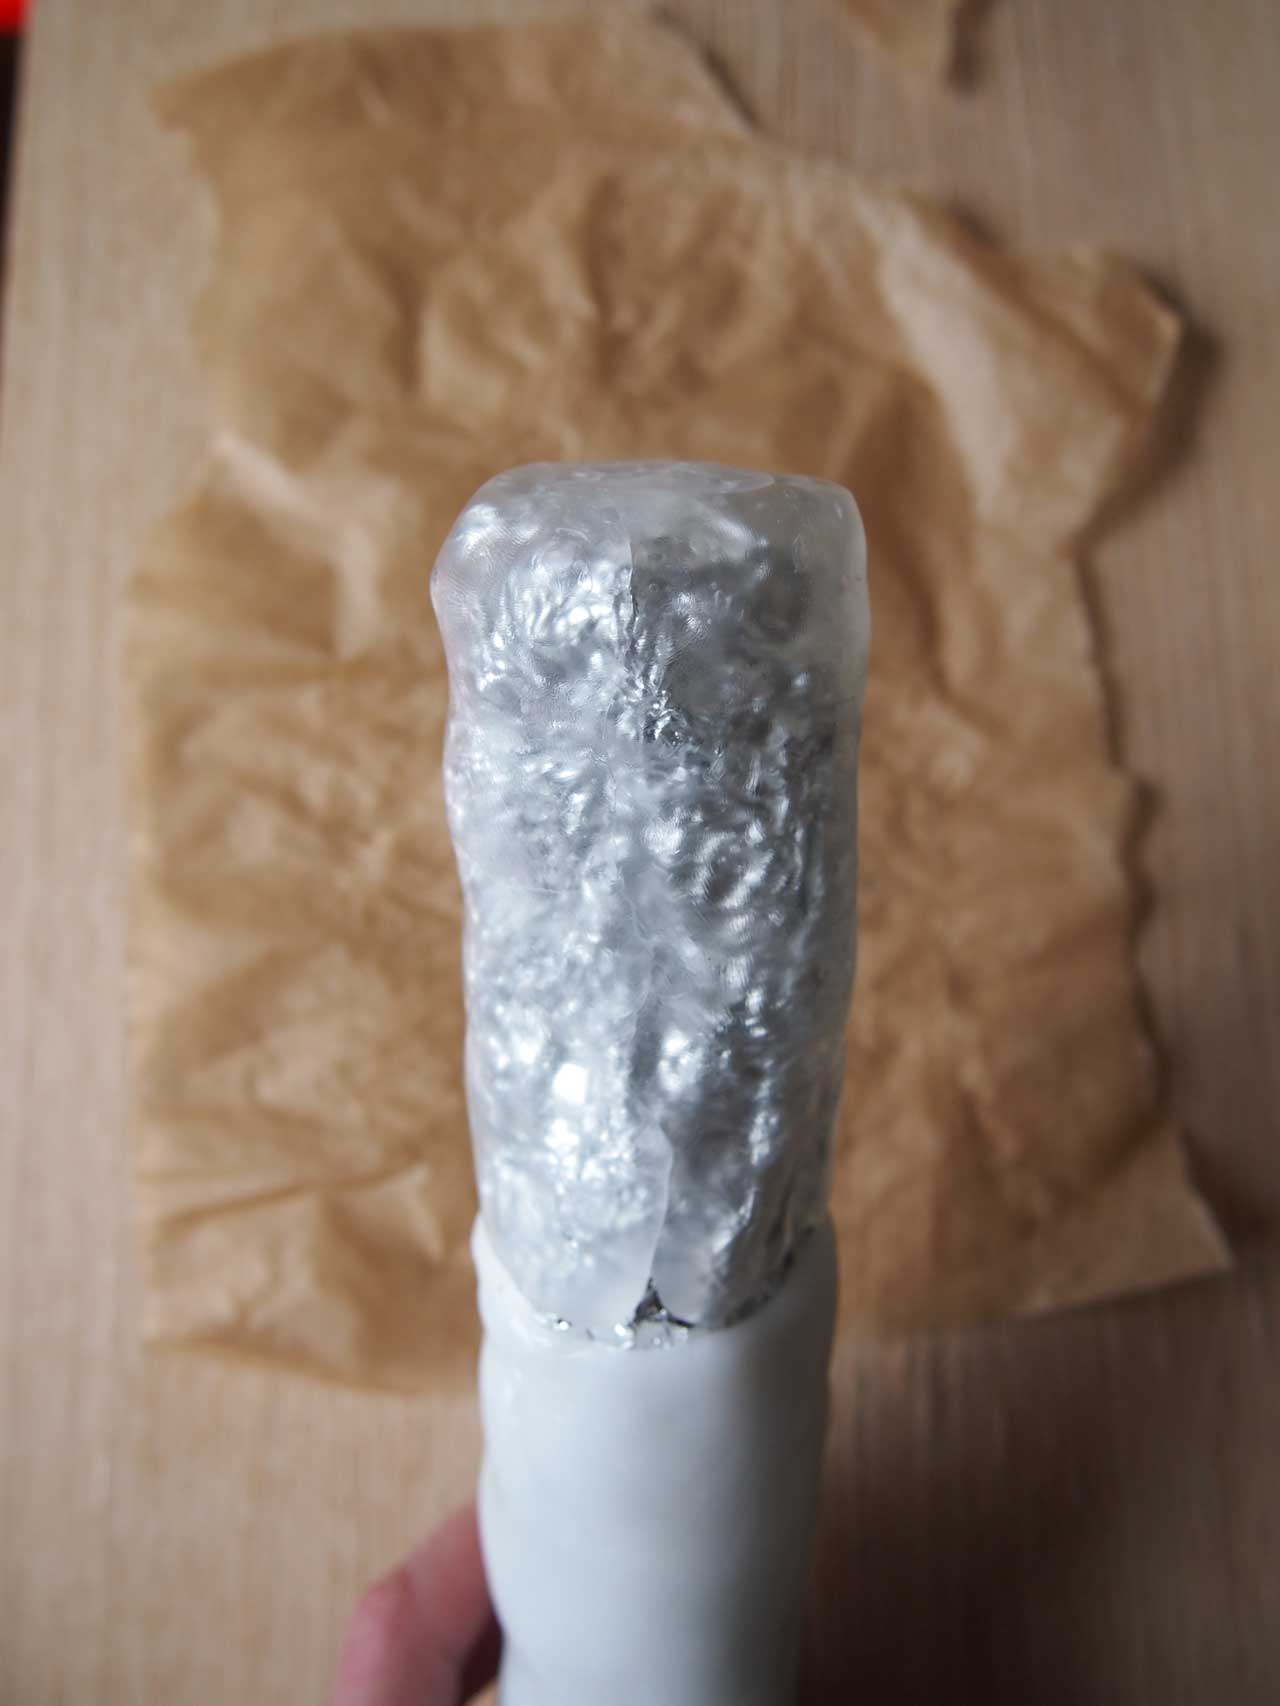
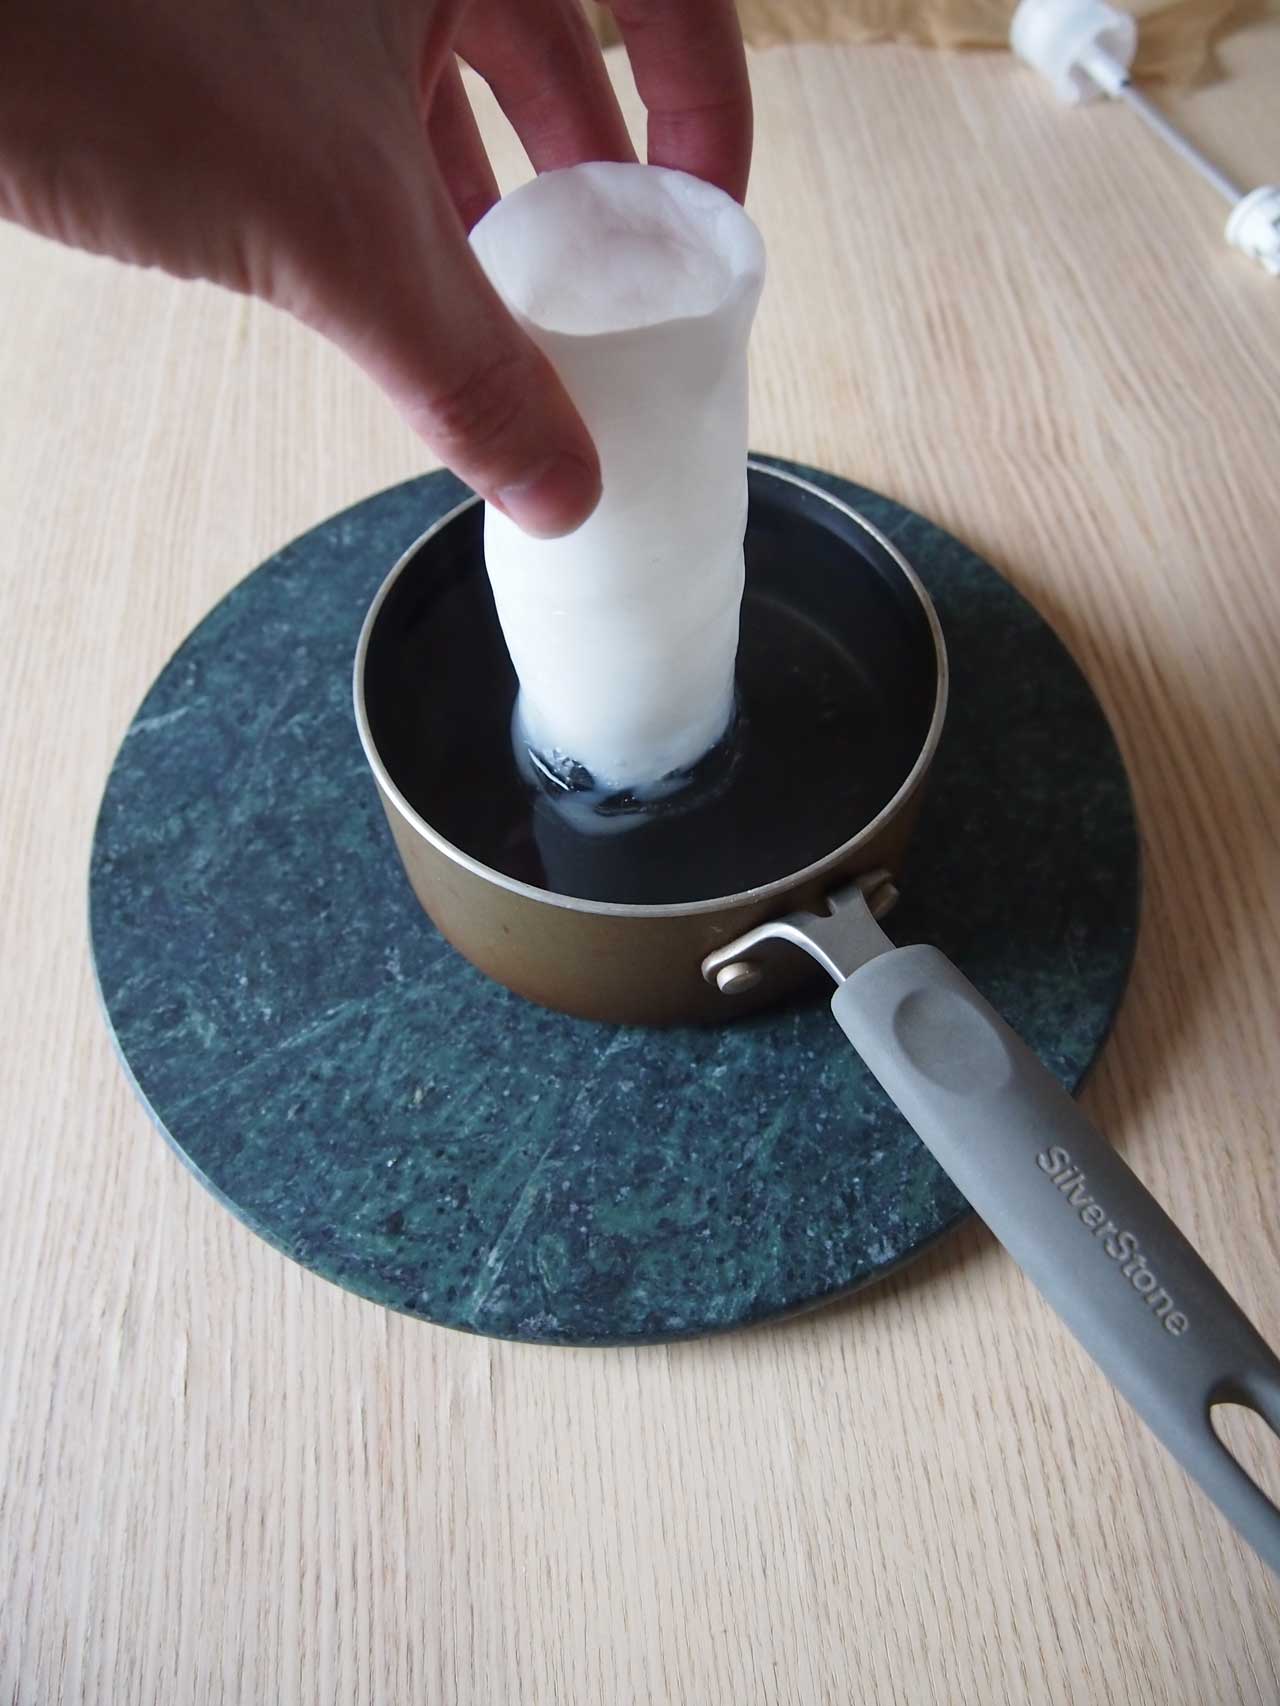
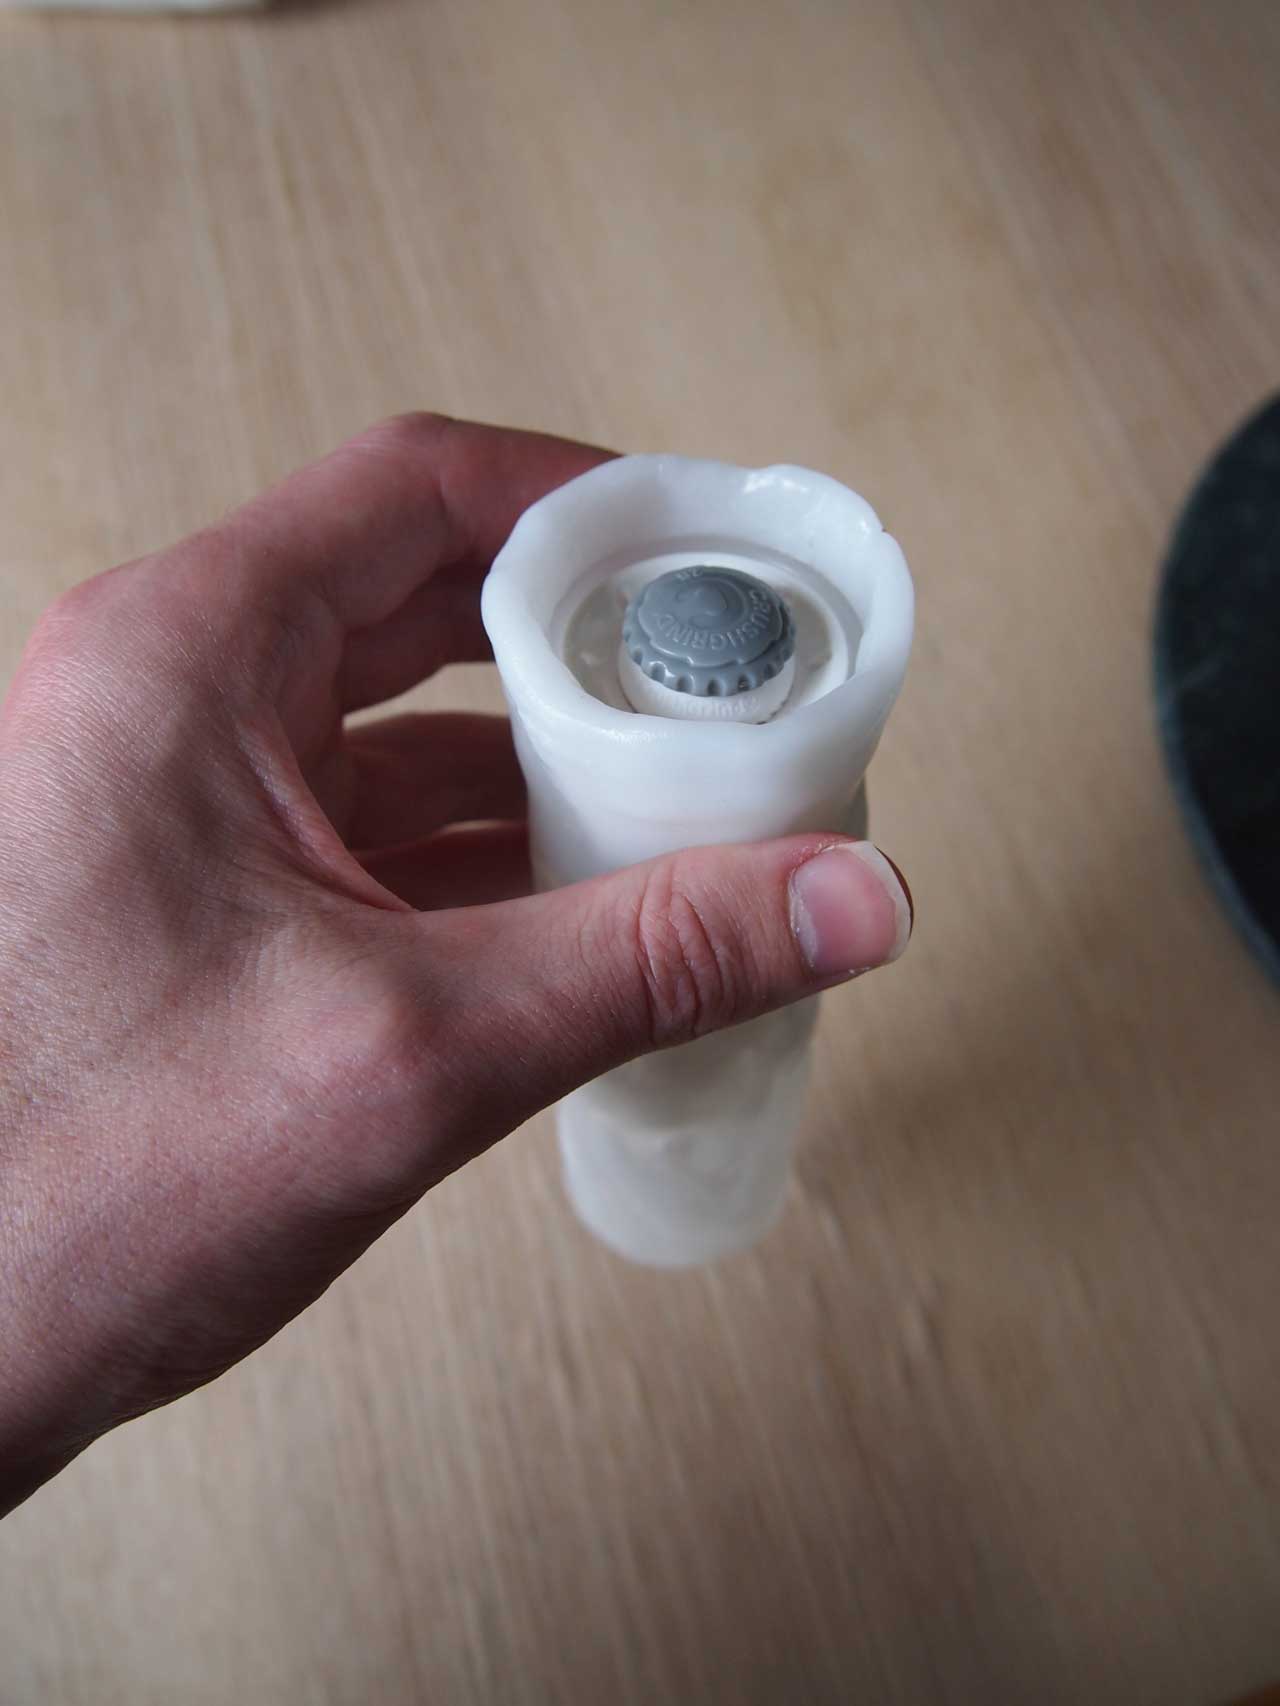
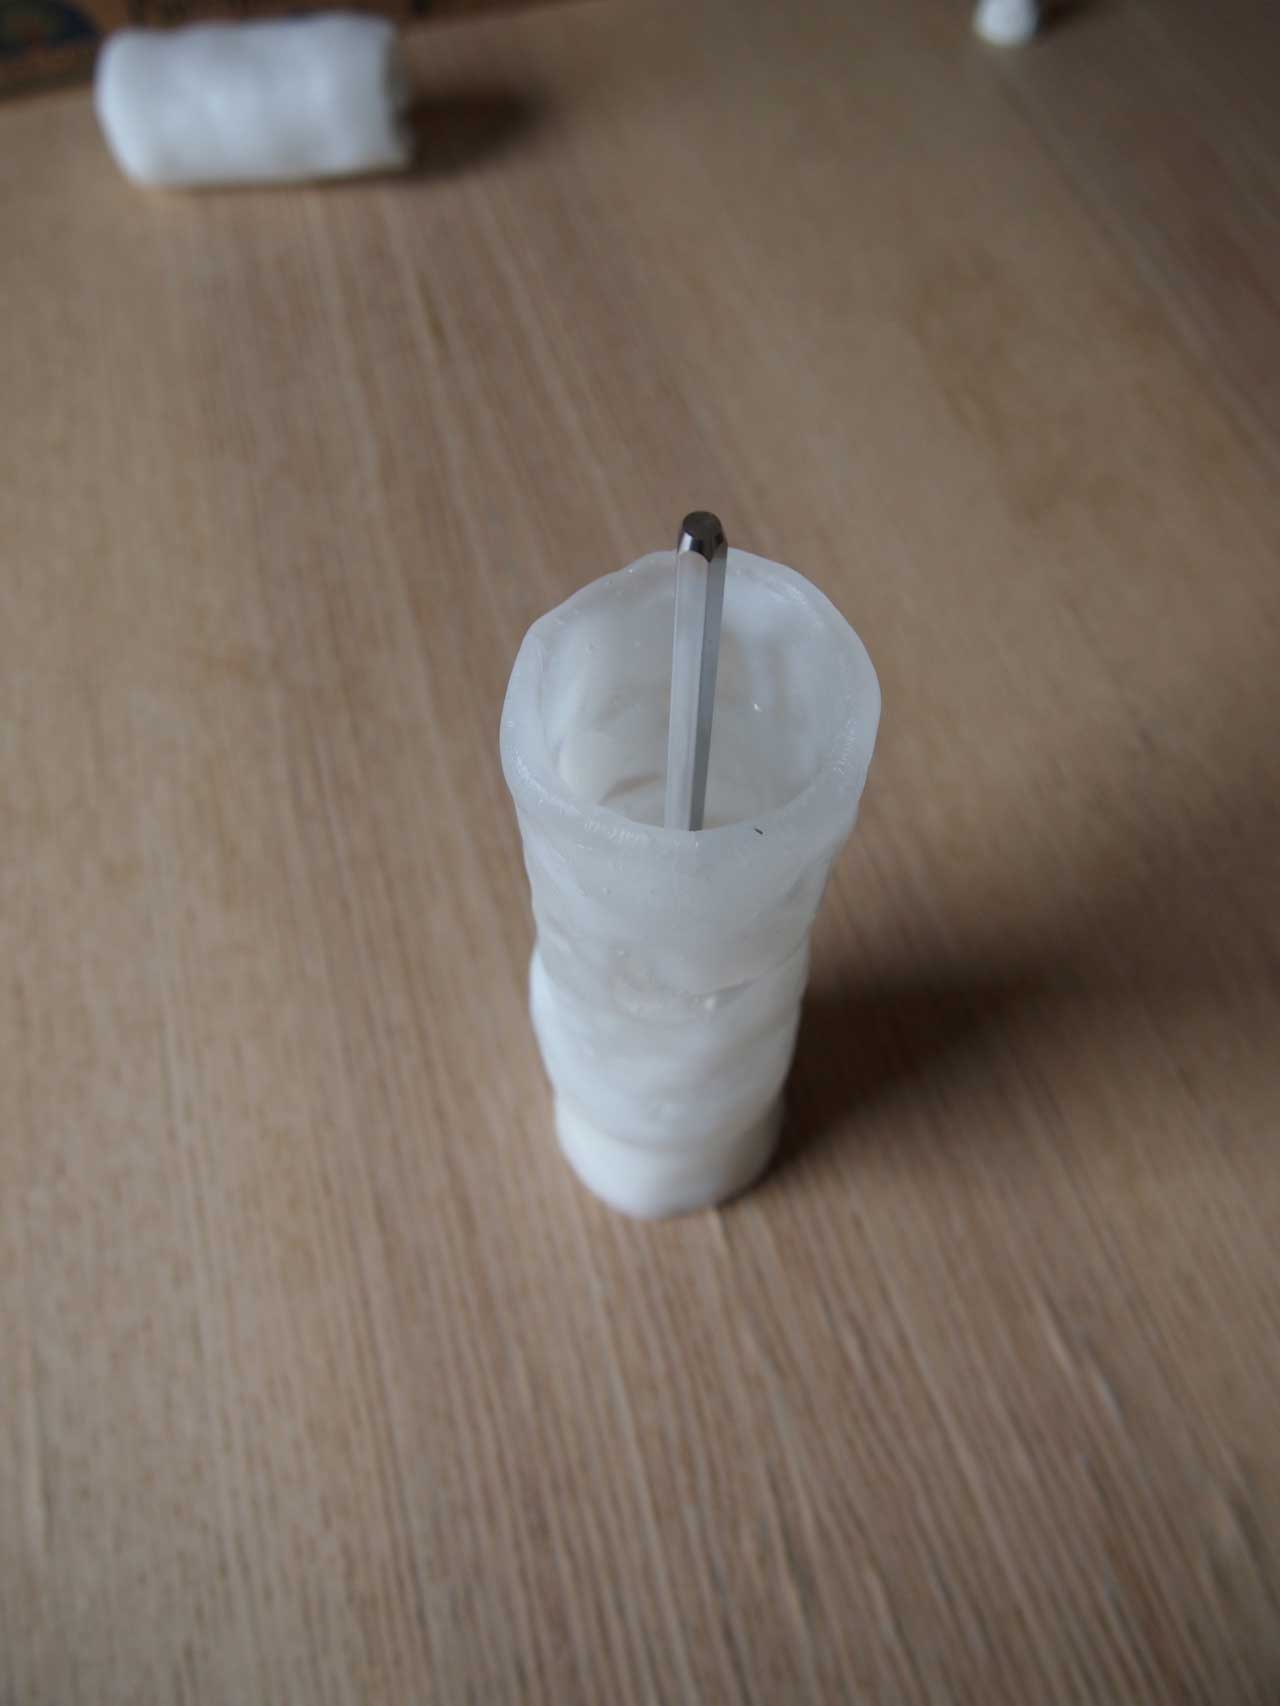
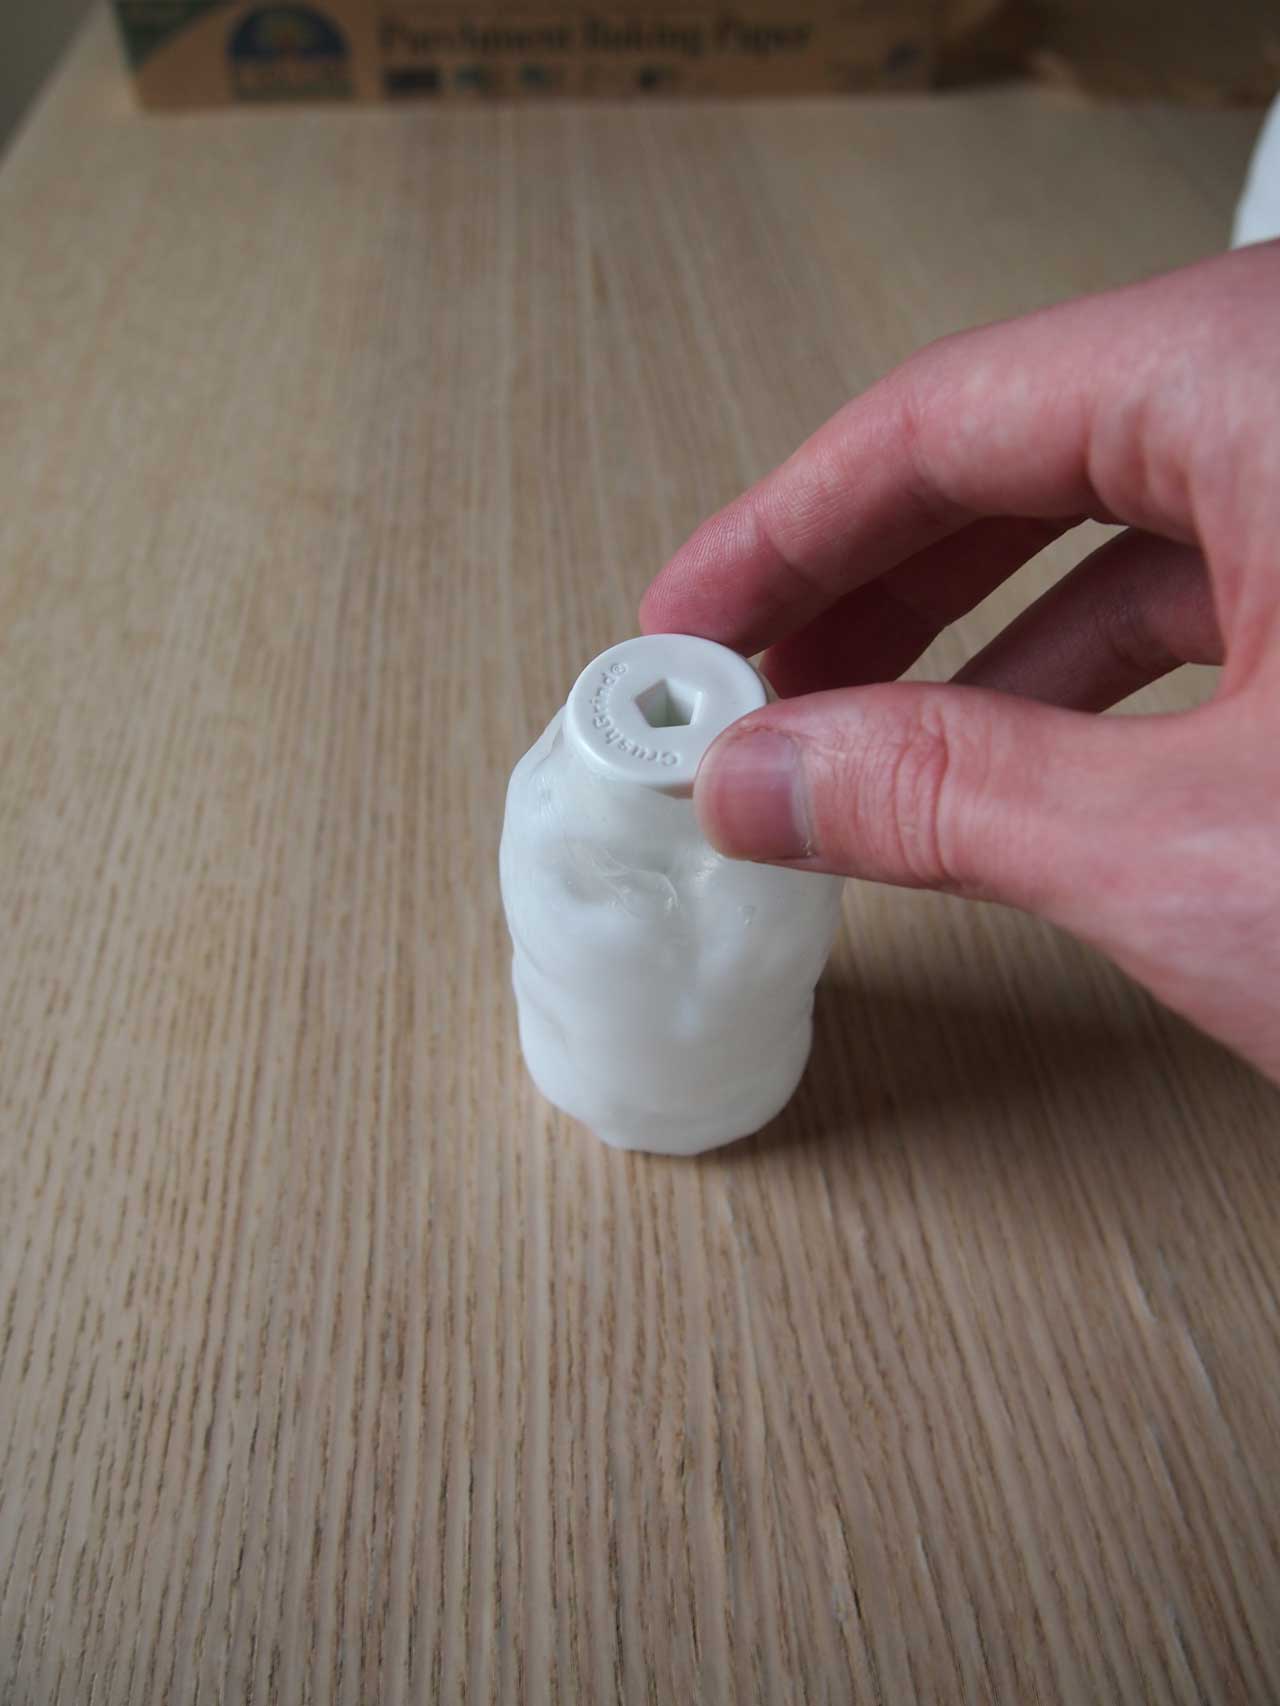
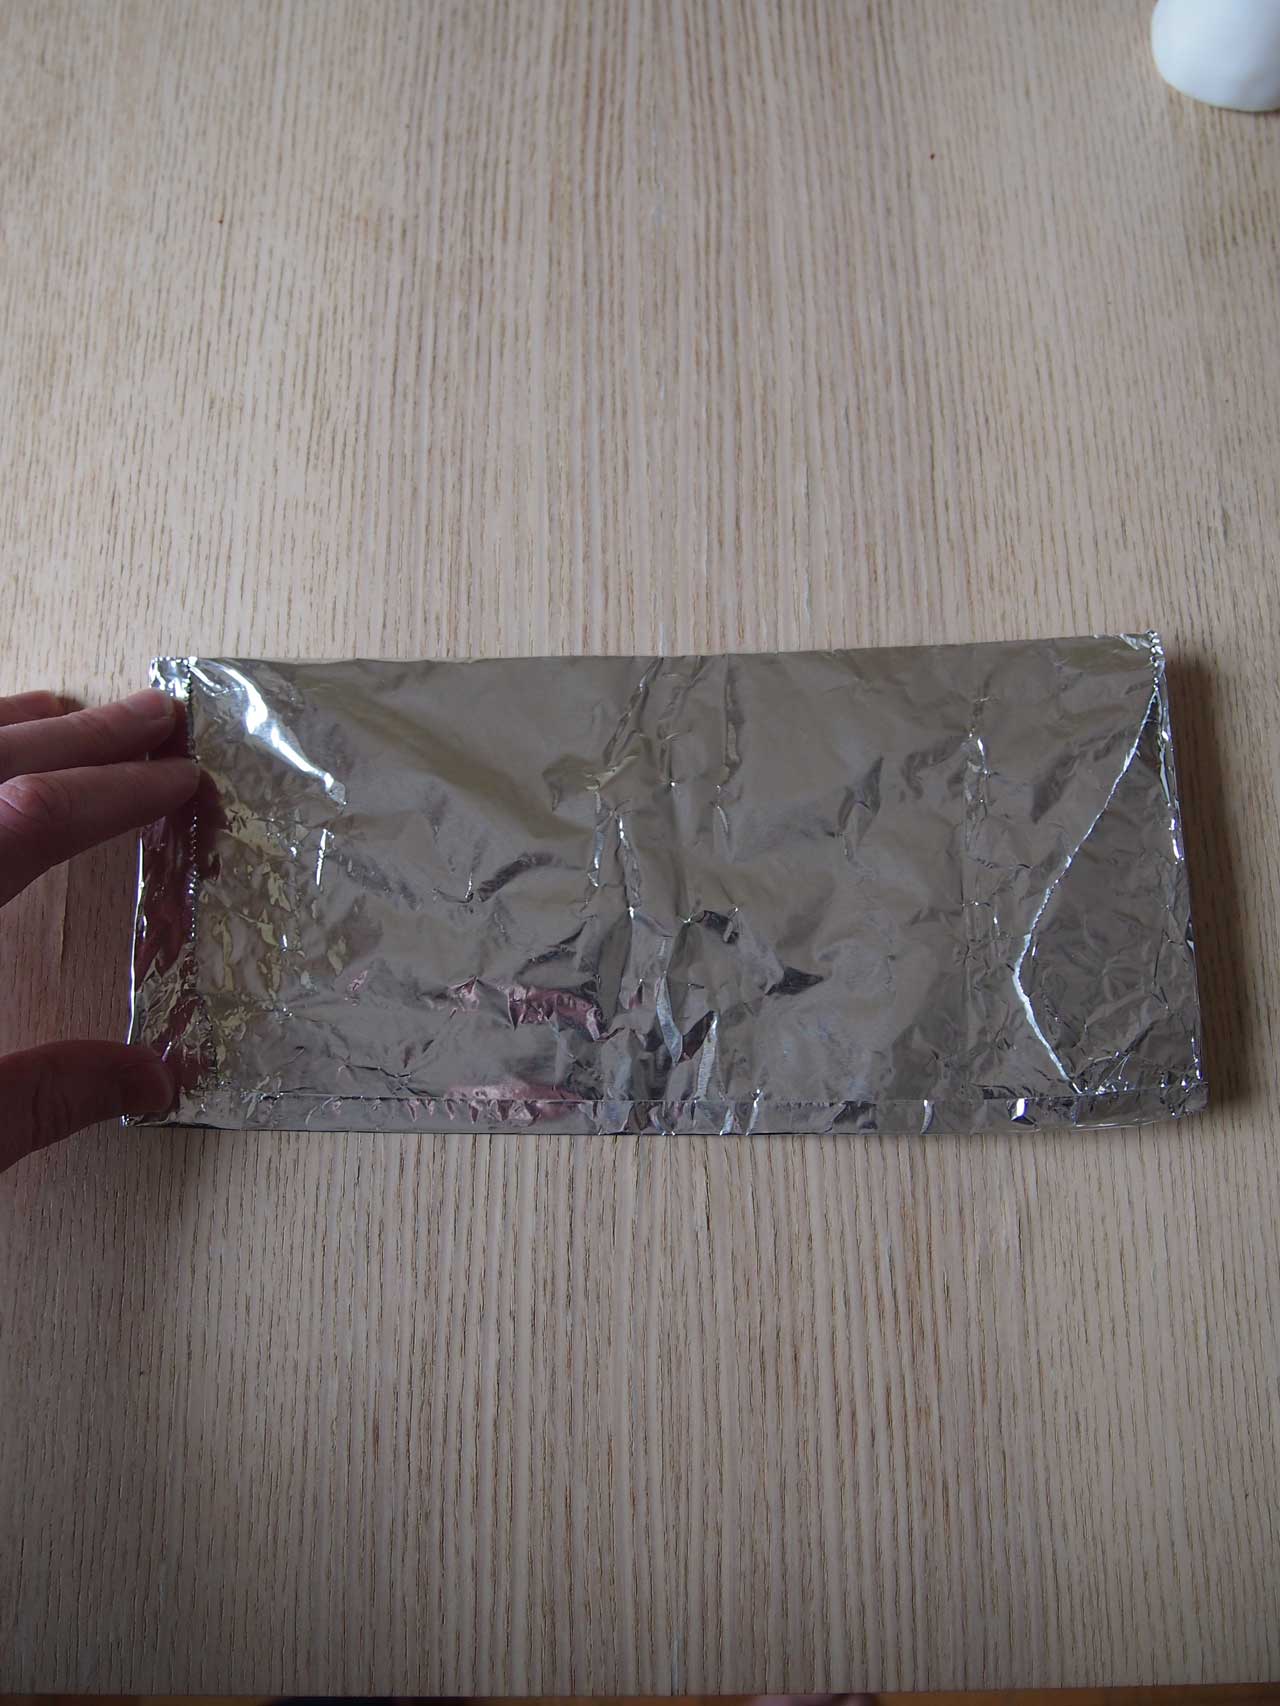
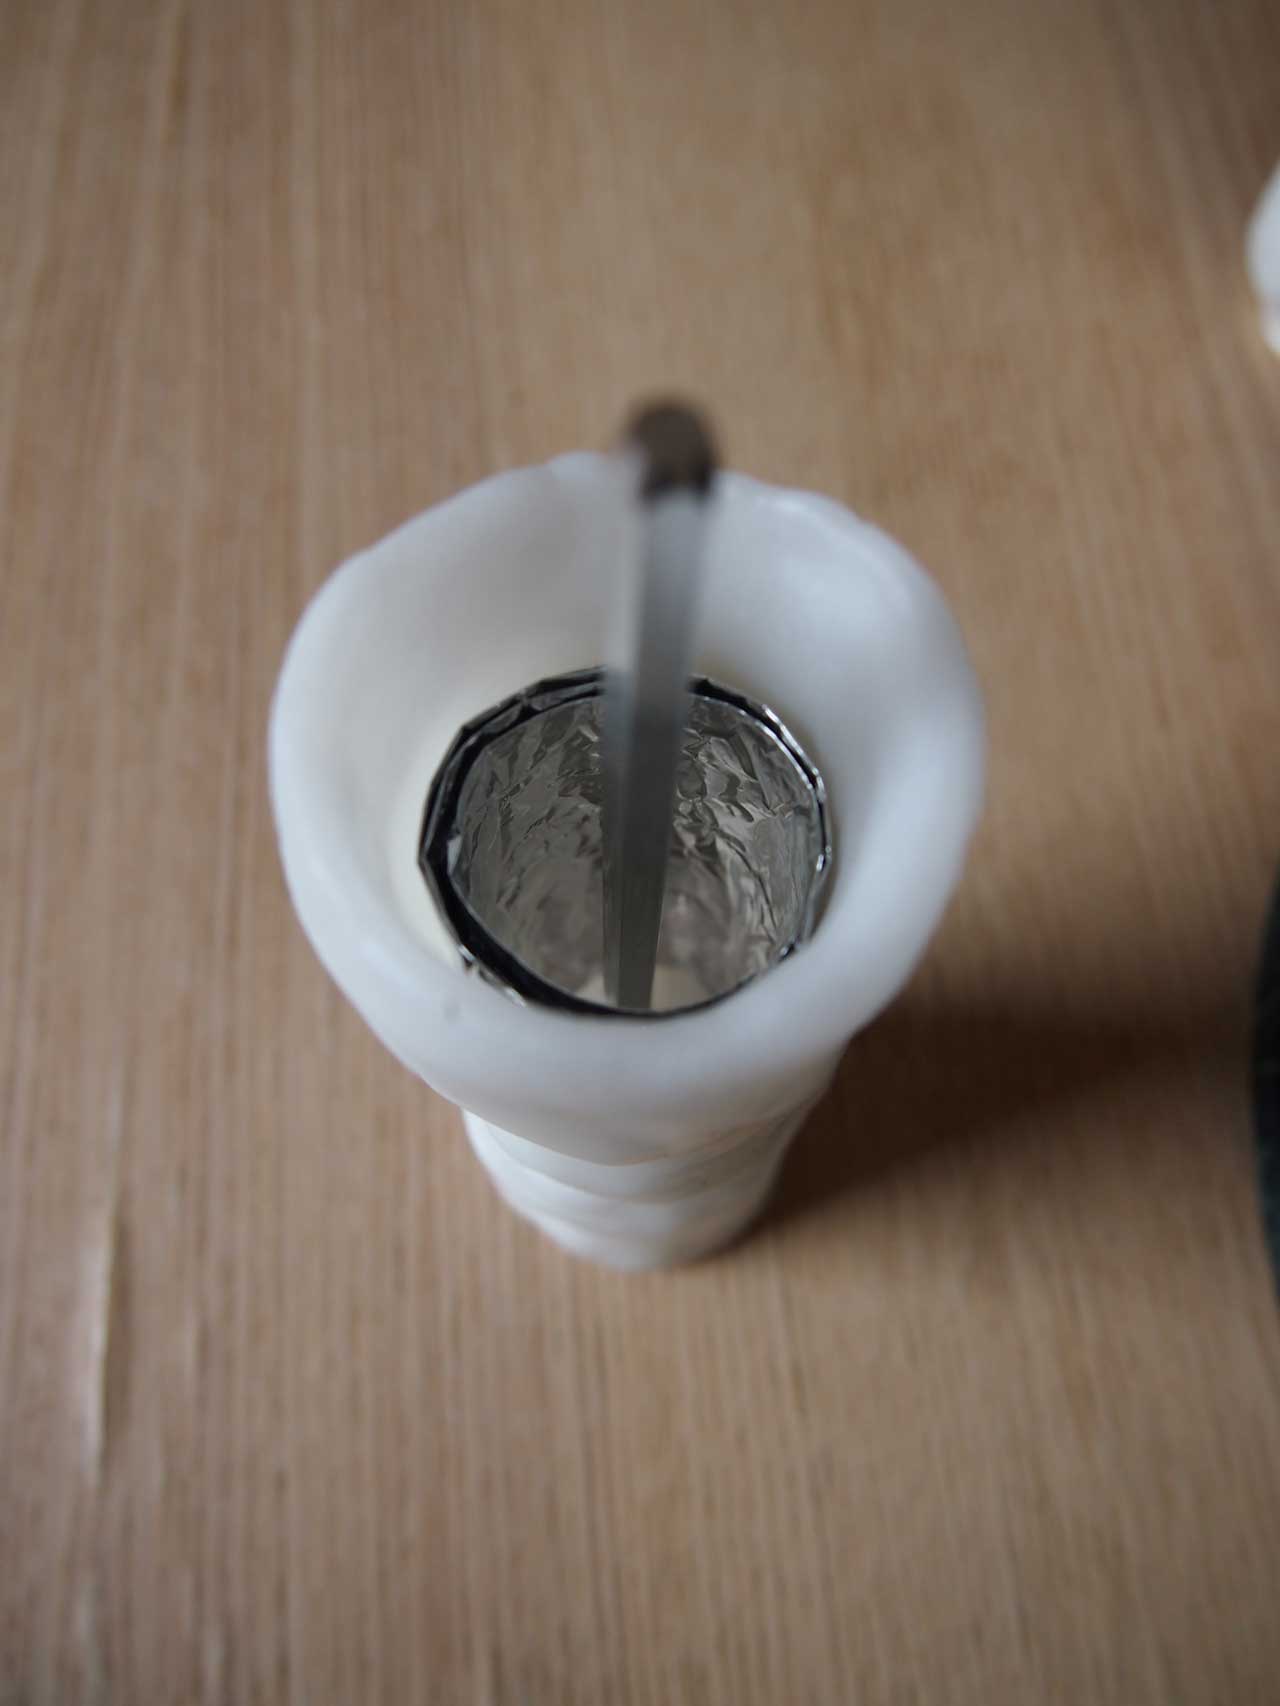
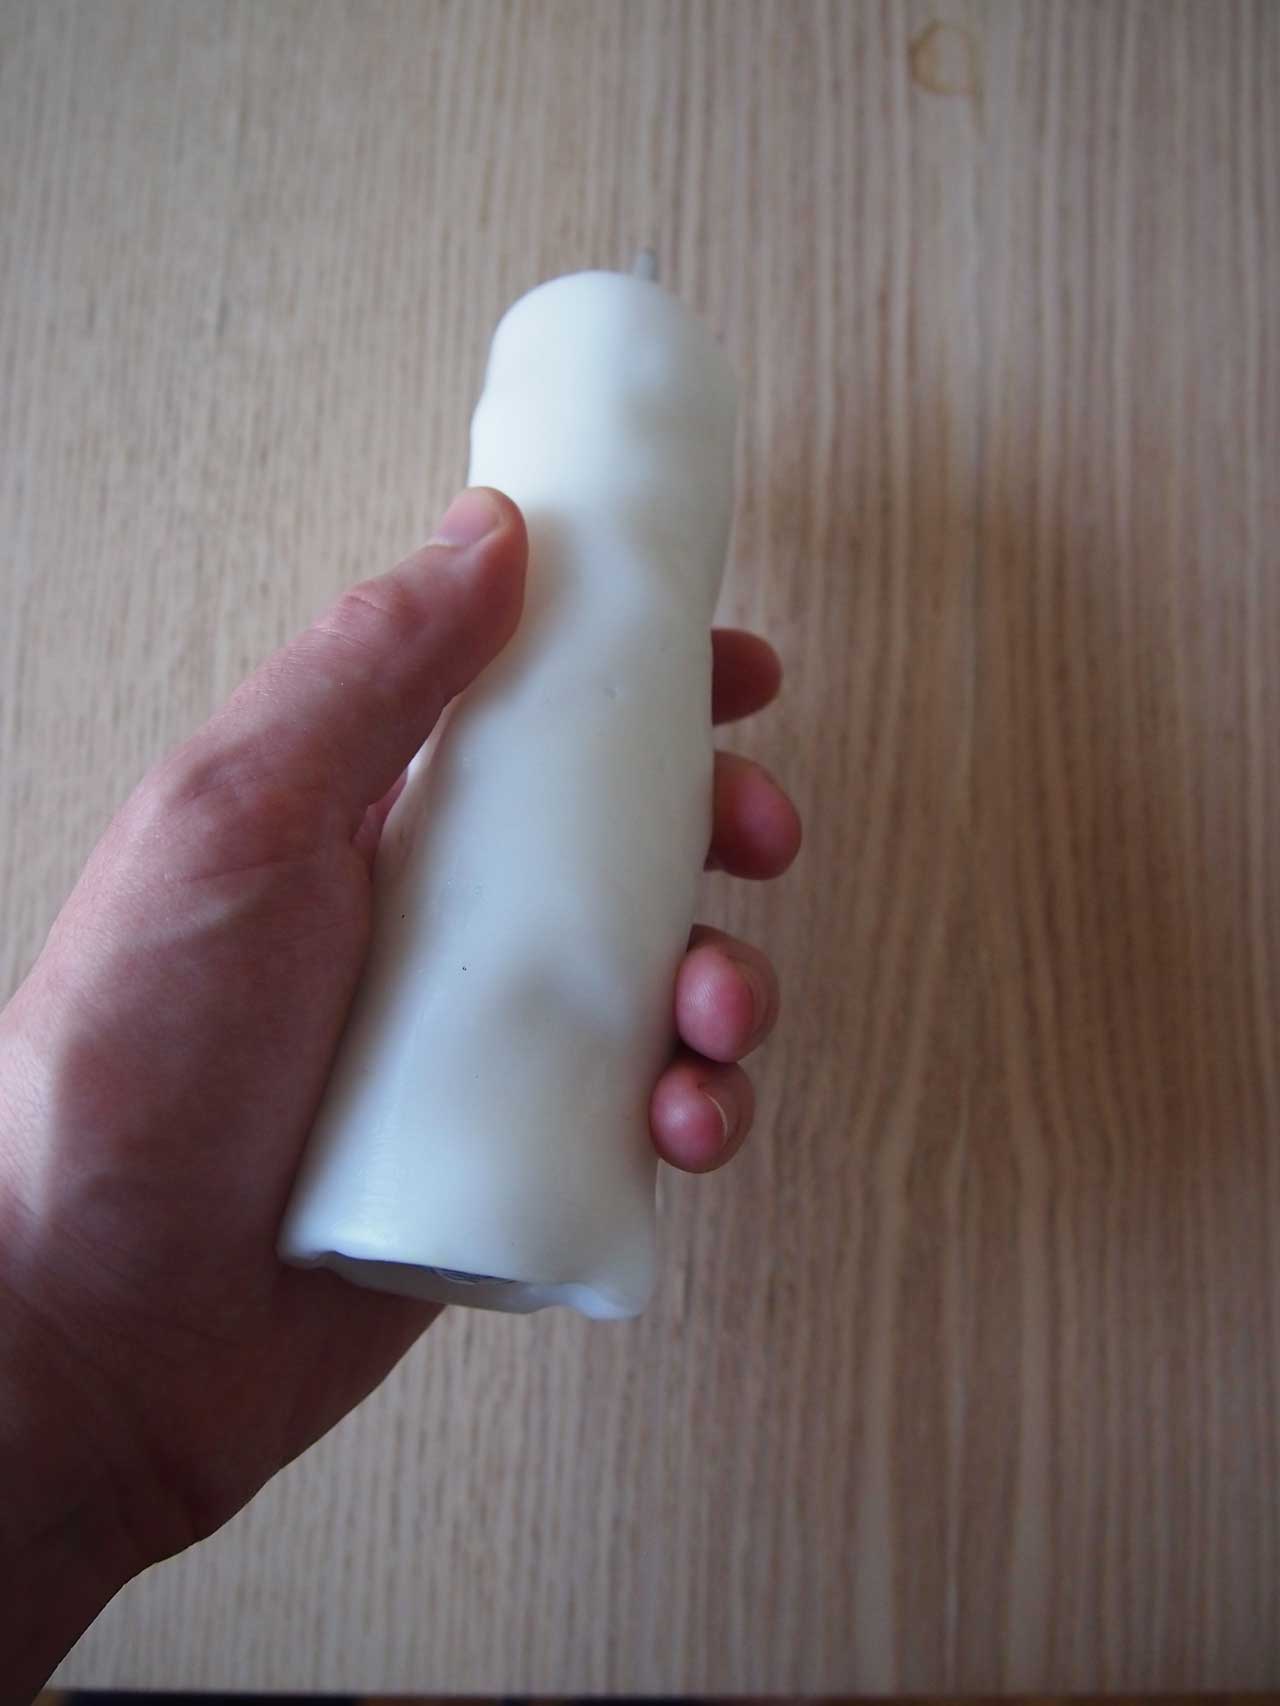
The ultimate form of this mill will be organic and somewhat unexpected, but thanks to the qualities of this plastic, it can be re-worked numerous times until you get the result you want. This roughly 8in (20cm) tall translucent salt + pepper mill can be assembled in a little over 1 hour with parts that cost less than 50 USD on average.

DIY plastic Pepper Mill designed by Aandersson
Assembly
Index
Parts
Polydoh Moldable Plastic Pellets with Color Granules, 12oz
Quantity required: 1
CrushGrind Pepper, Salt and Spice Mill Mechanism, 195 mm (7.6 in) length
Quantity required: 1
Heavy Duty Aluminum Foil
Tools
Coated Butcher or Baking Paper
Medium-sized Pot
Large Pan
Help Each Other

One Gallon Floor Lamp

Aandersson

DIY floor lamp designed by Aandersson
One Gallon Floor Lamp

Design and photography by AANDERSSON
Published in Spring 2019

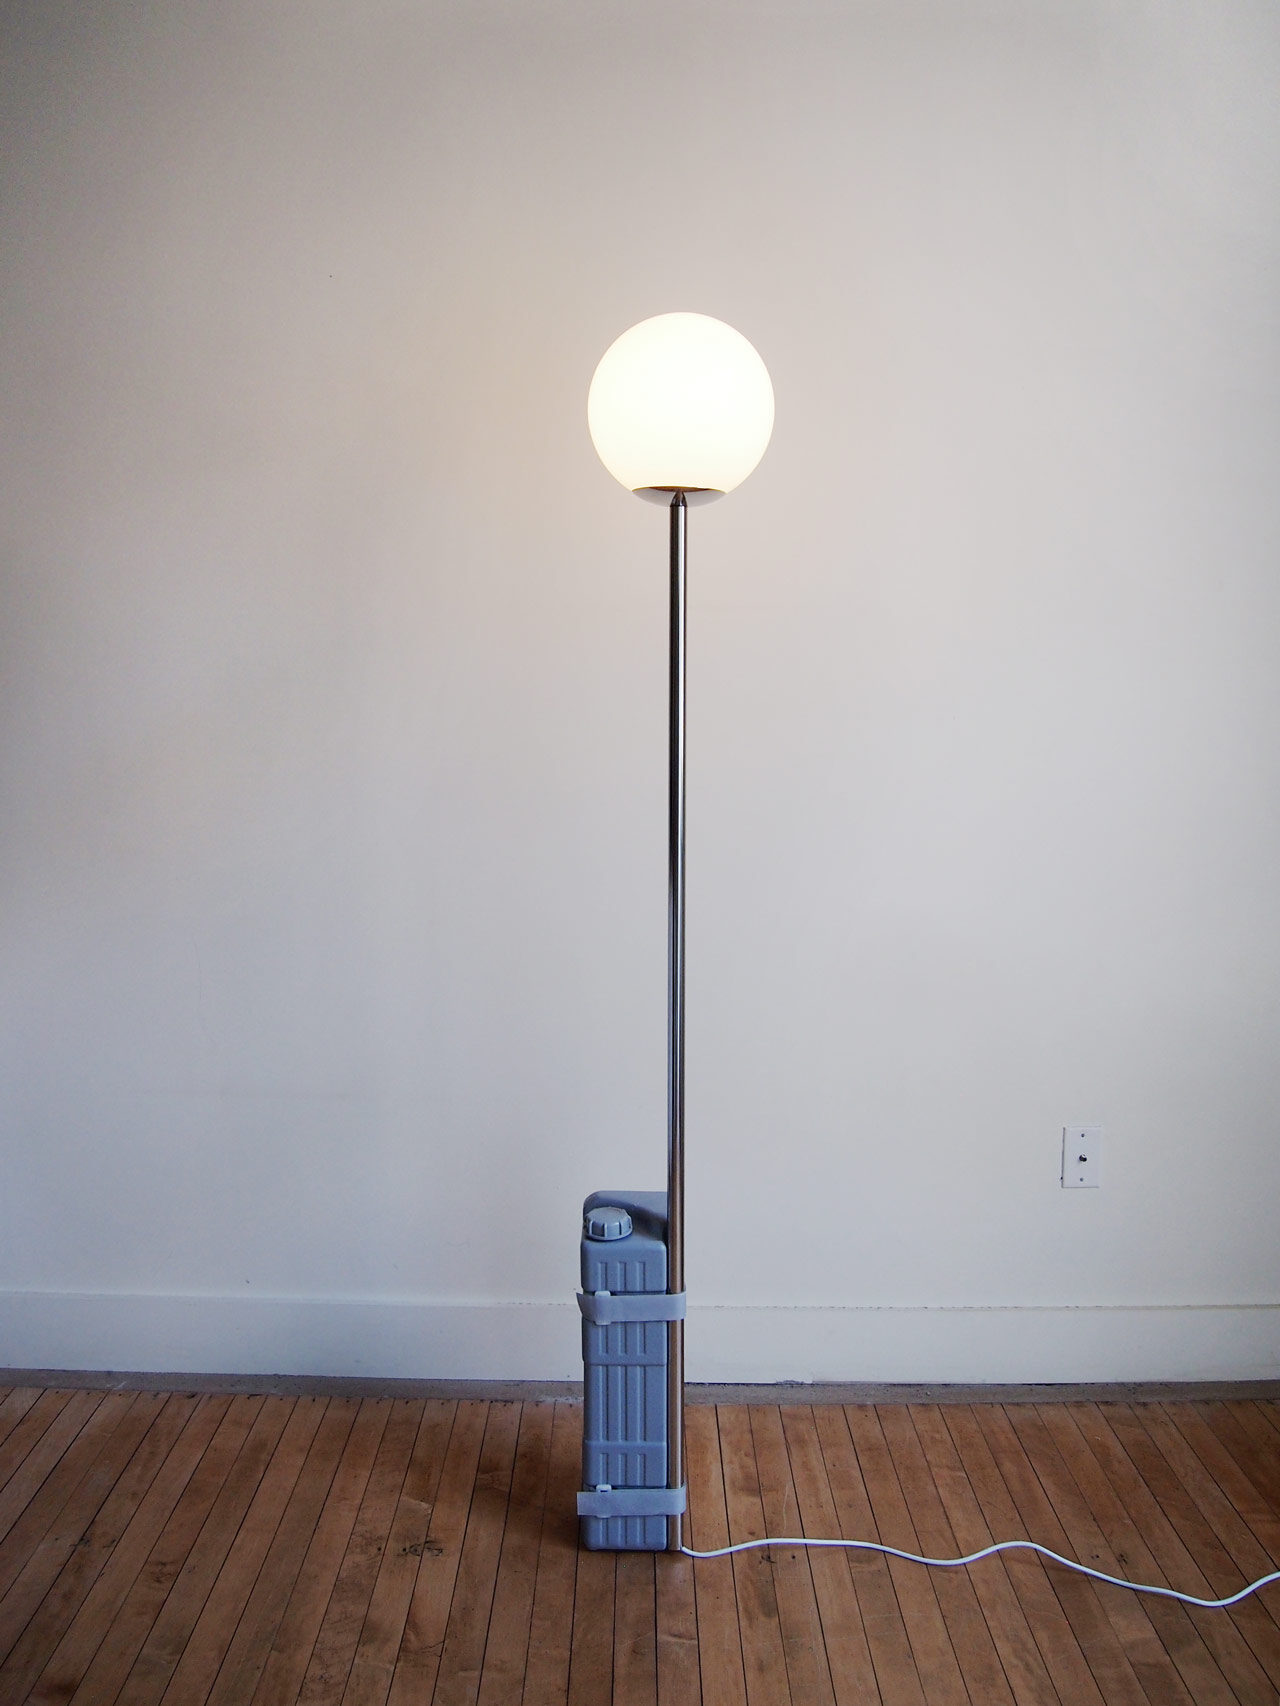
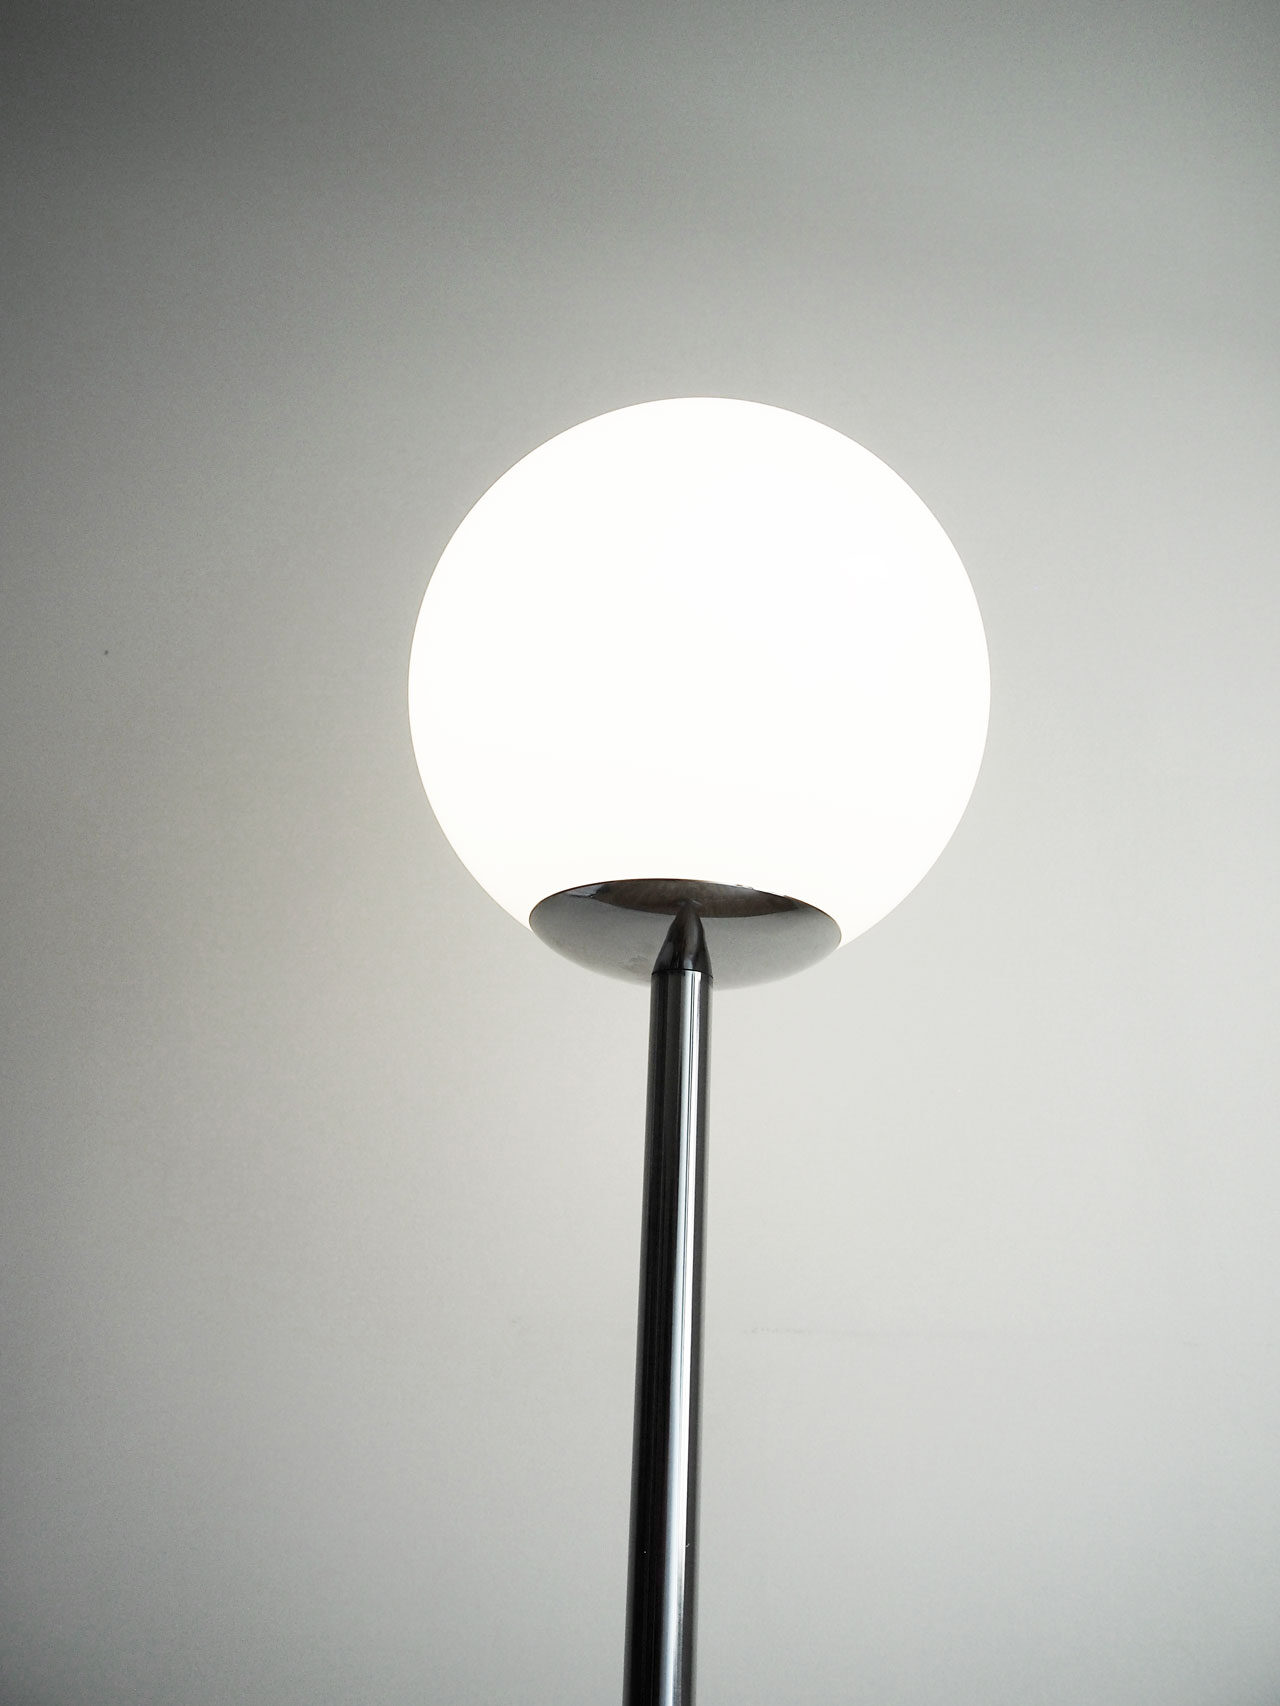
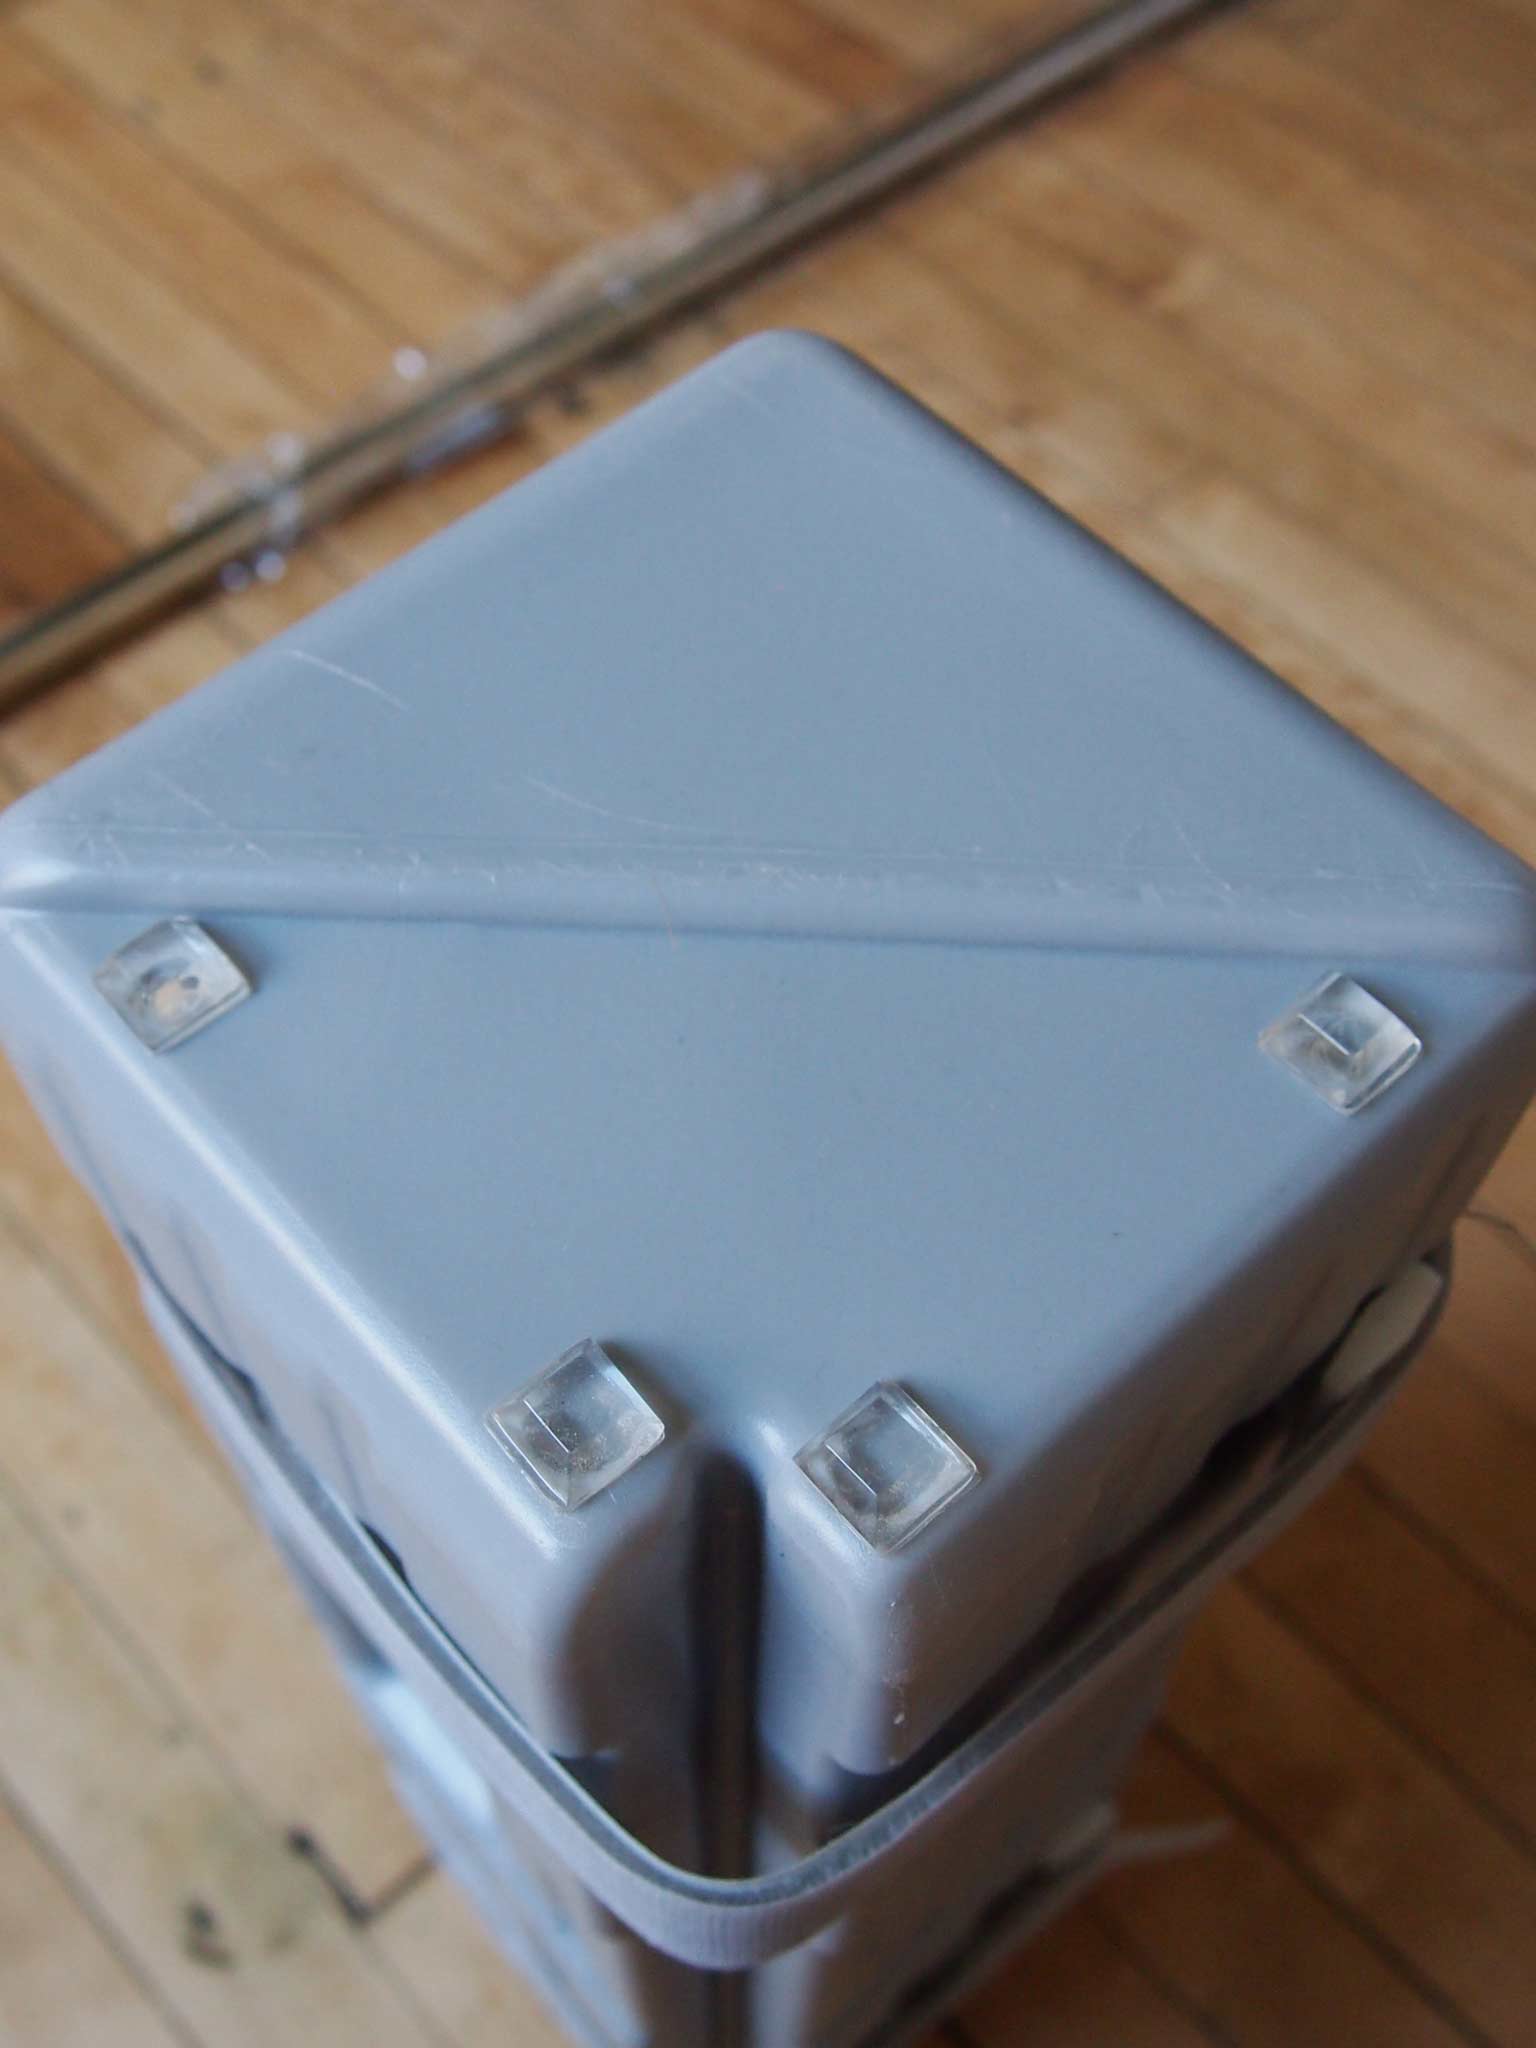
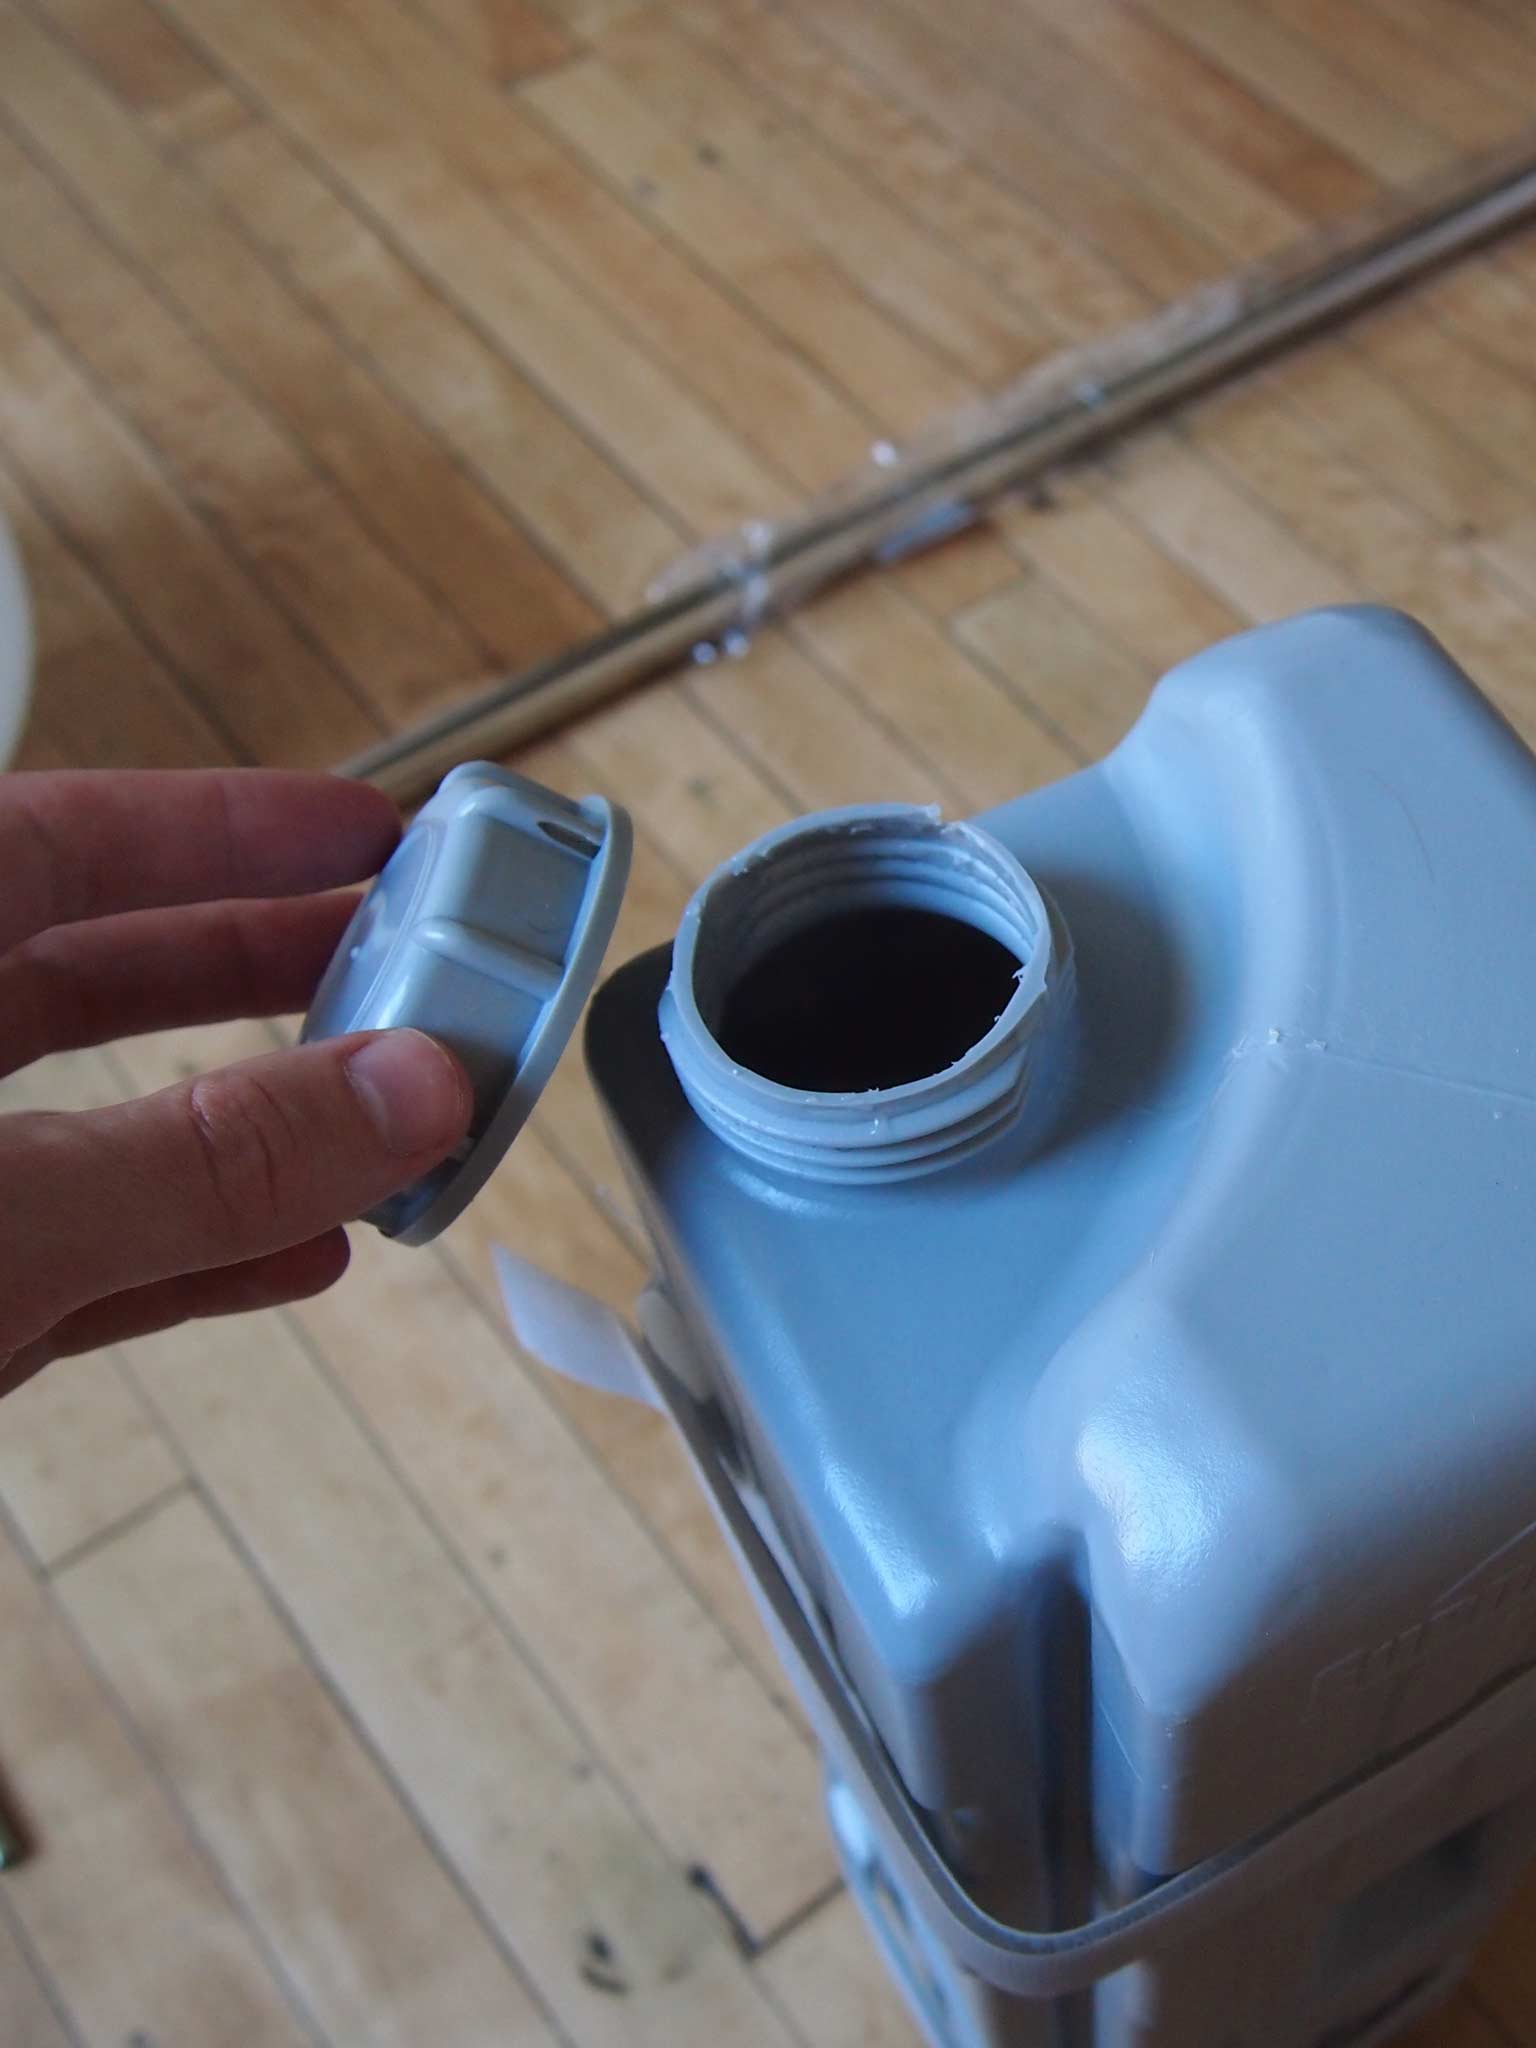
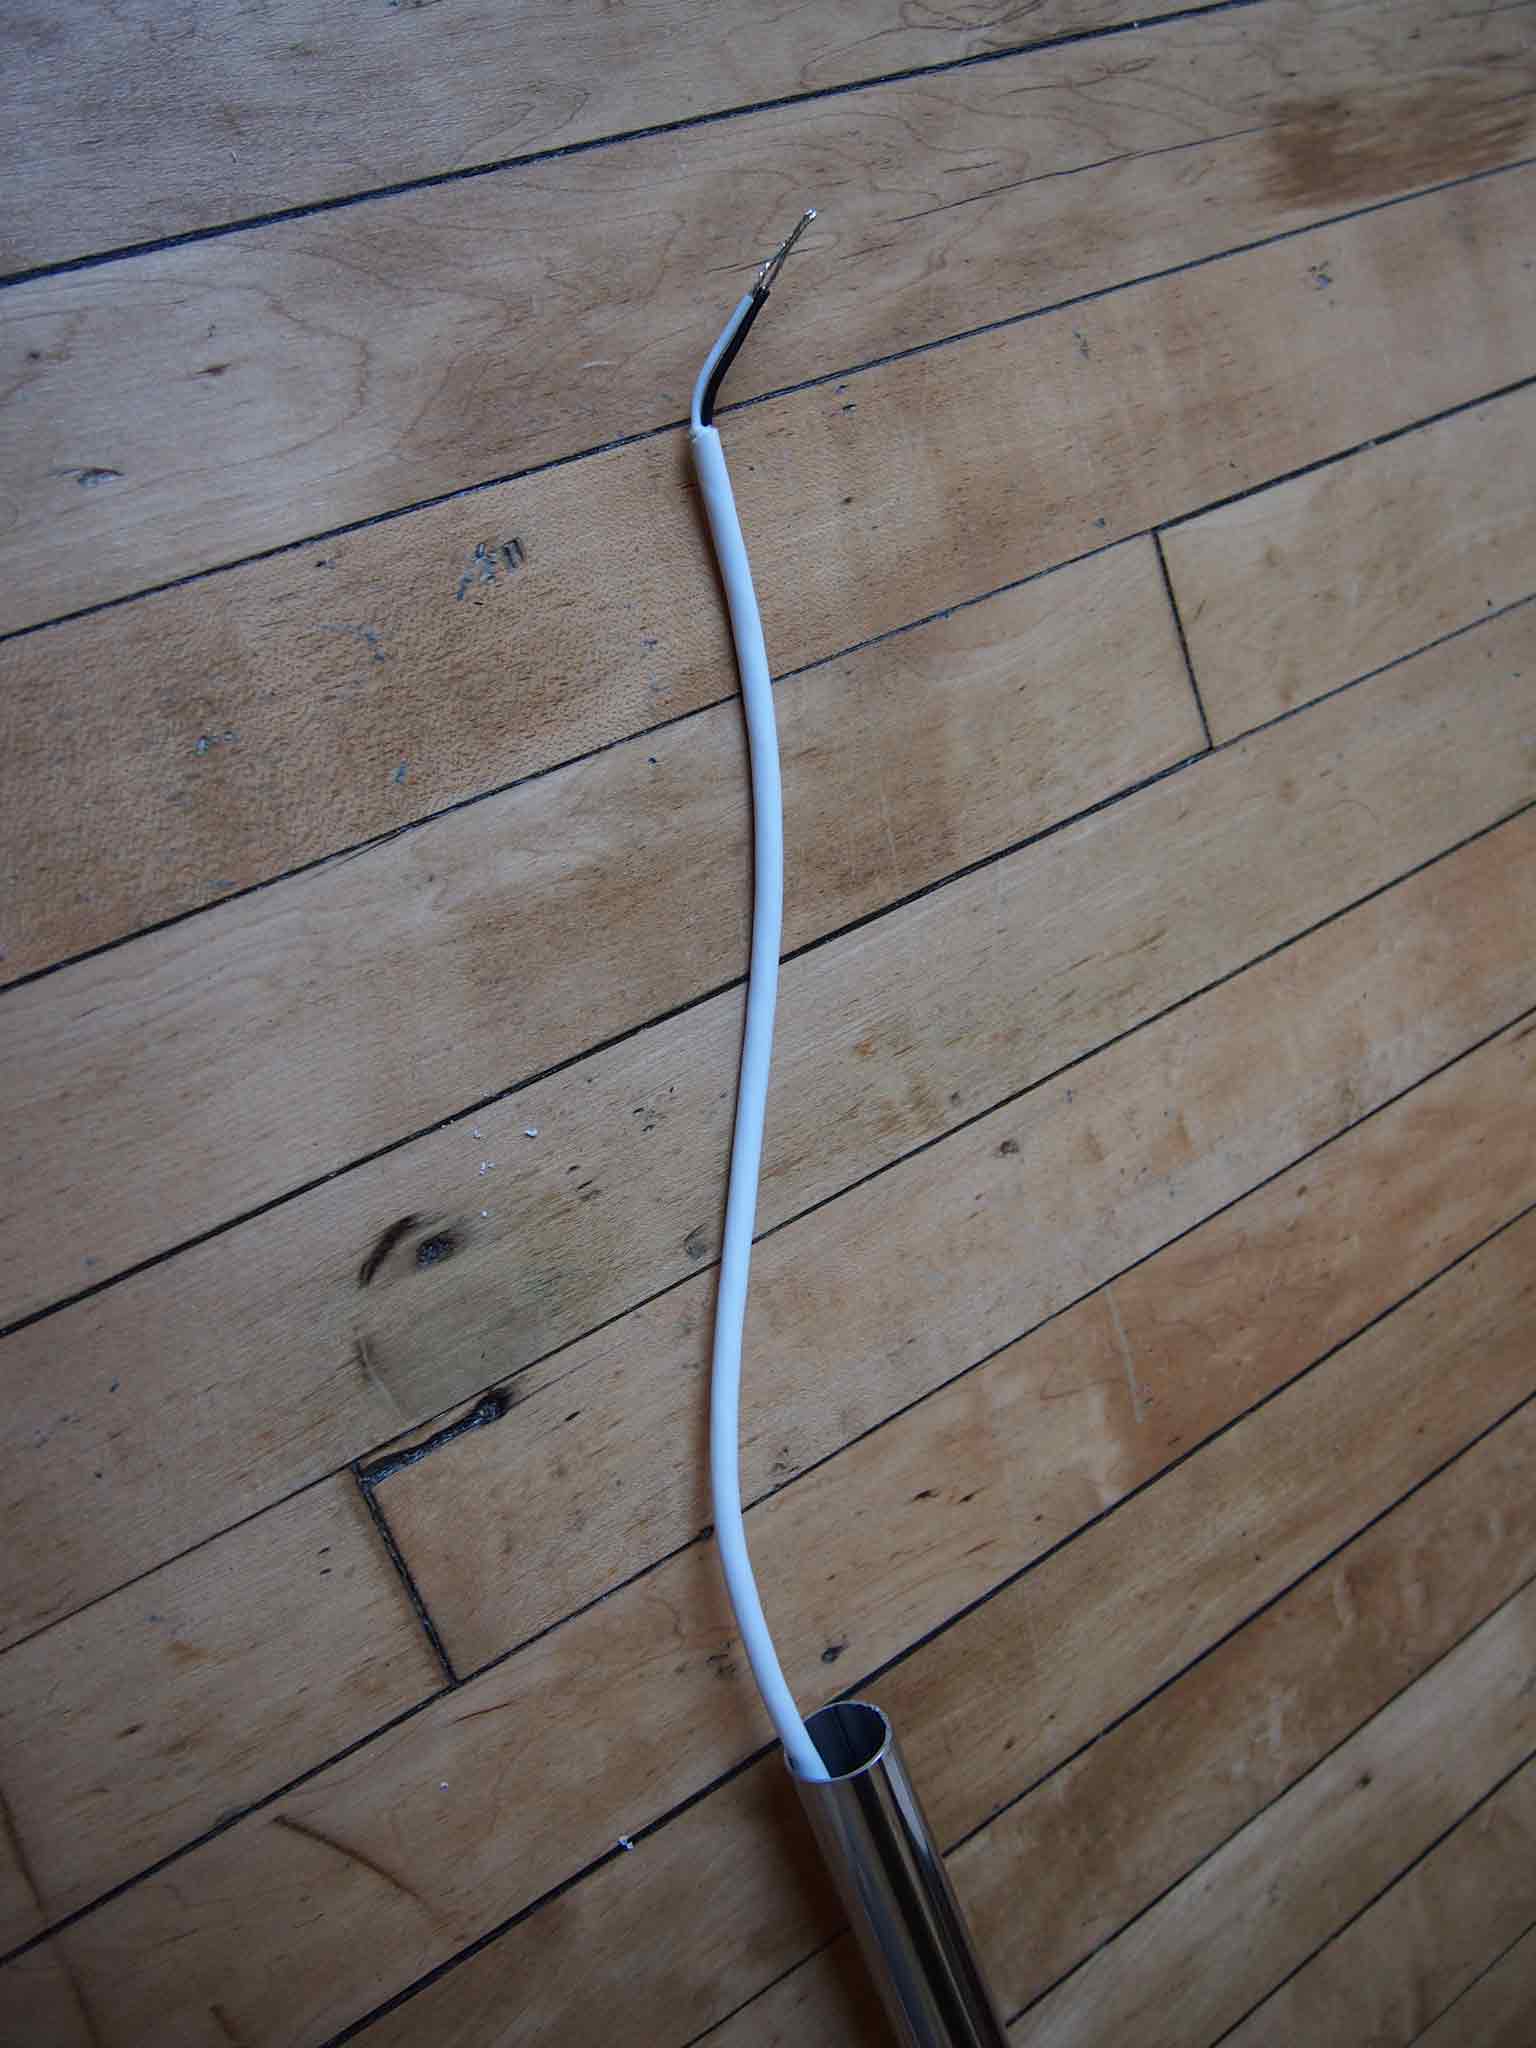
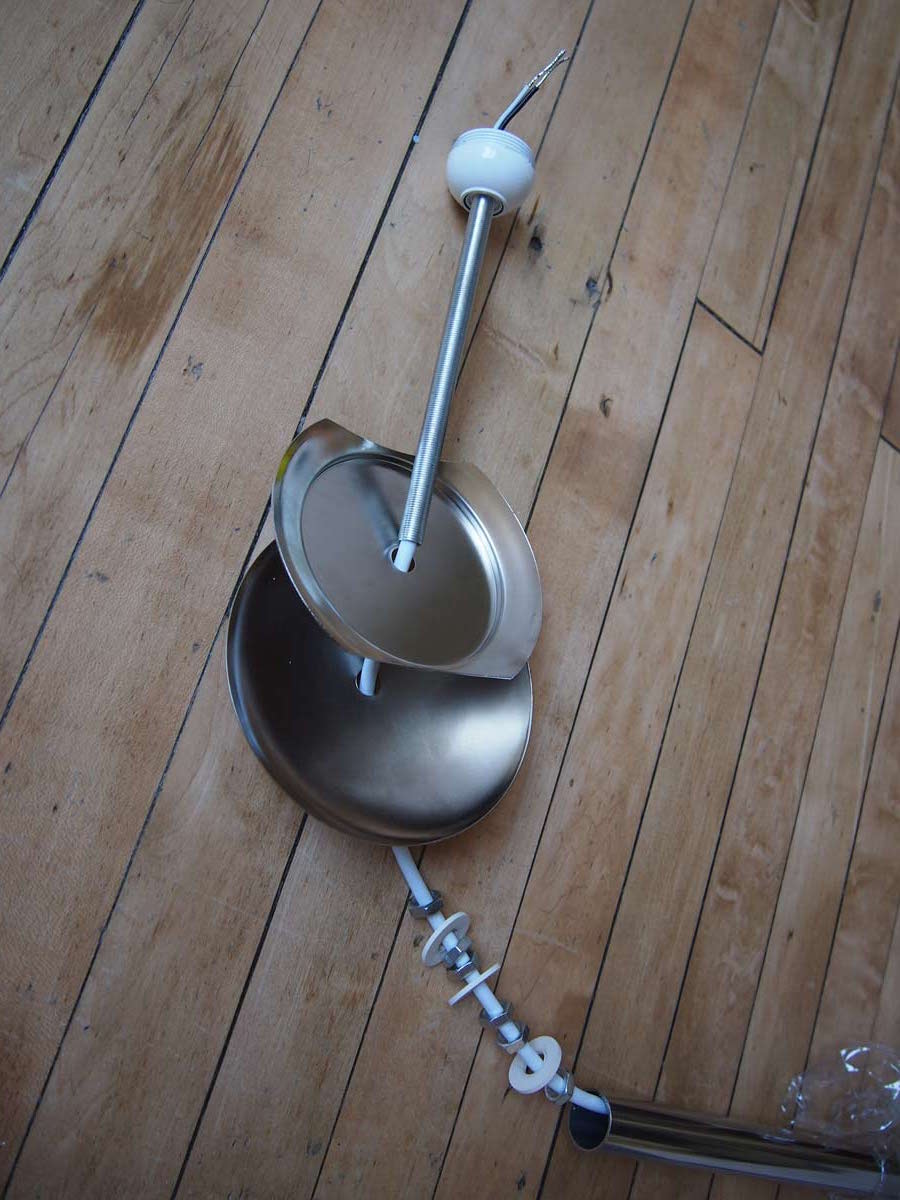
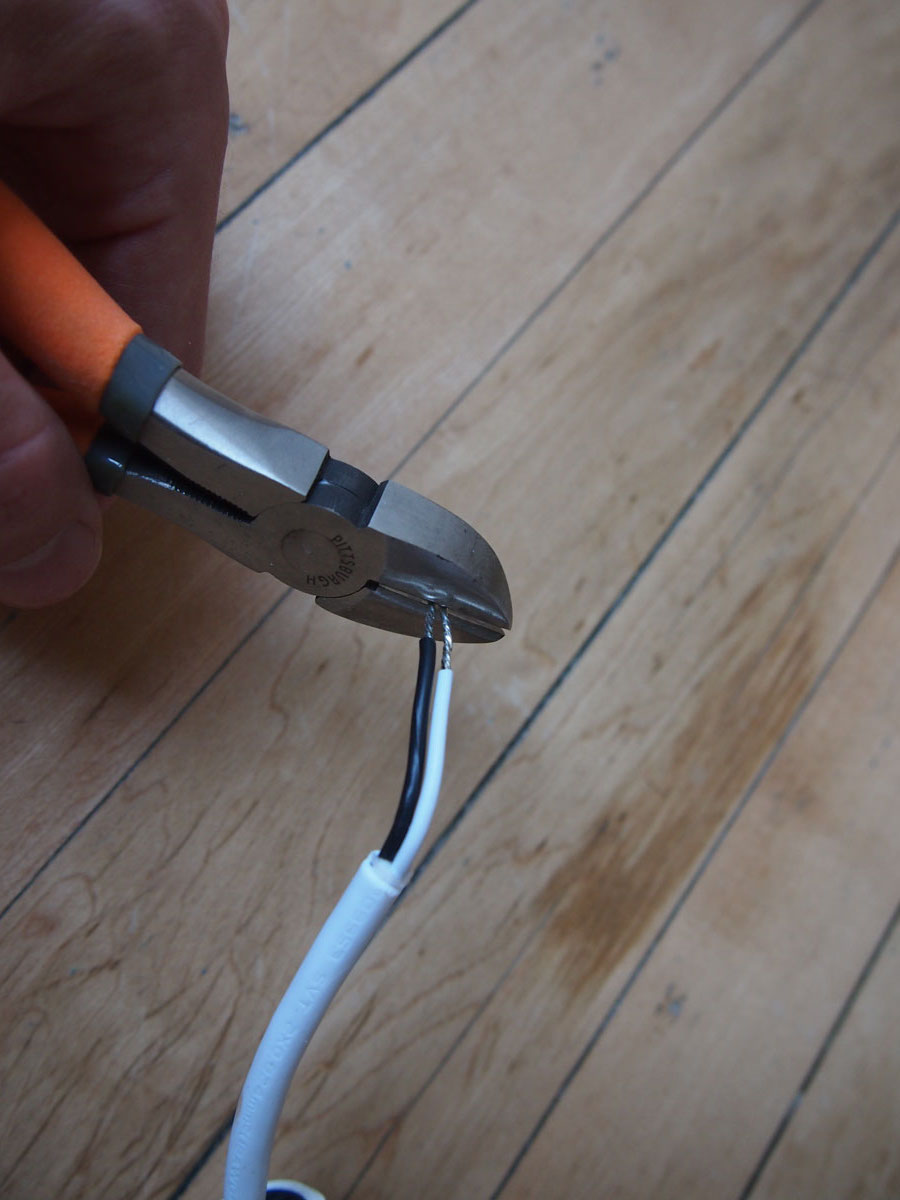
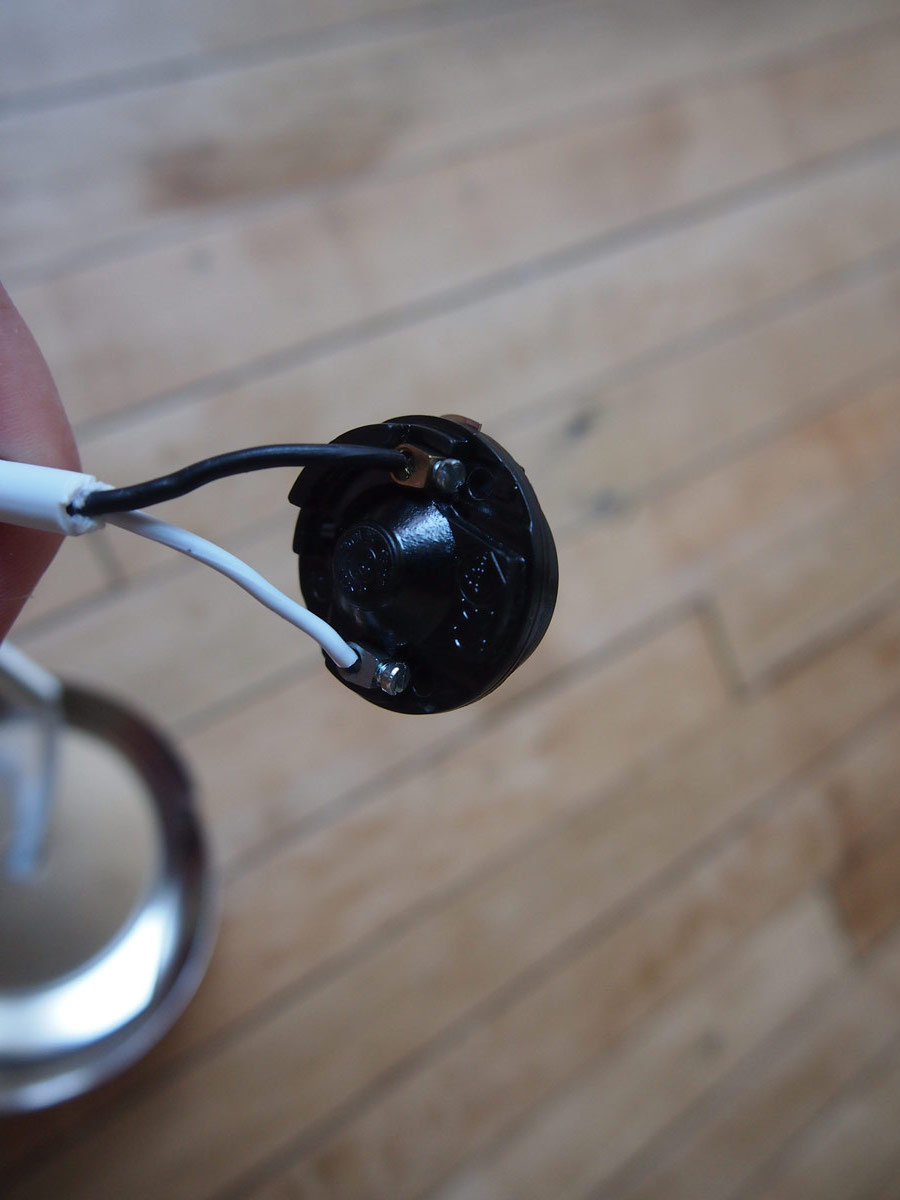
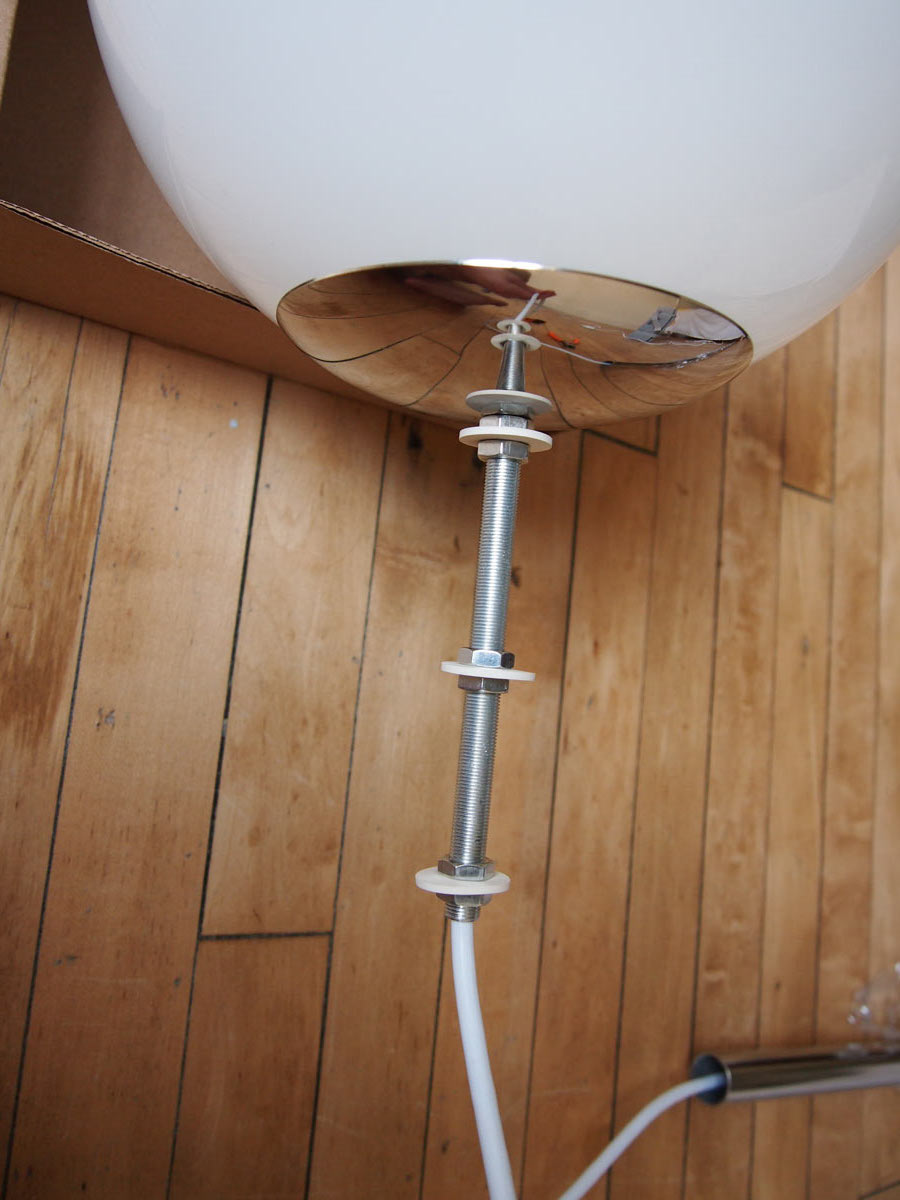
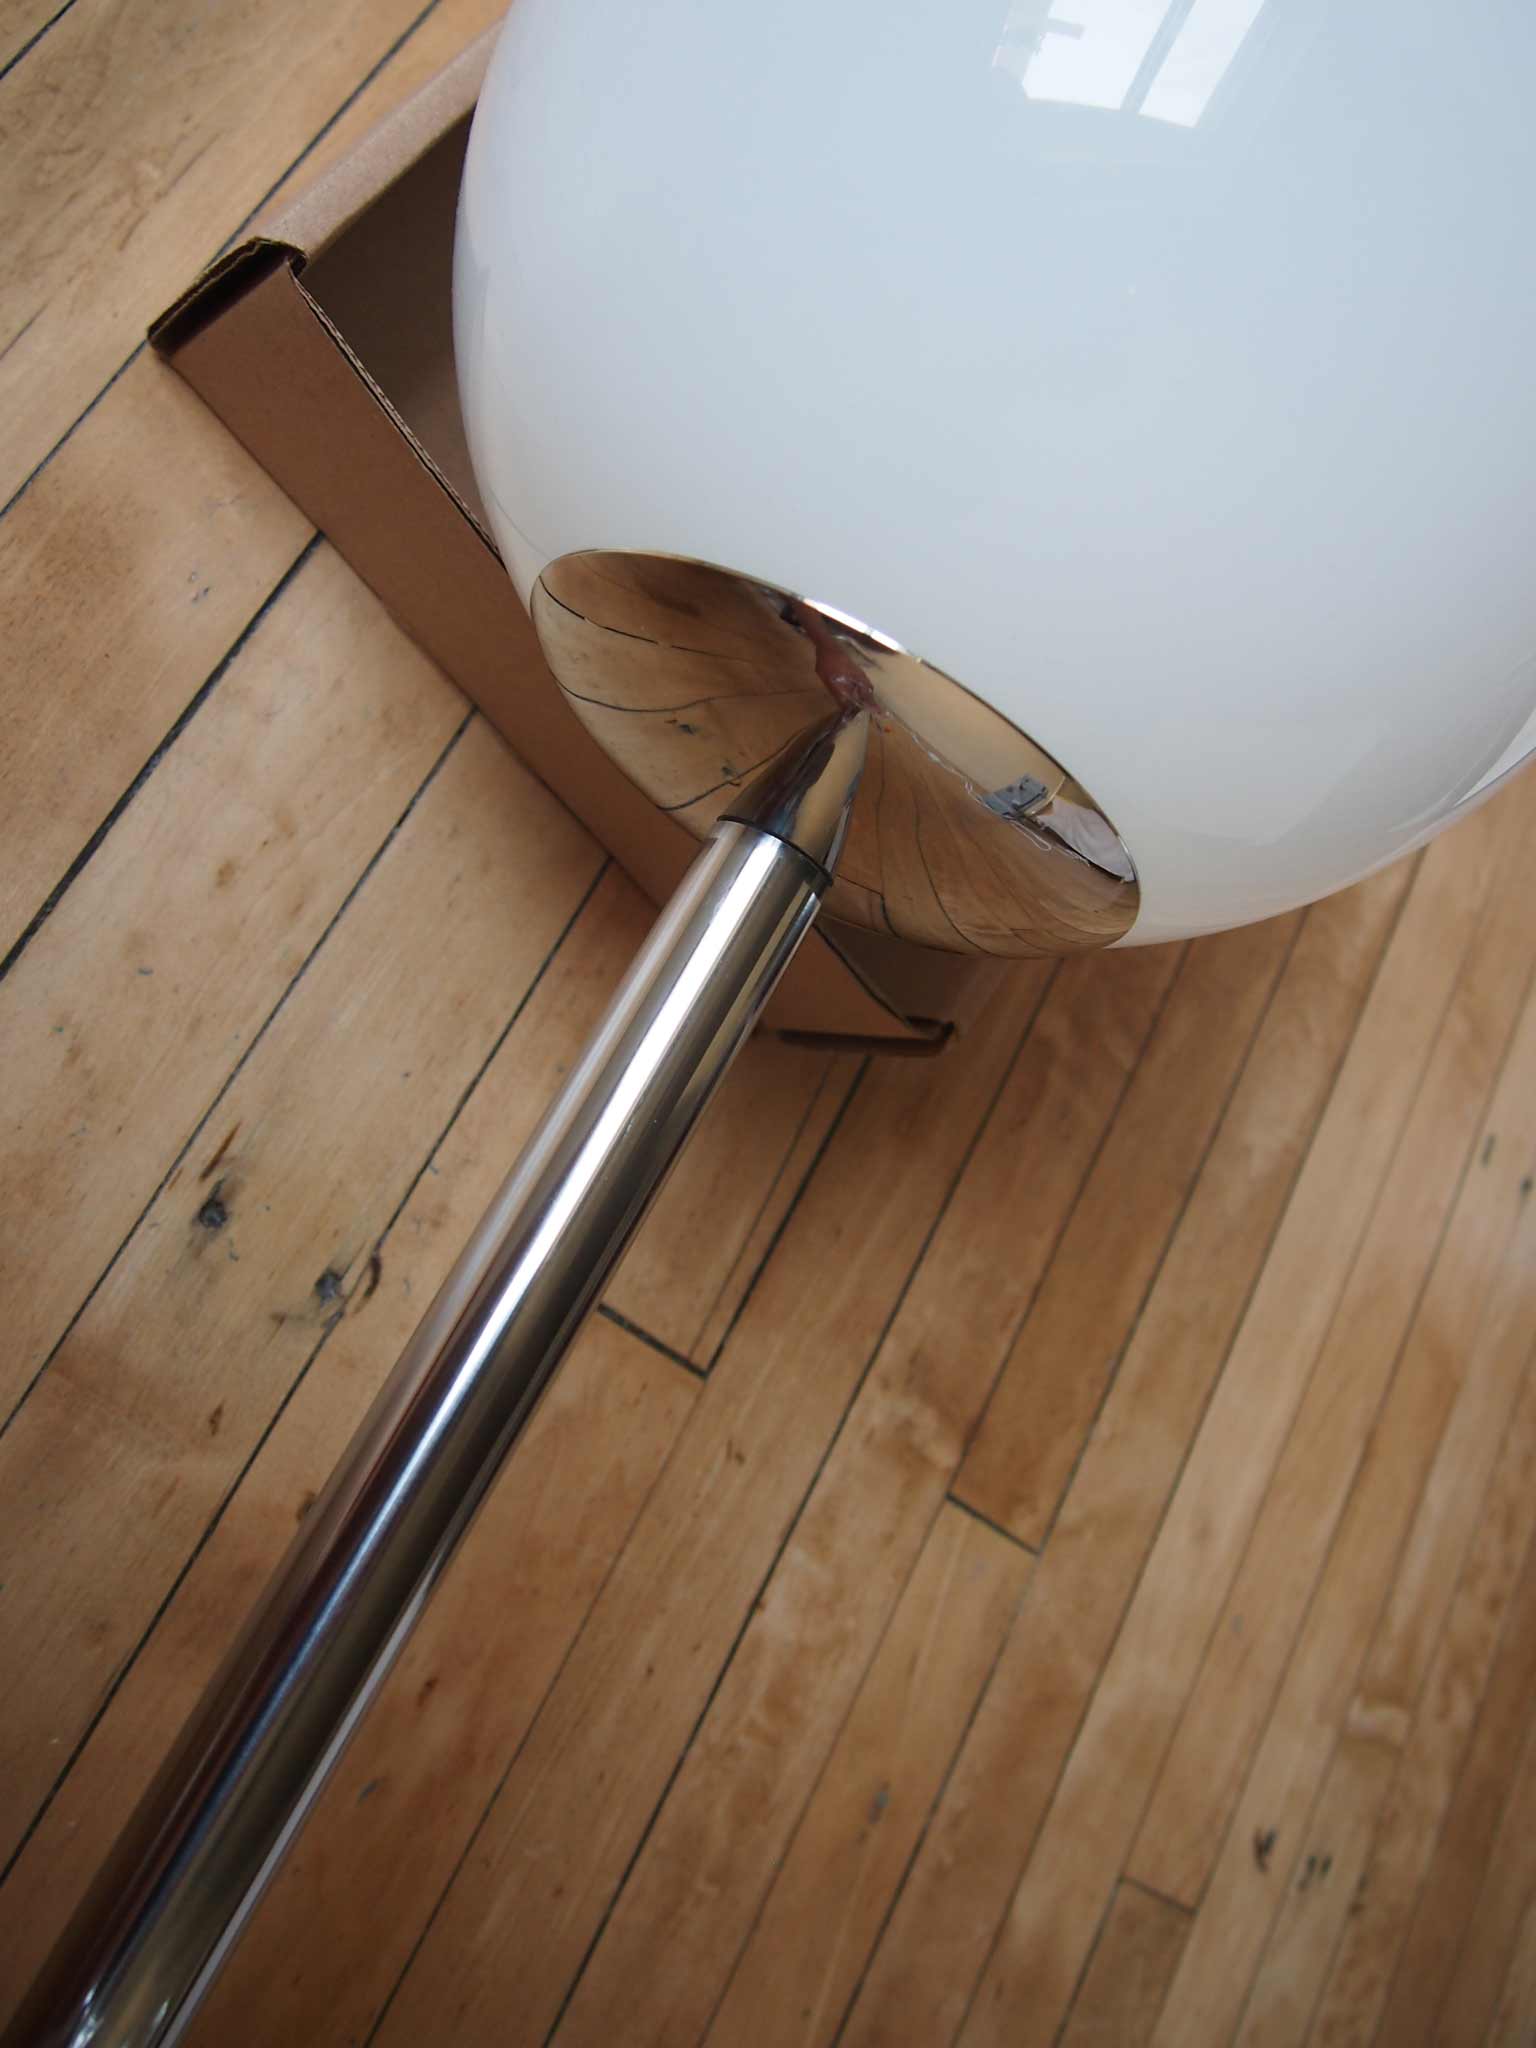
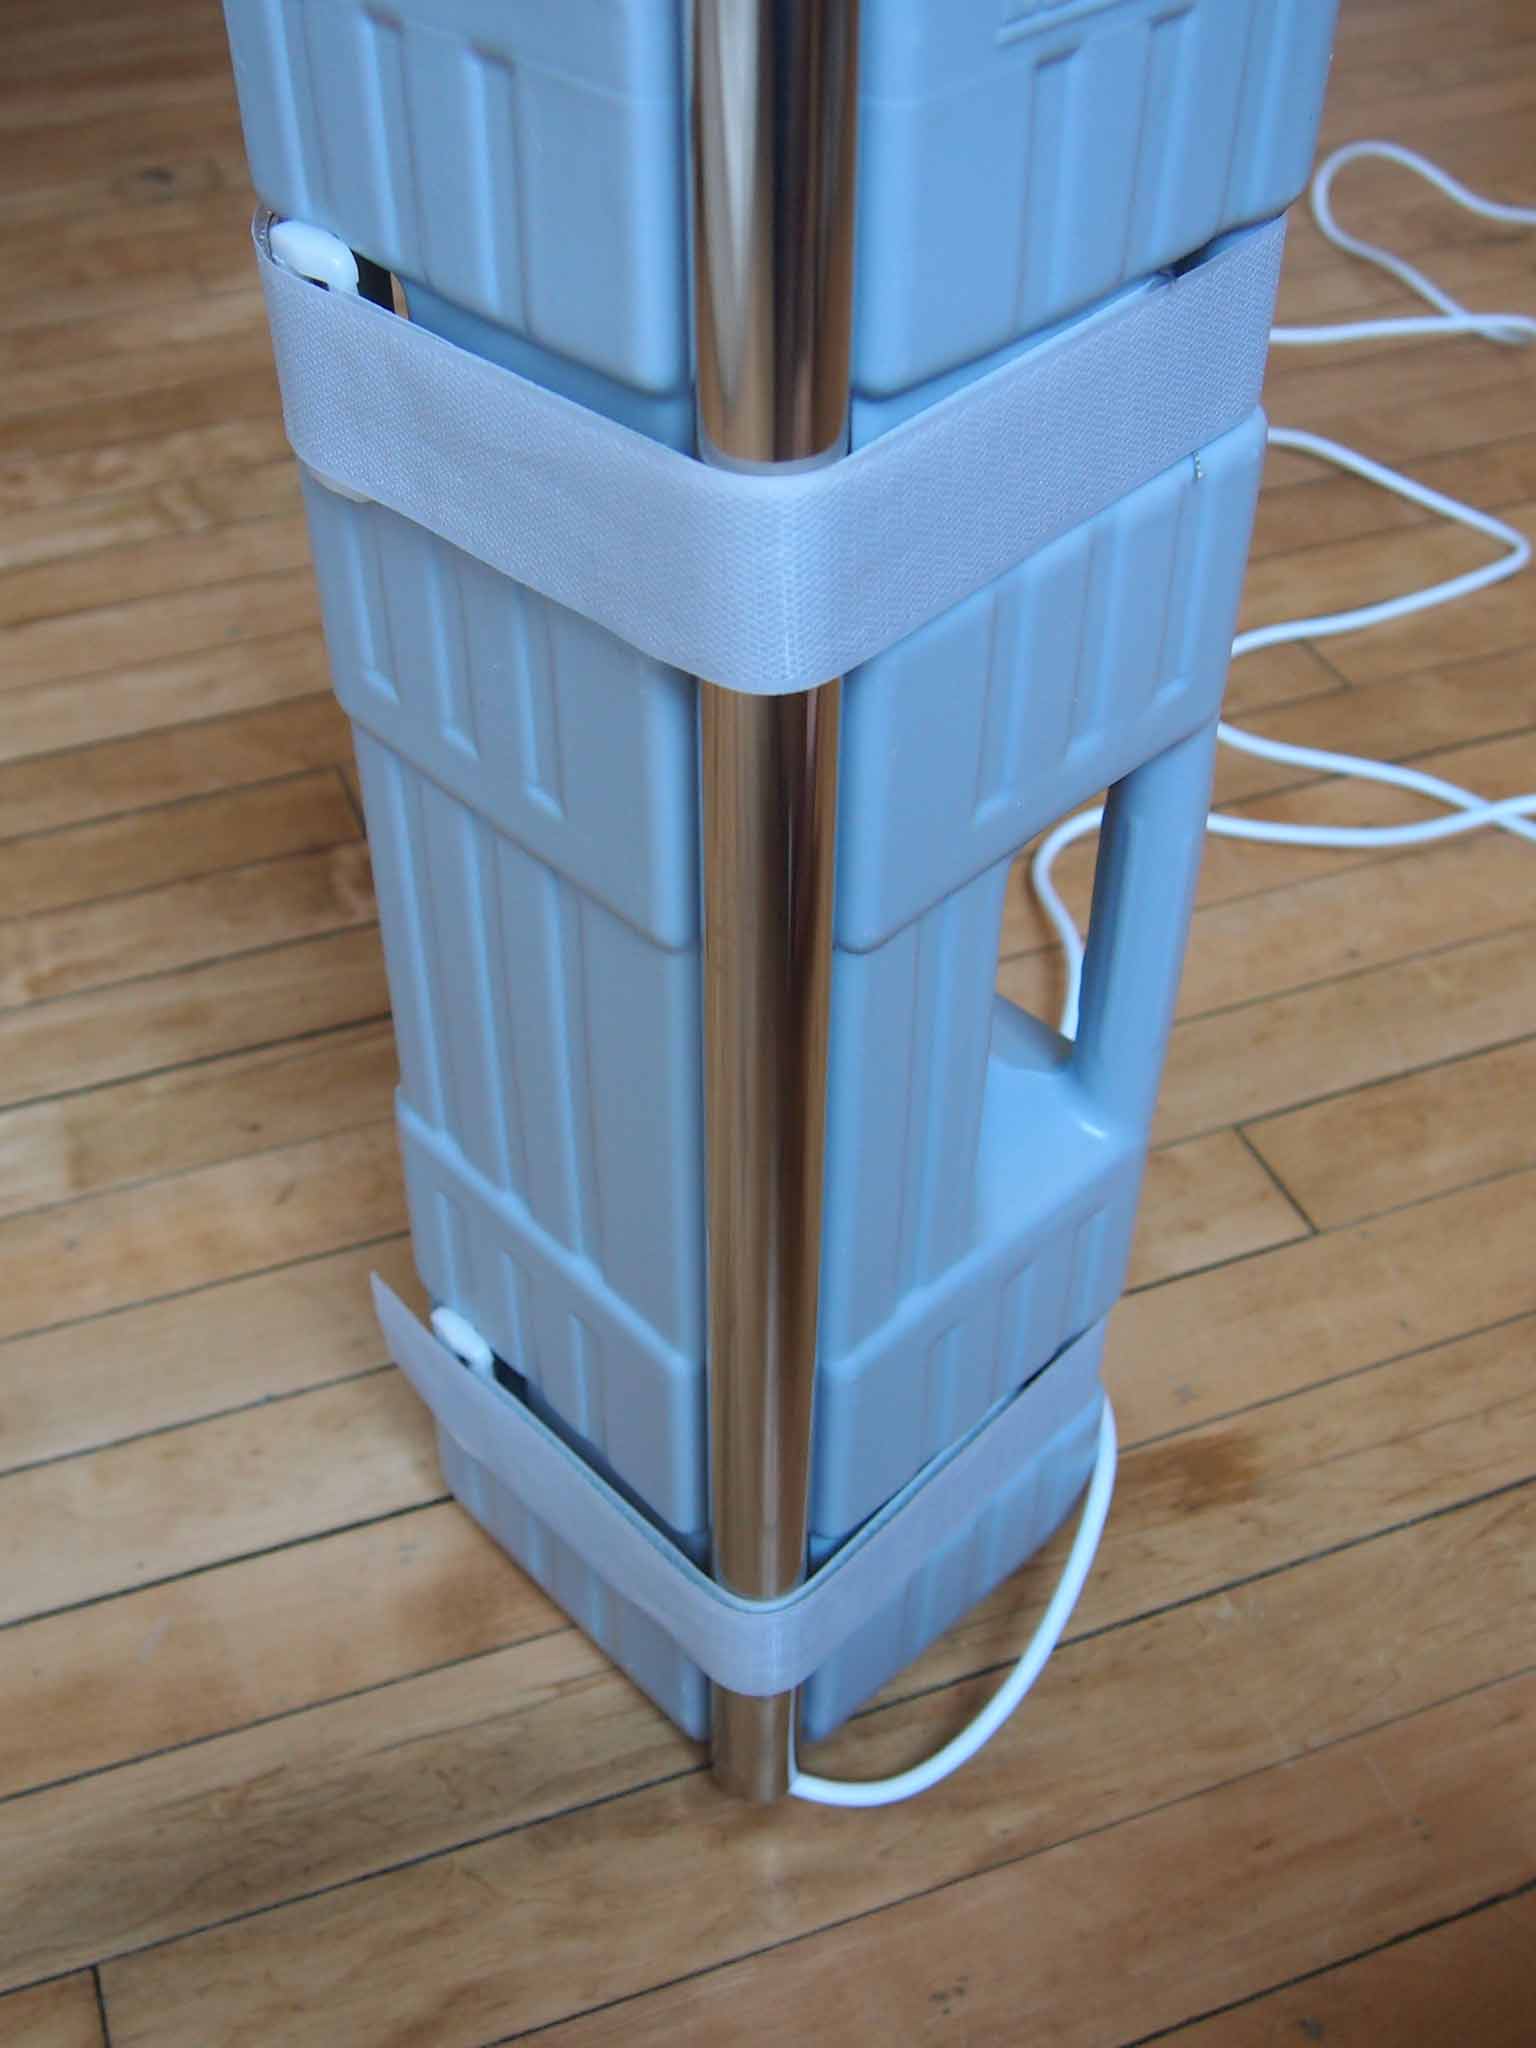
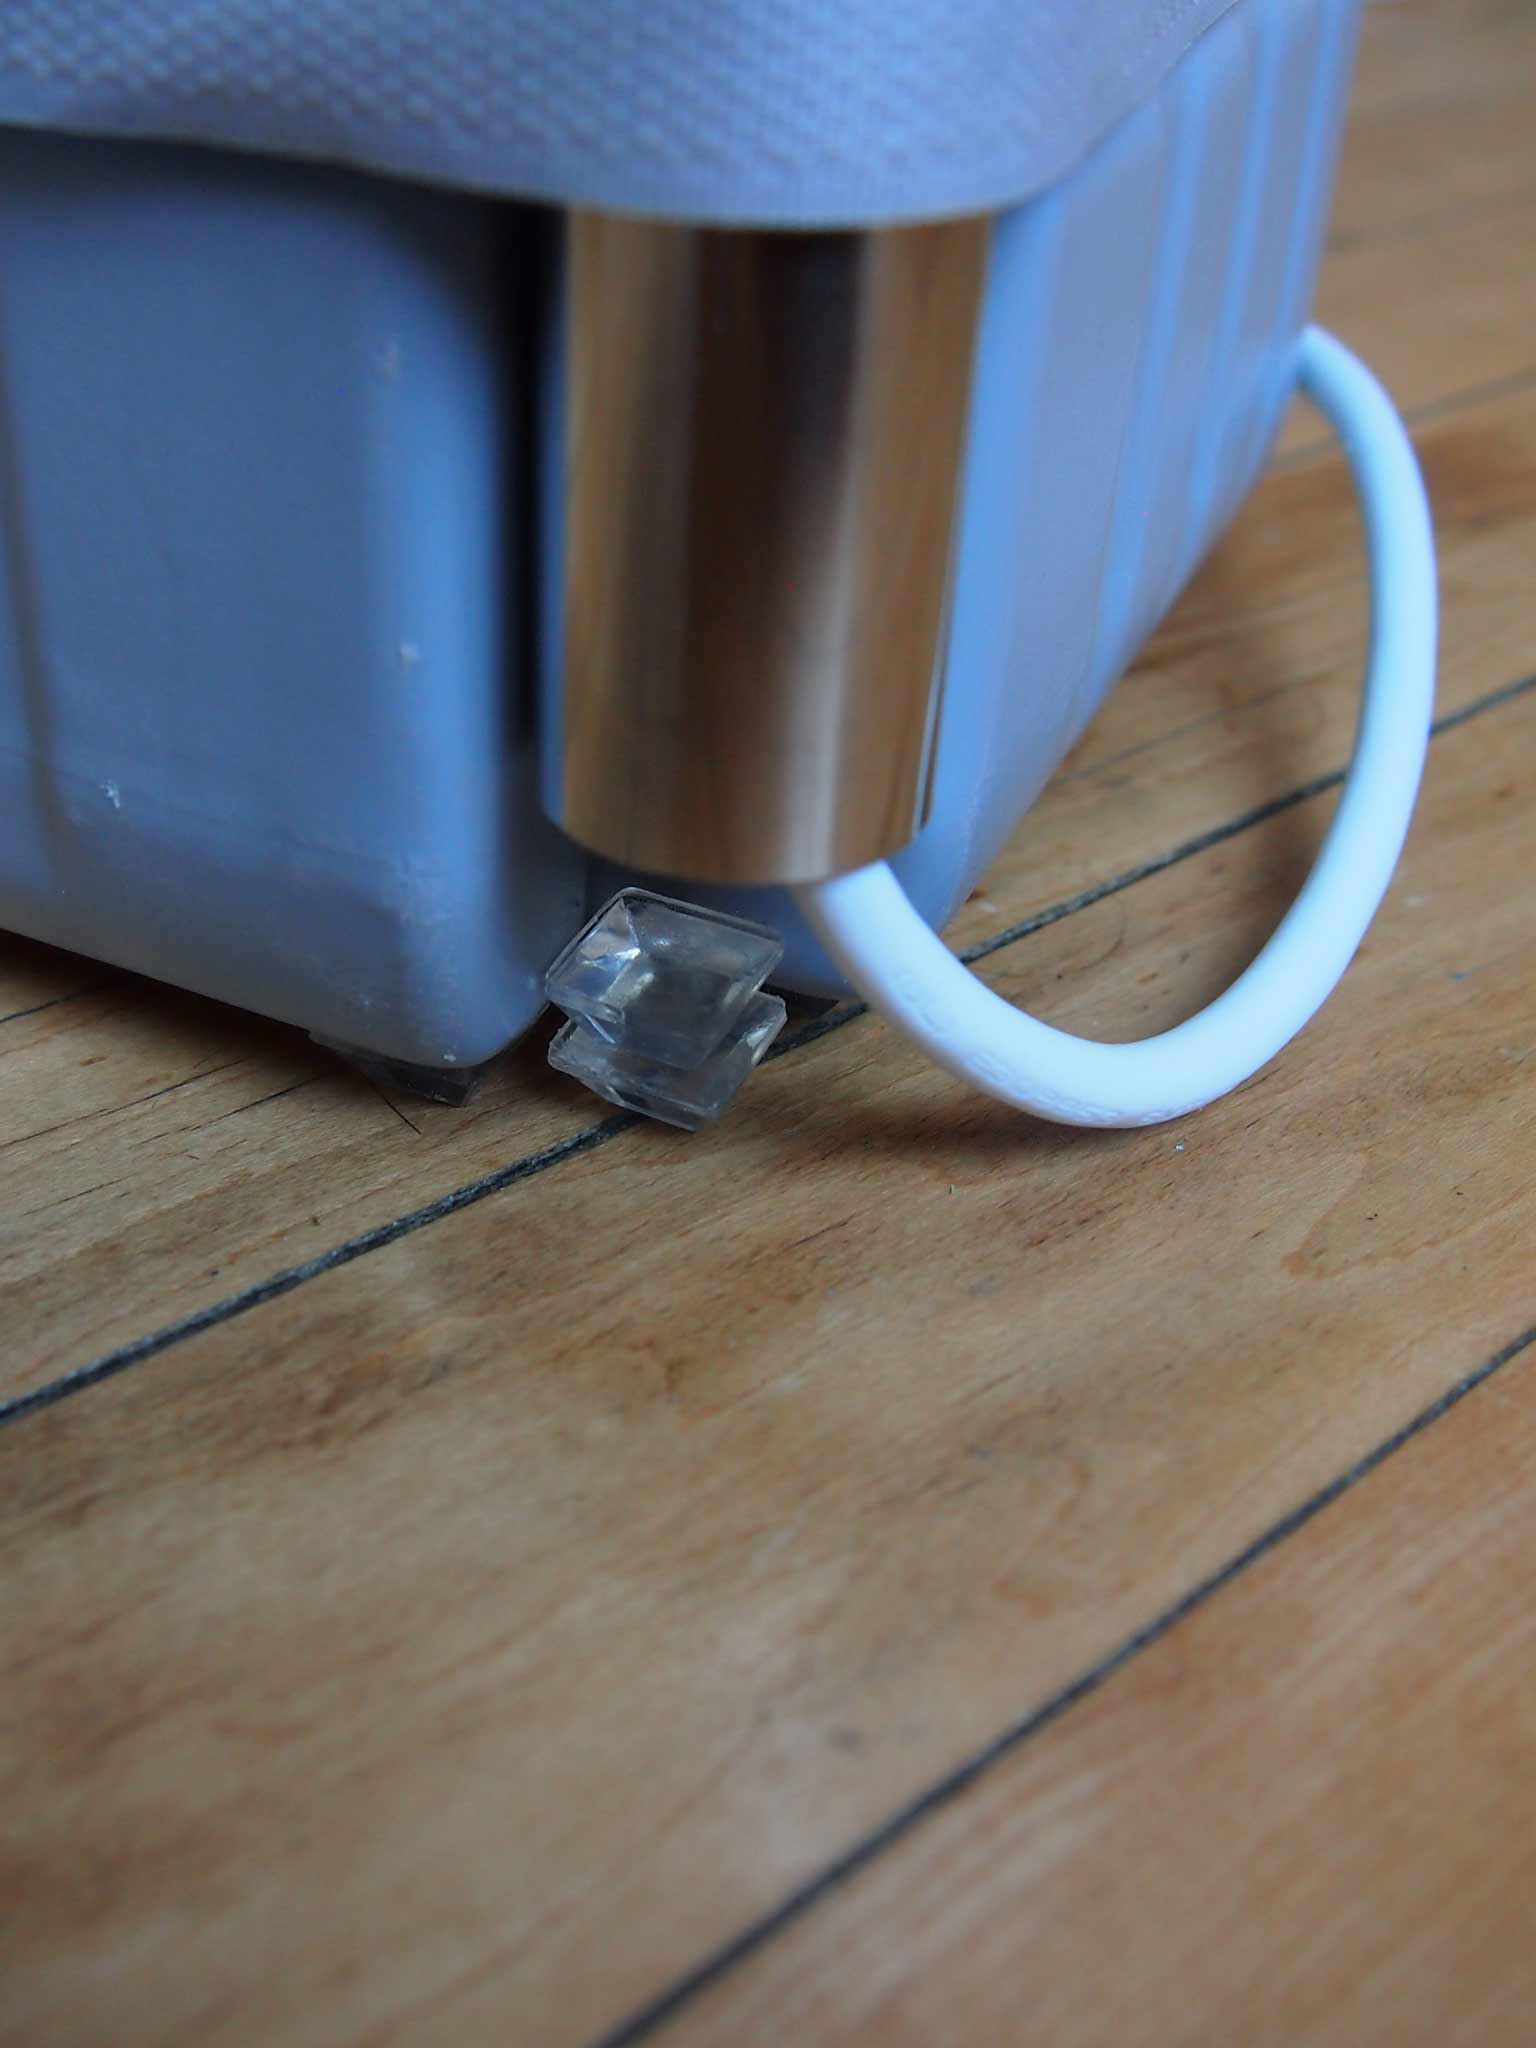
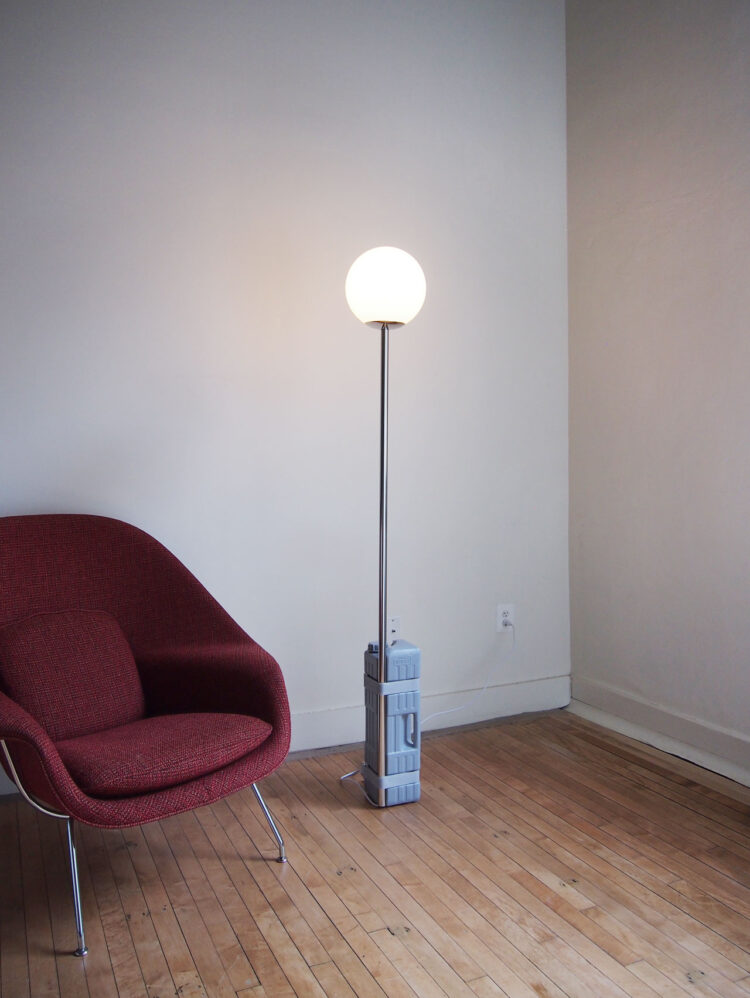
A tall grey portable canopy weight tank conceals the one gallon of sand that anchors this 6ft (1.8m) high fixture to the ground. The full assembly process takes about 2 hours to complete. Steps include filling the tank with roughly one gallon (3.7 L) of sand or small stones, wiring the lamp, and installing the globe. Only two tools are required for this process and the parts cost 100 USD on average.

DIY floor lamp designed by Aandersson
Assembly
Note: Some parts will need to be replaced for lighting being used outside of USA, Canada and Mexico.
Index
Parts
Eurmax Hard Plastic Canopy Feet Weight
Quantity required: 1
Polished Stainless Steel Tube, 5ft (1.5m) length, 1in (26mm) diameter
Quantity required: 1
Sand or Small Stones, roughly 1 gallon (3.7 liter)
Quantity required: 1
Self-adhesive Vinyl Bumpers, 1/2in (2.5cm) width
Quantity required: 6
Phenolic Socket with 1/8IPS Cap, E-26 (E-27 for europe) size
Quantity required: 1
White 18/2 SVT Power Cord w/ Switch, 18ft (5m) length
Quantity required: 1
Neckless Gloss Glass Ball, 10in (26cm) w/ 4in (10.5cm) Hole
Quantity required: 1
Polished Nickel Plated Neckless Ball Holder w/ Insert for 4in (10.5cm) Hole
Quantity required: 1
Hex Nut for 1/8-27 IPS
Quantity required: 6
Threaded Hollow Nipple, 6in (15cm) length, 1/8 IPS
Quantity required: 1
Rubber Washer, 1in (2.5cm) diameter, 1/8 IPS Hole
Quantity required: 3
Light Bulb for Medium Socket, LED: 5-6 Watts
Quantity required: 1
Tools
Screwdriver, Flat Head
Cutting Pliers
Alternative Parts
Neckless Acrylic Ball, 10in (26cm) w/ 4in (10.5cm) Hole
Replaces: Neckless Gloss Glass Ball, 10in (26cm) w/ 4in
Help Each Other