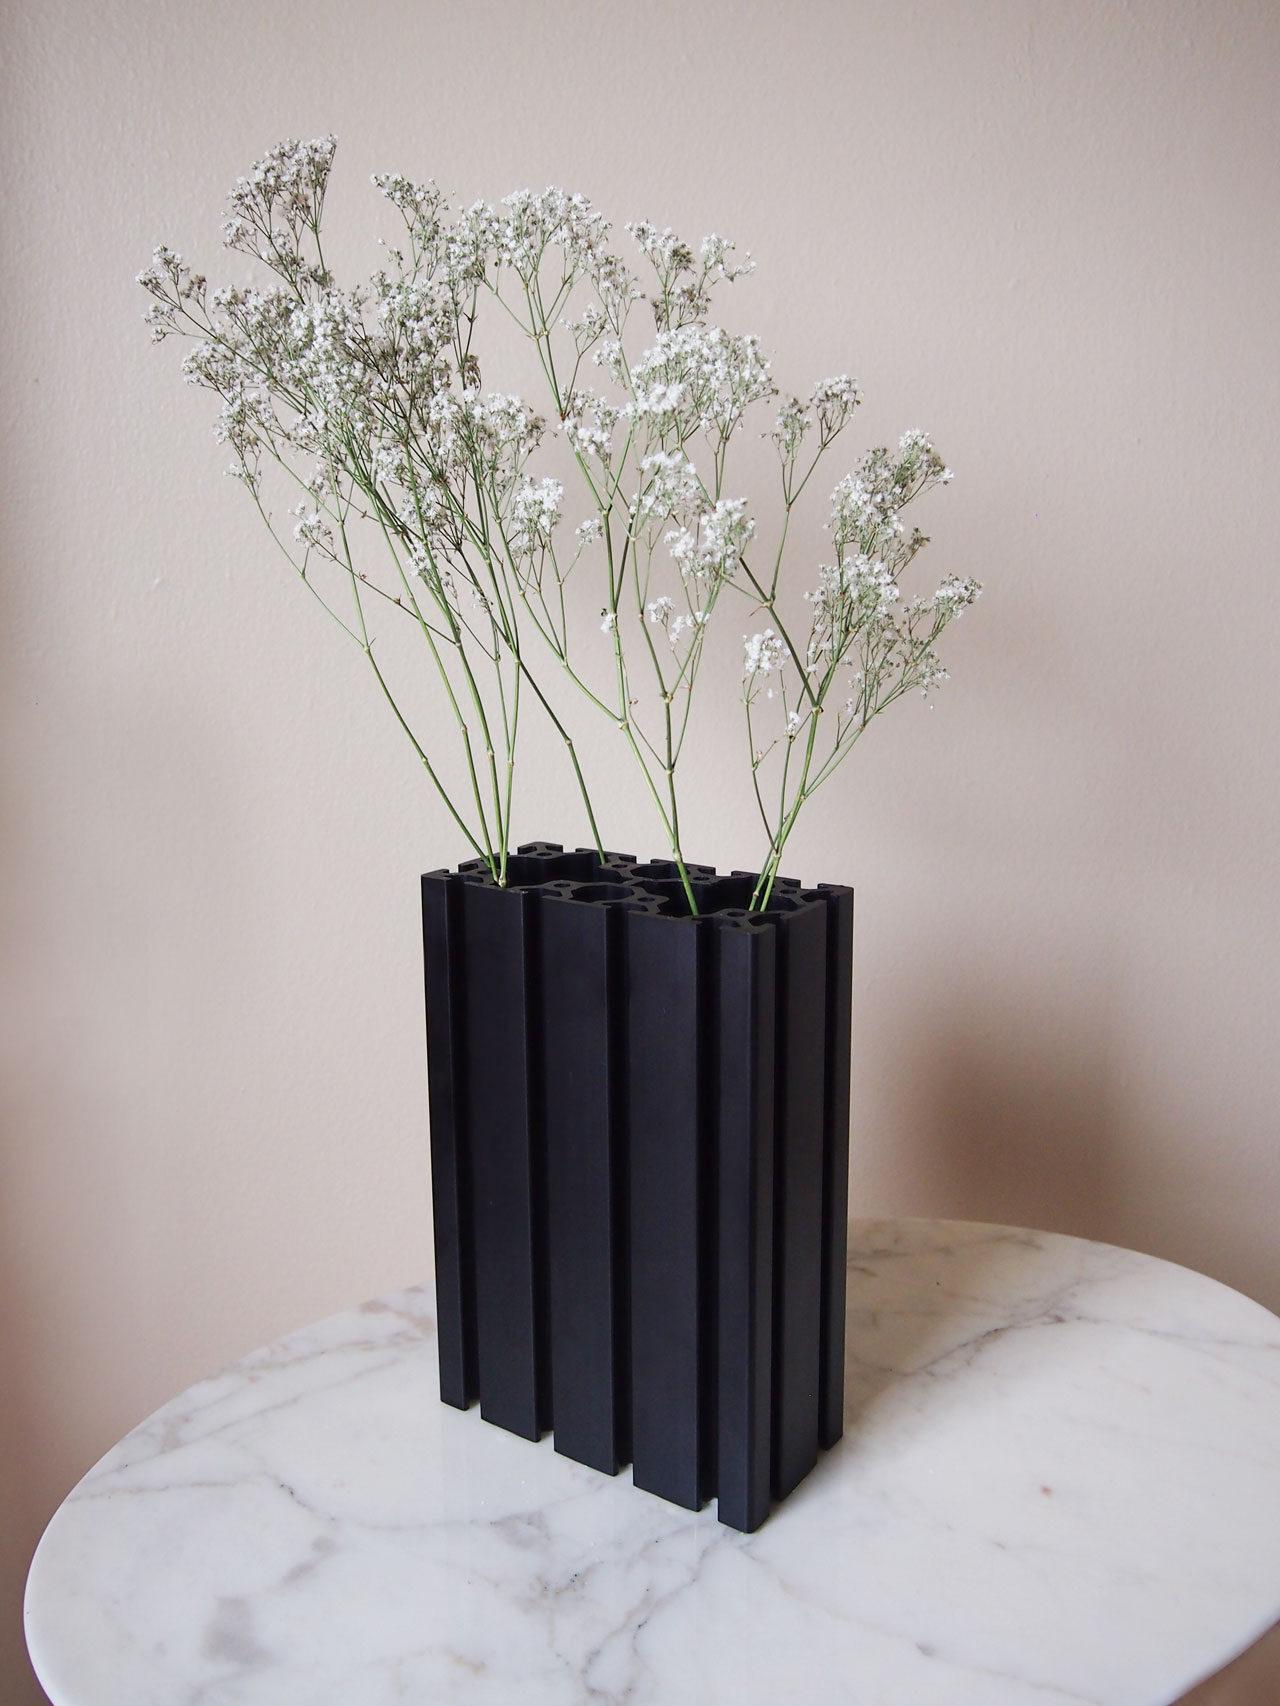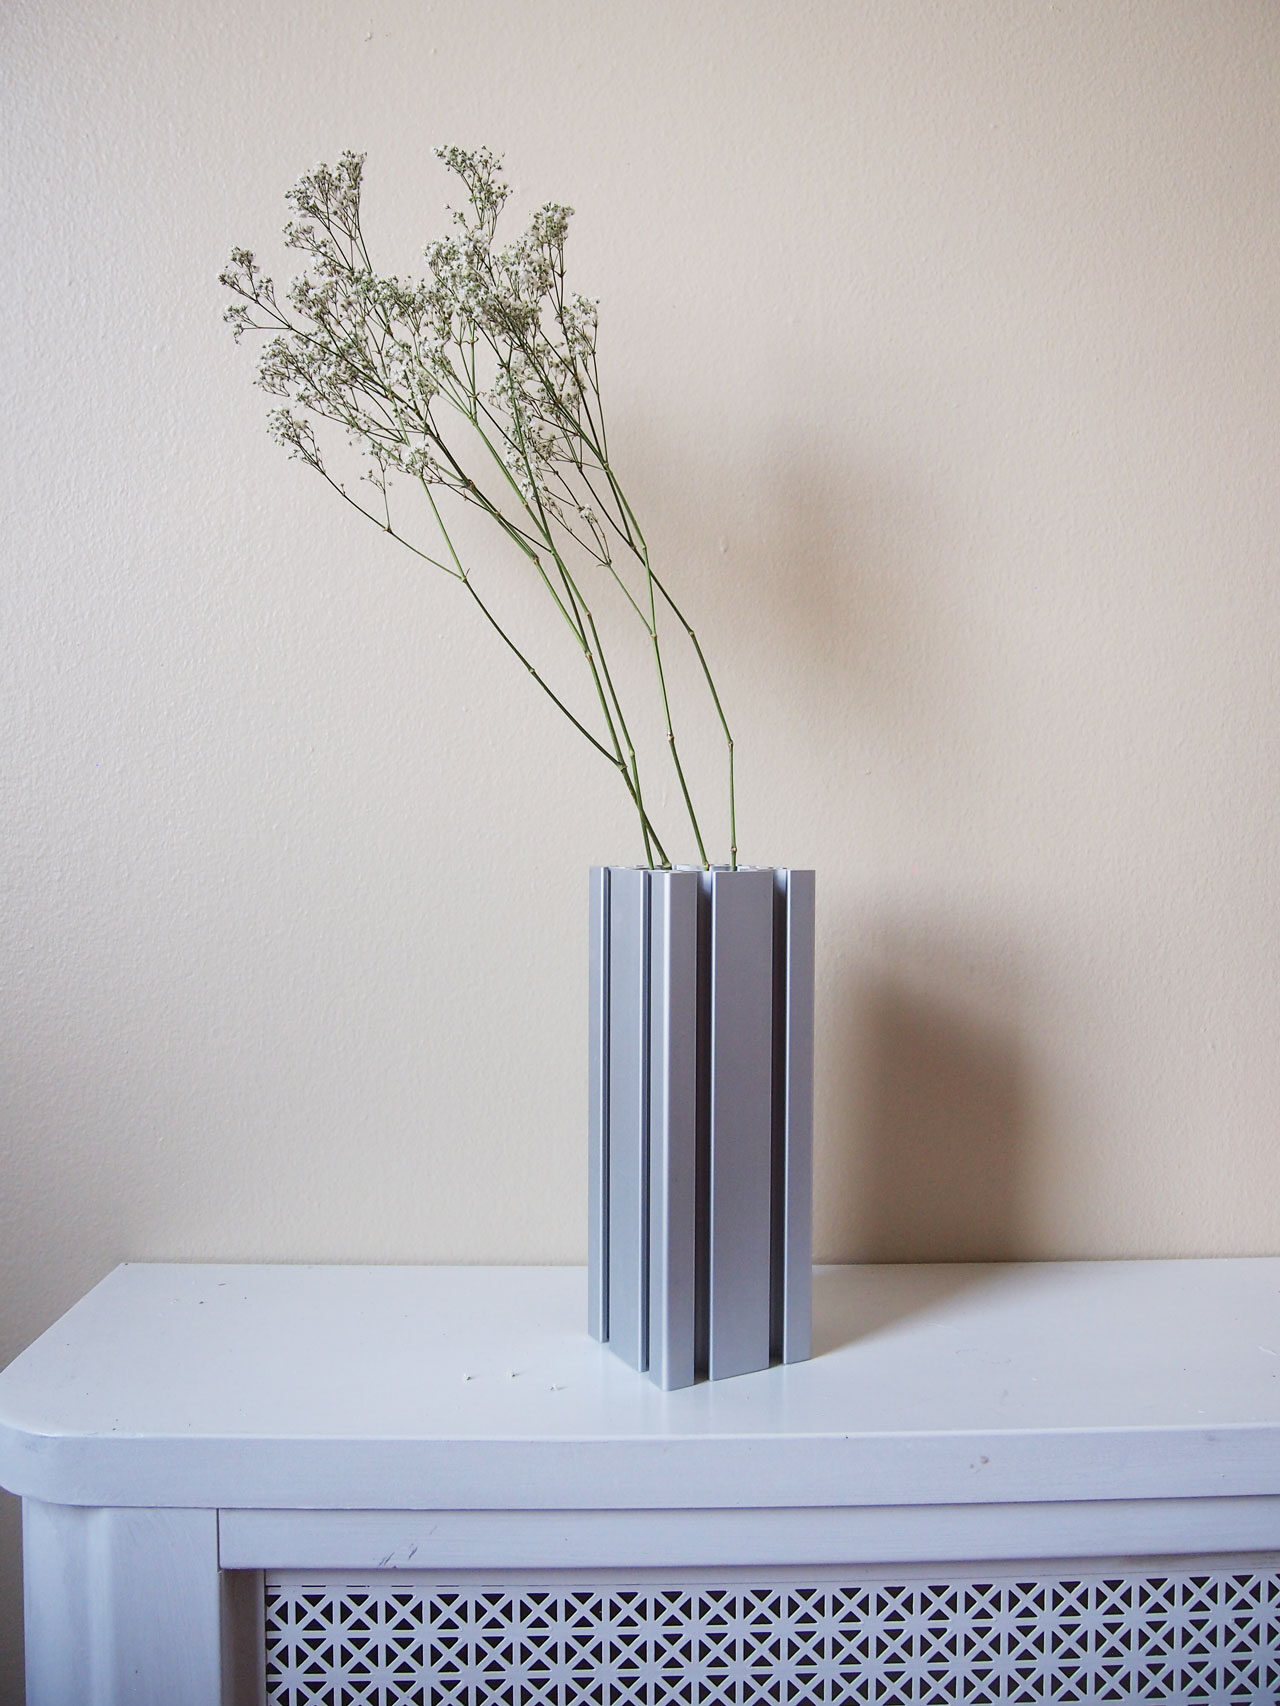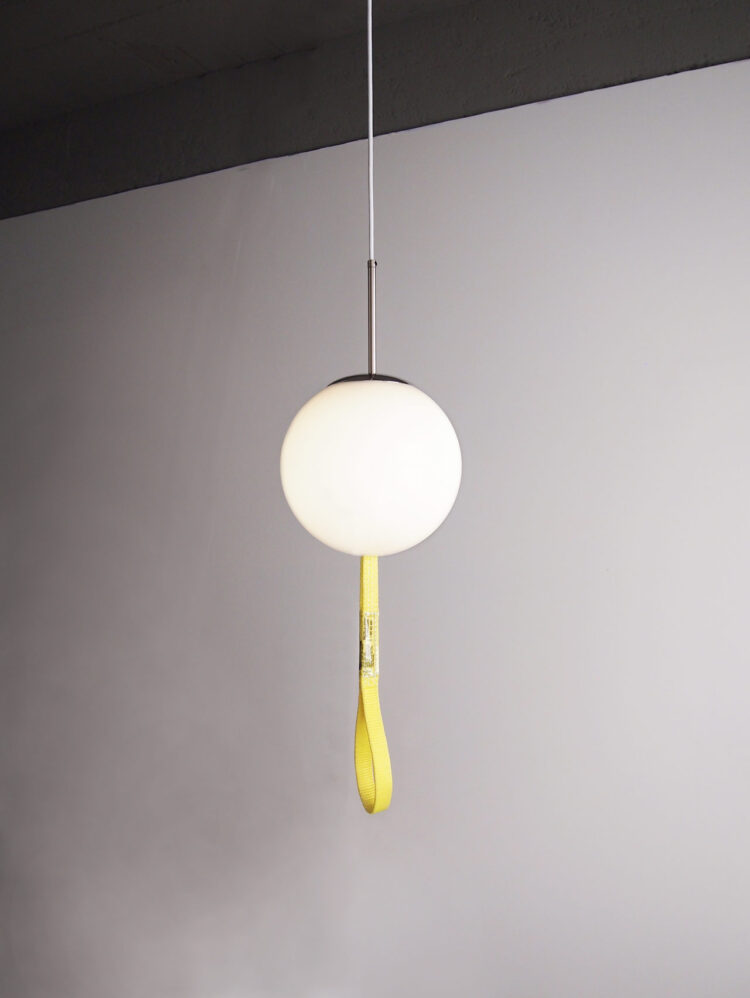
Utility Pendant Light
Design and photography by AANDERSSON
Published in Spring 2019
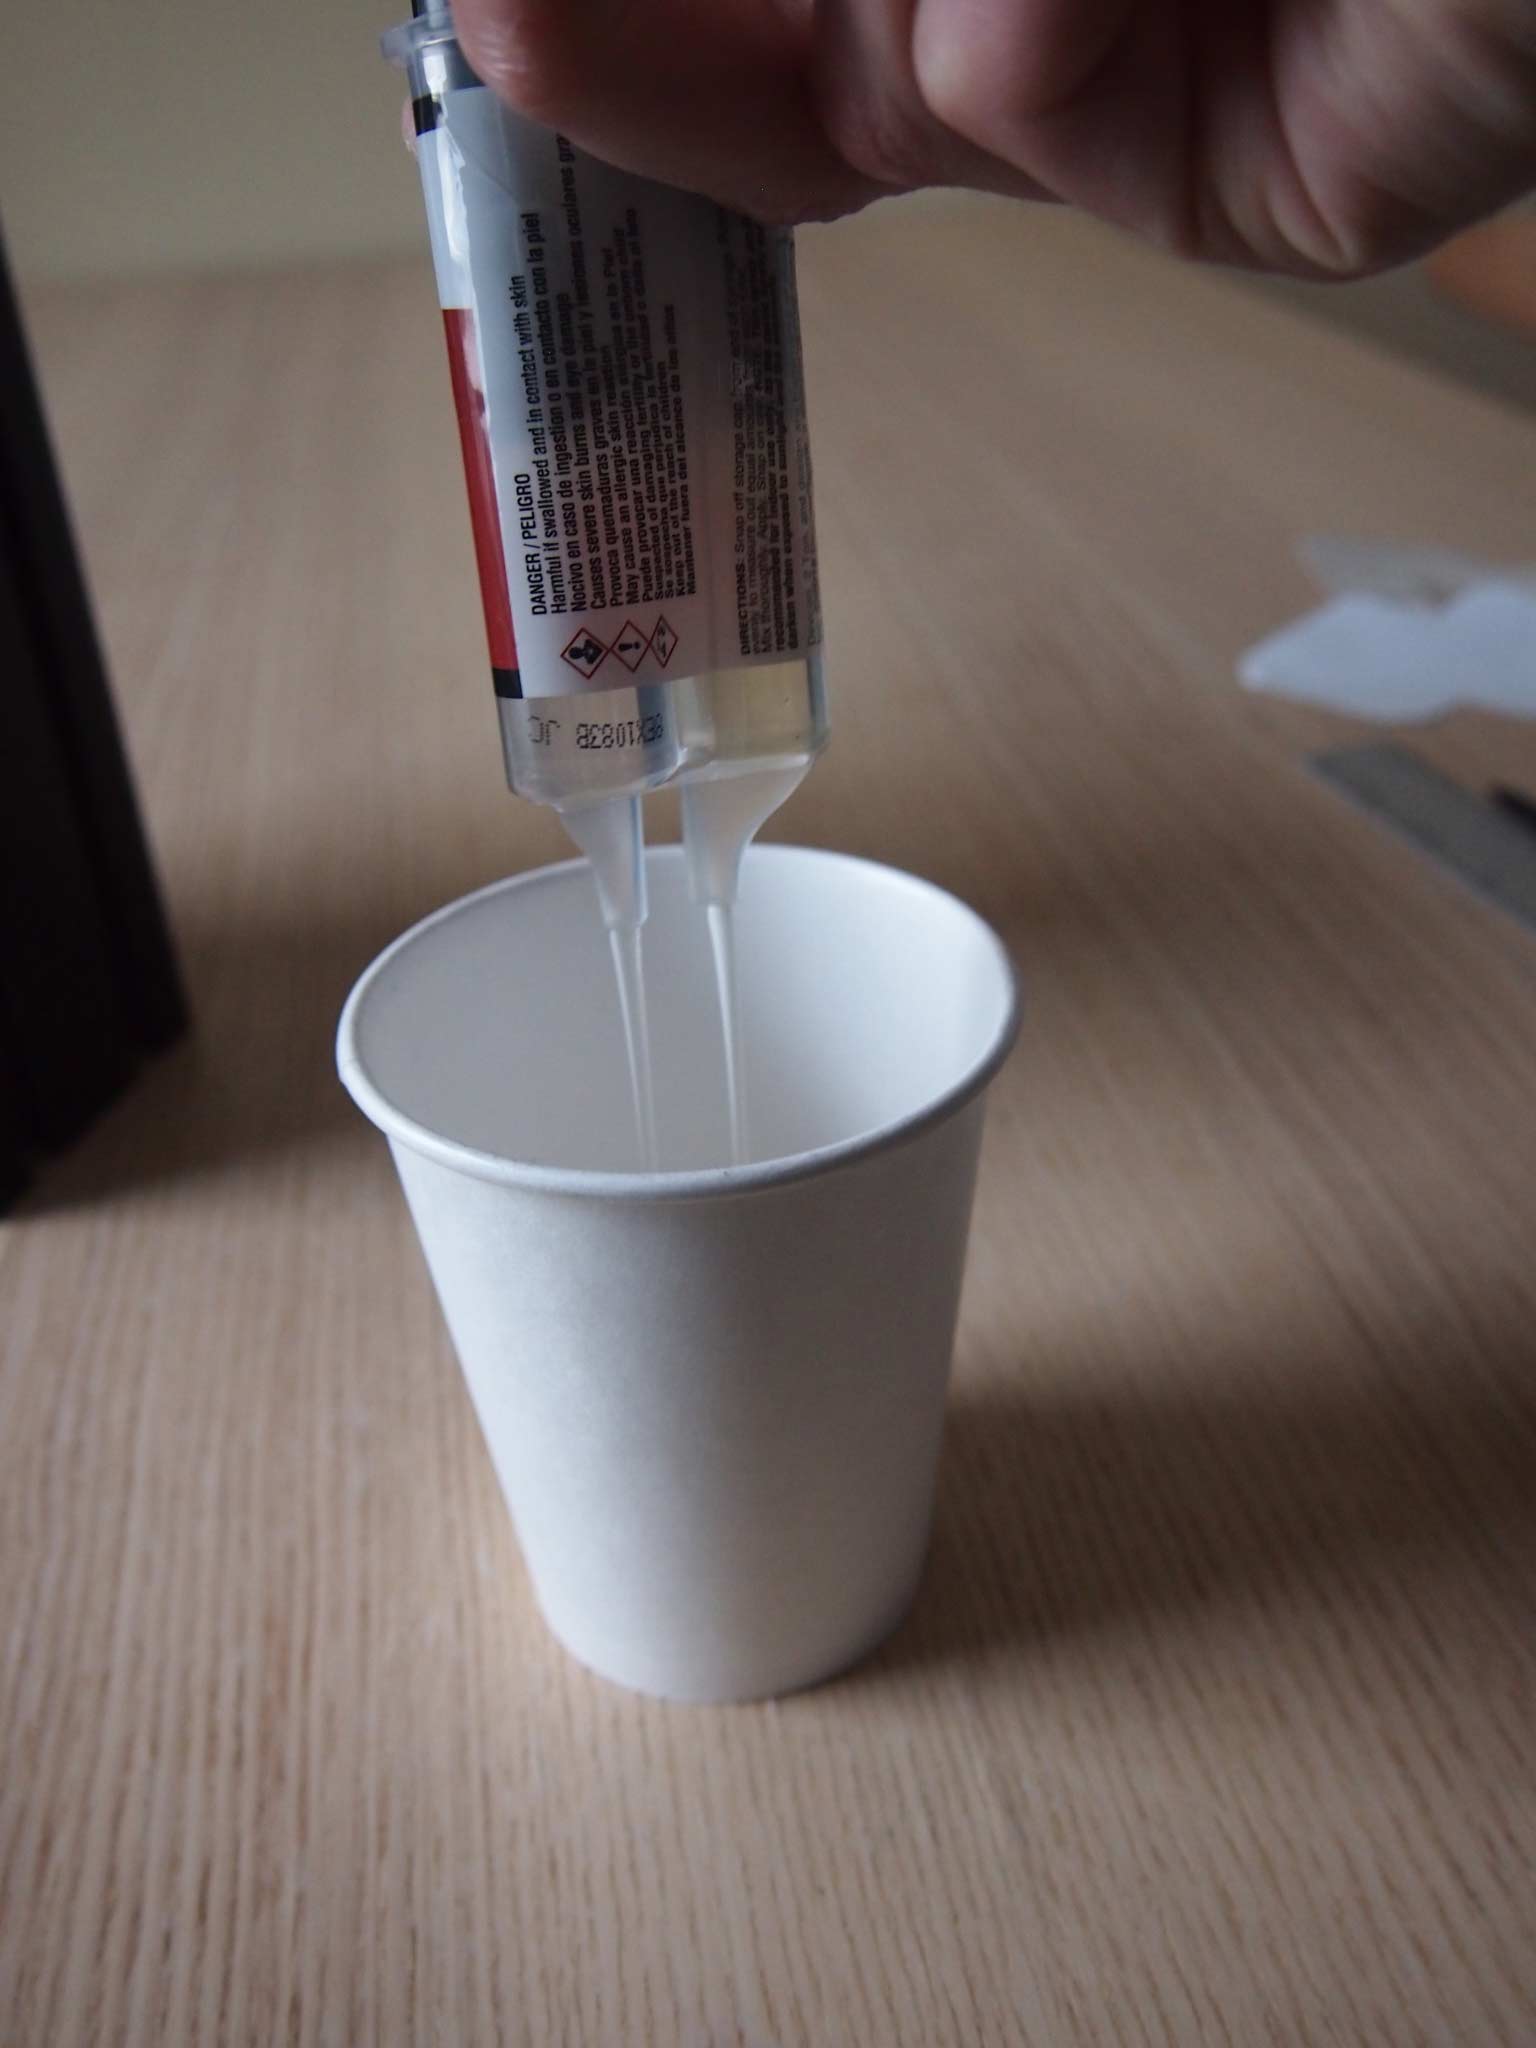
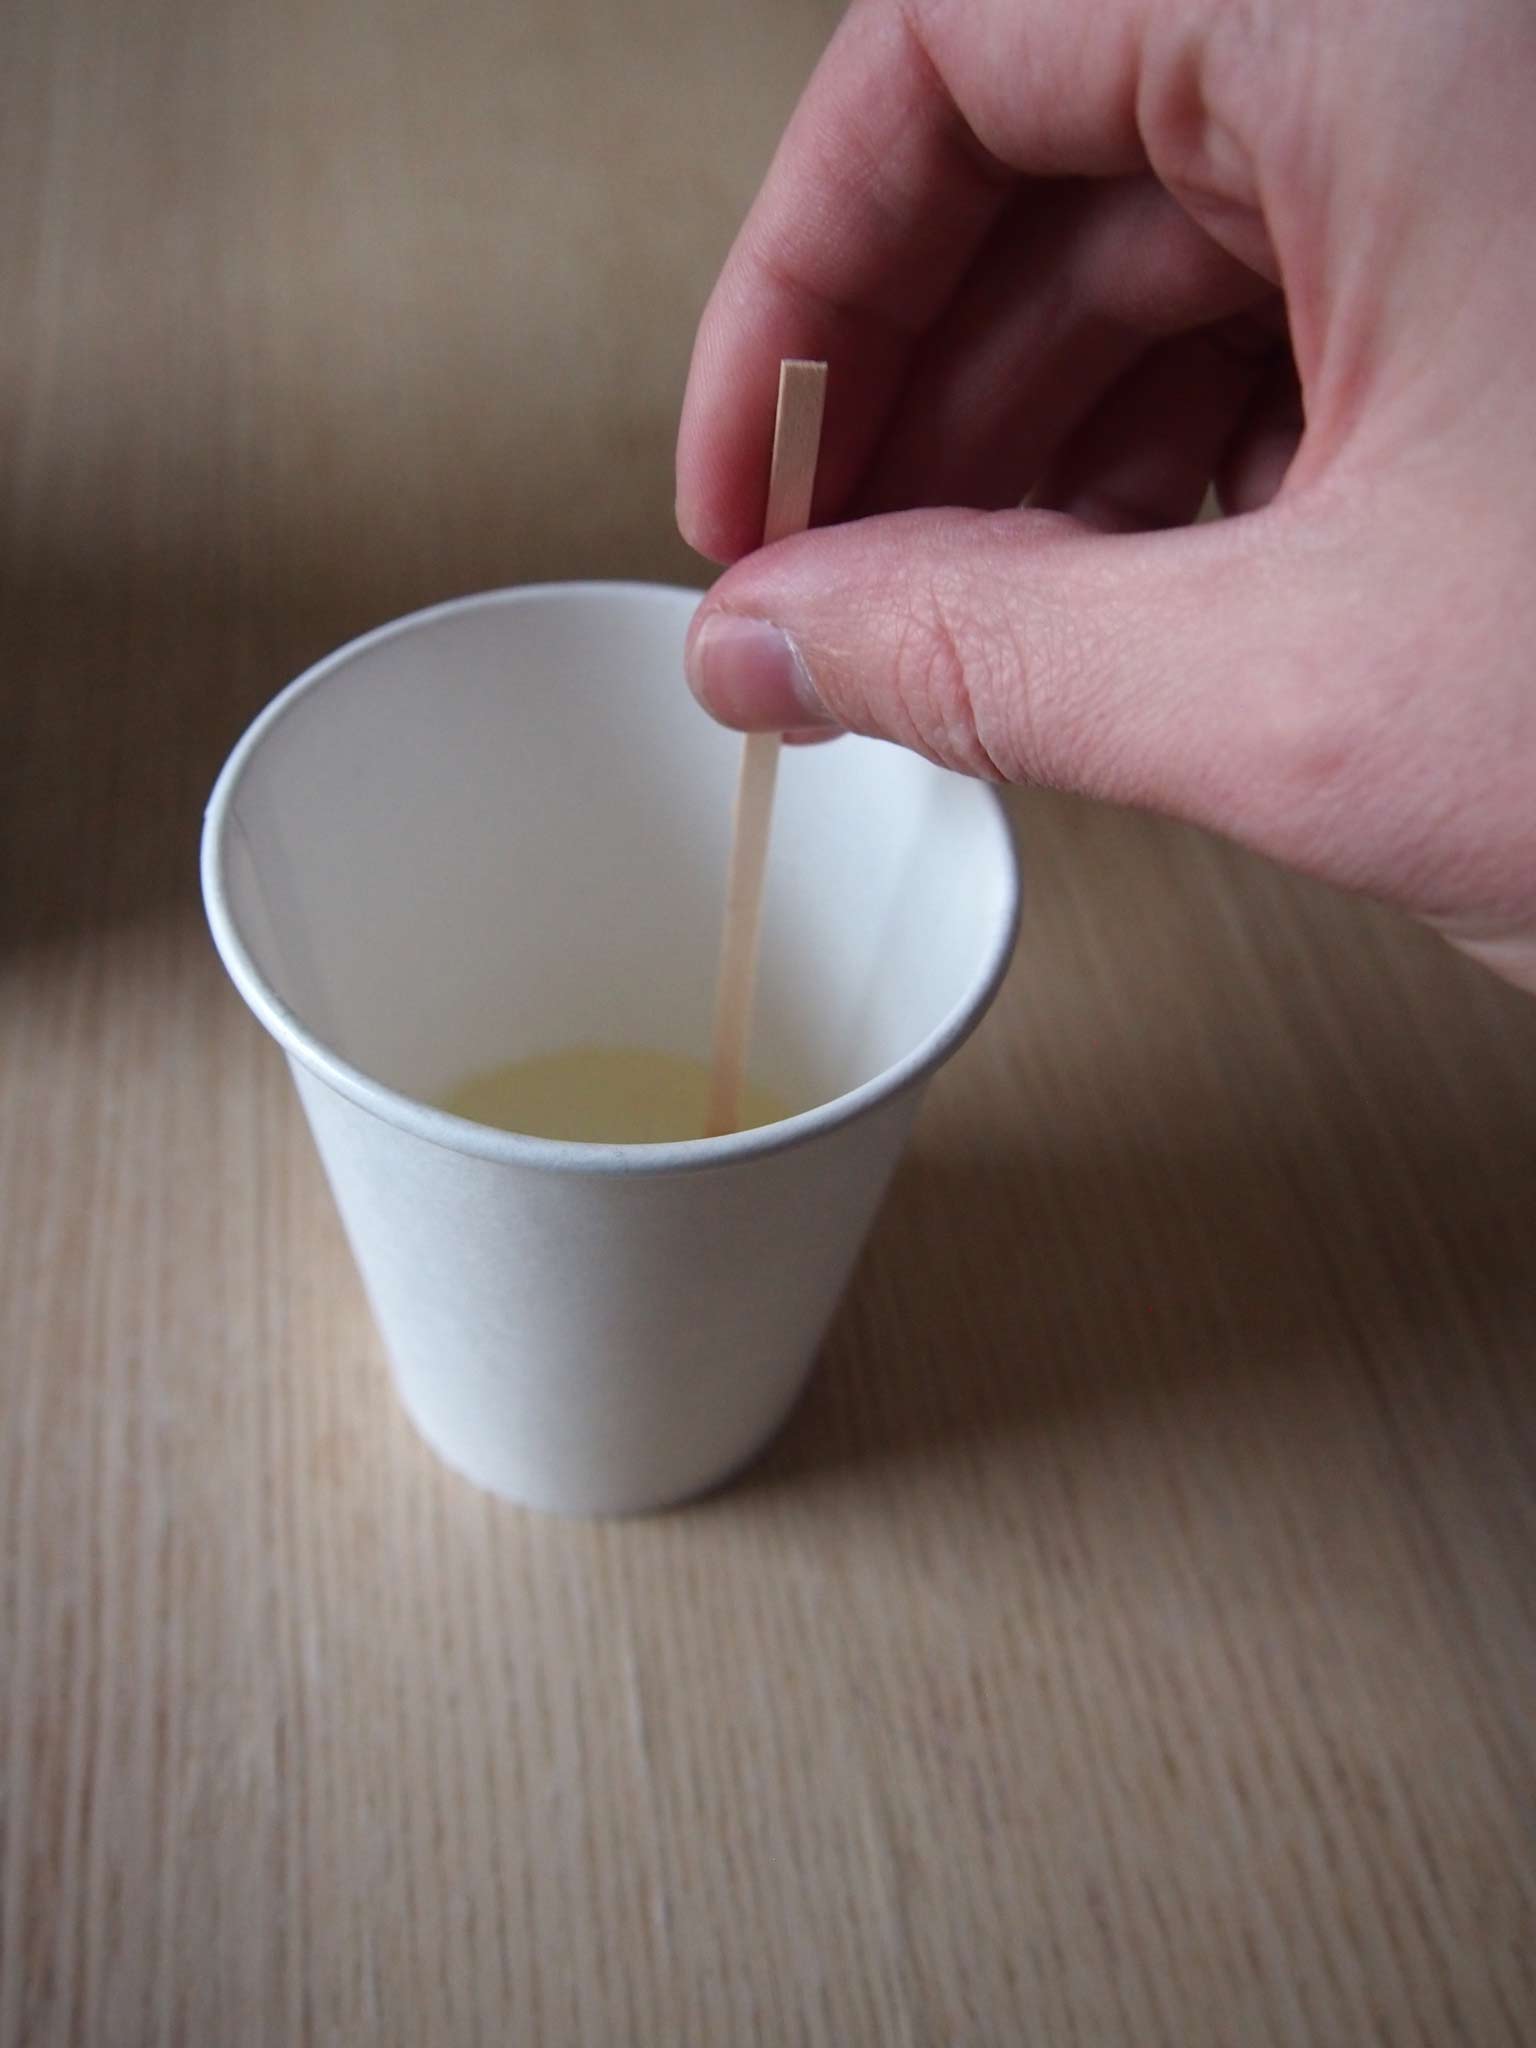
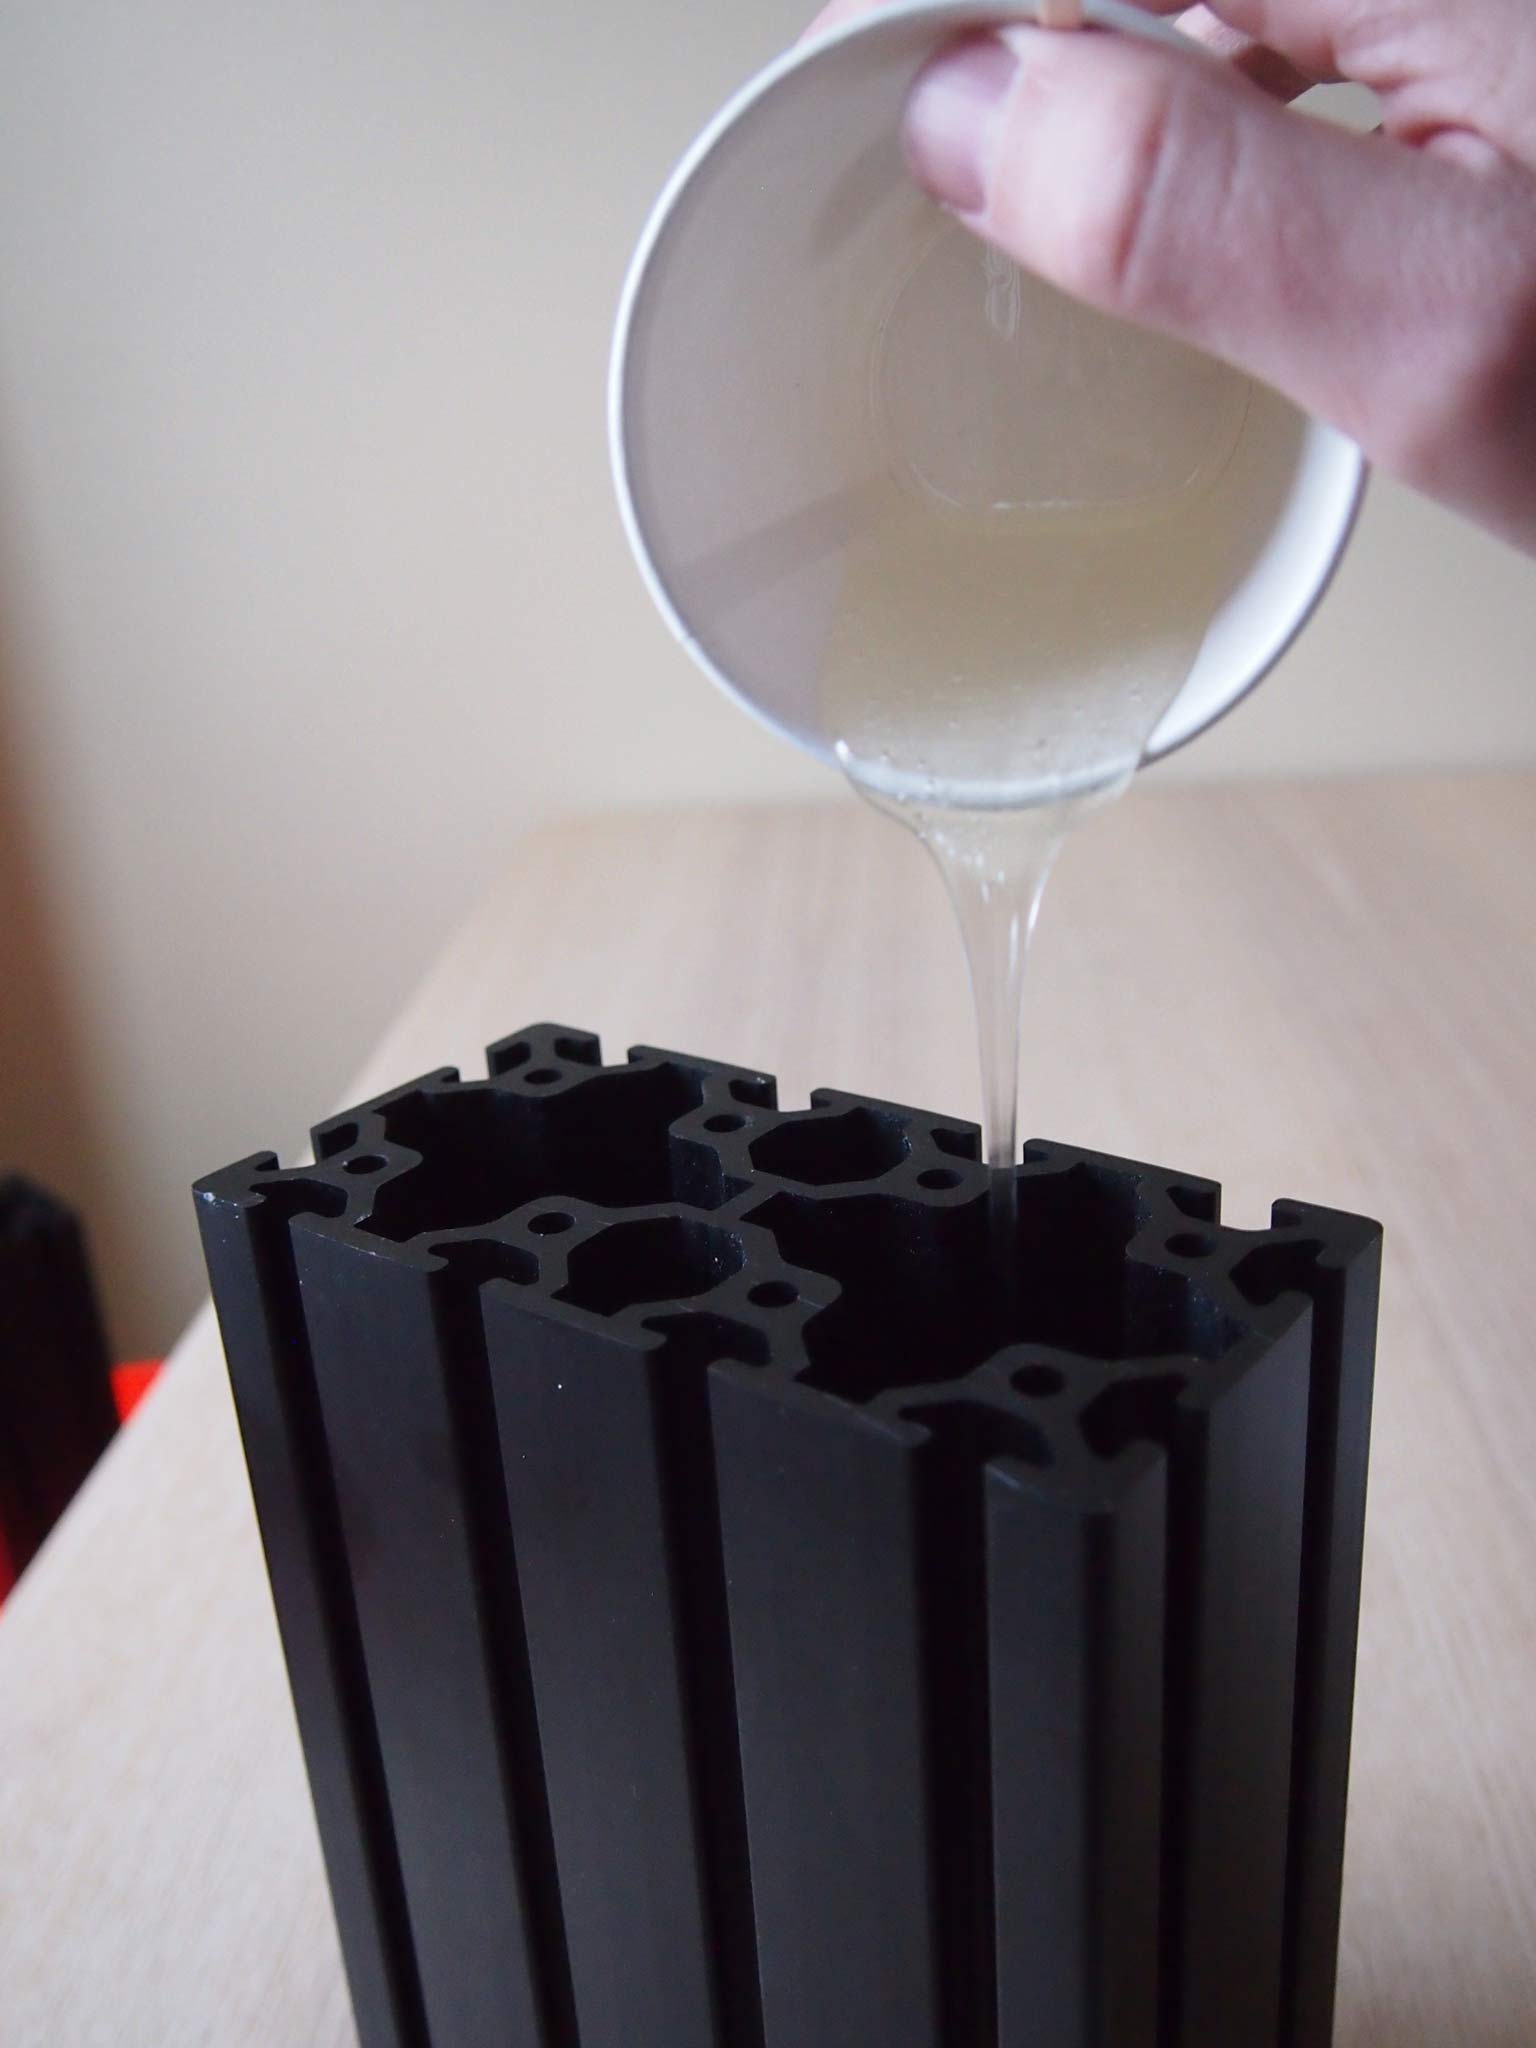
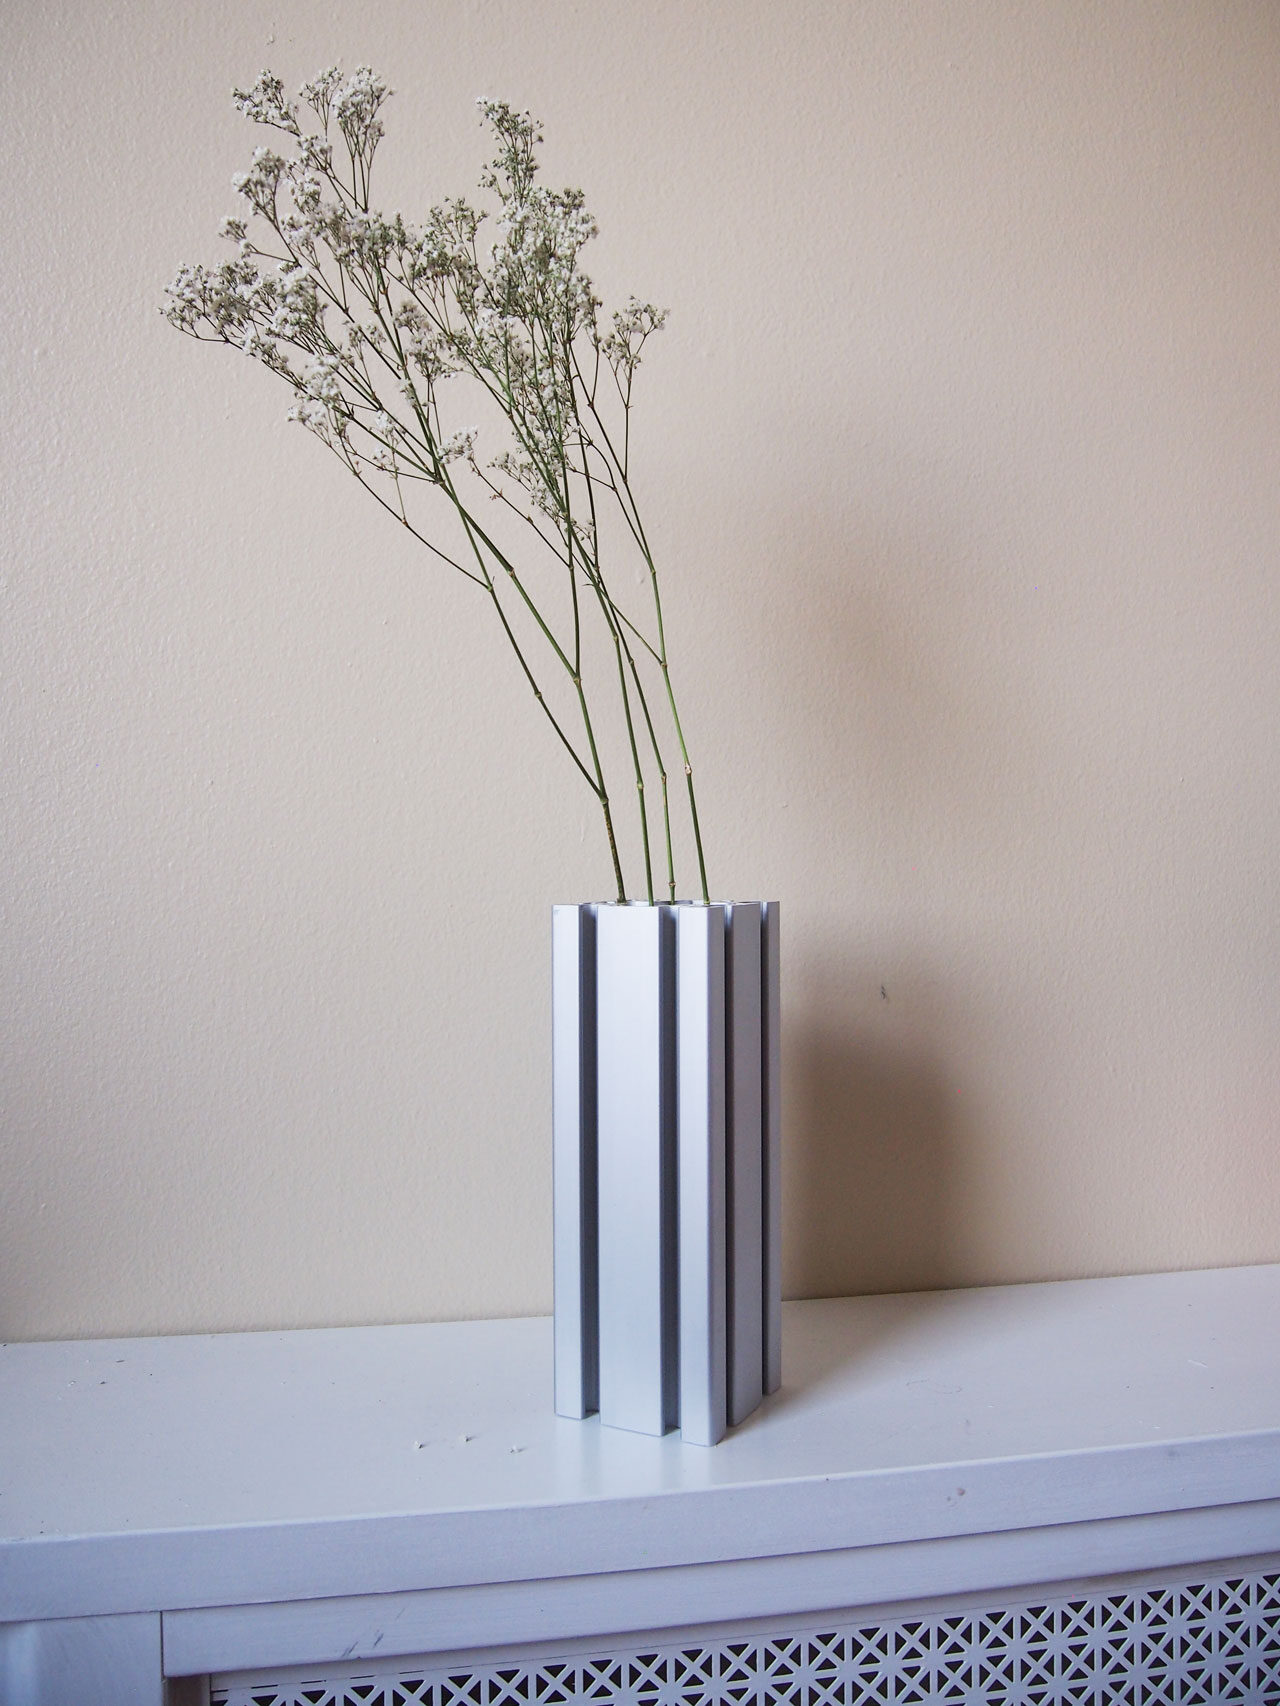
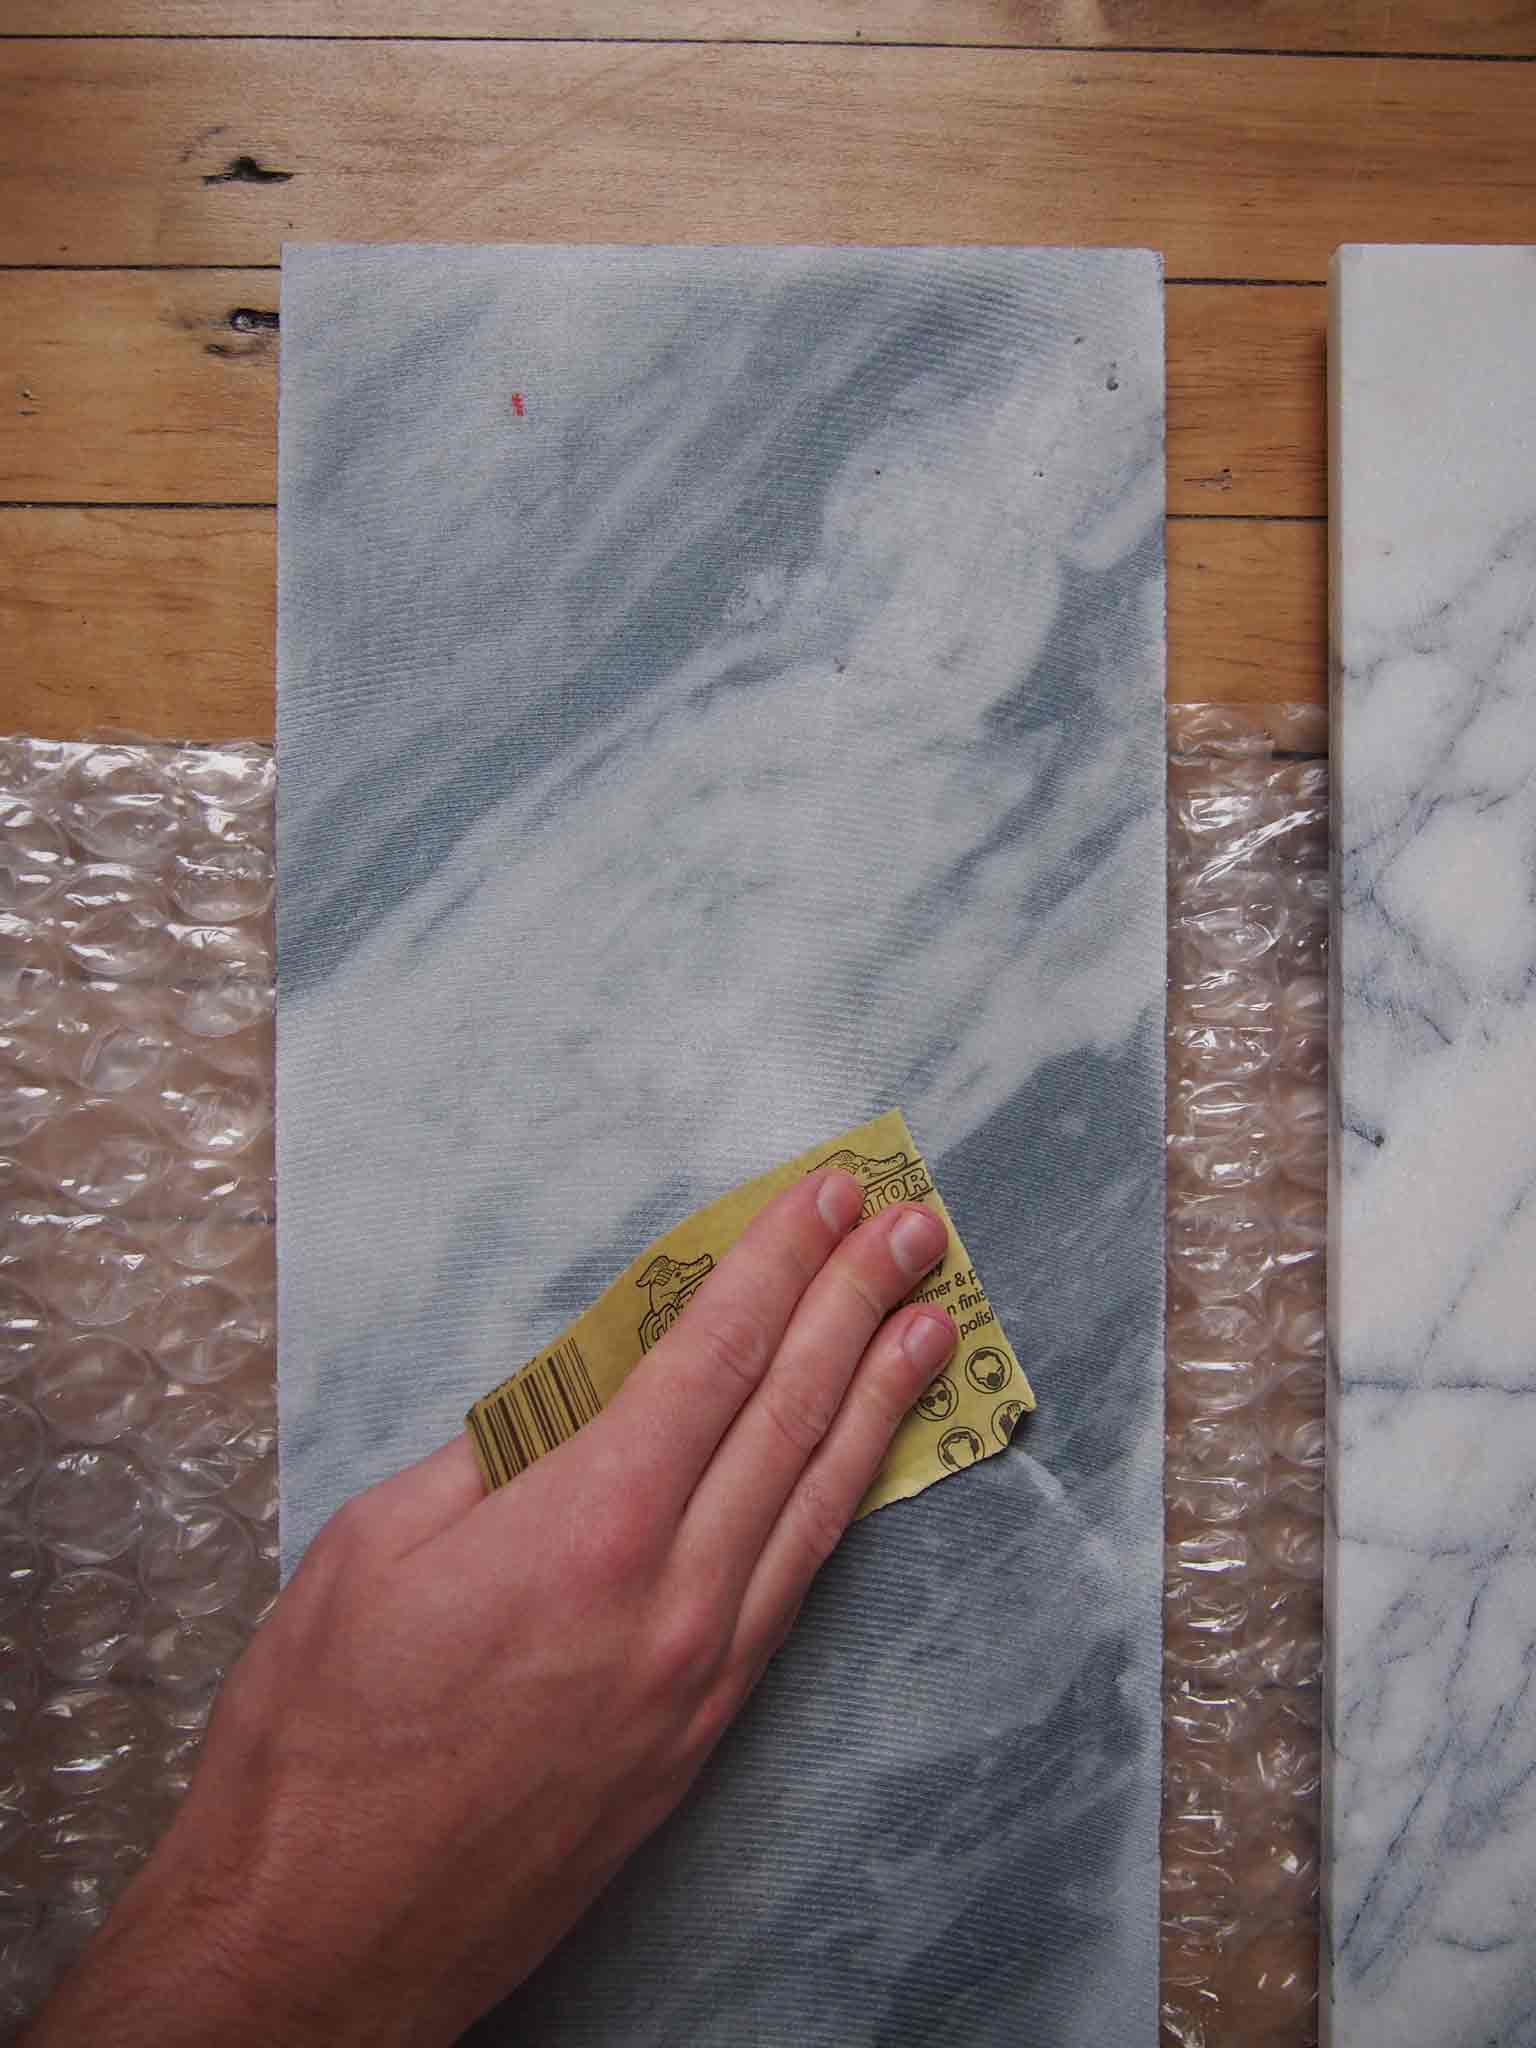
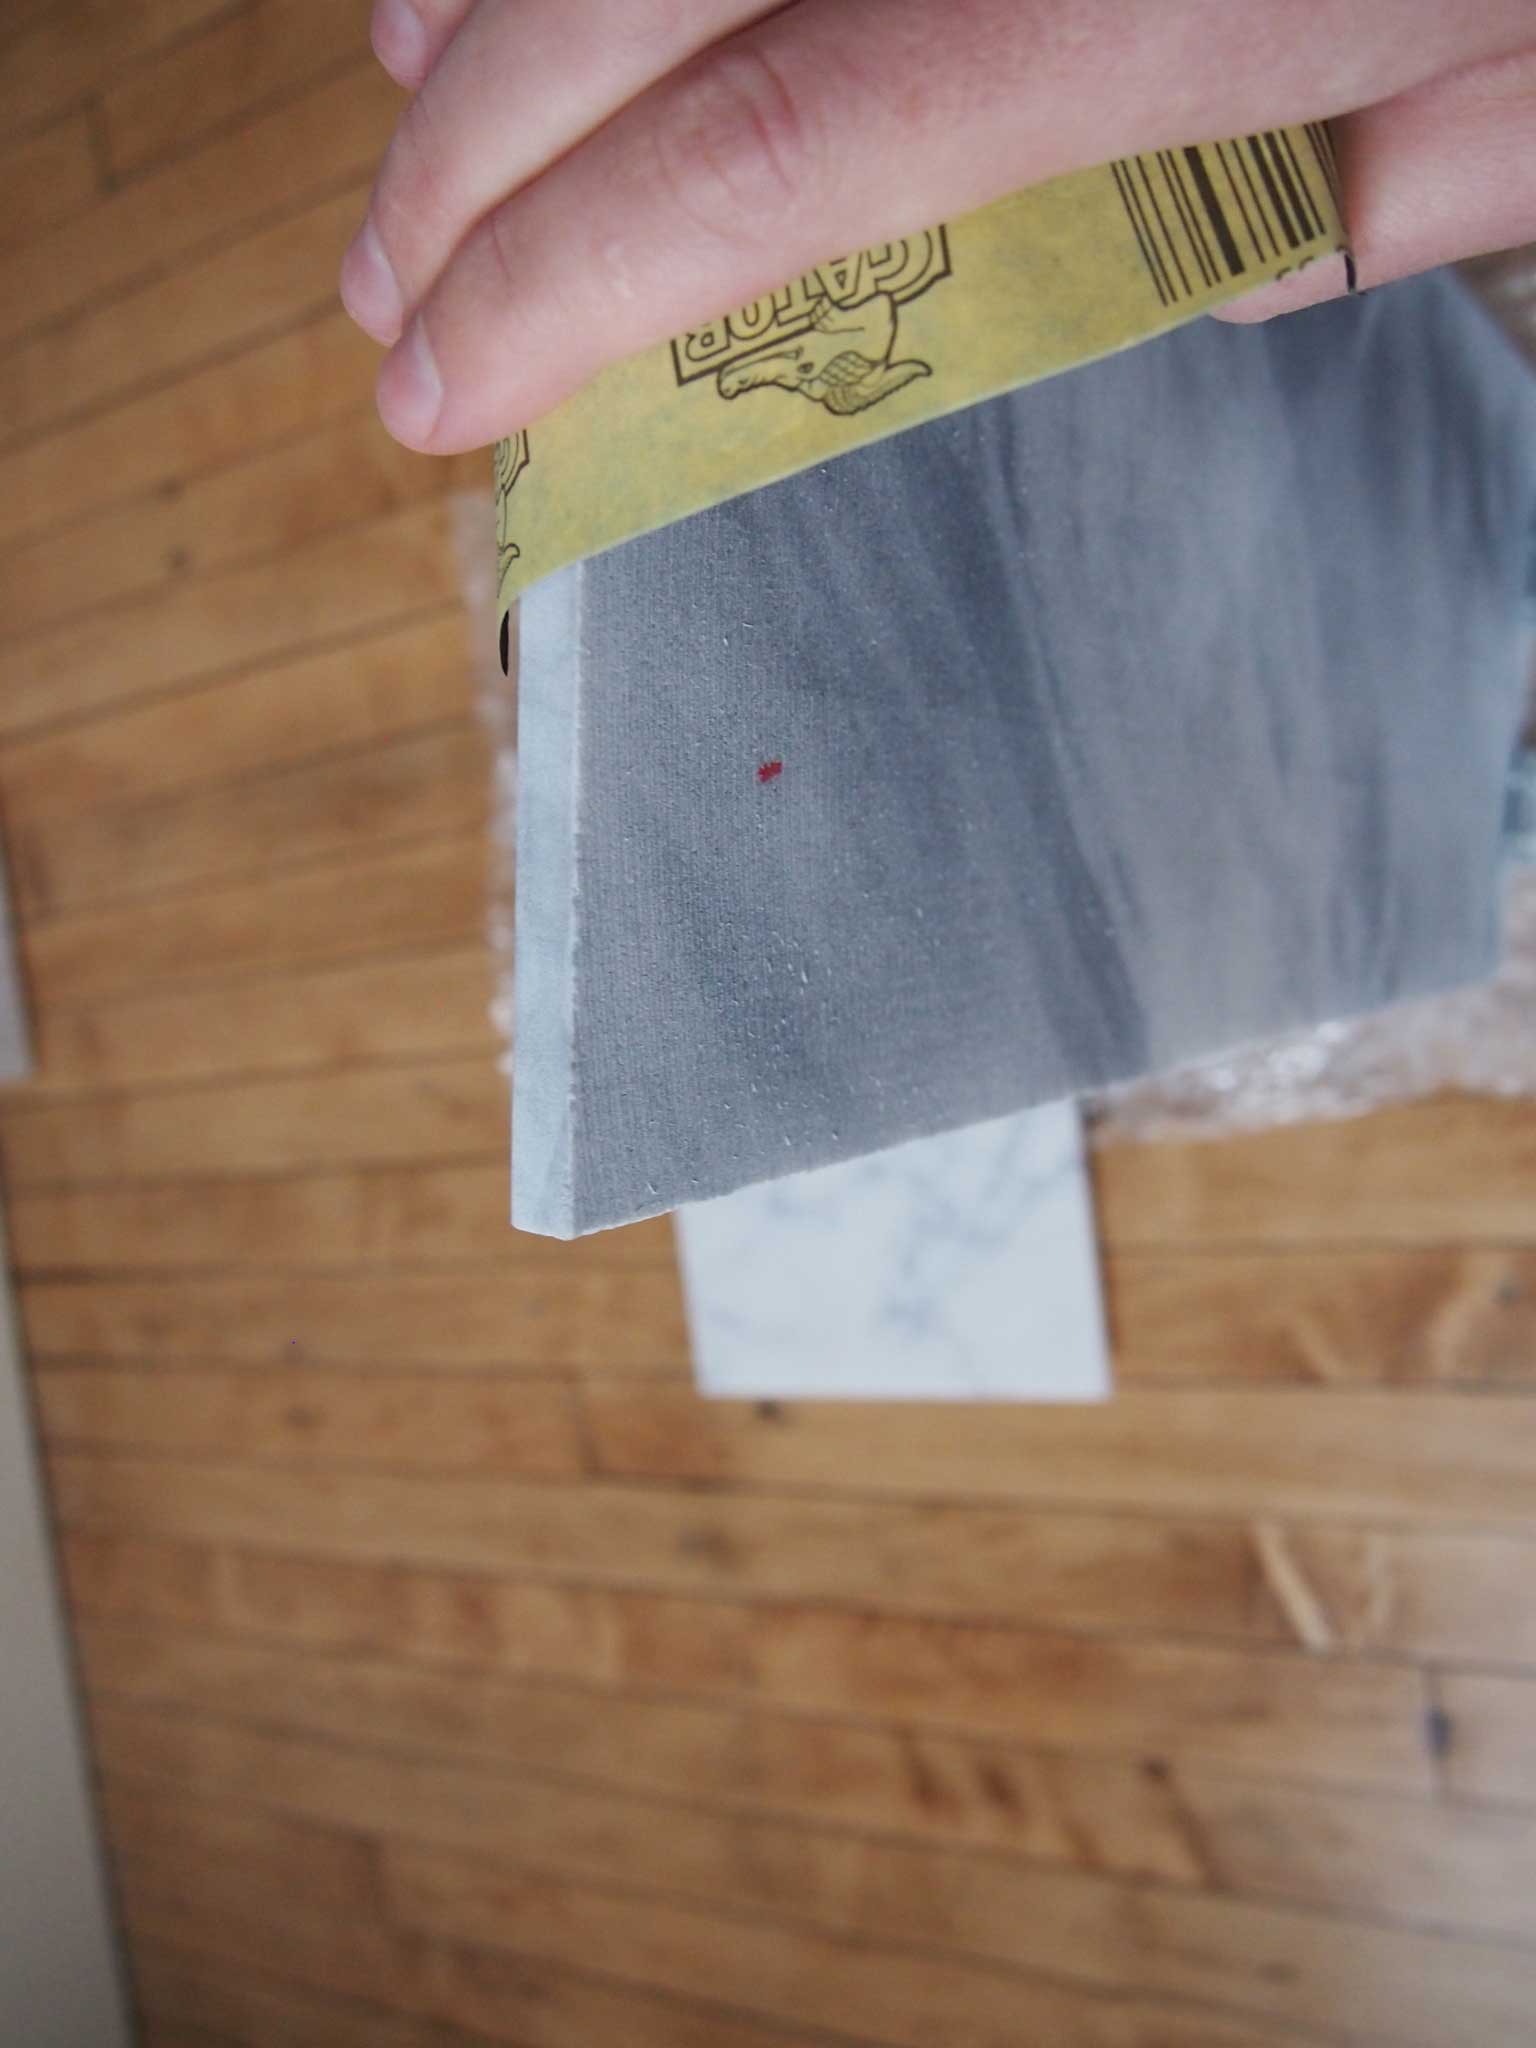
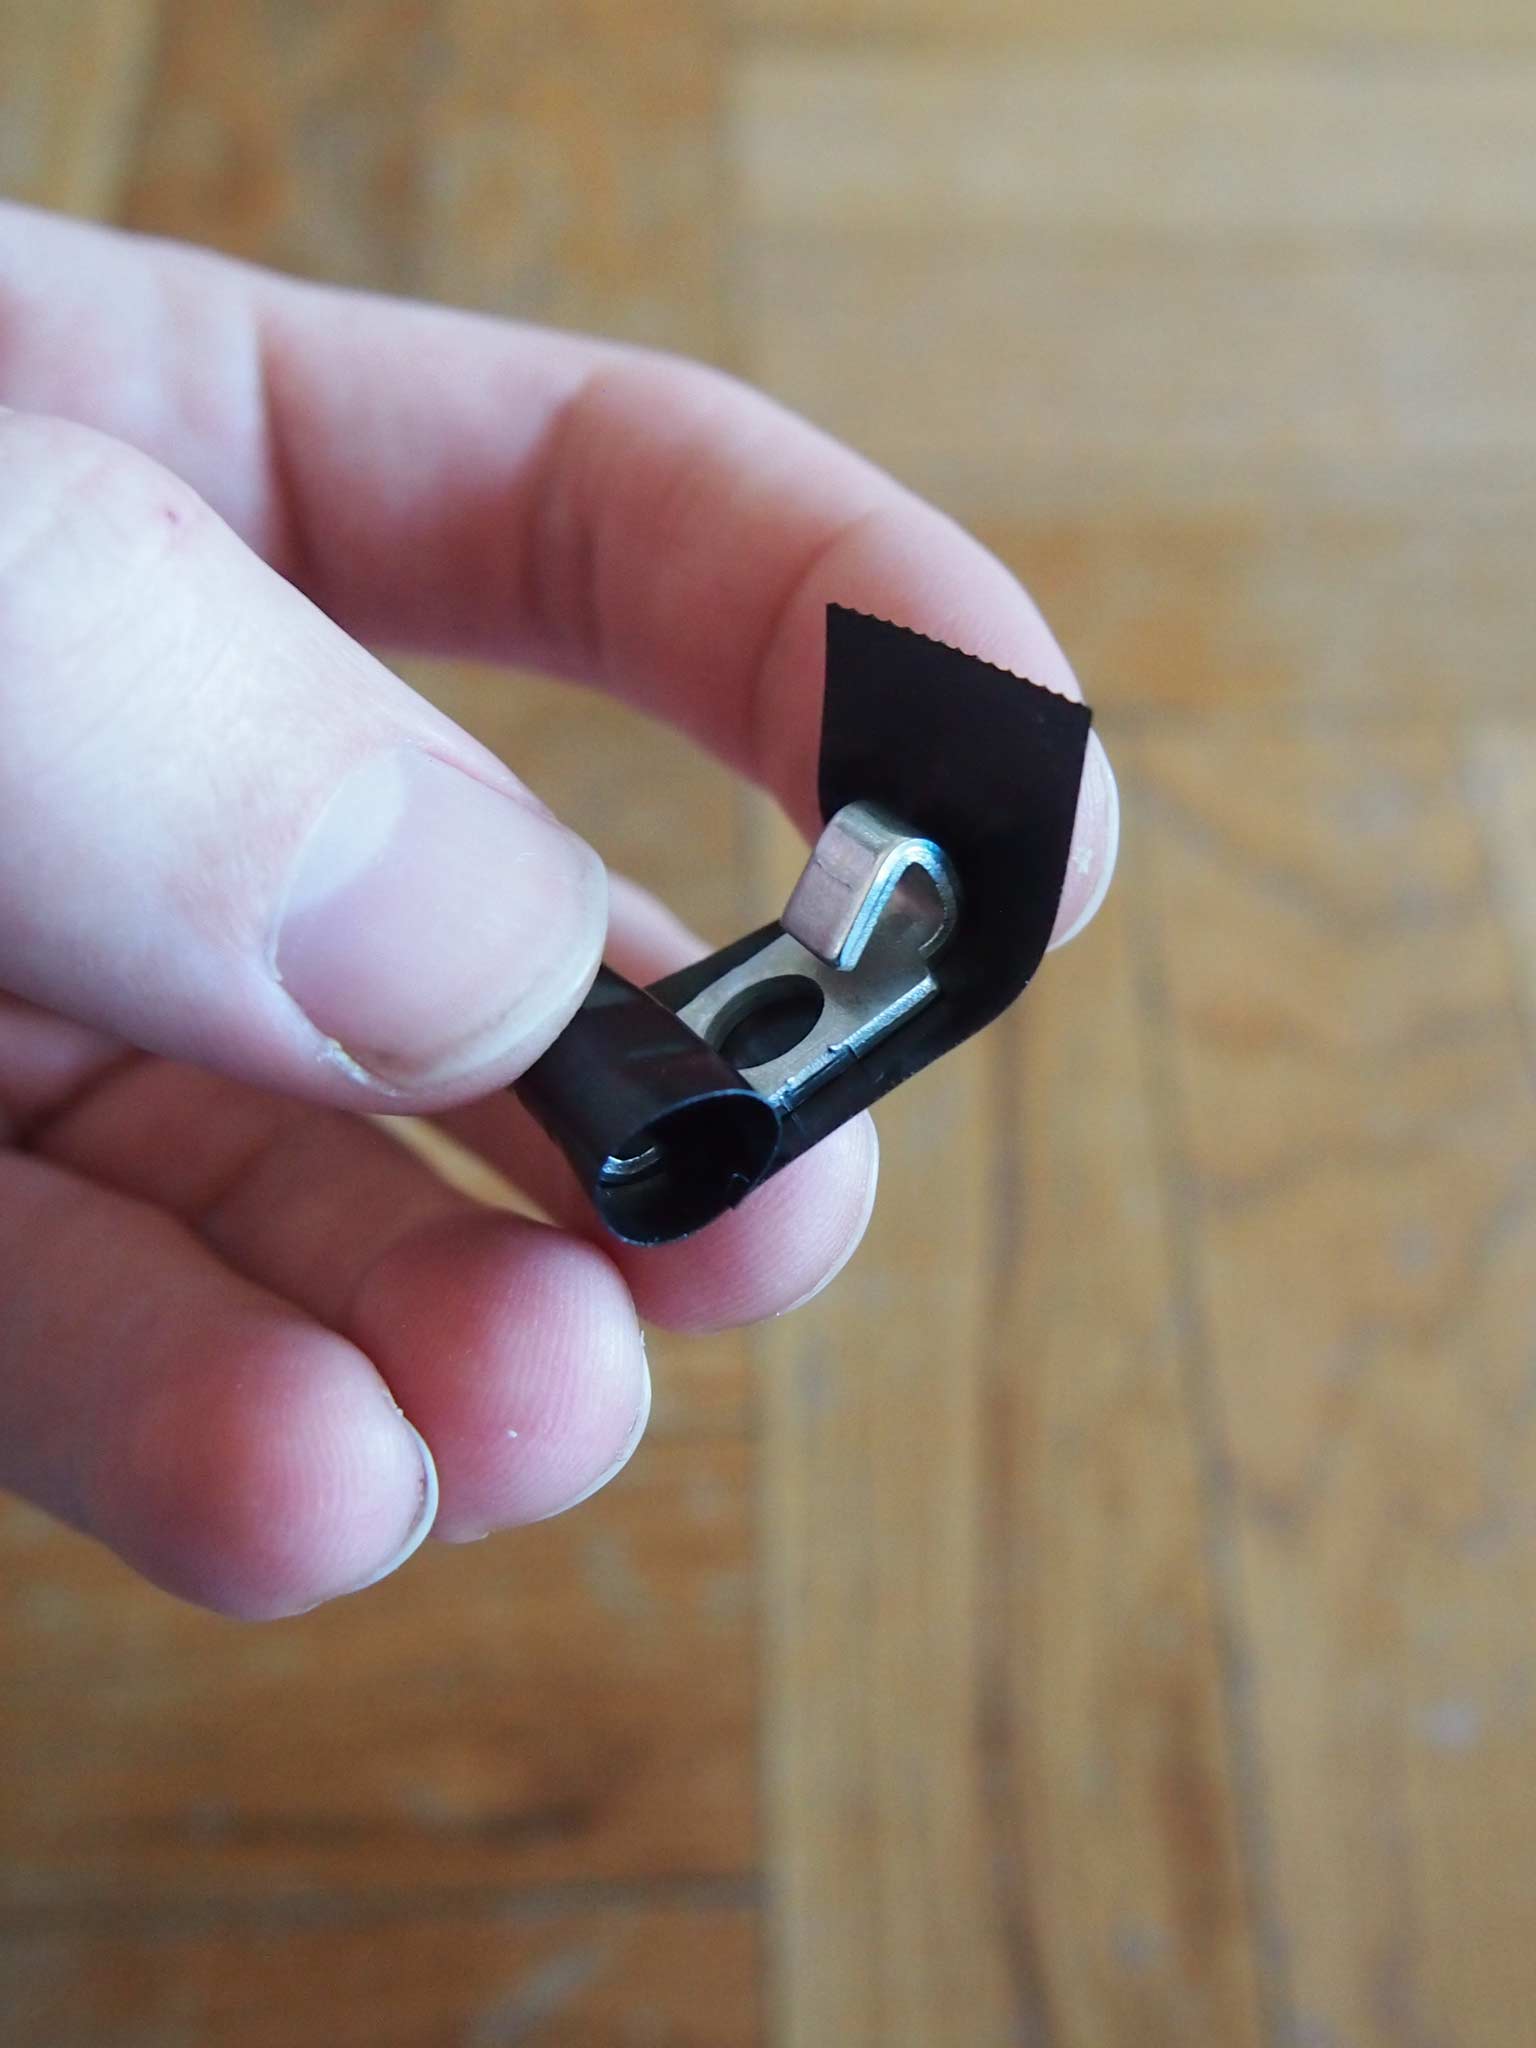
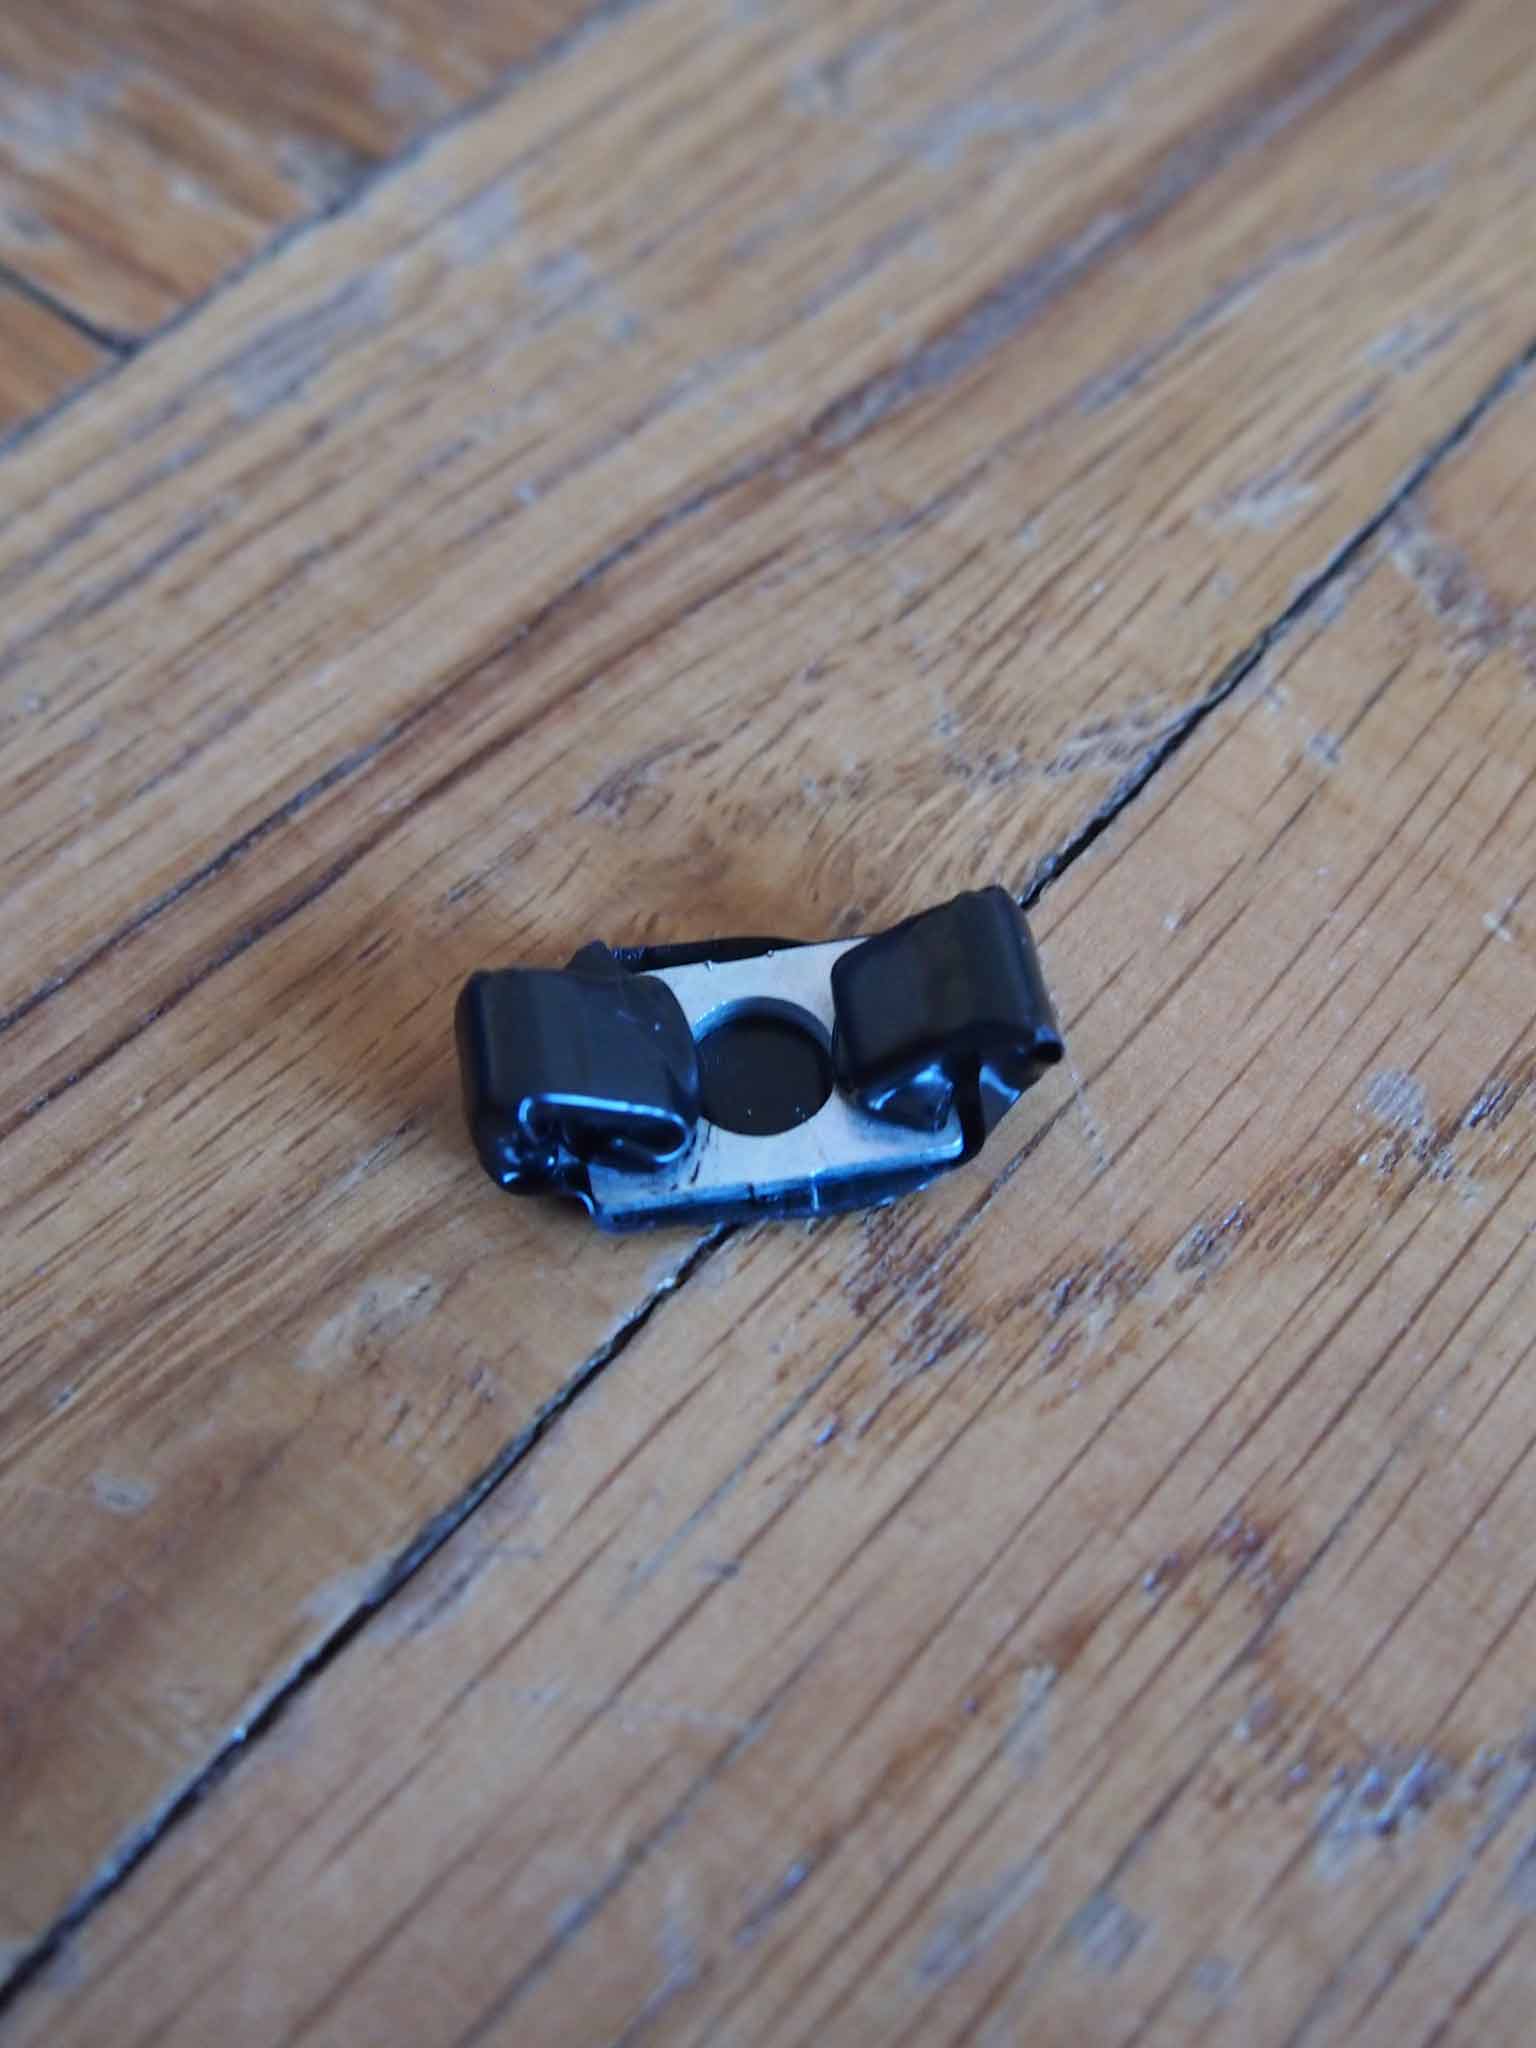
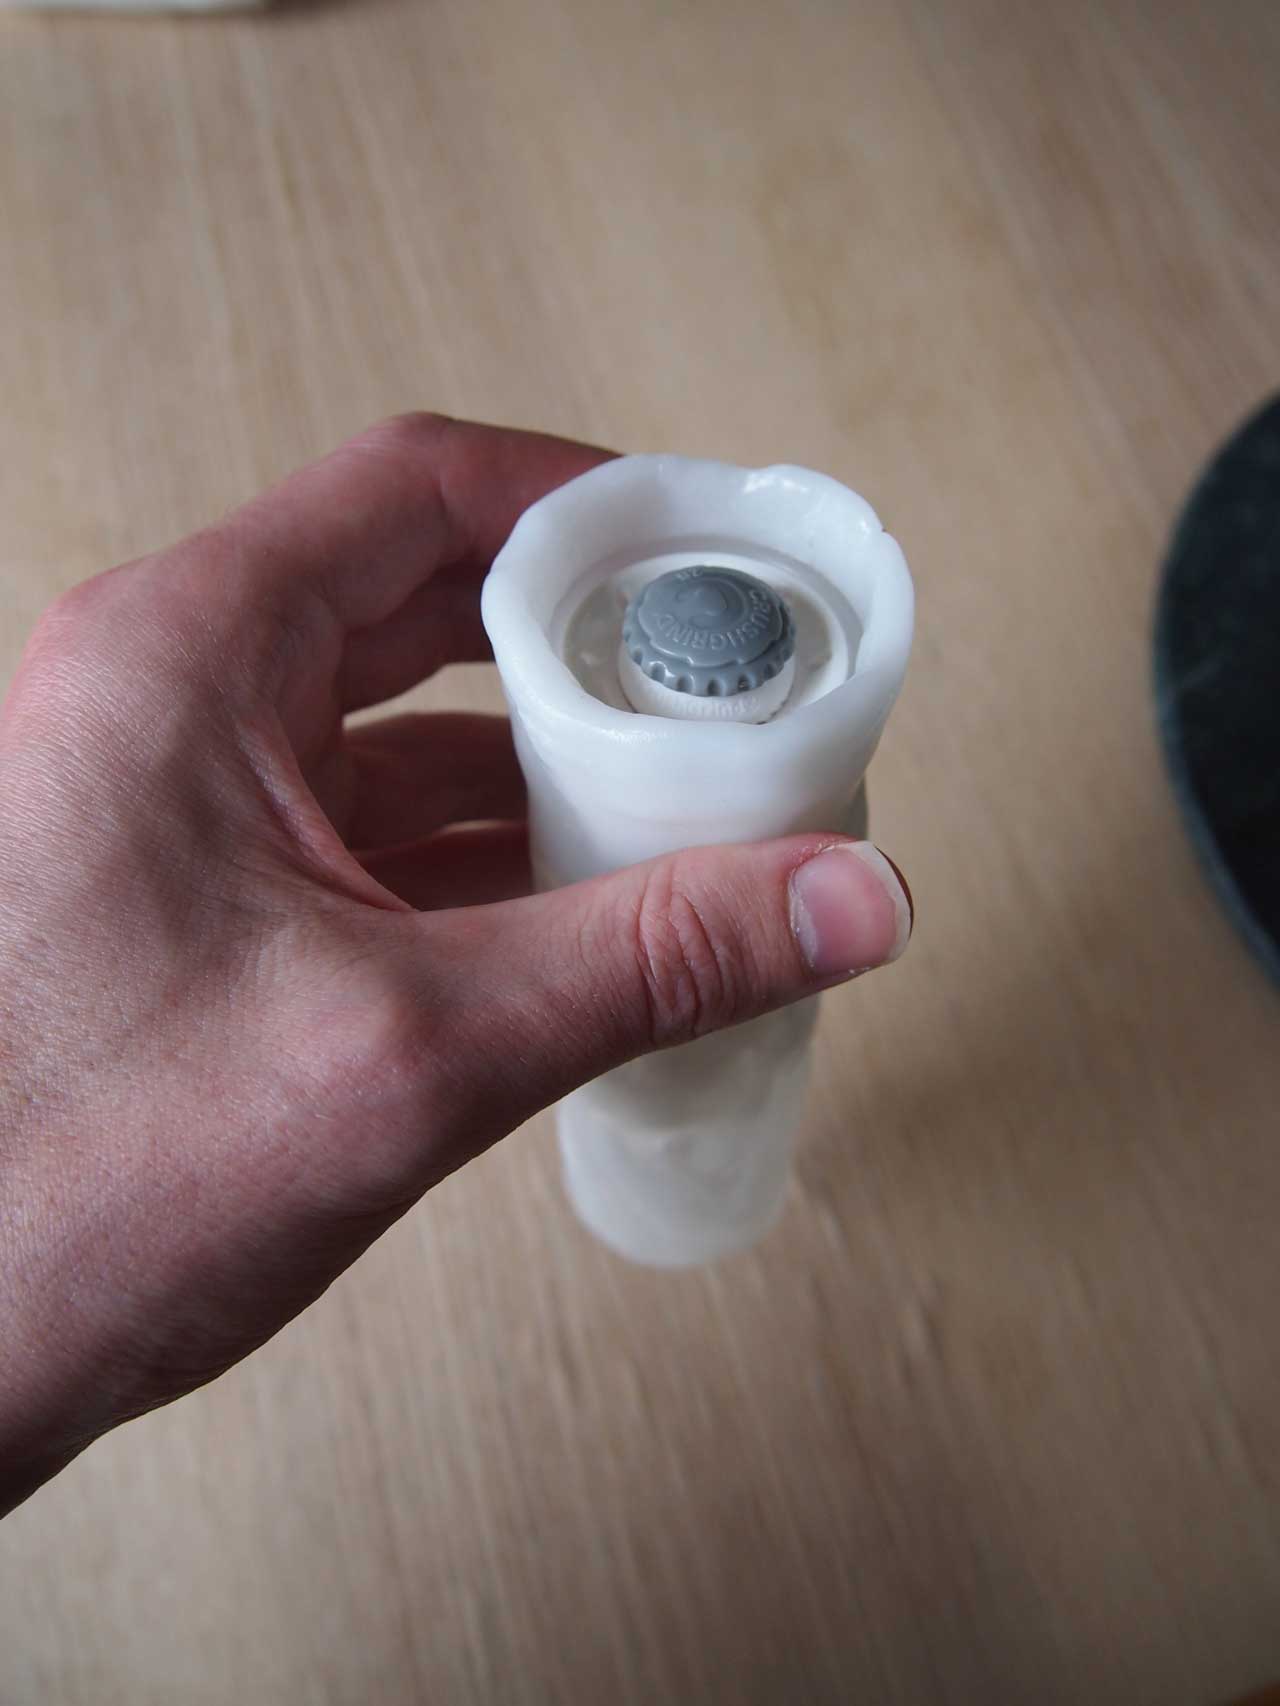
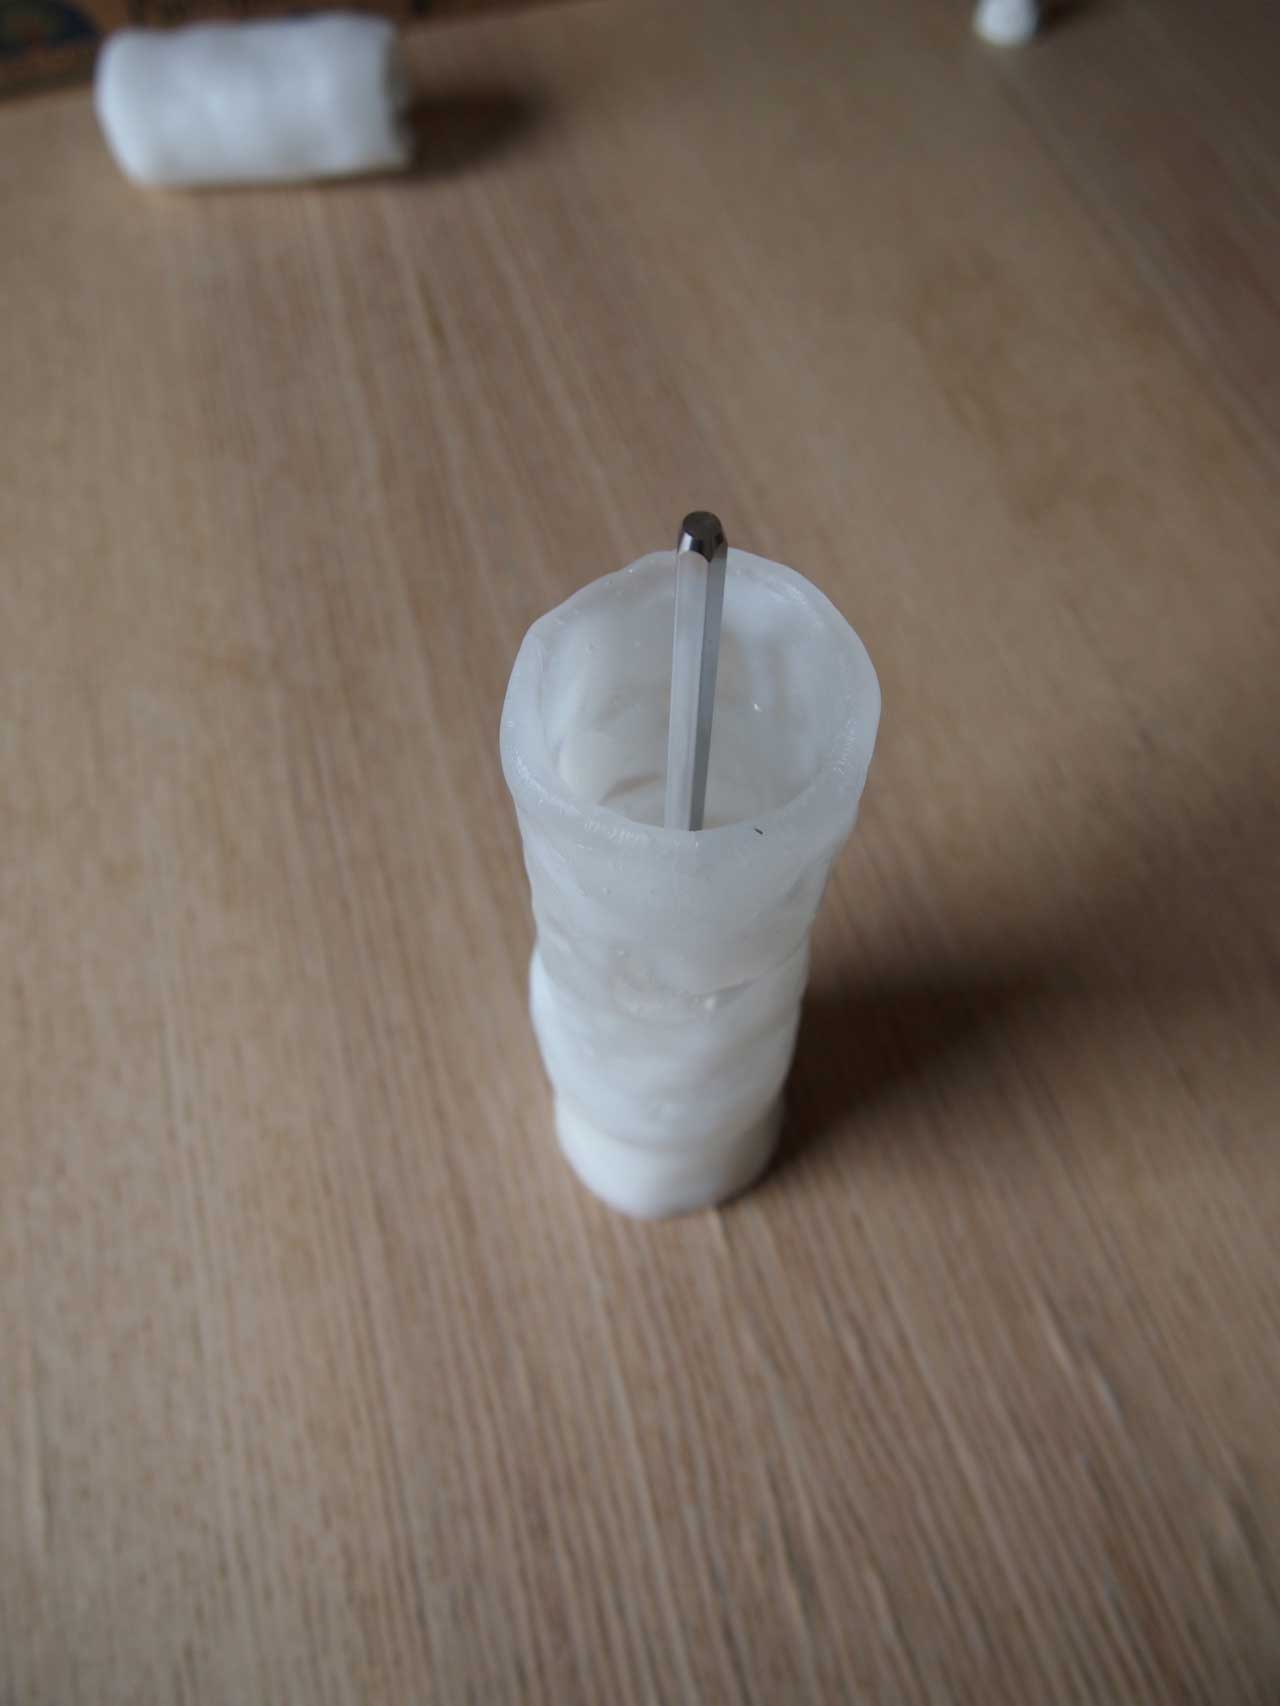
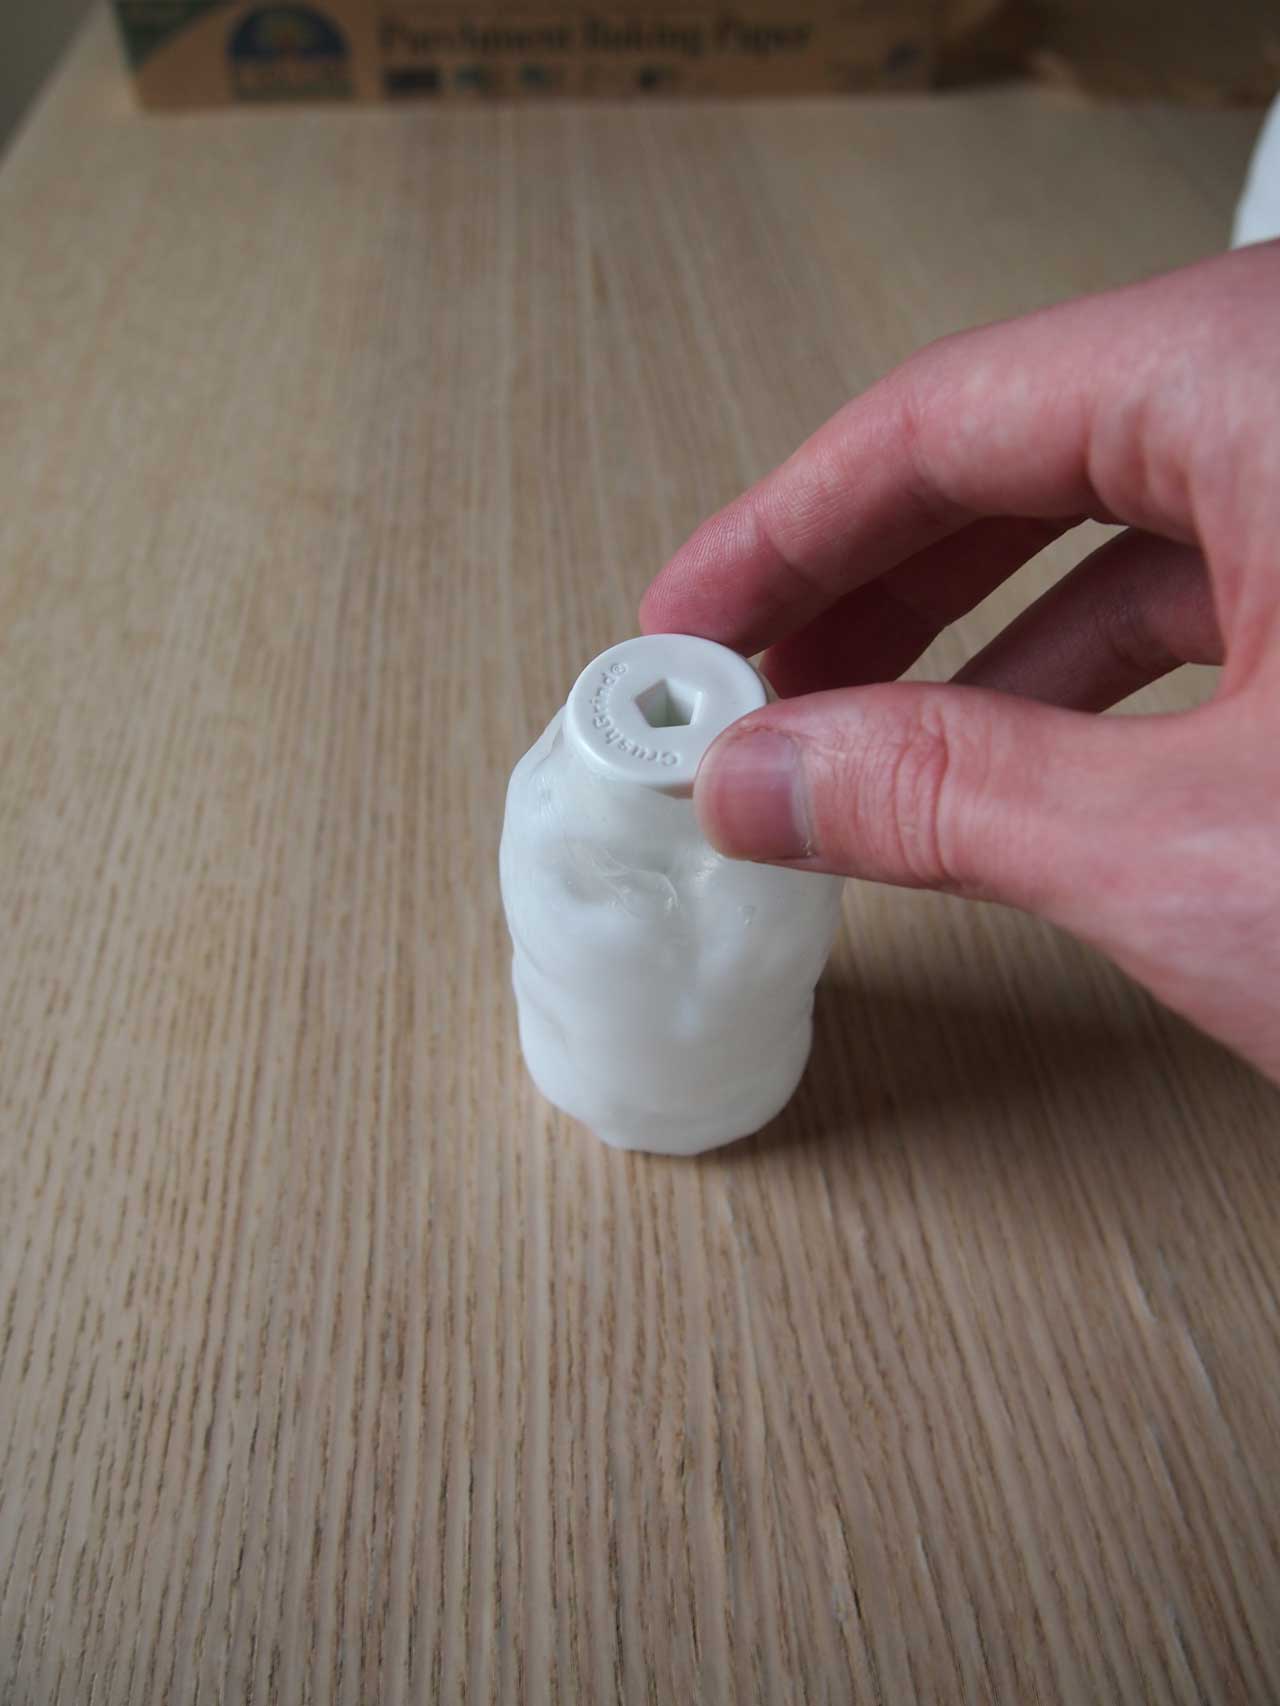
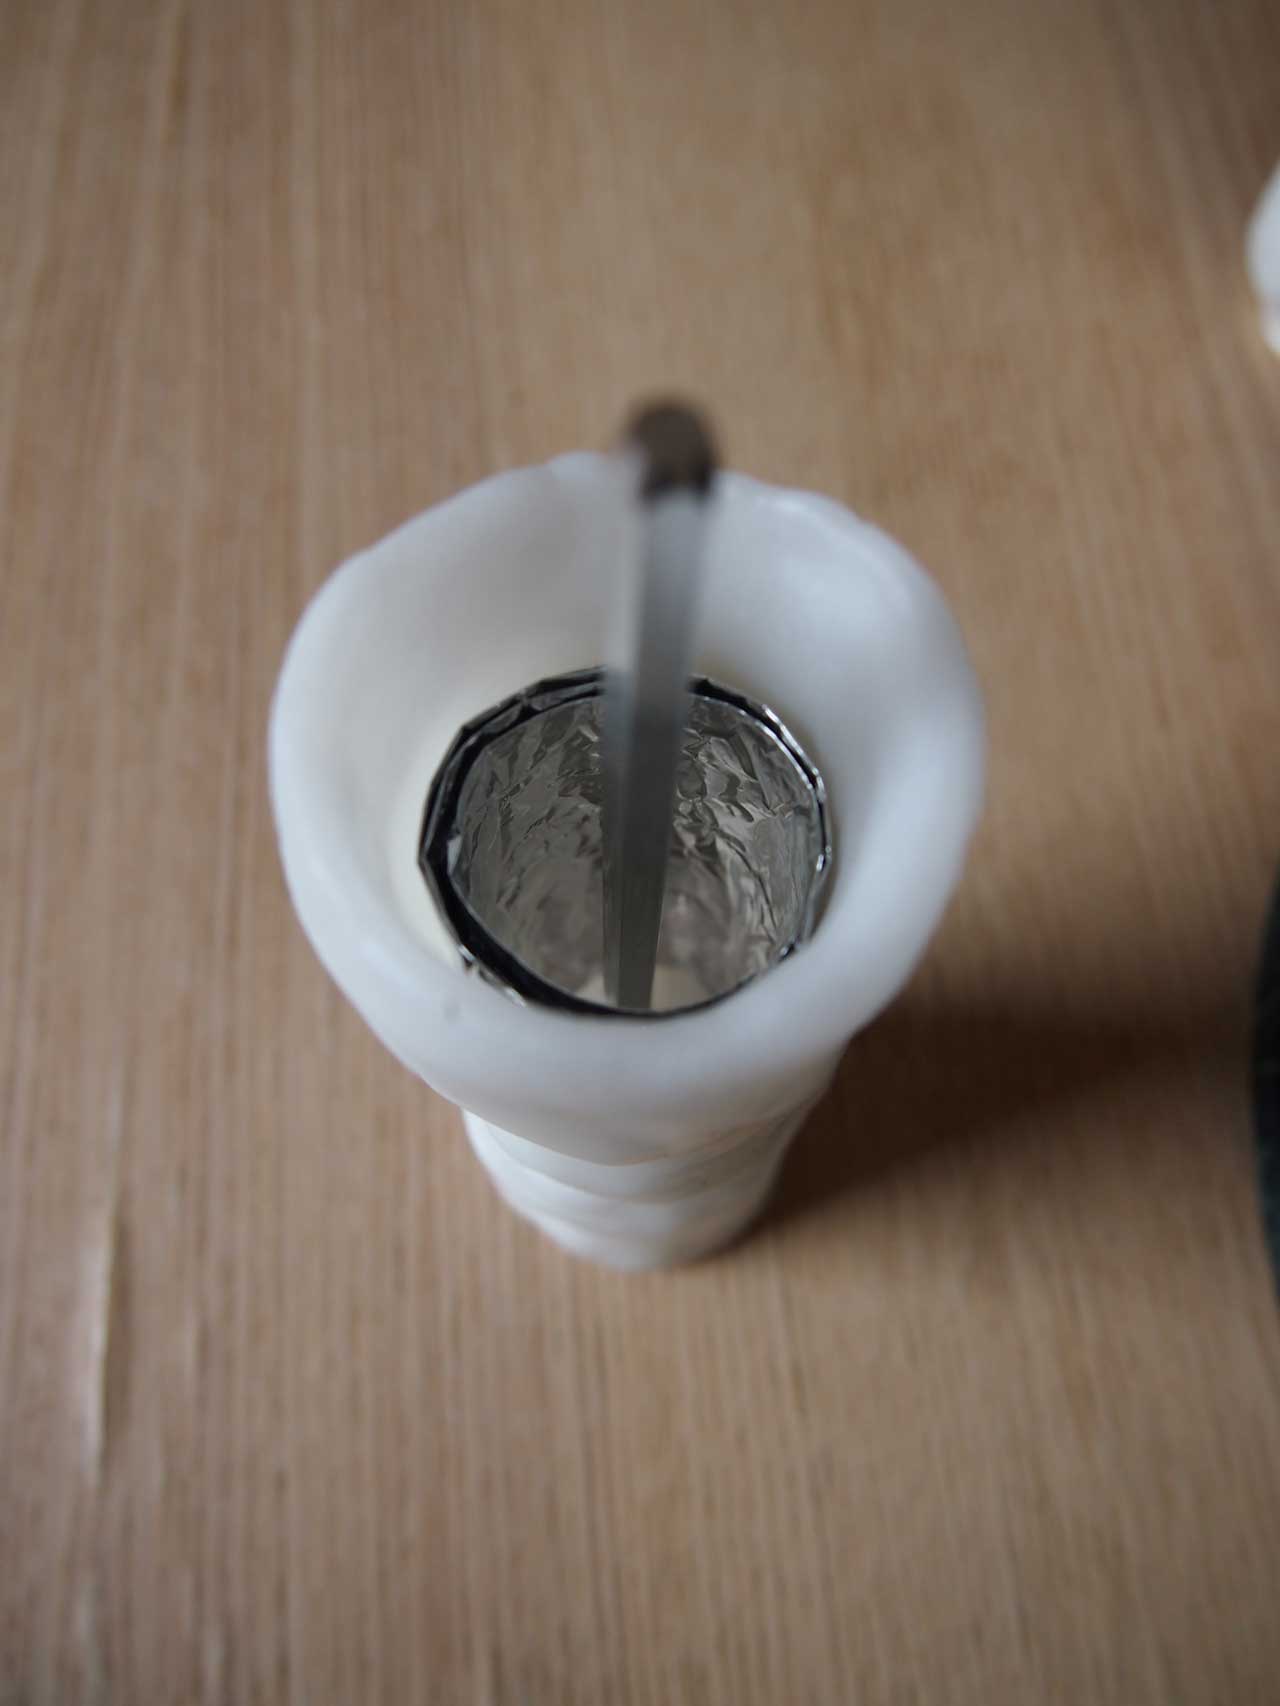
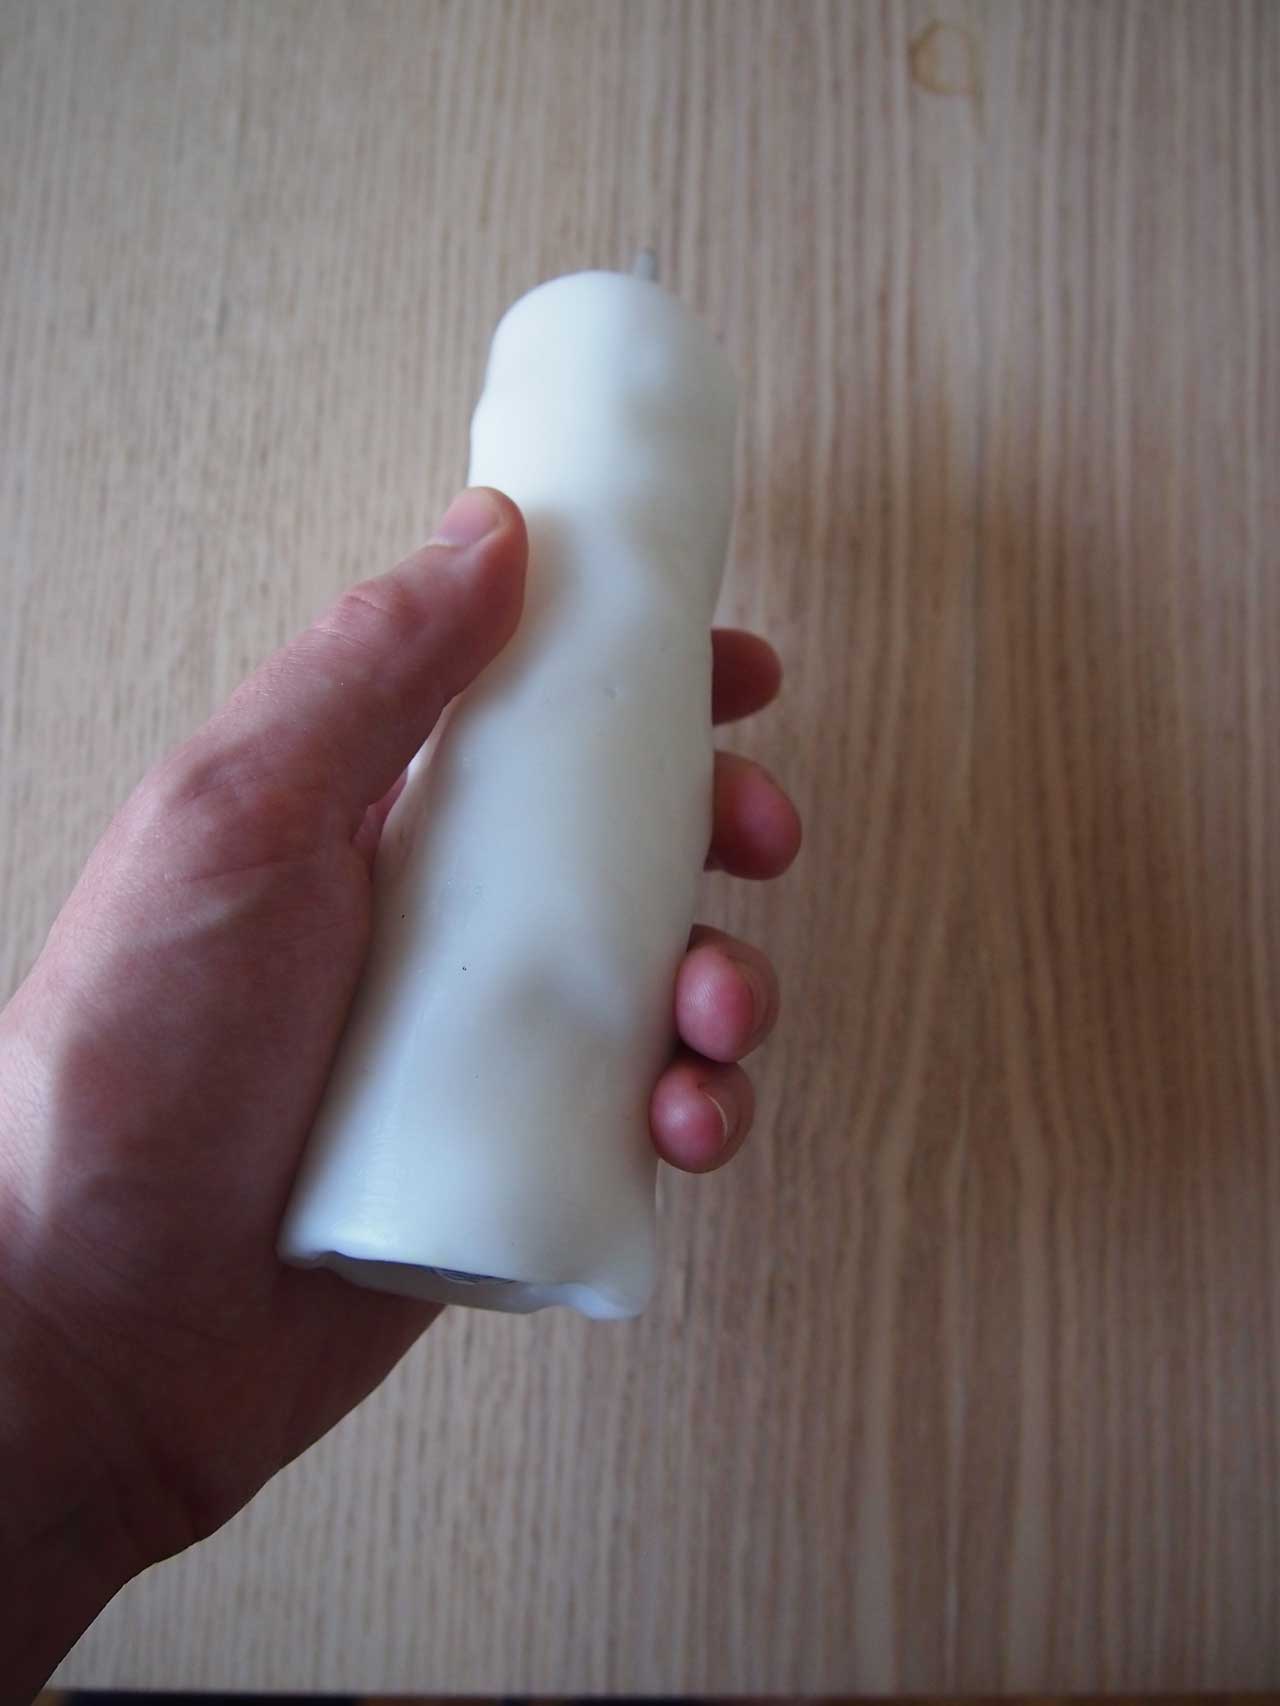
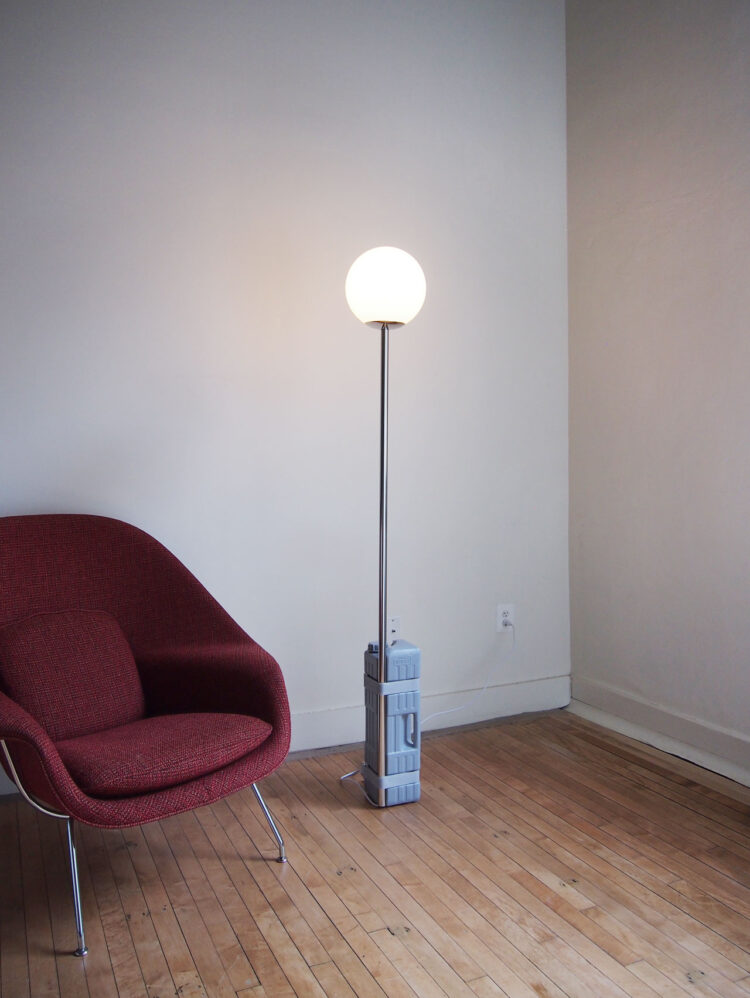
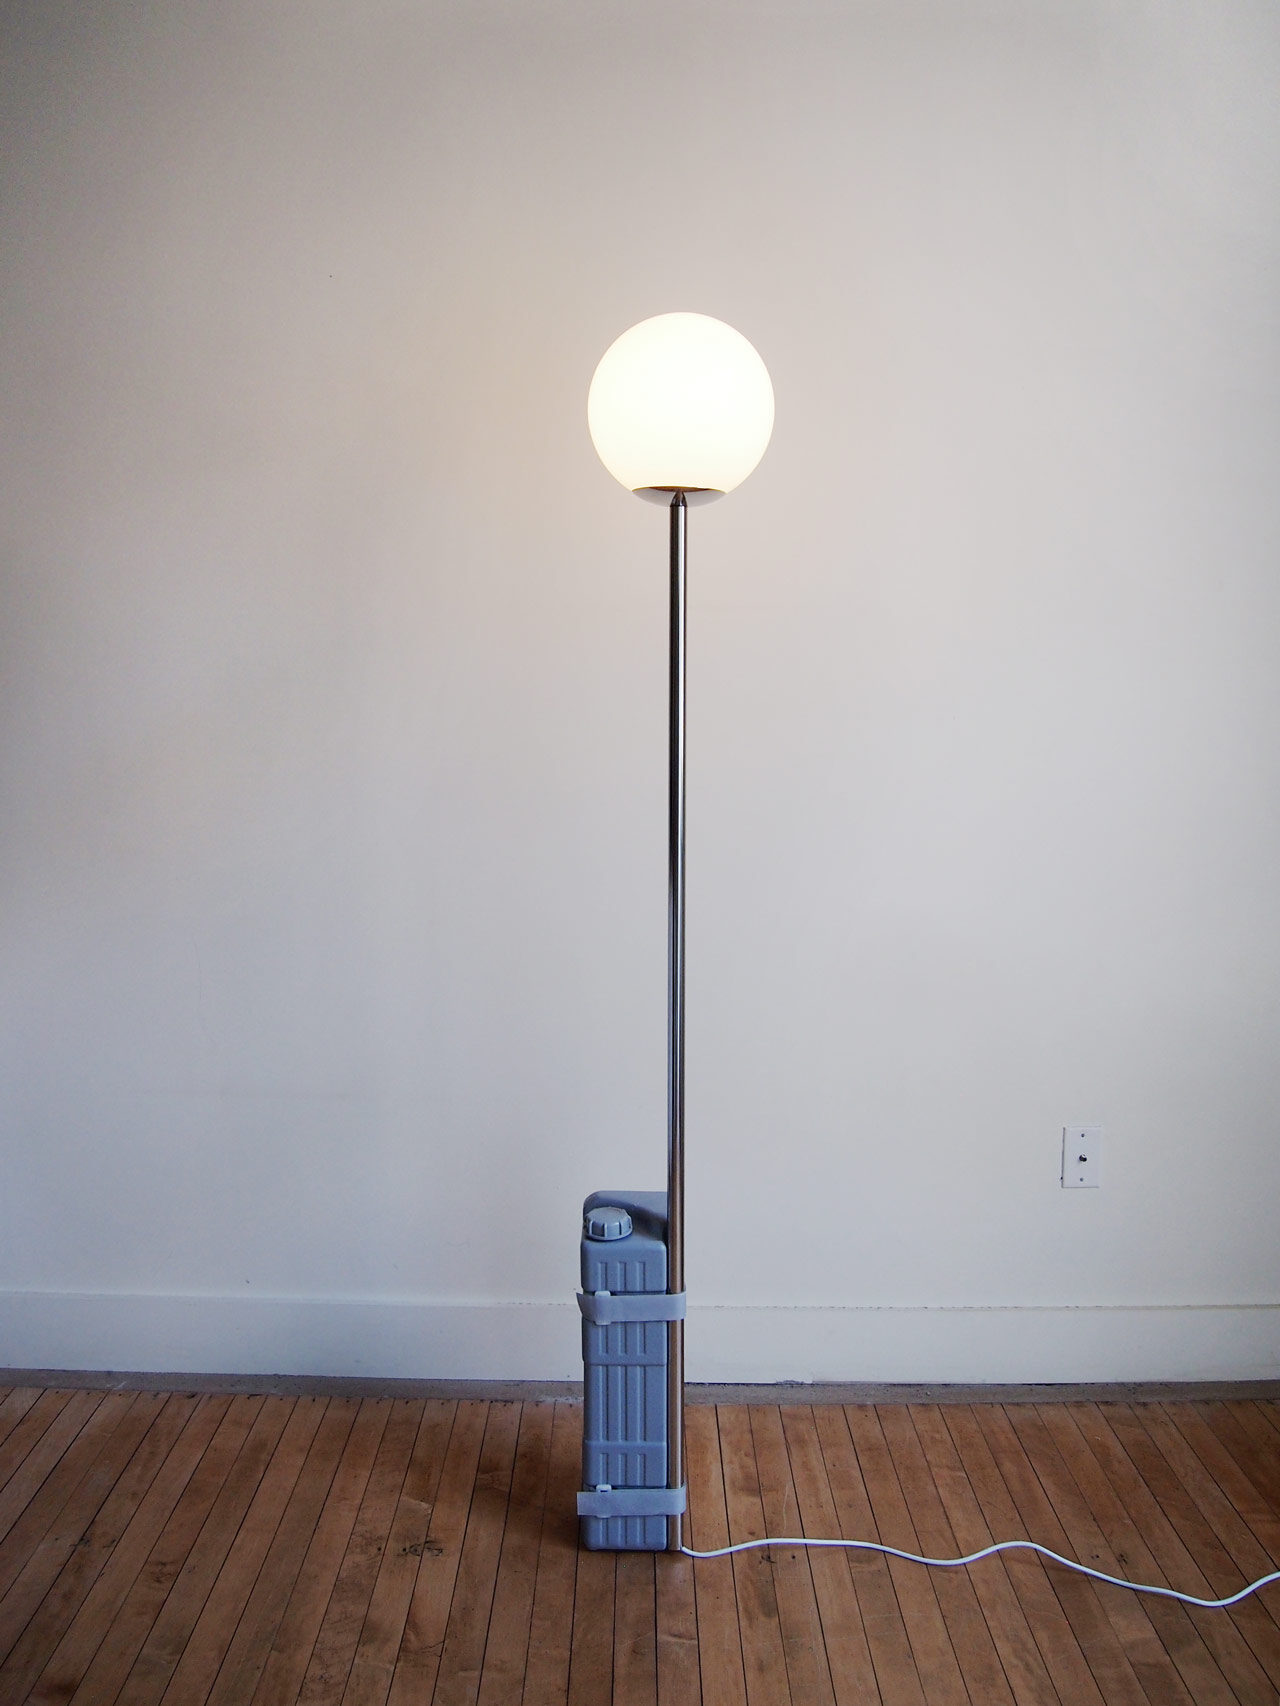
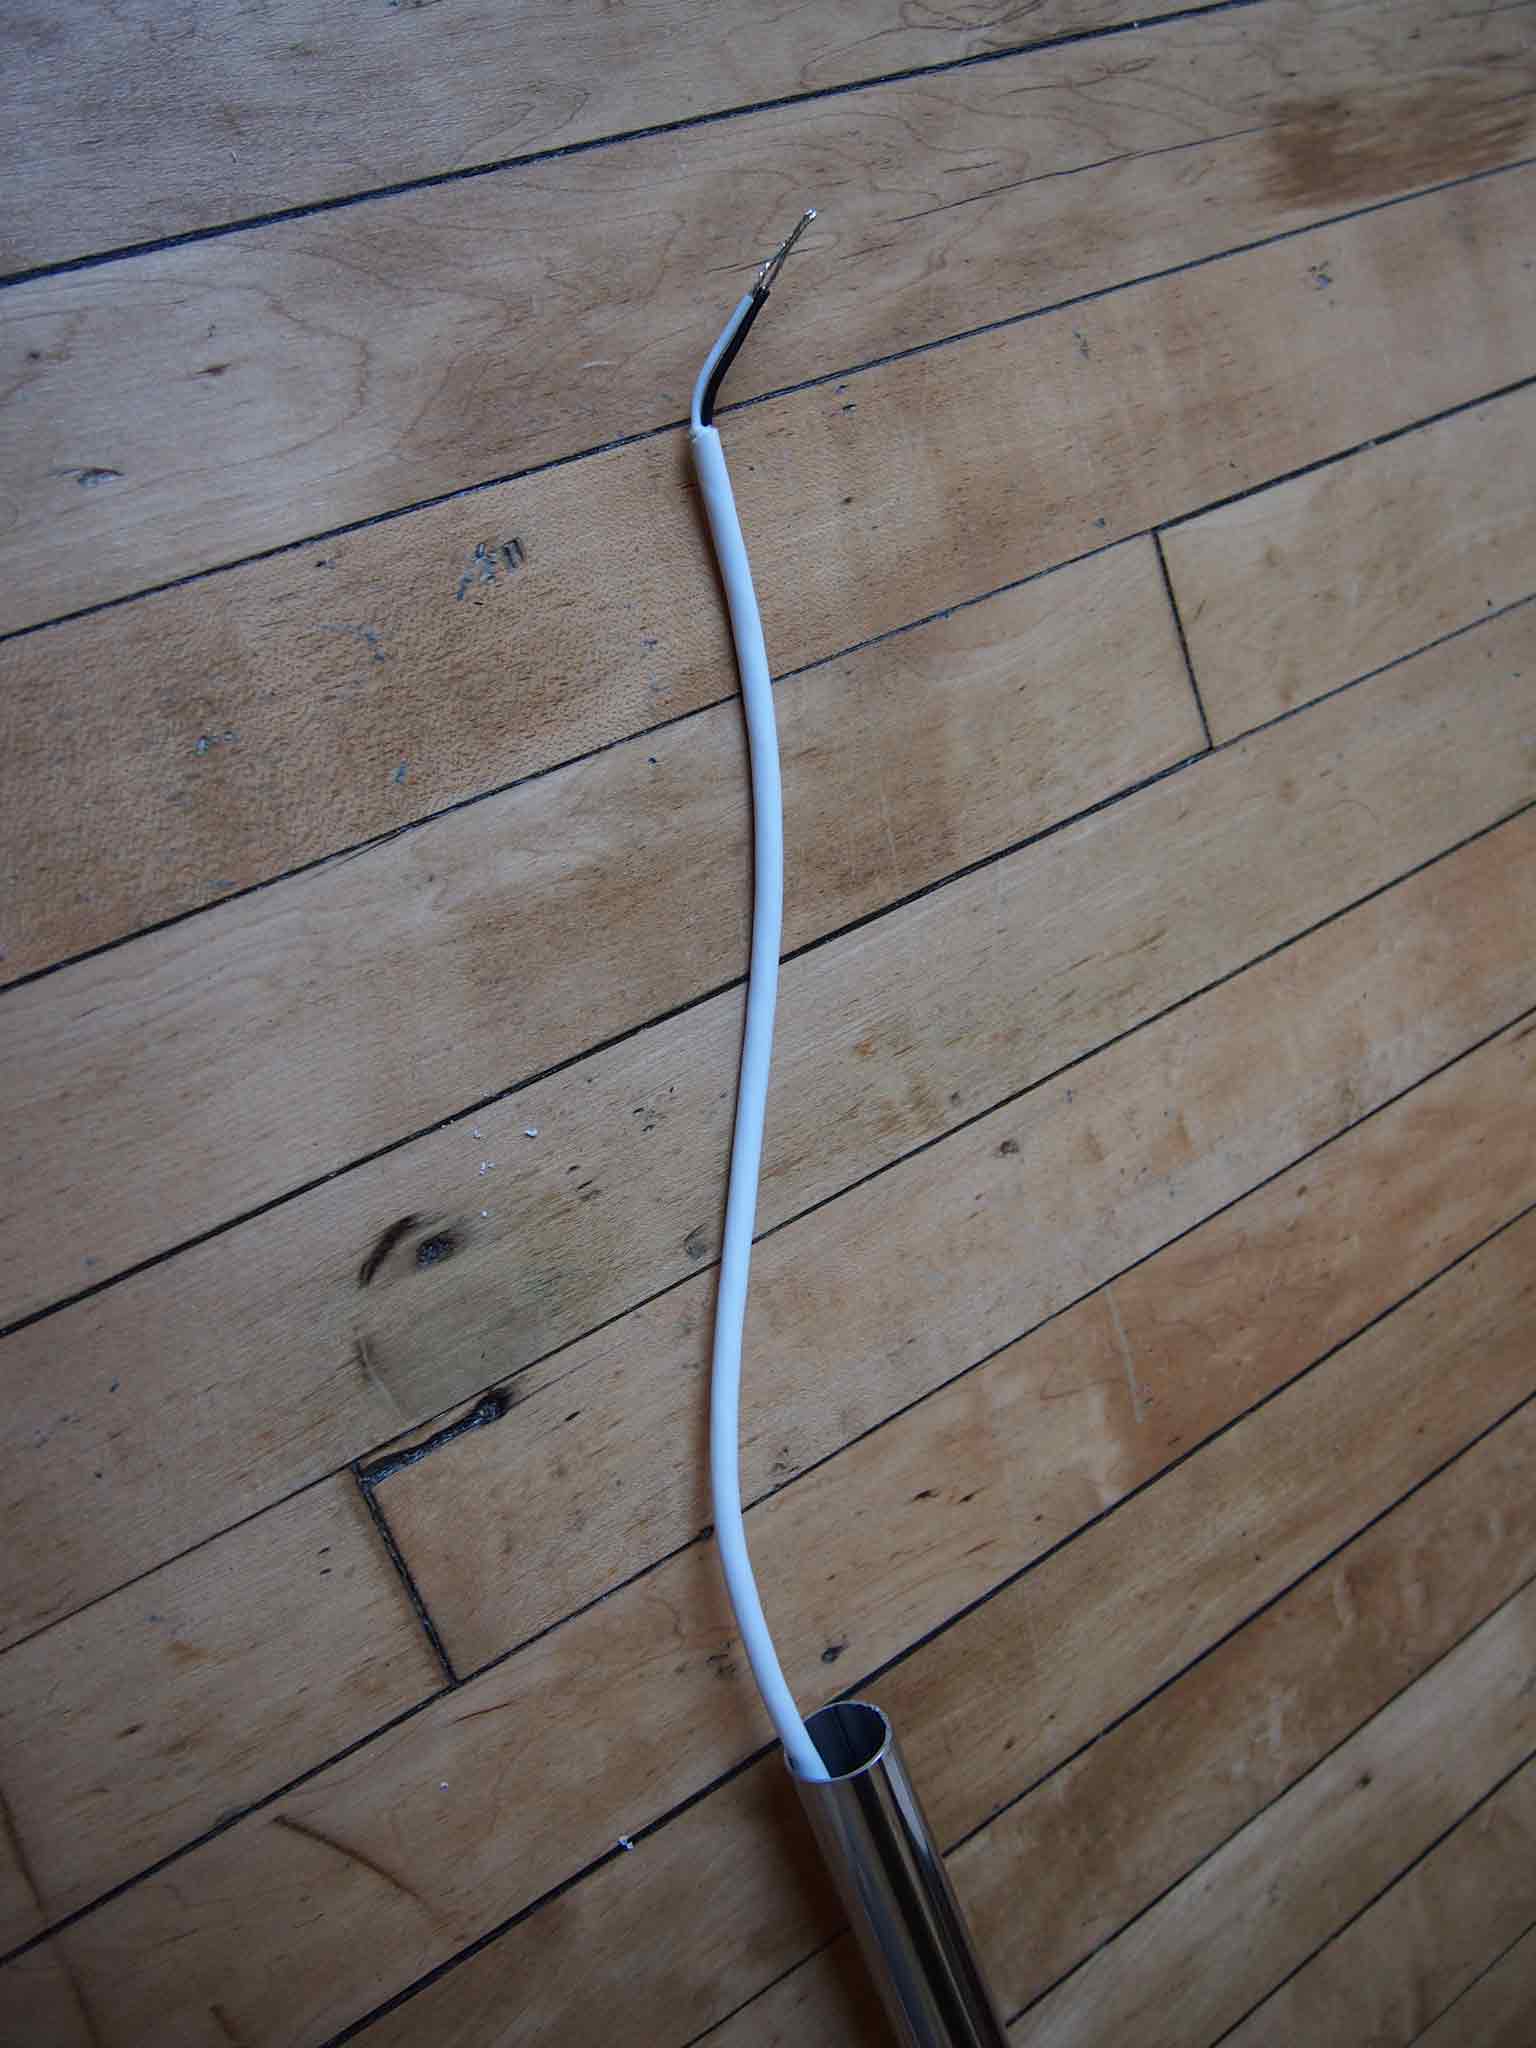
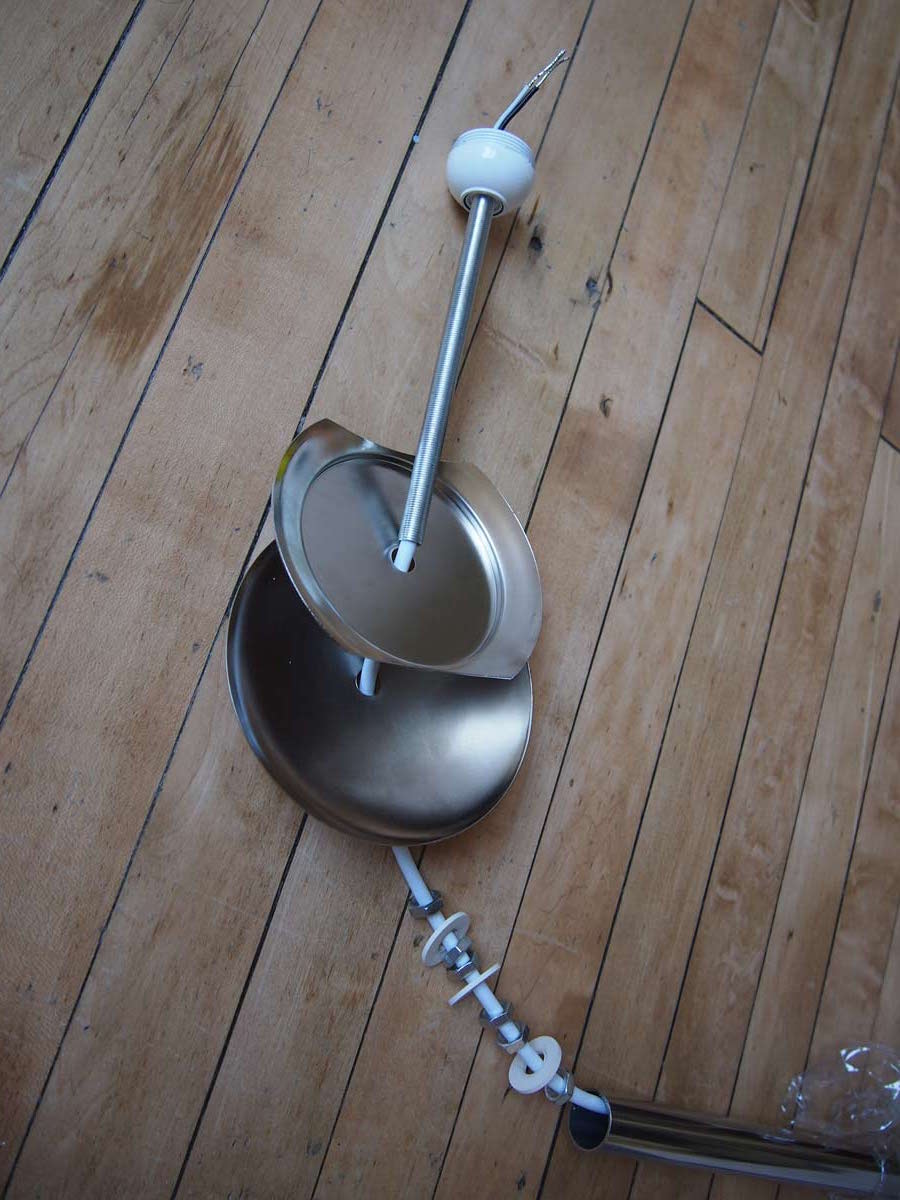
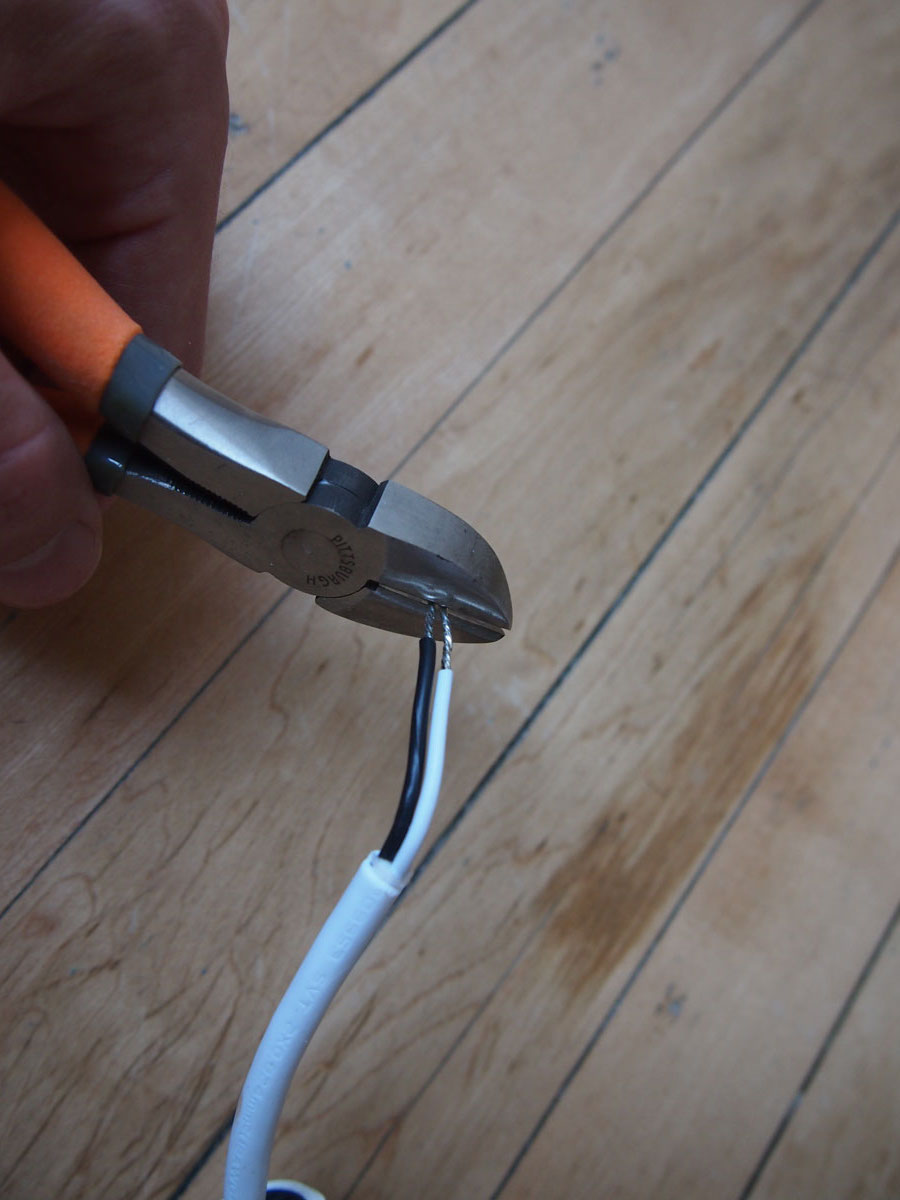
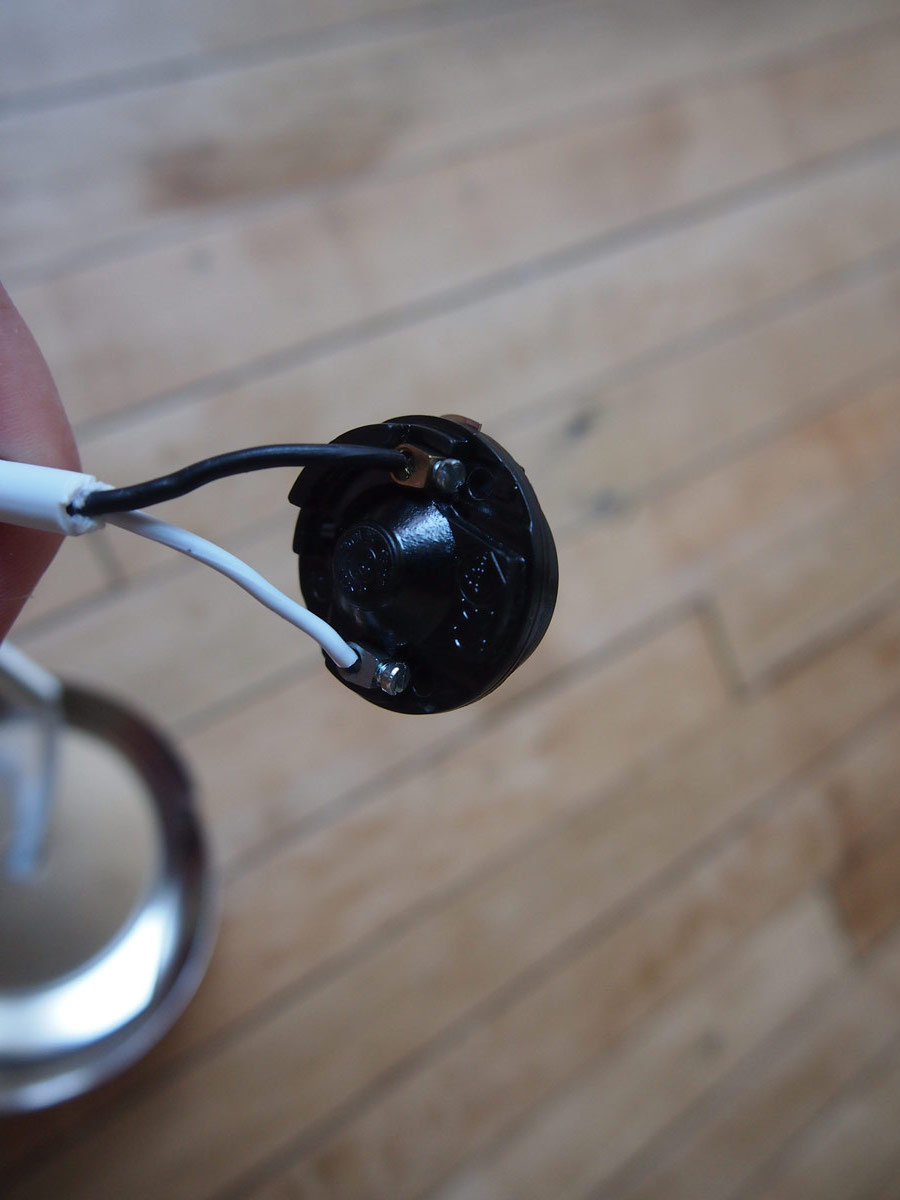
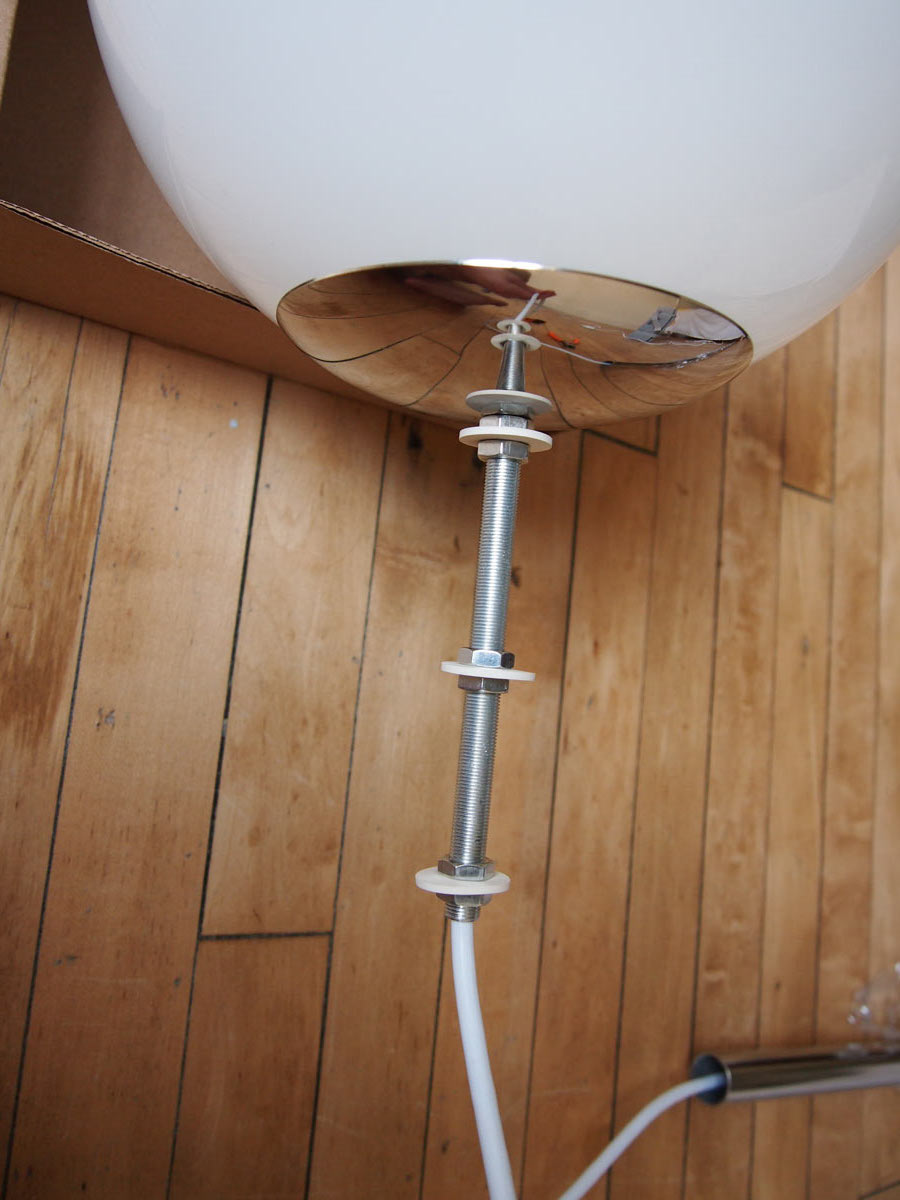
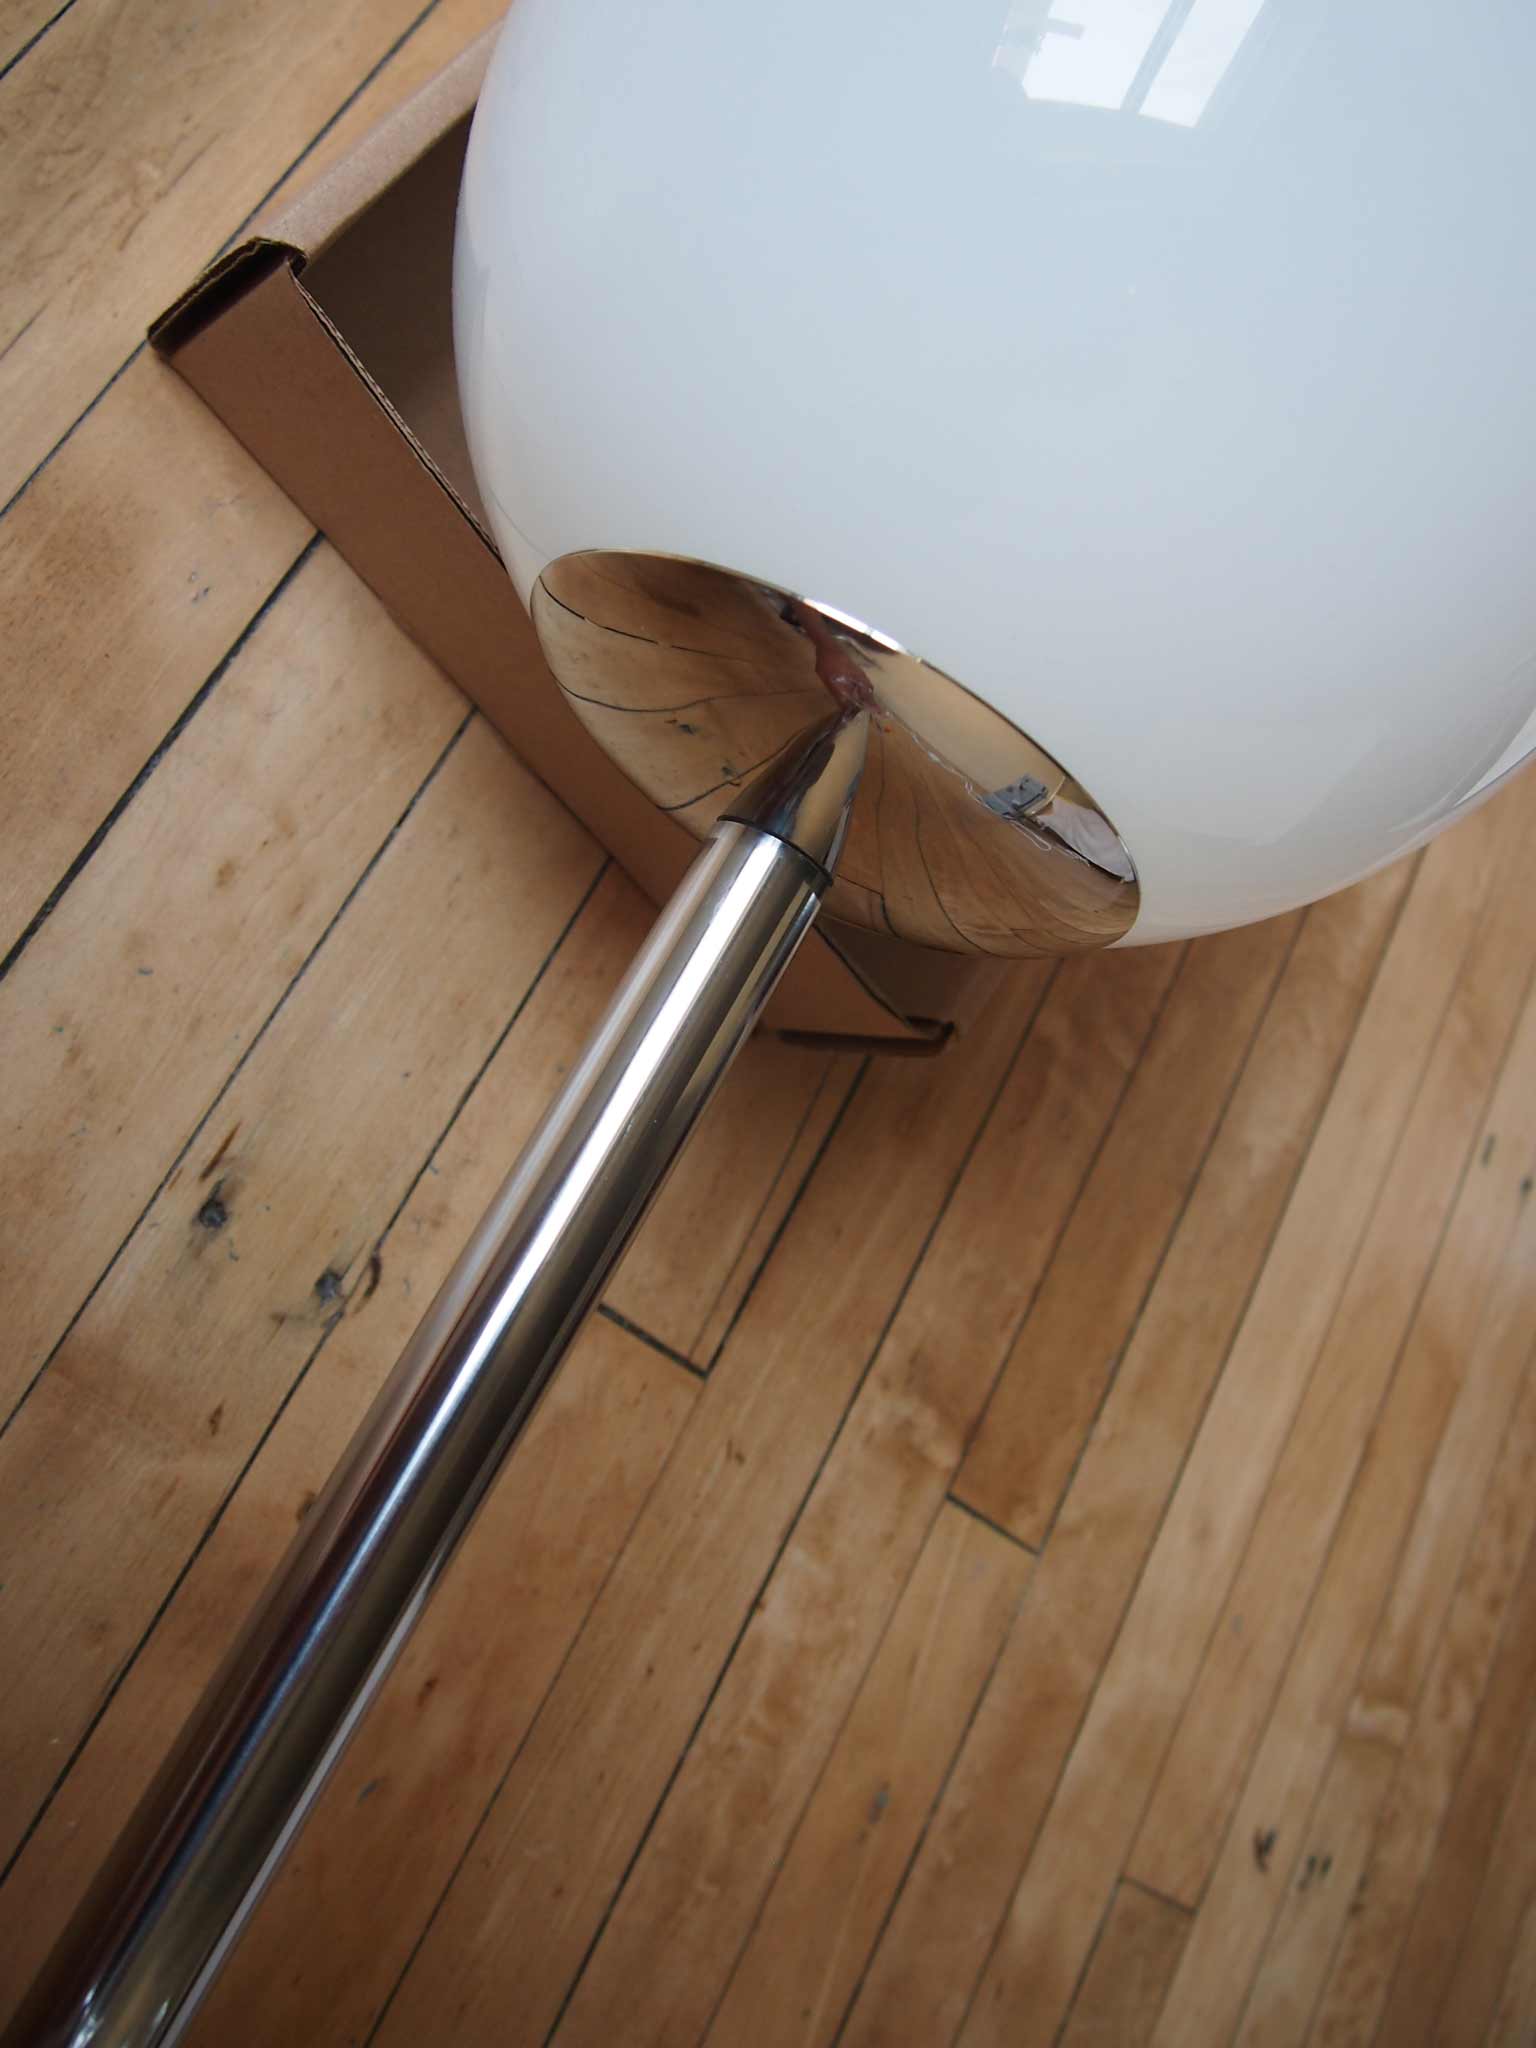
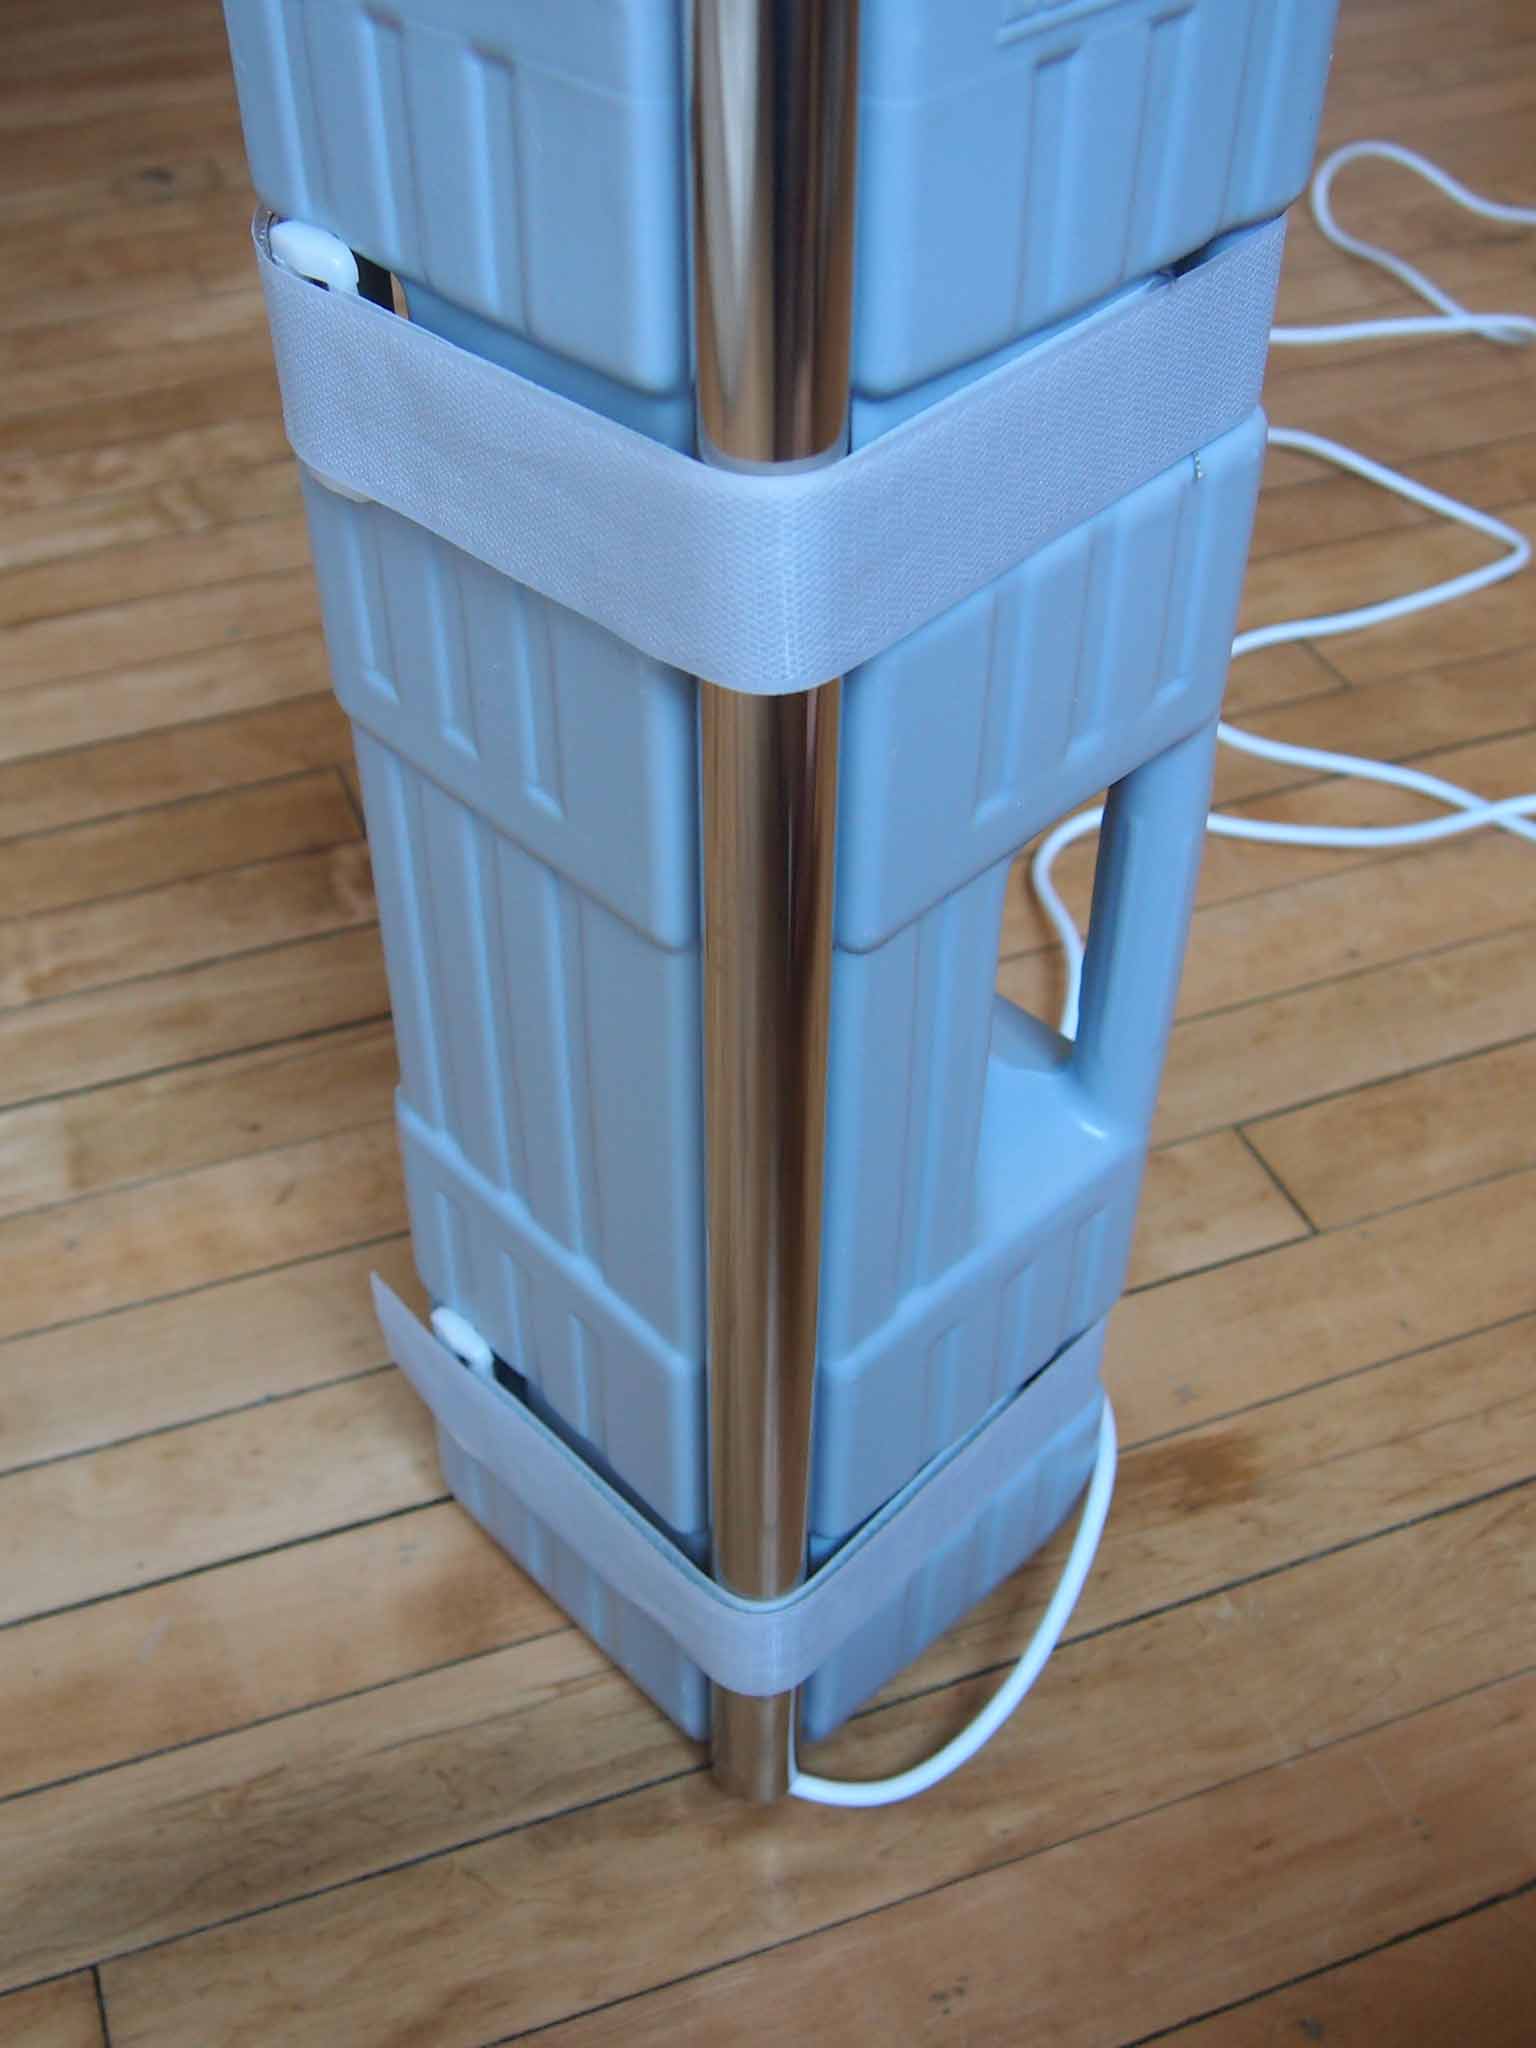
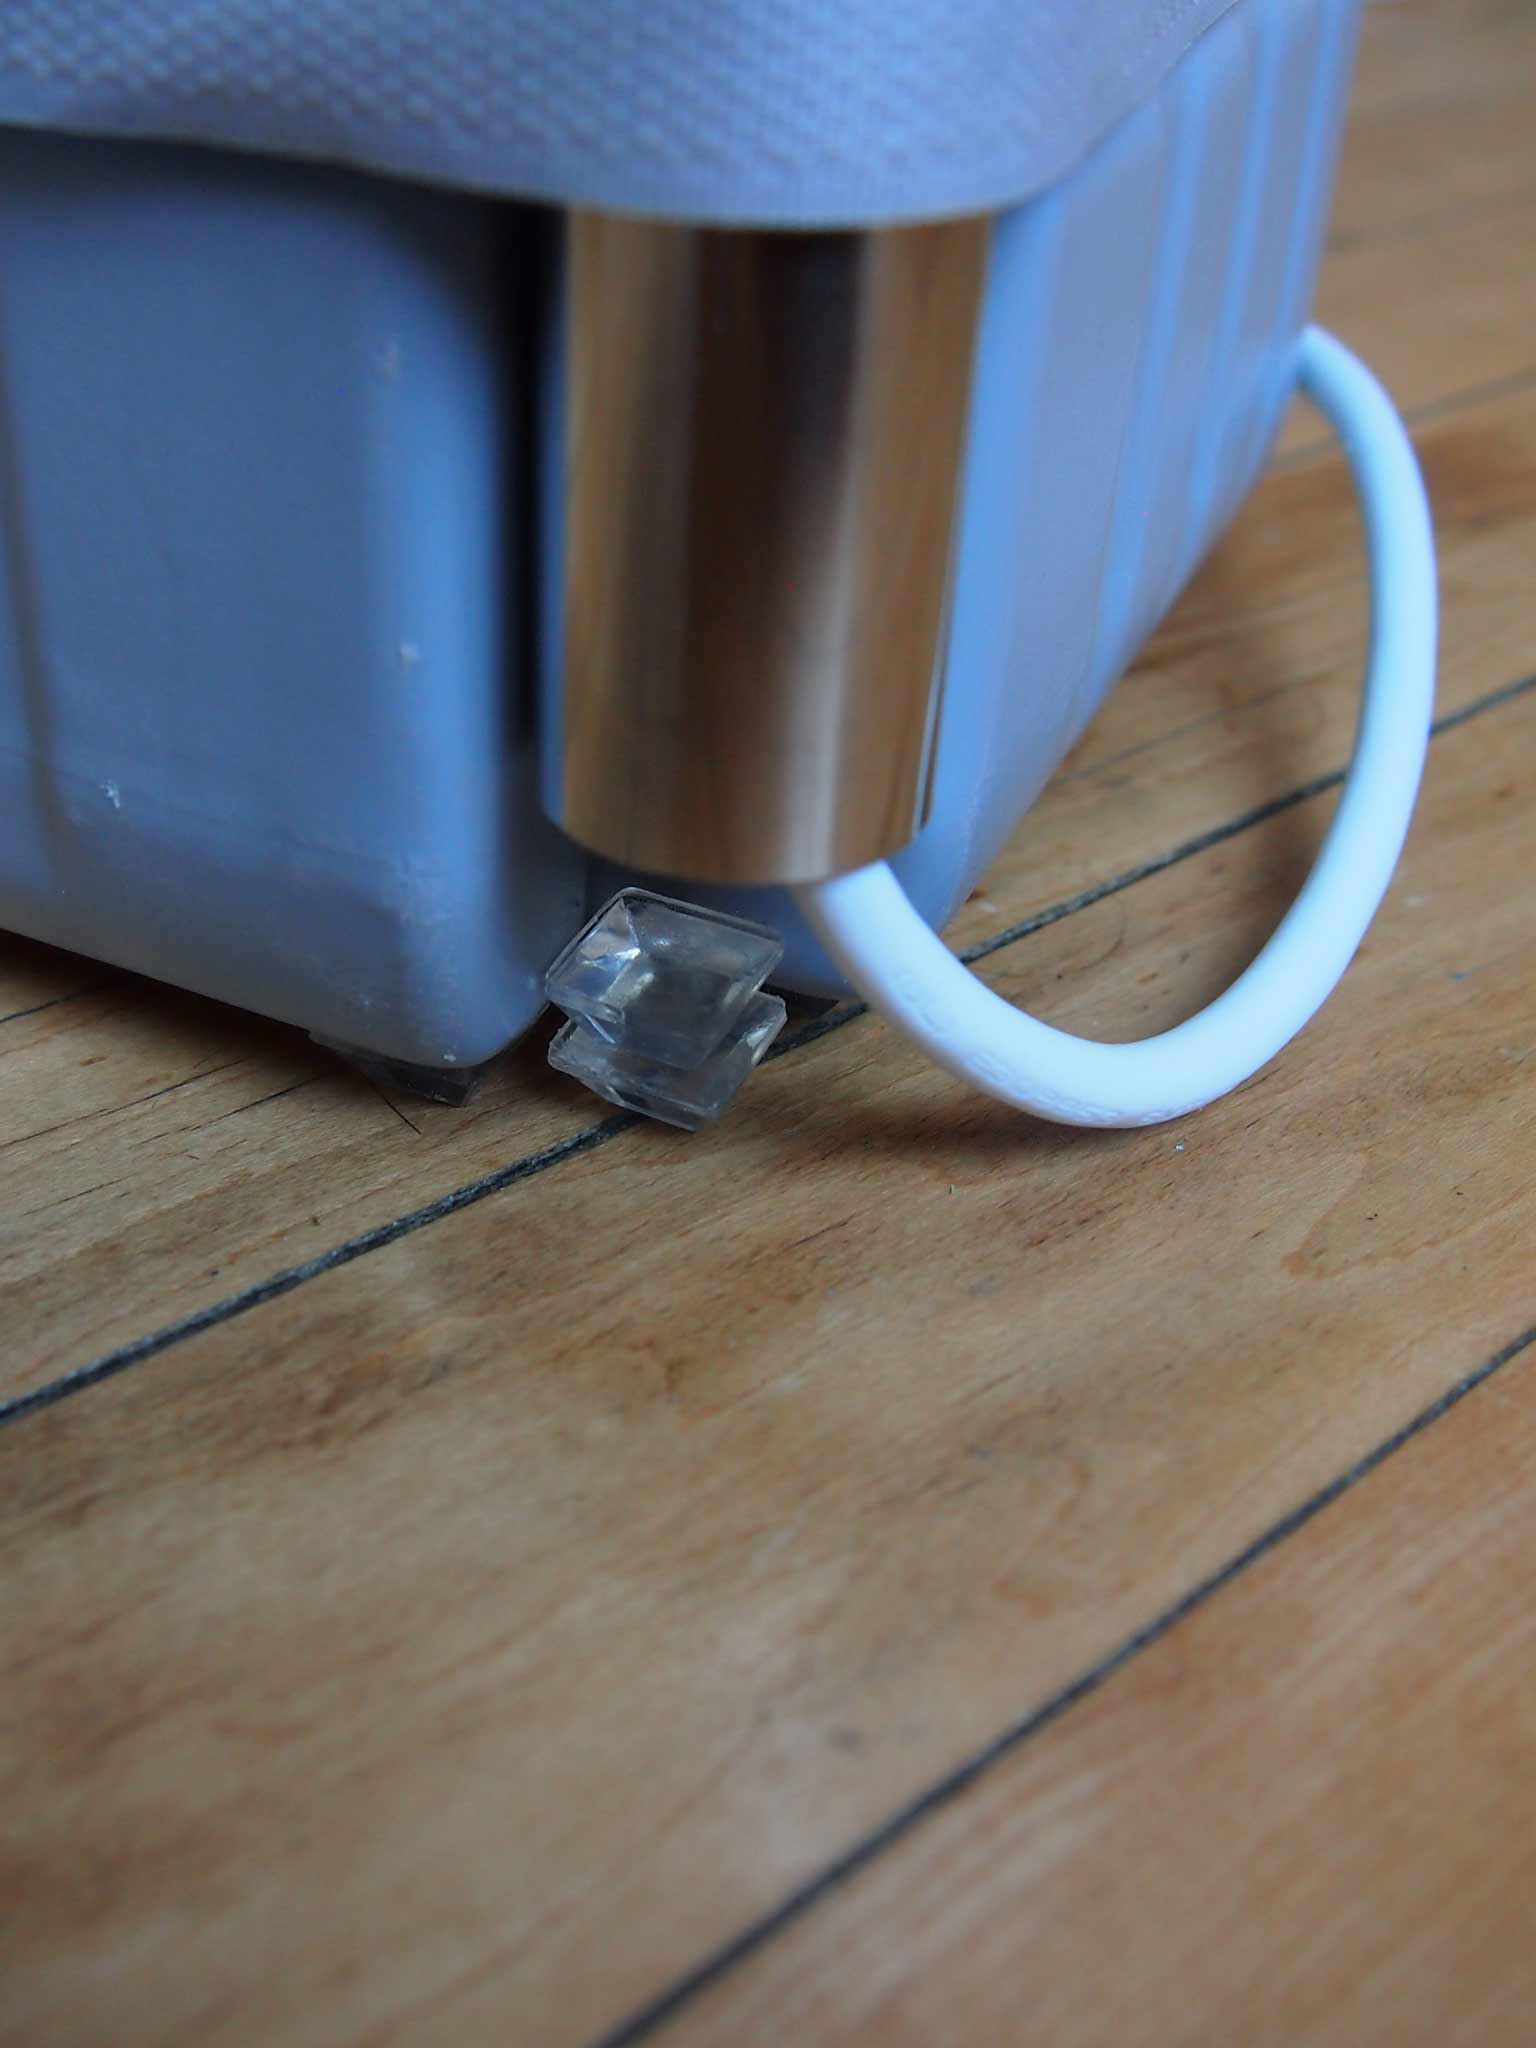
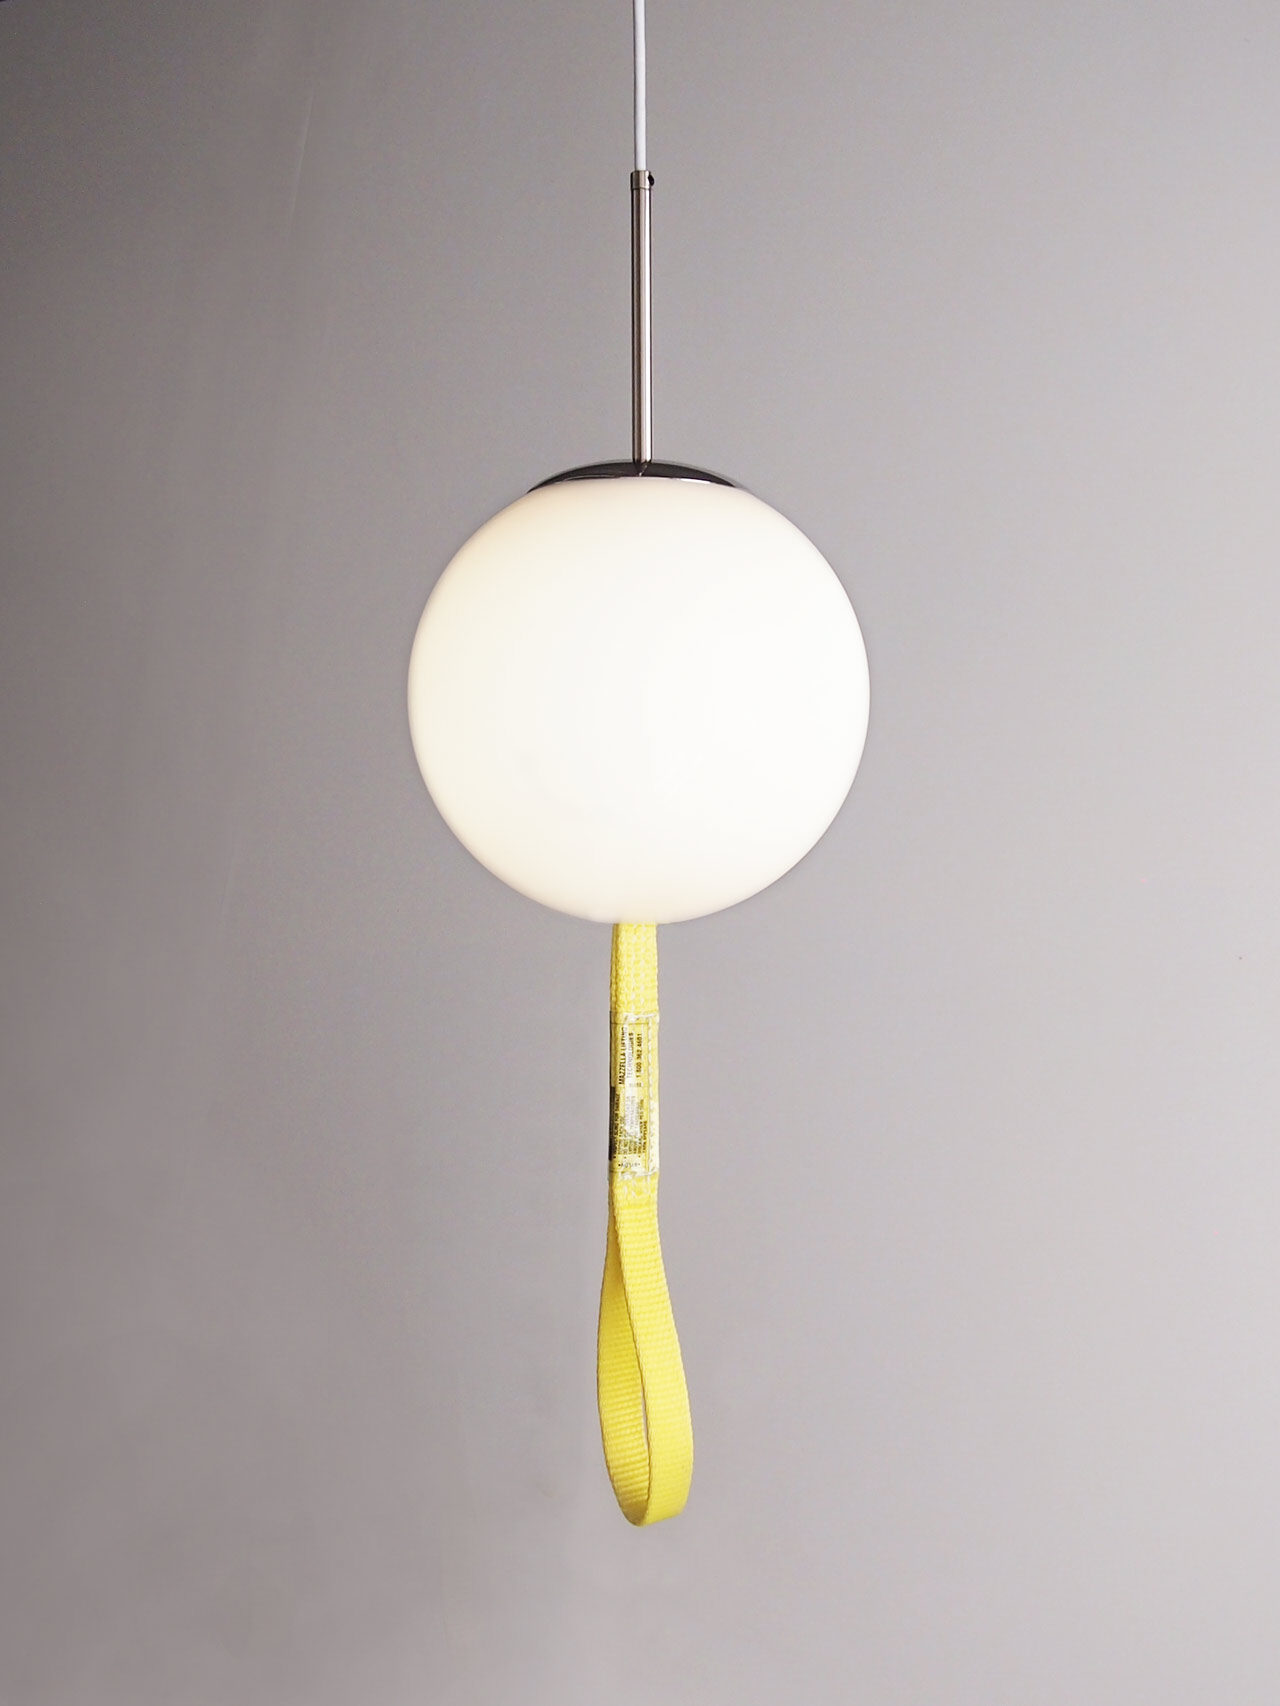
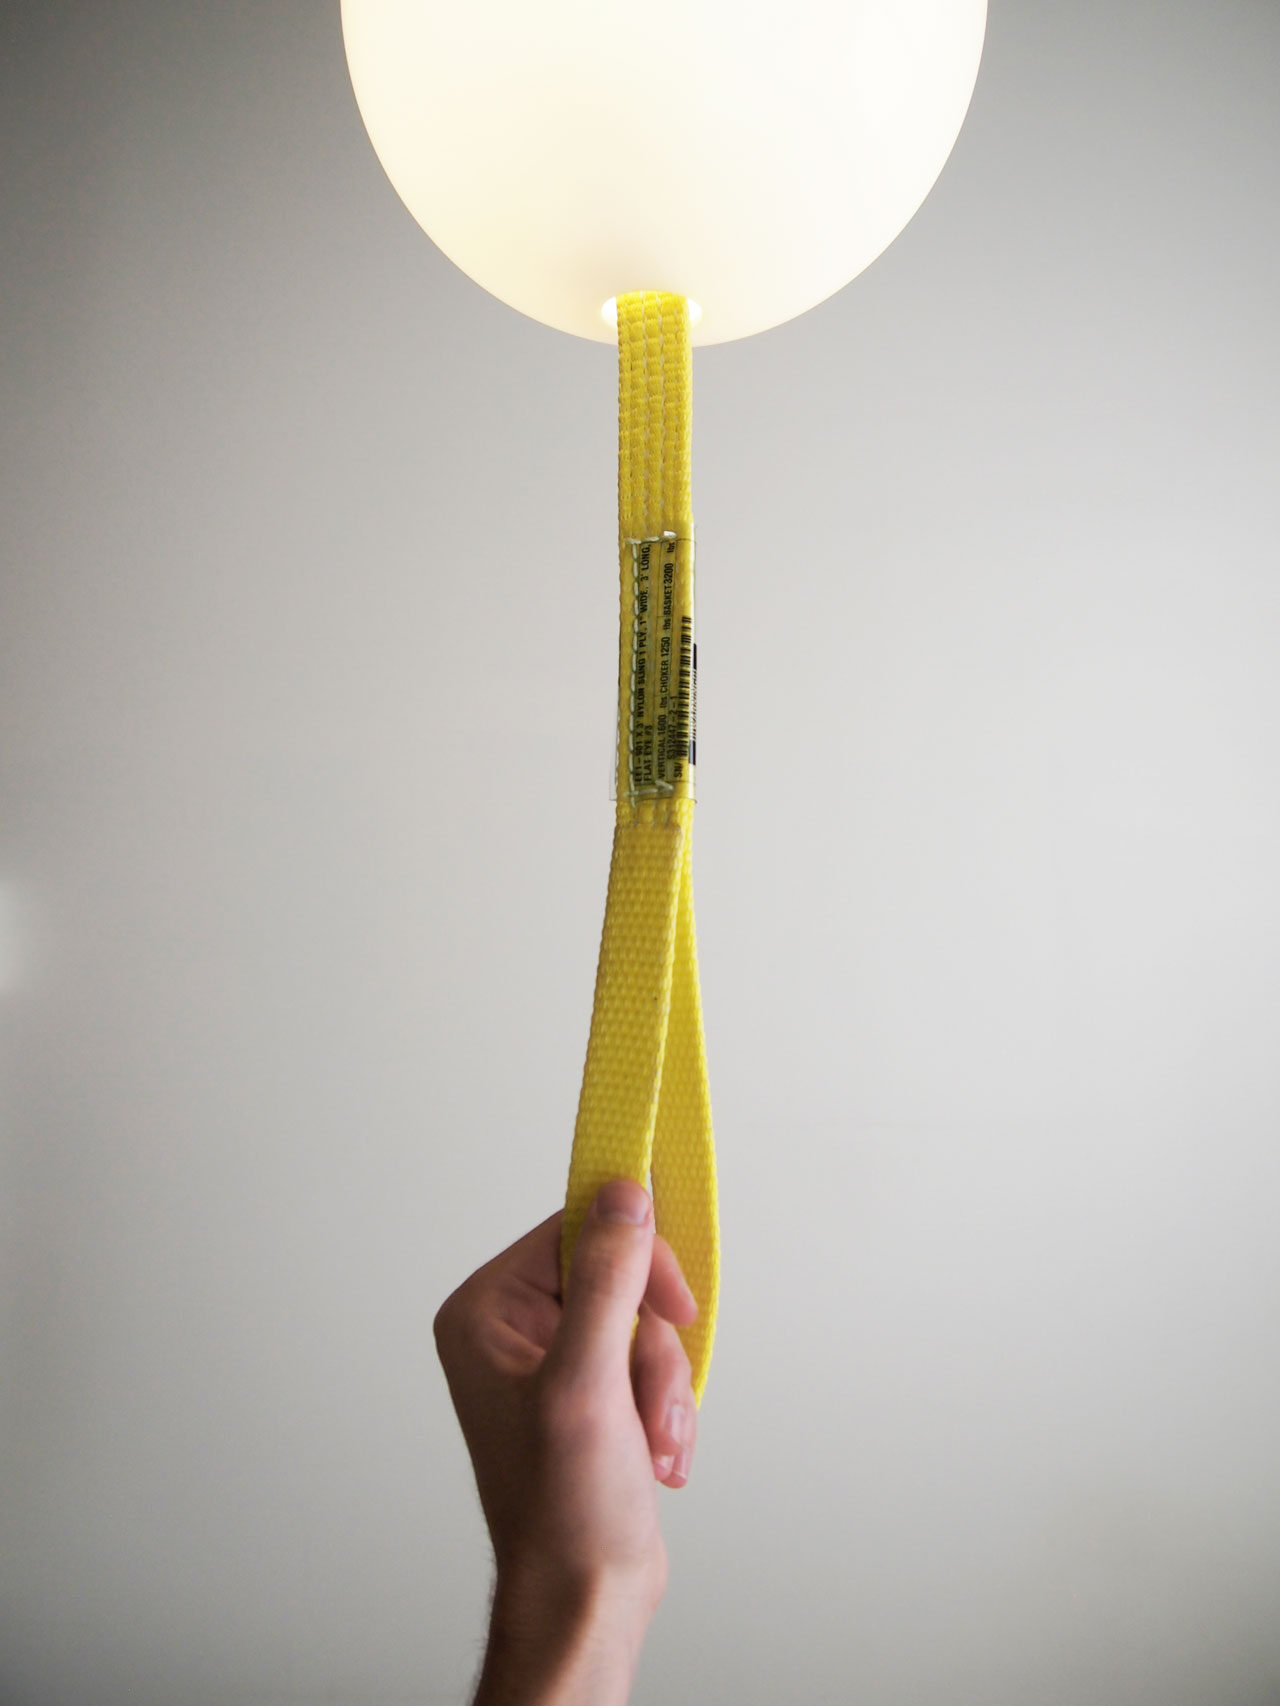
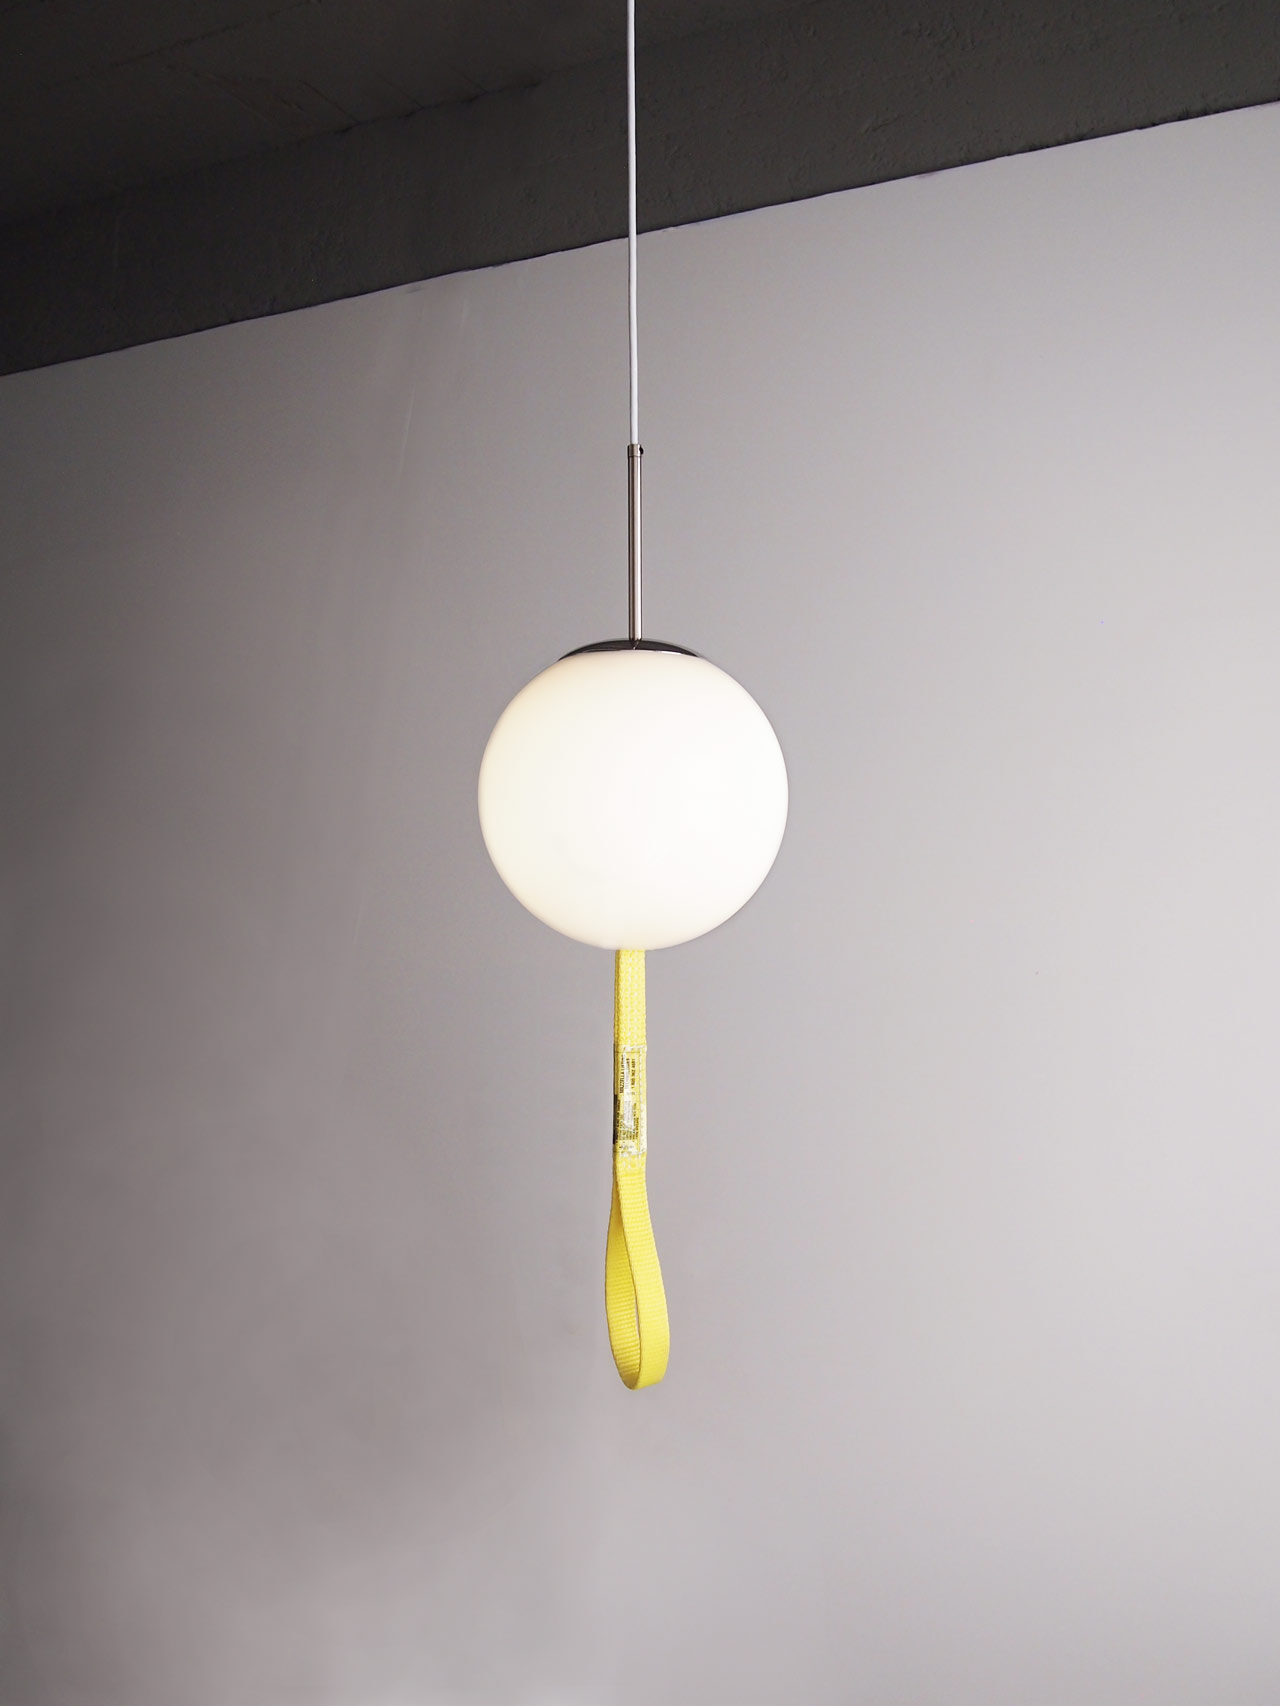
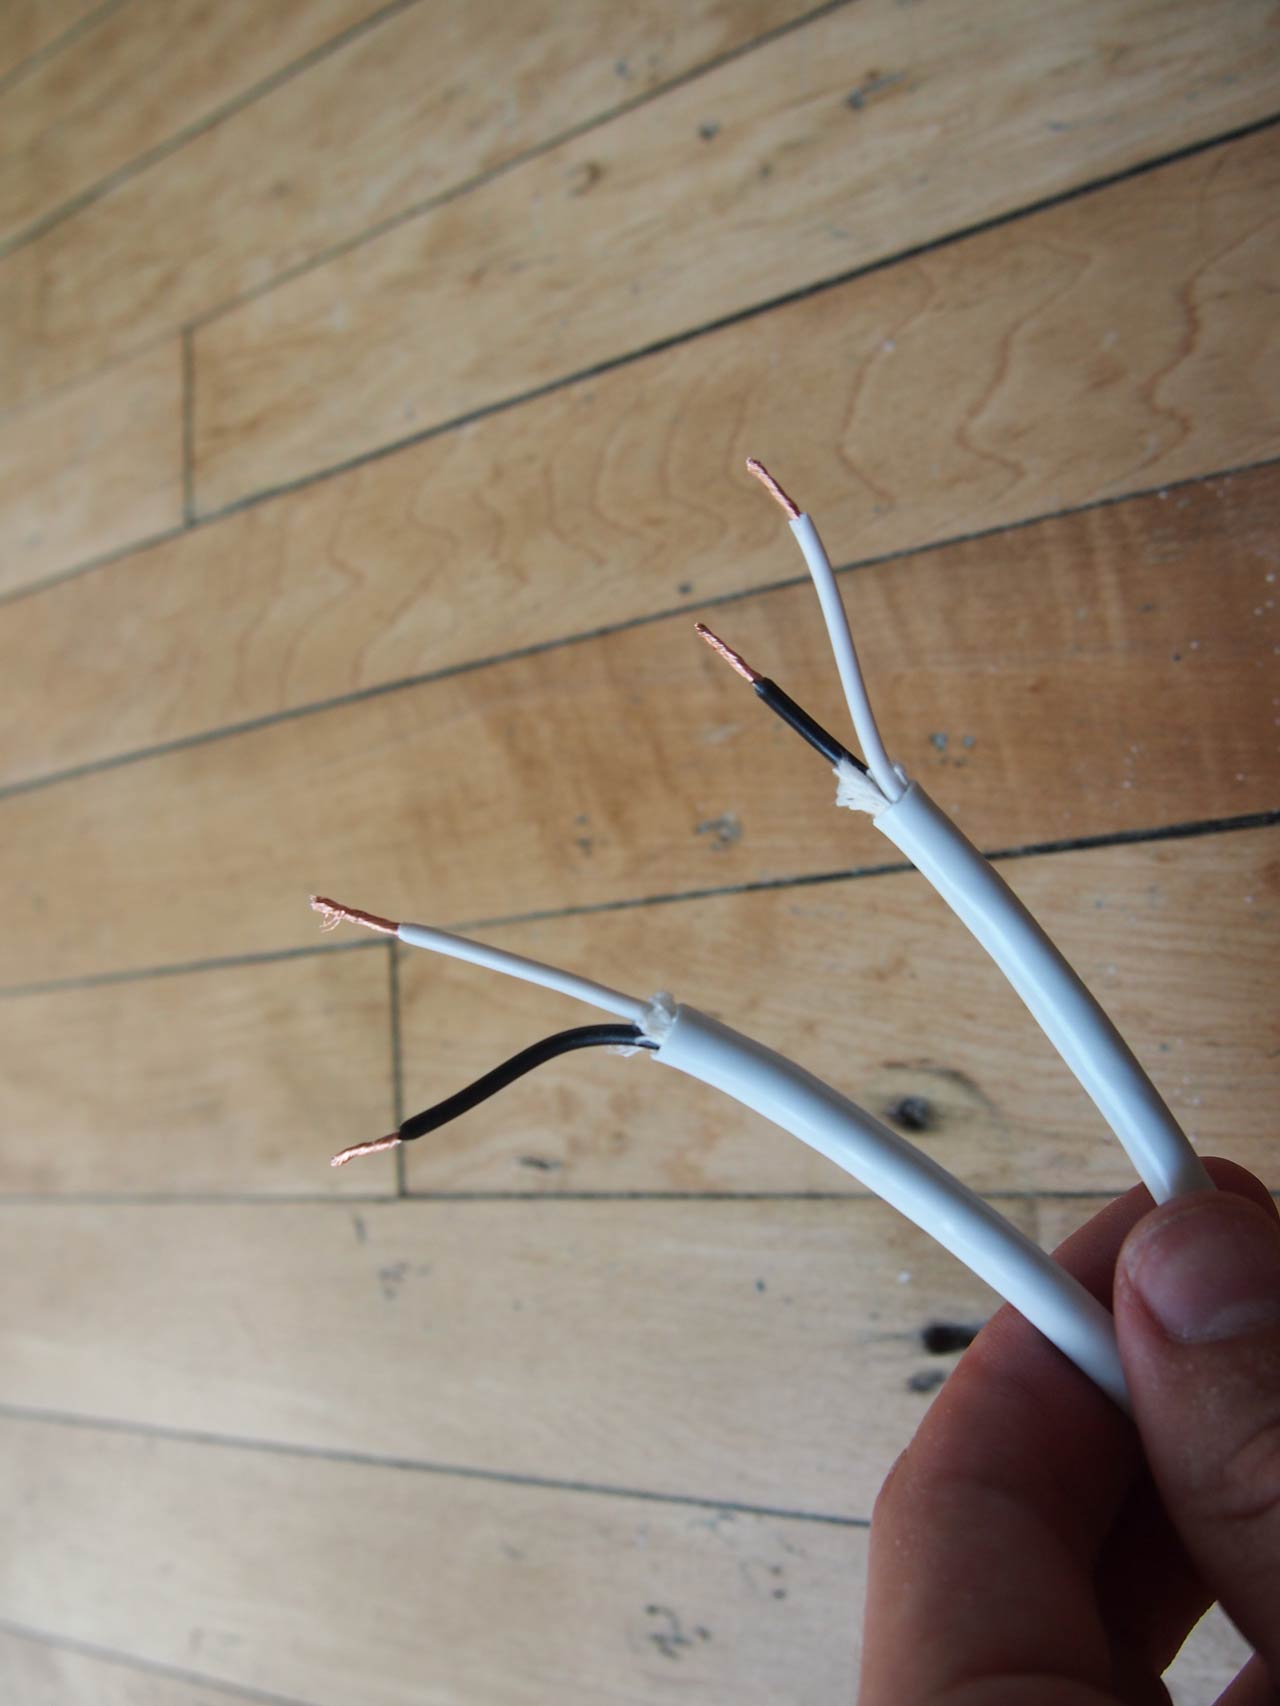
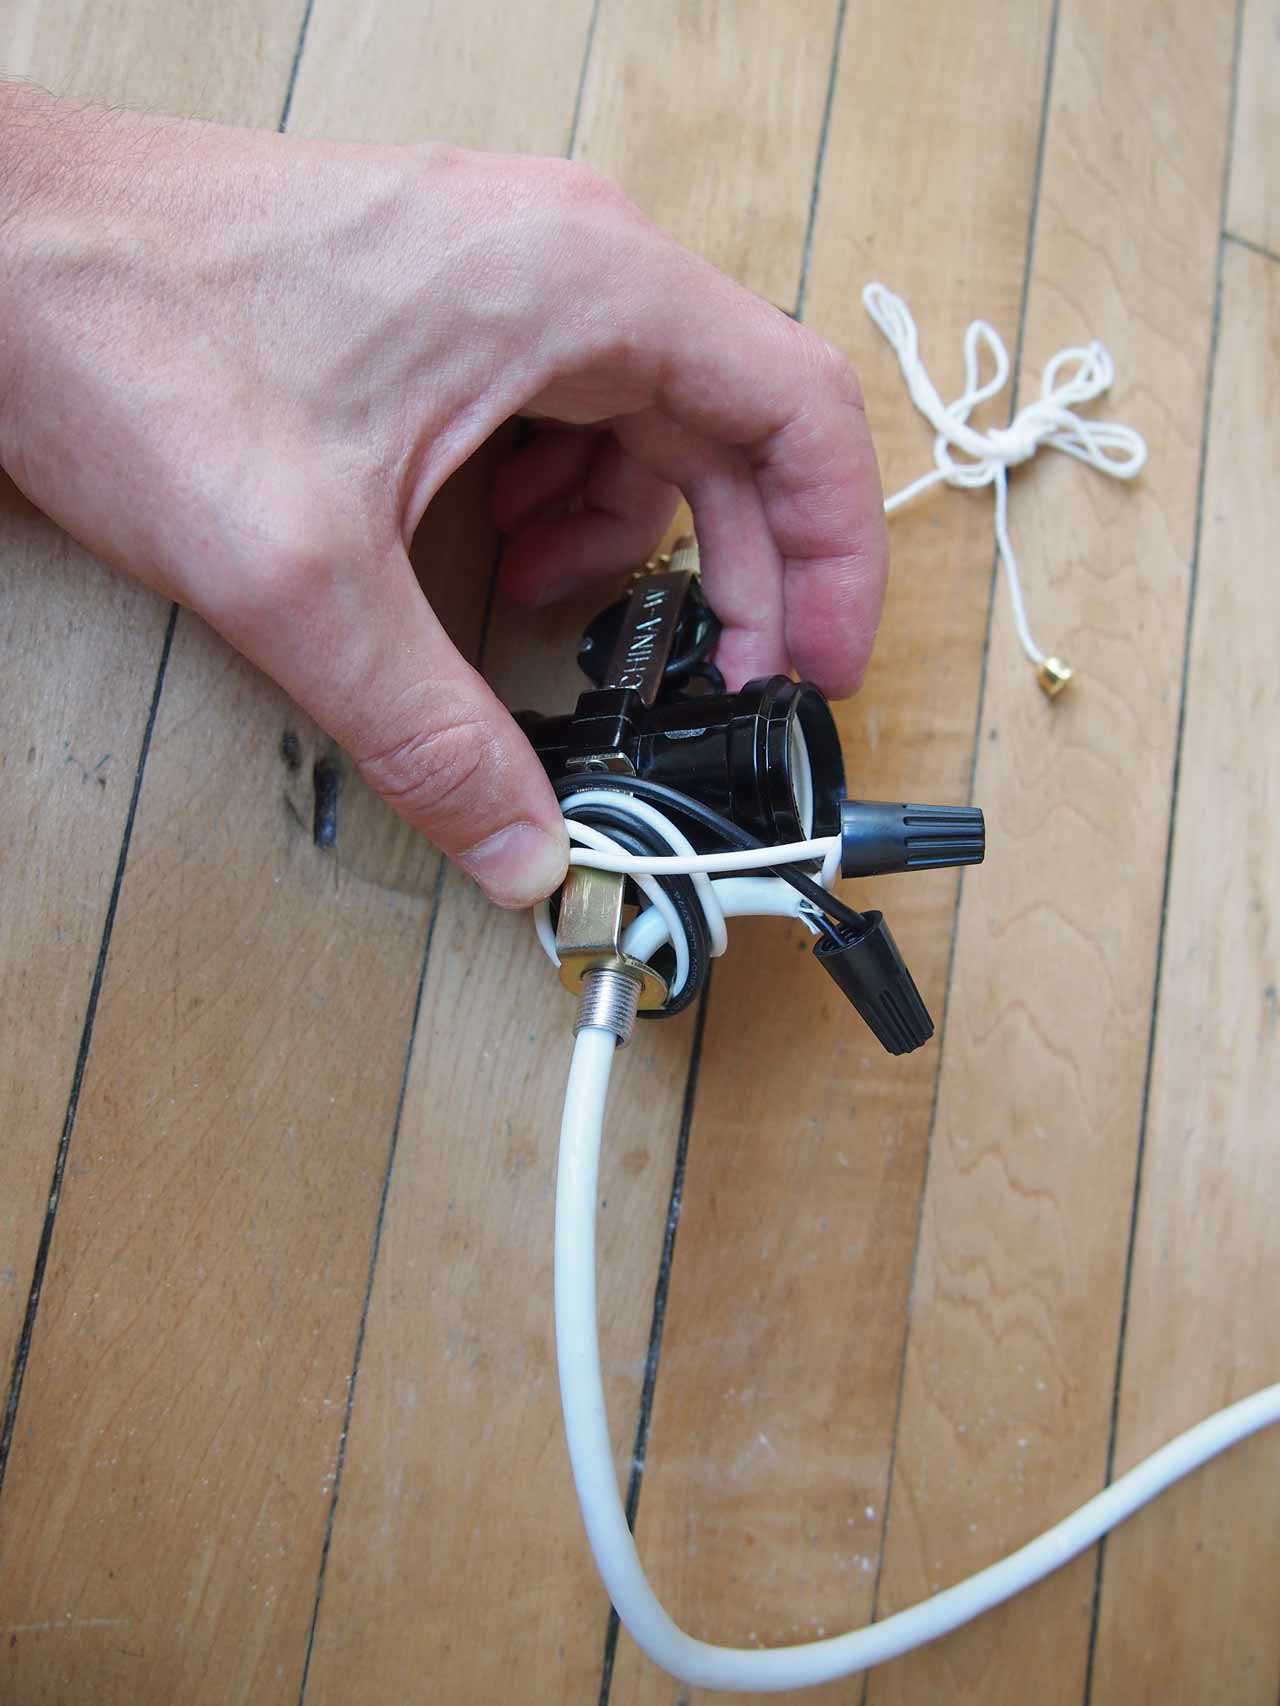
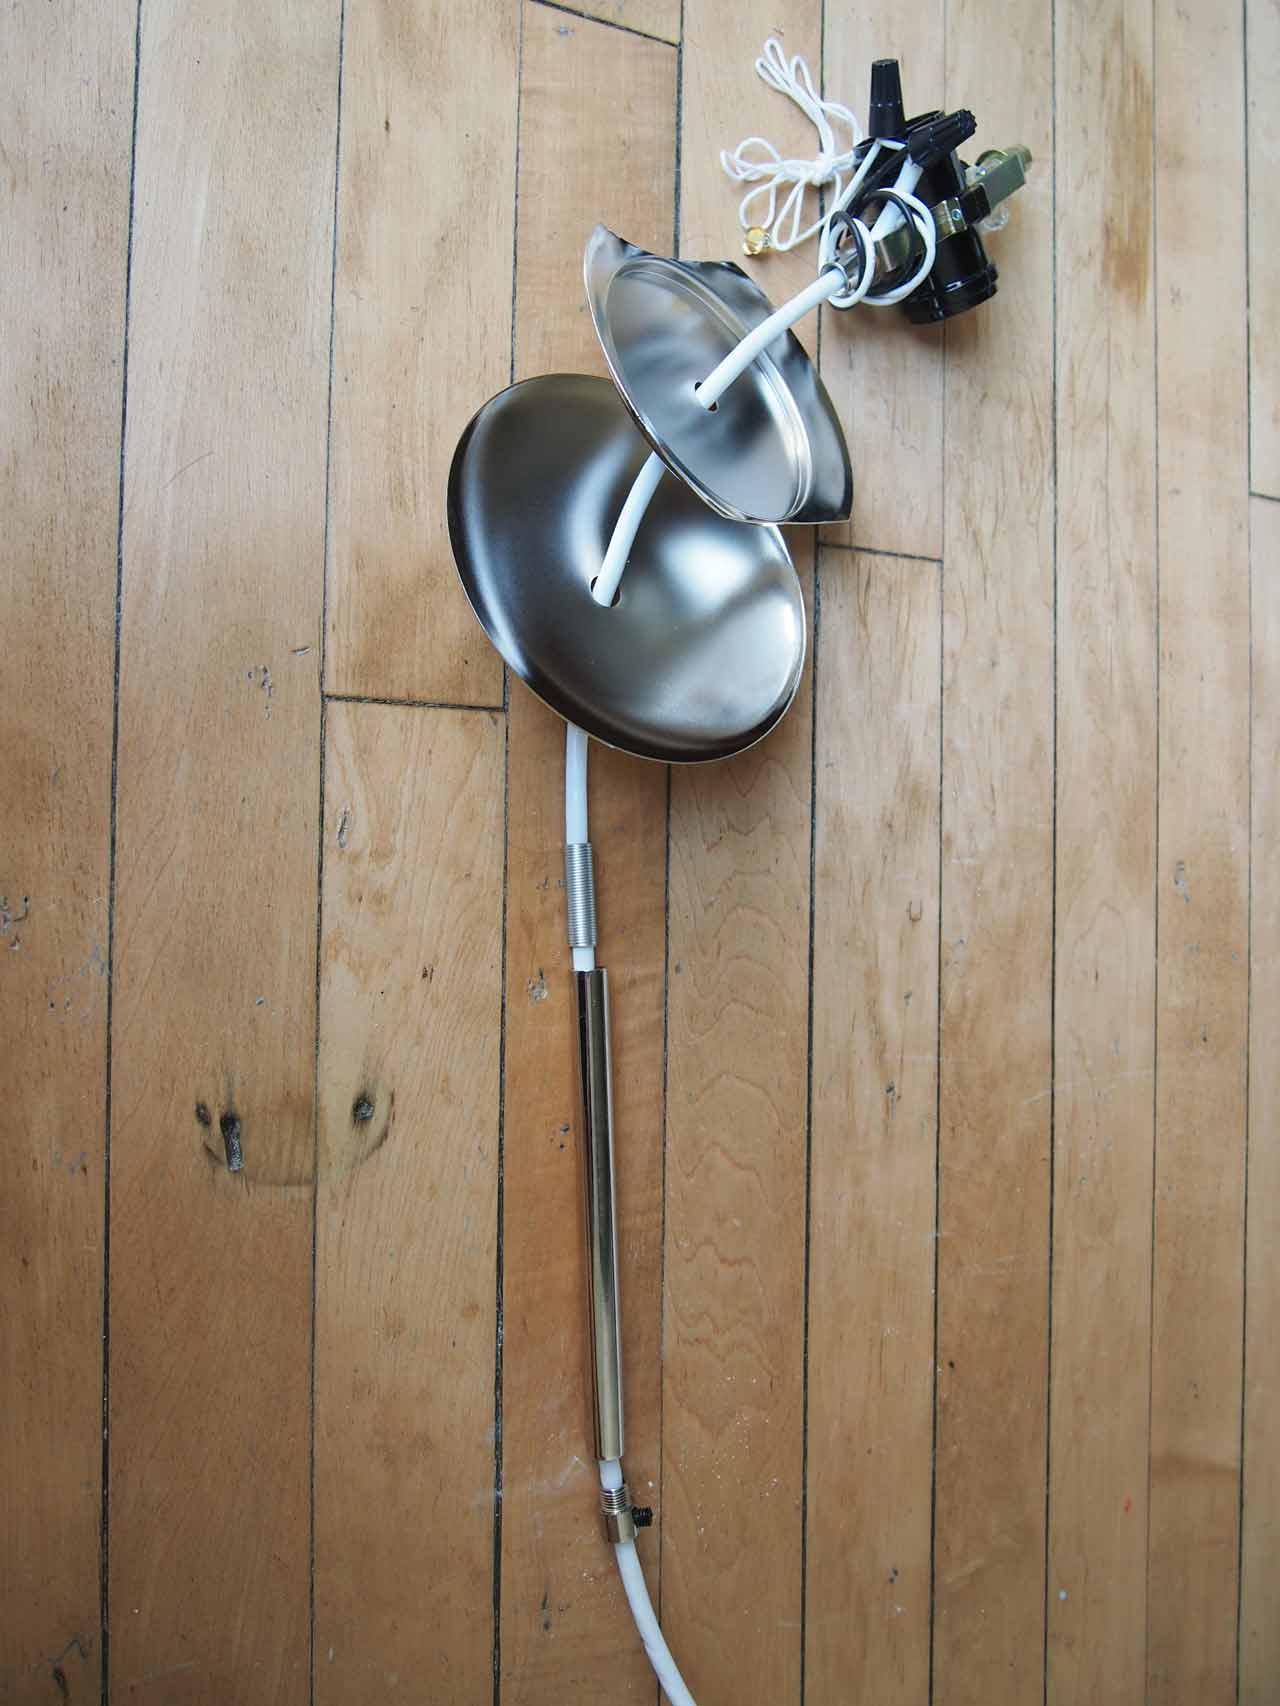
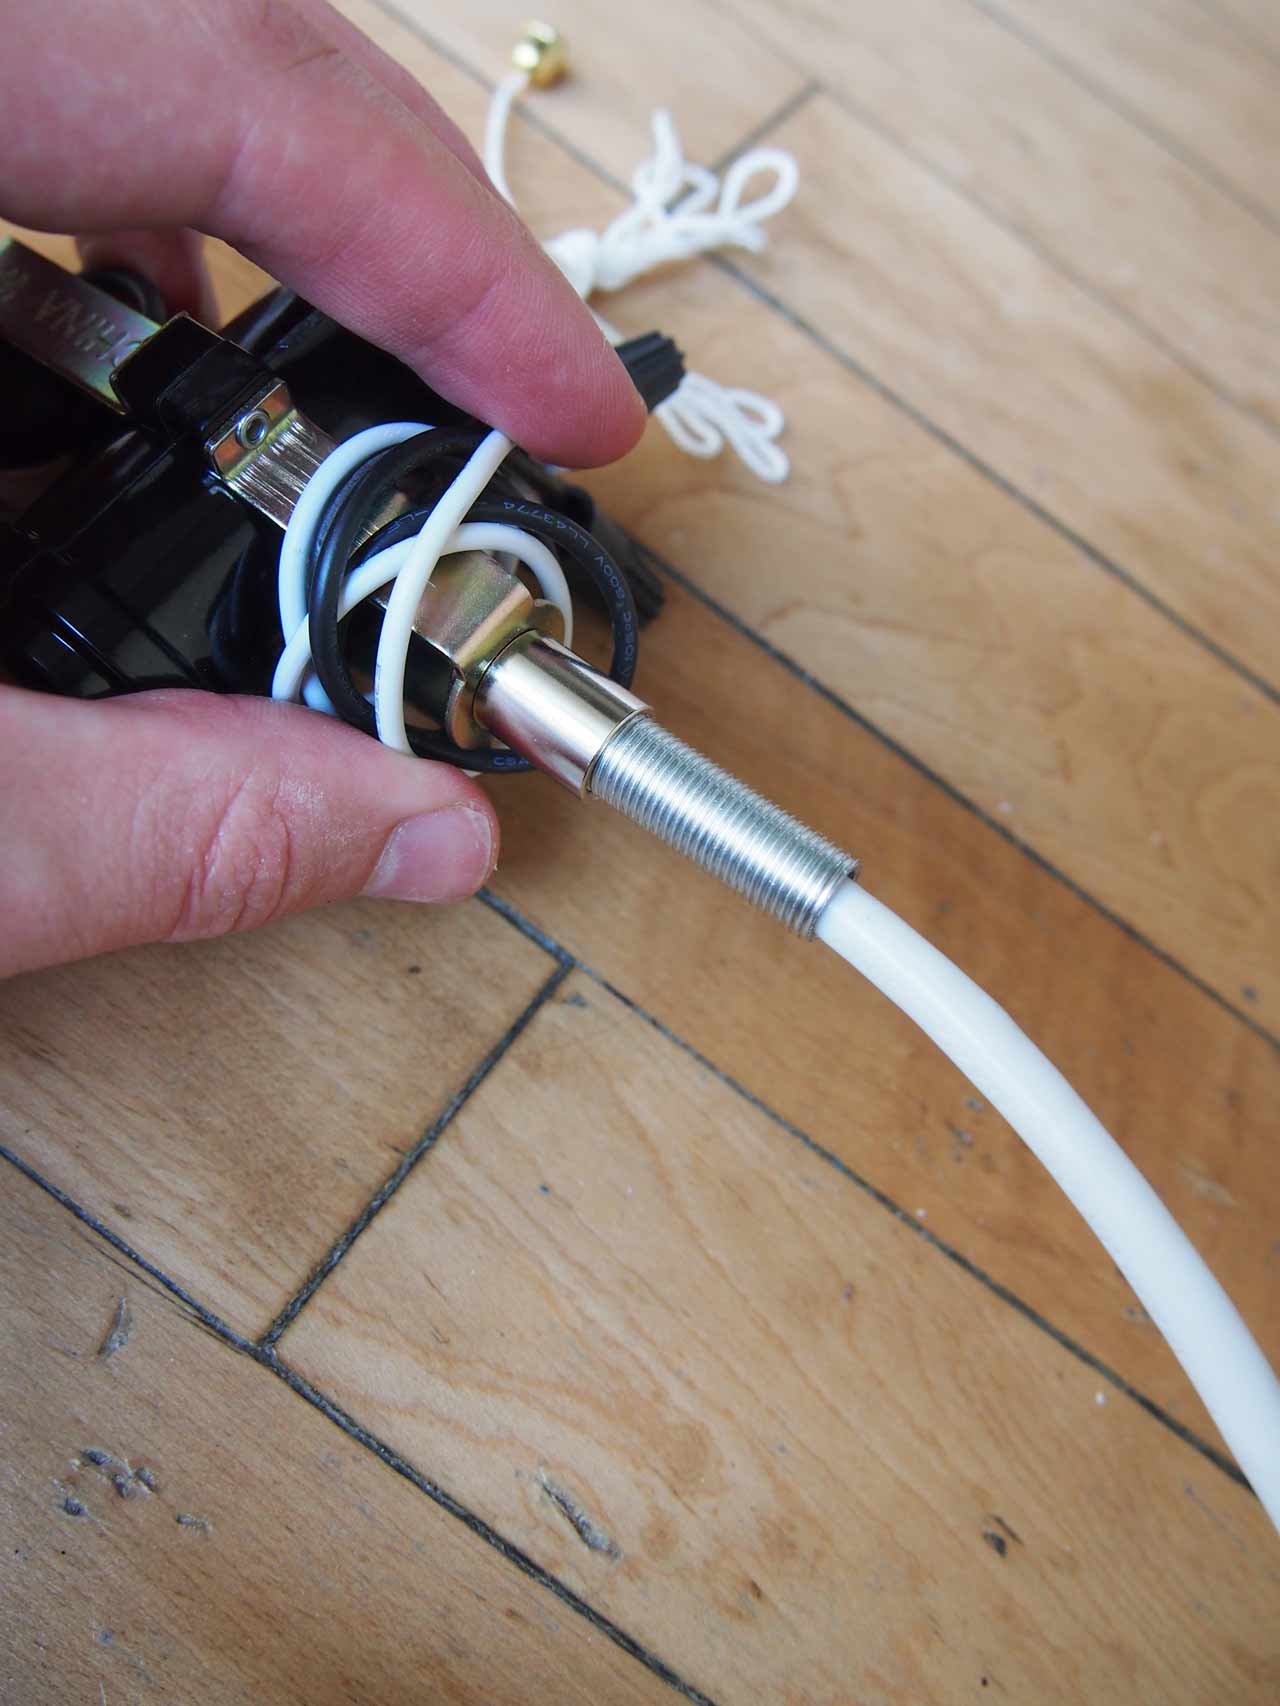
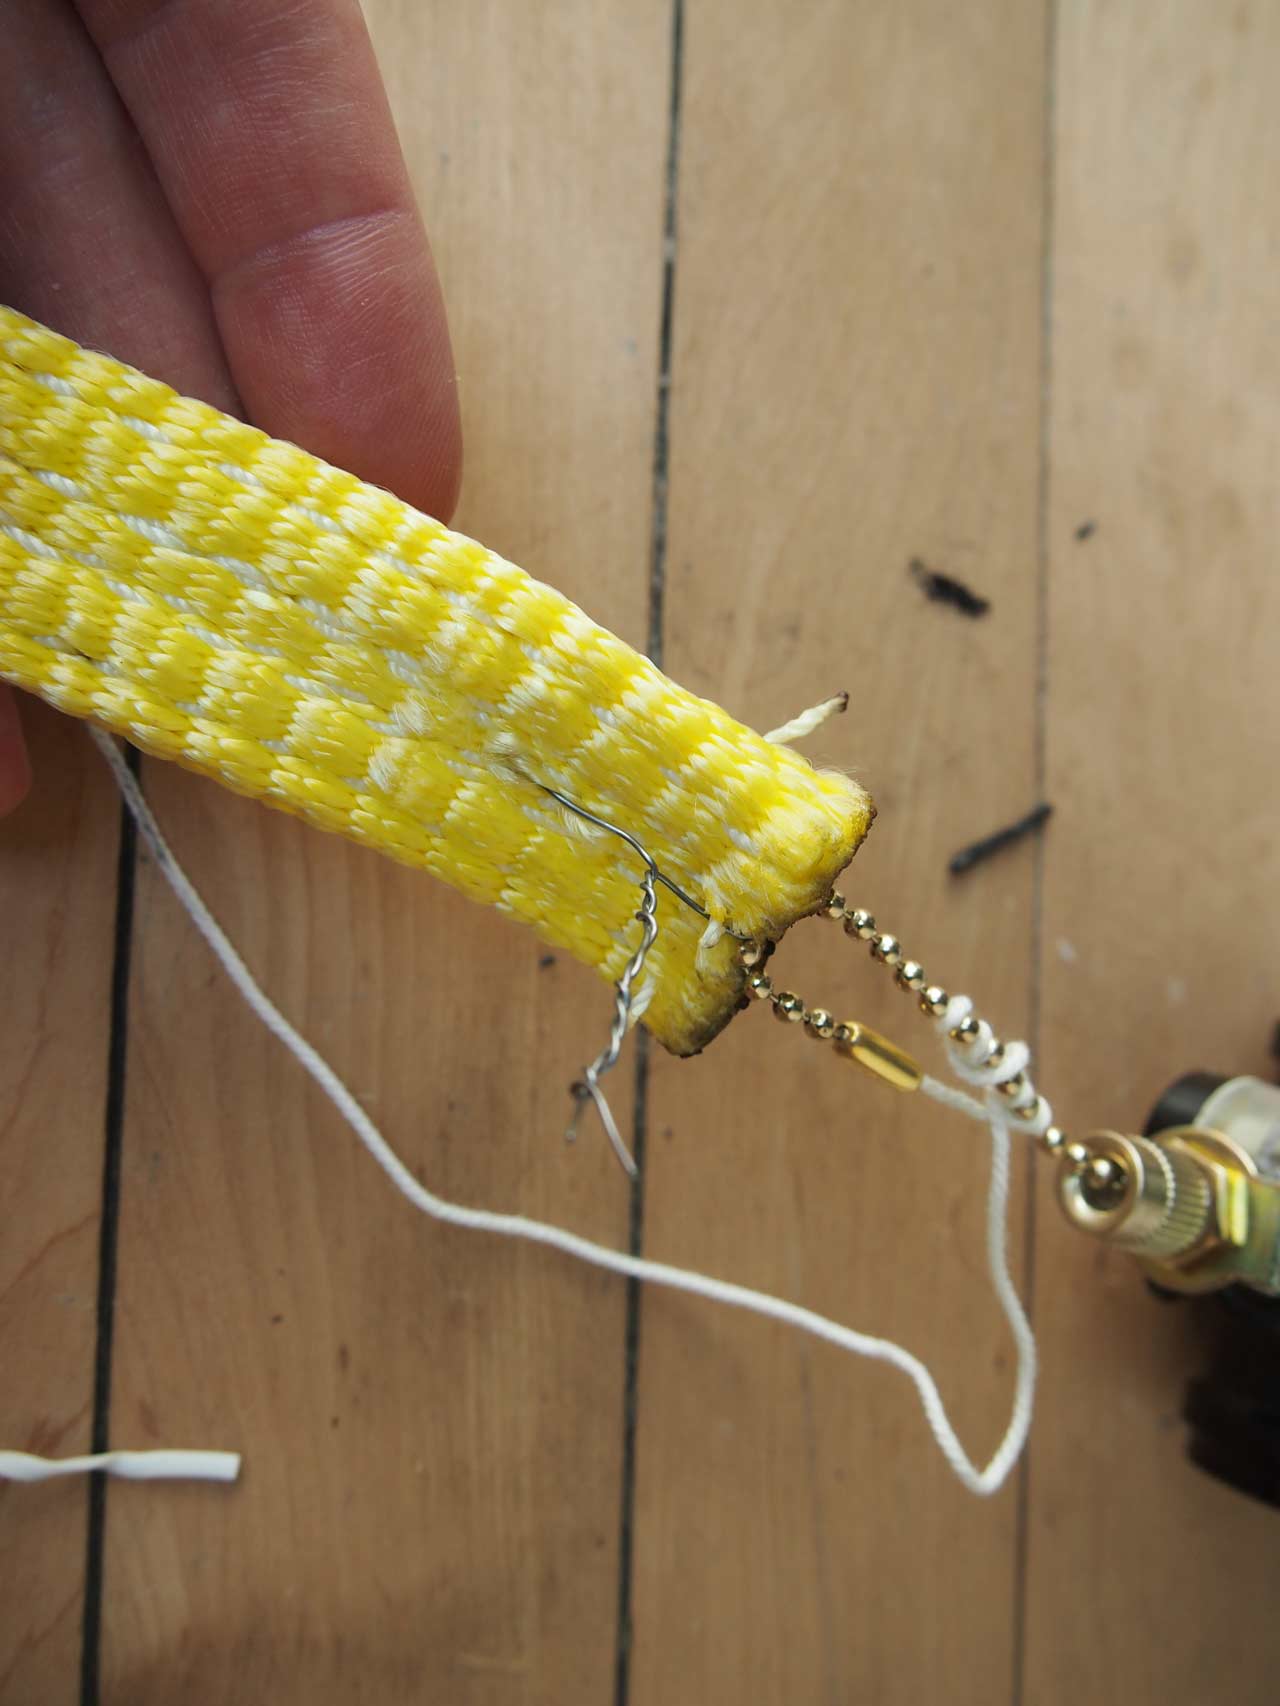
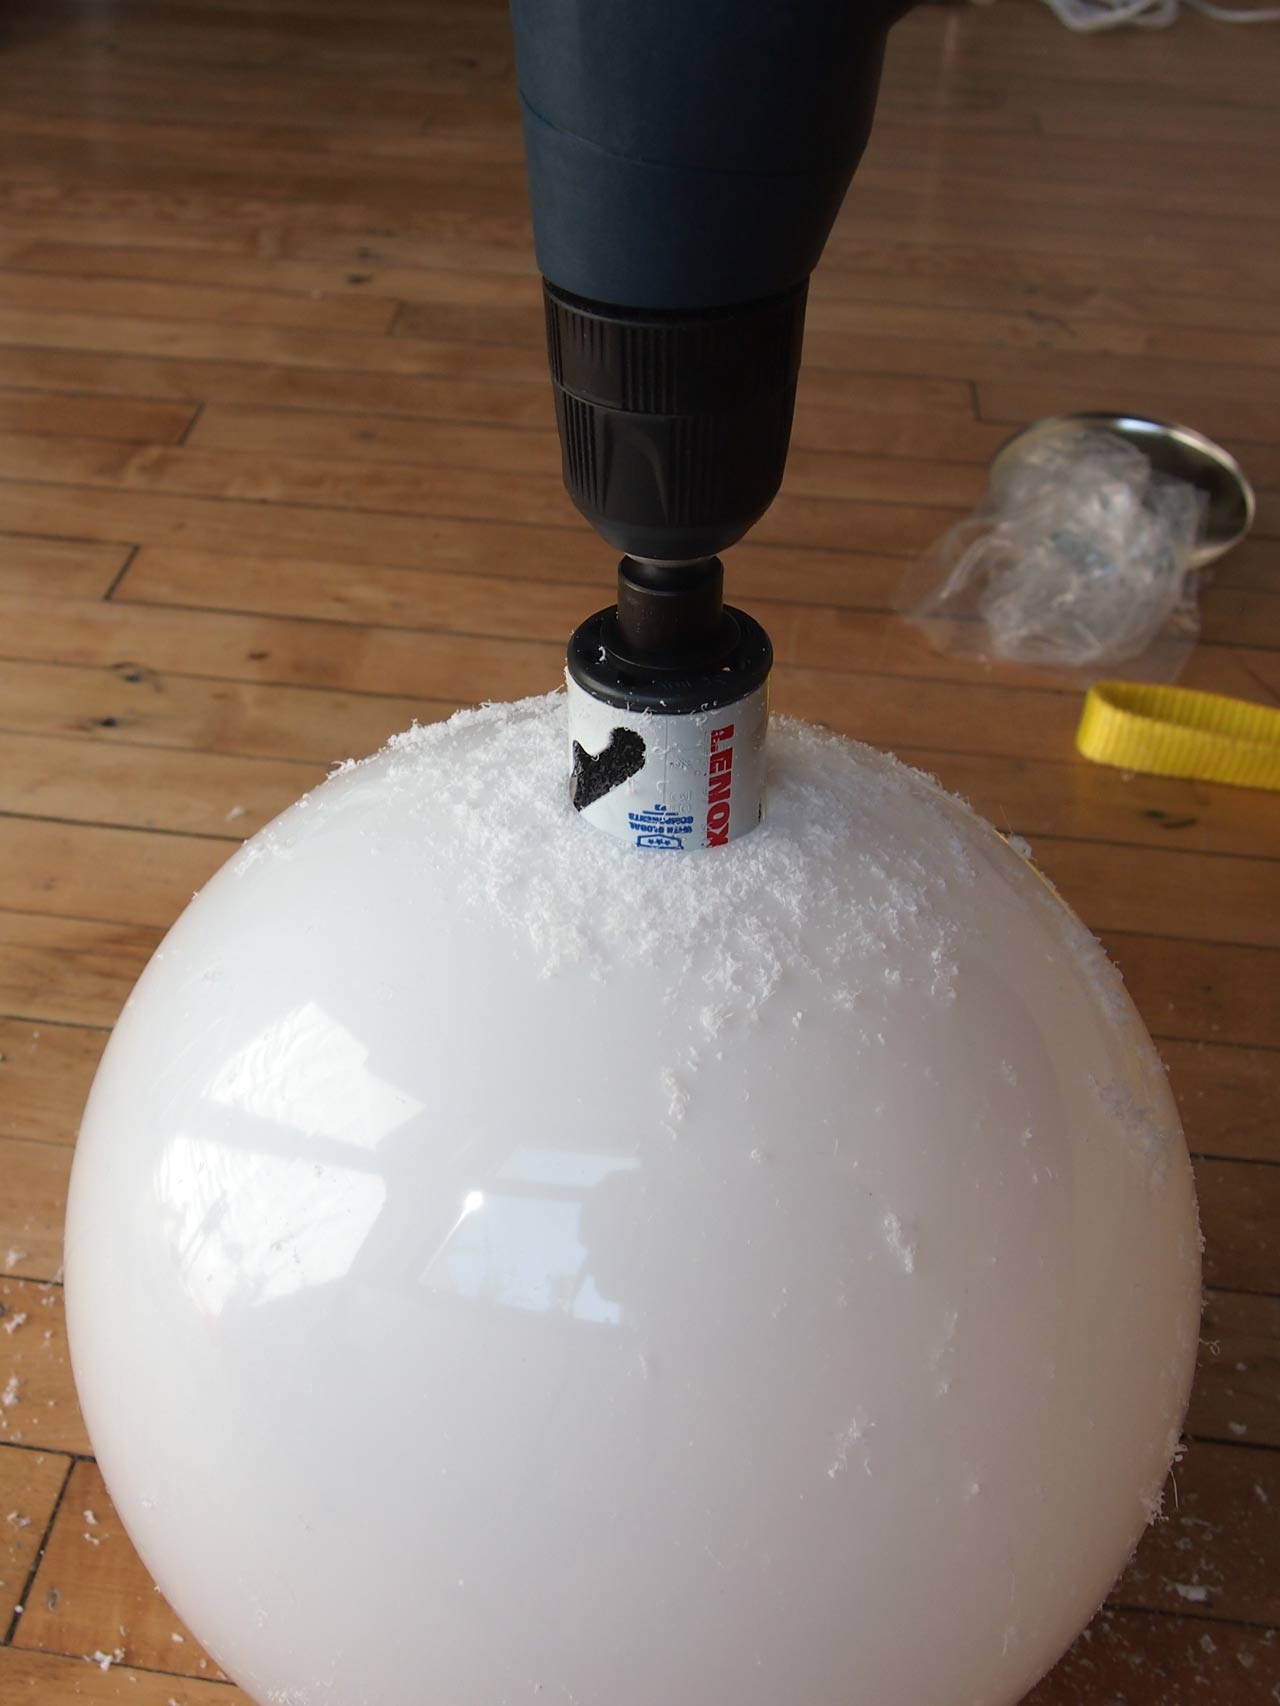
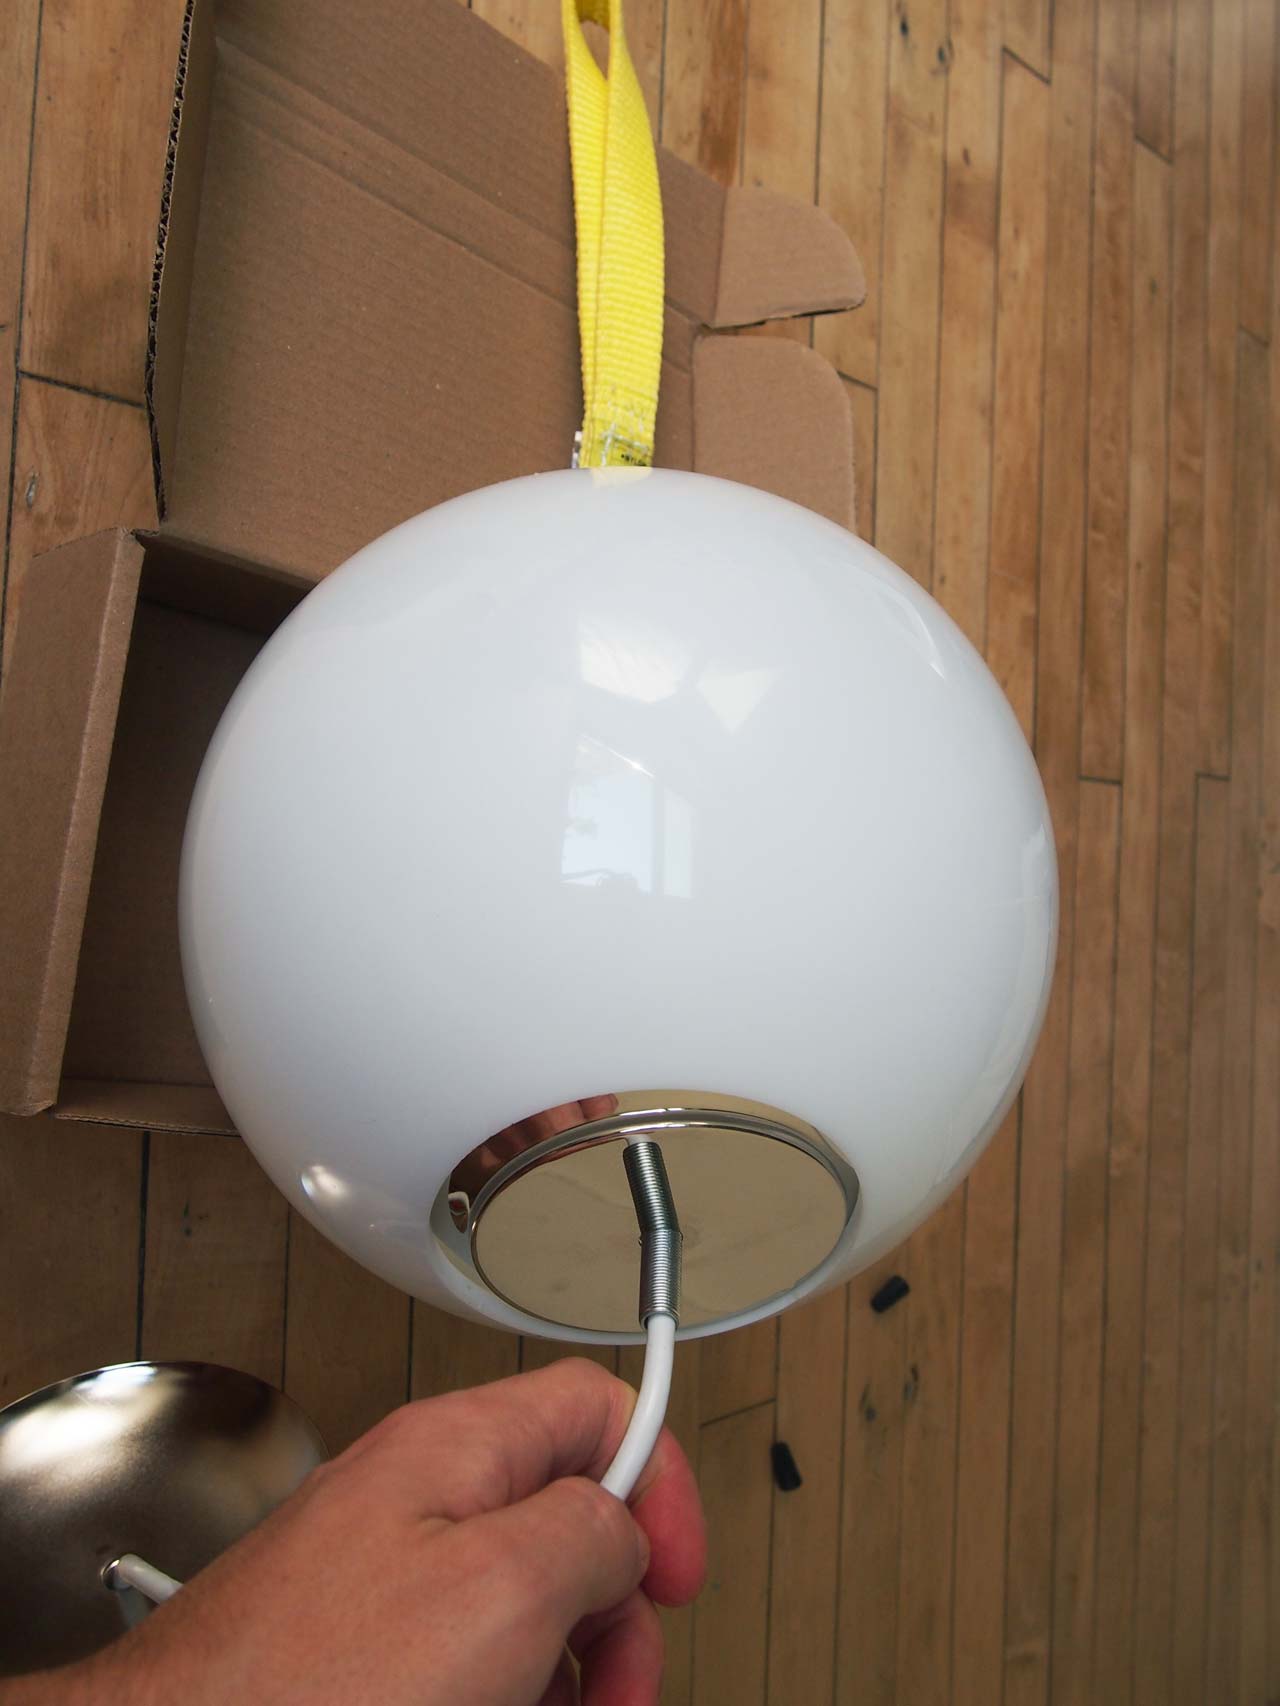
Designed alongside the One Gallon Floor Lamp and using similar utility-oriented parts, this pendant light replaces the standard pull chain switch and exaggerates the simple task of turning on a light. The full assembly process takes about 2 hours to complete. Steps include drilling a hole in the acrylic ball shade, wiring the lamp, and installing the moving strap switch. The parts cost a little over 100 USD on average.
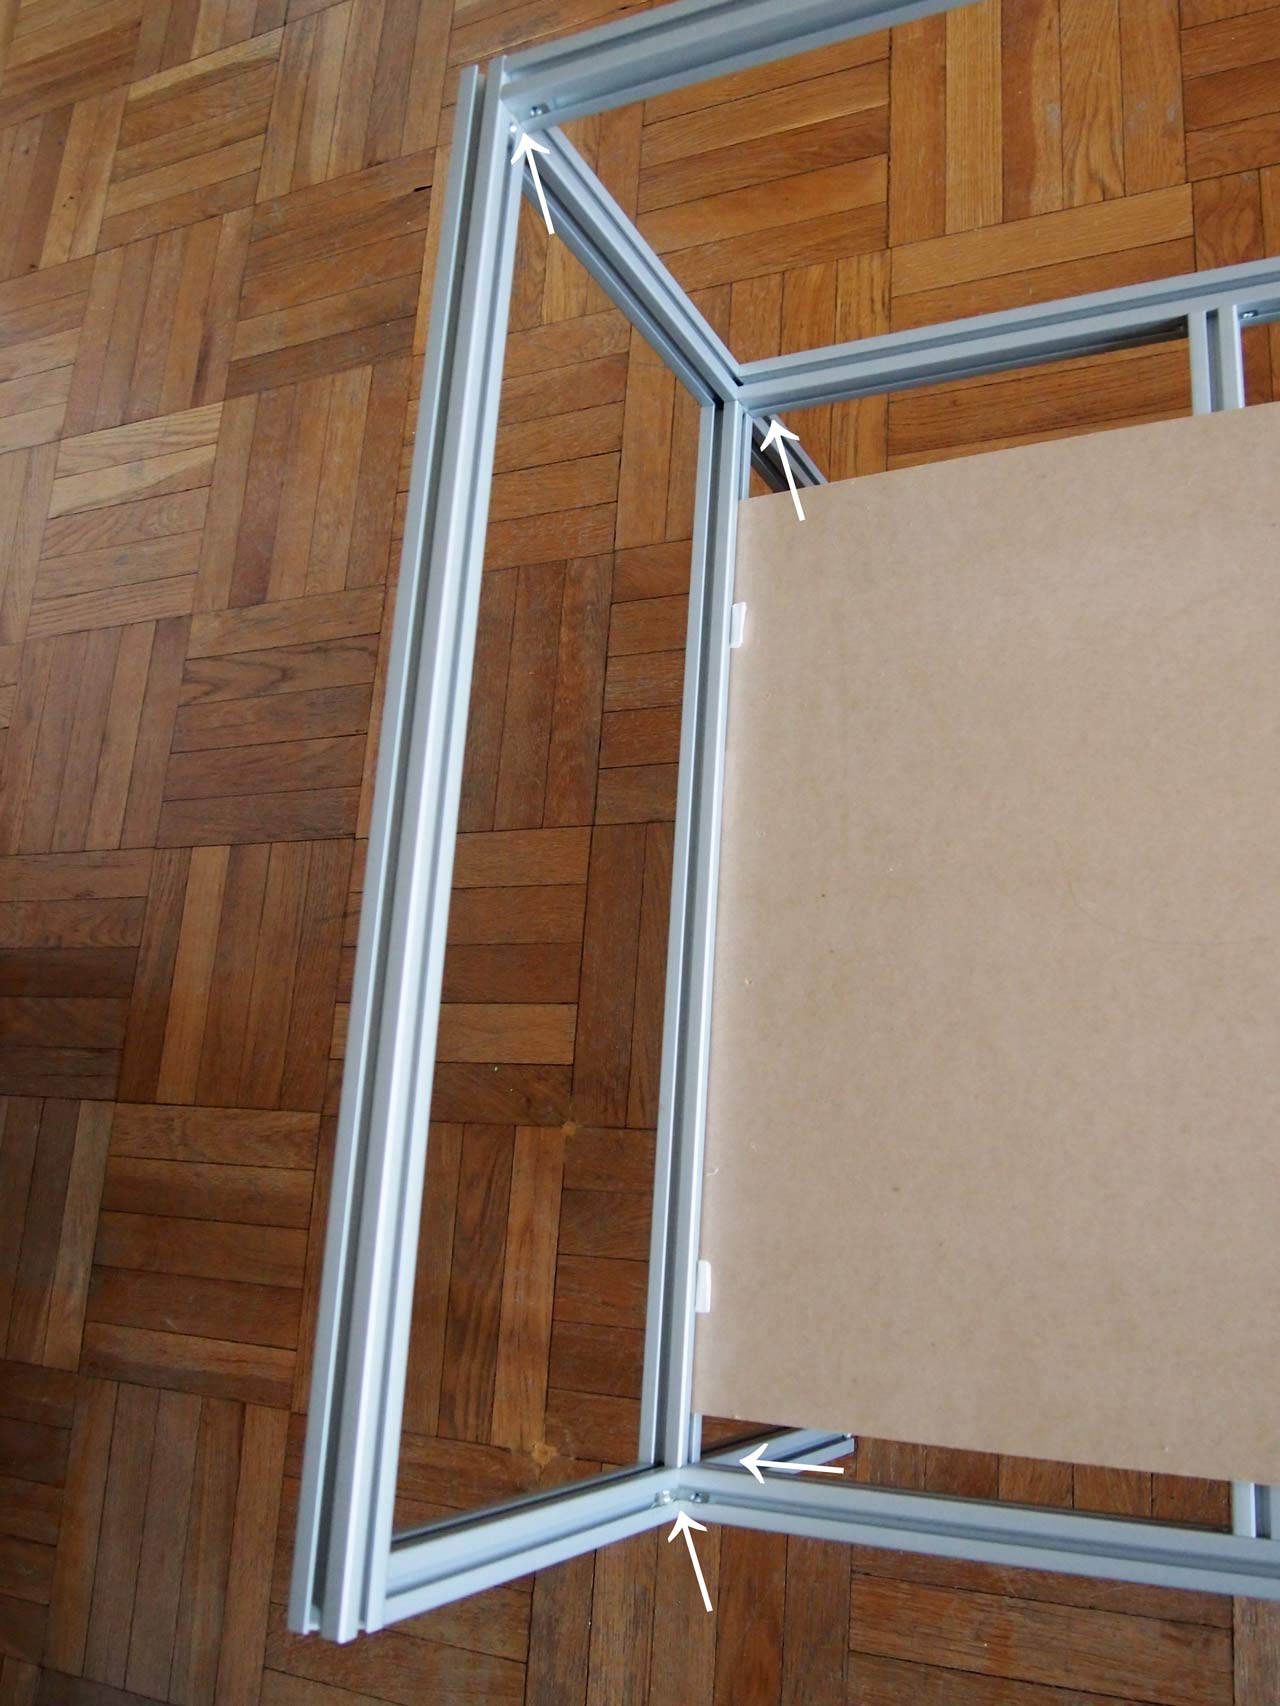
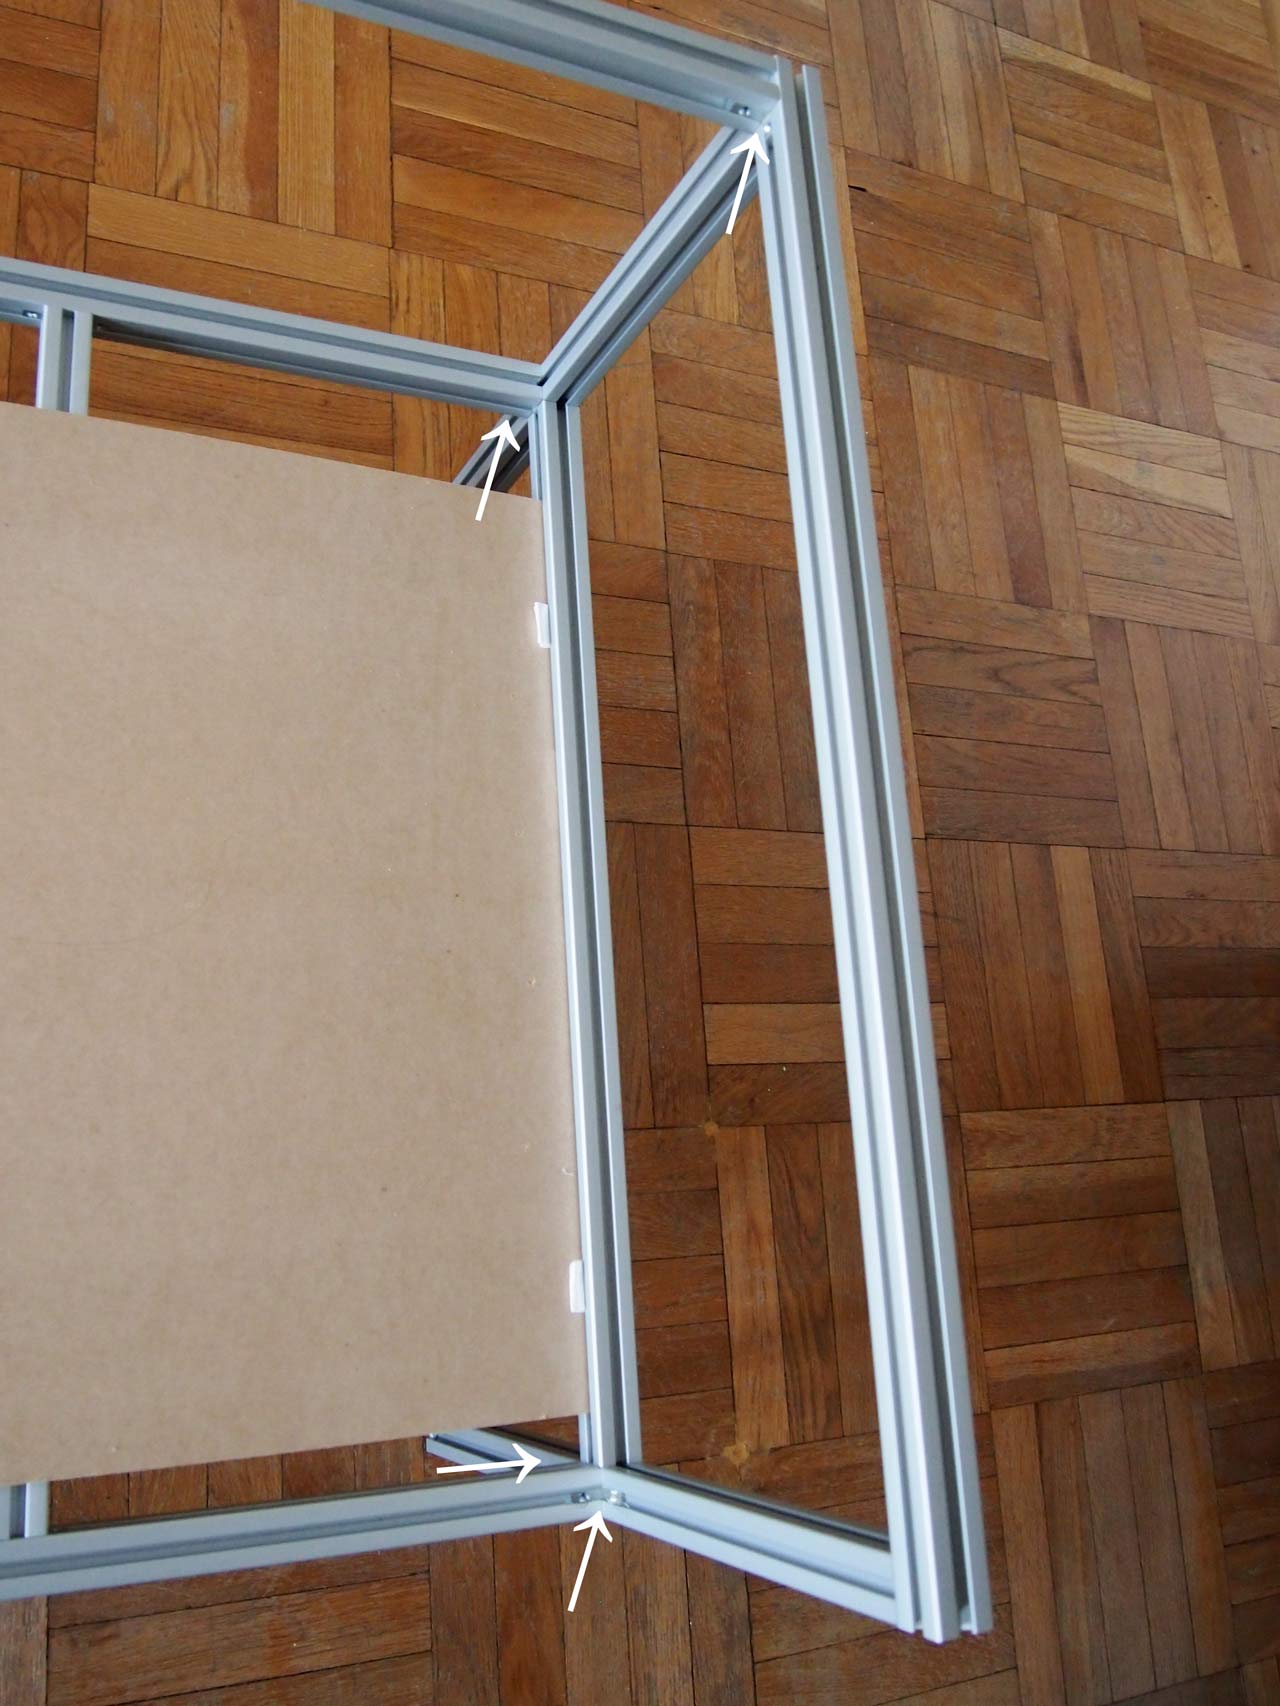
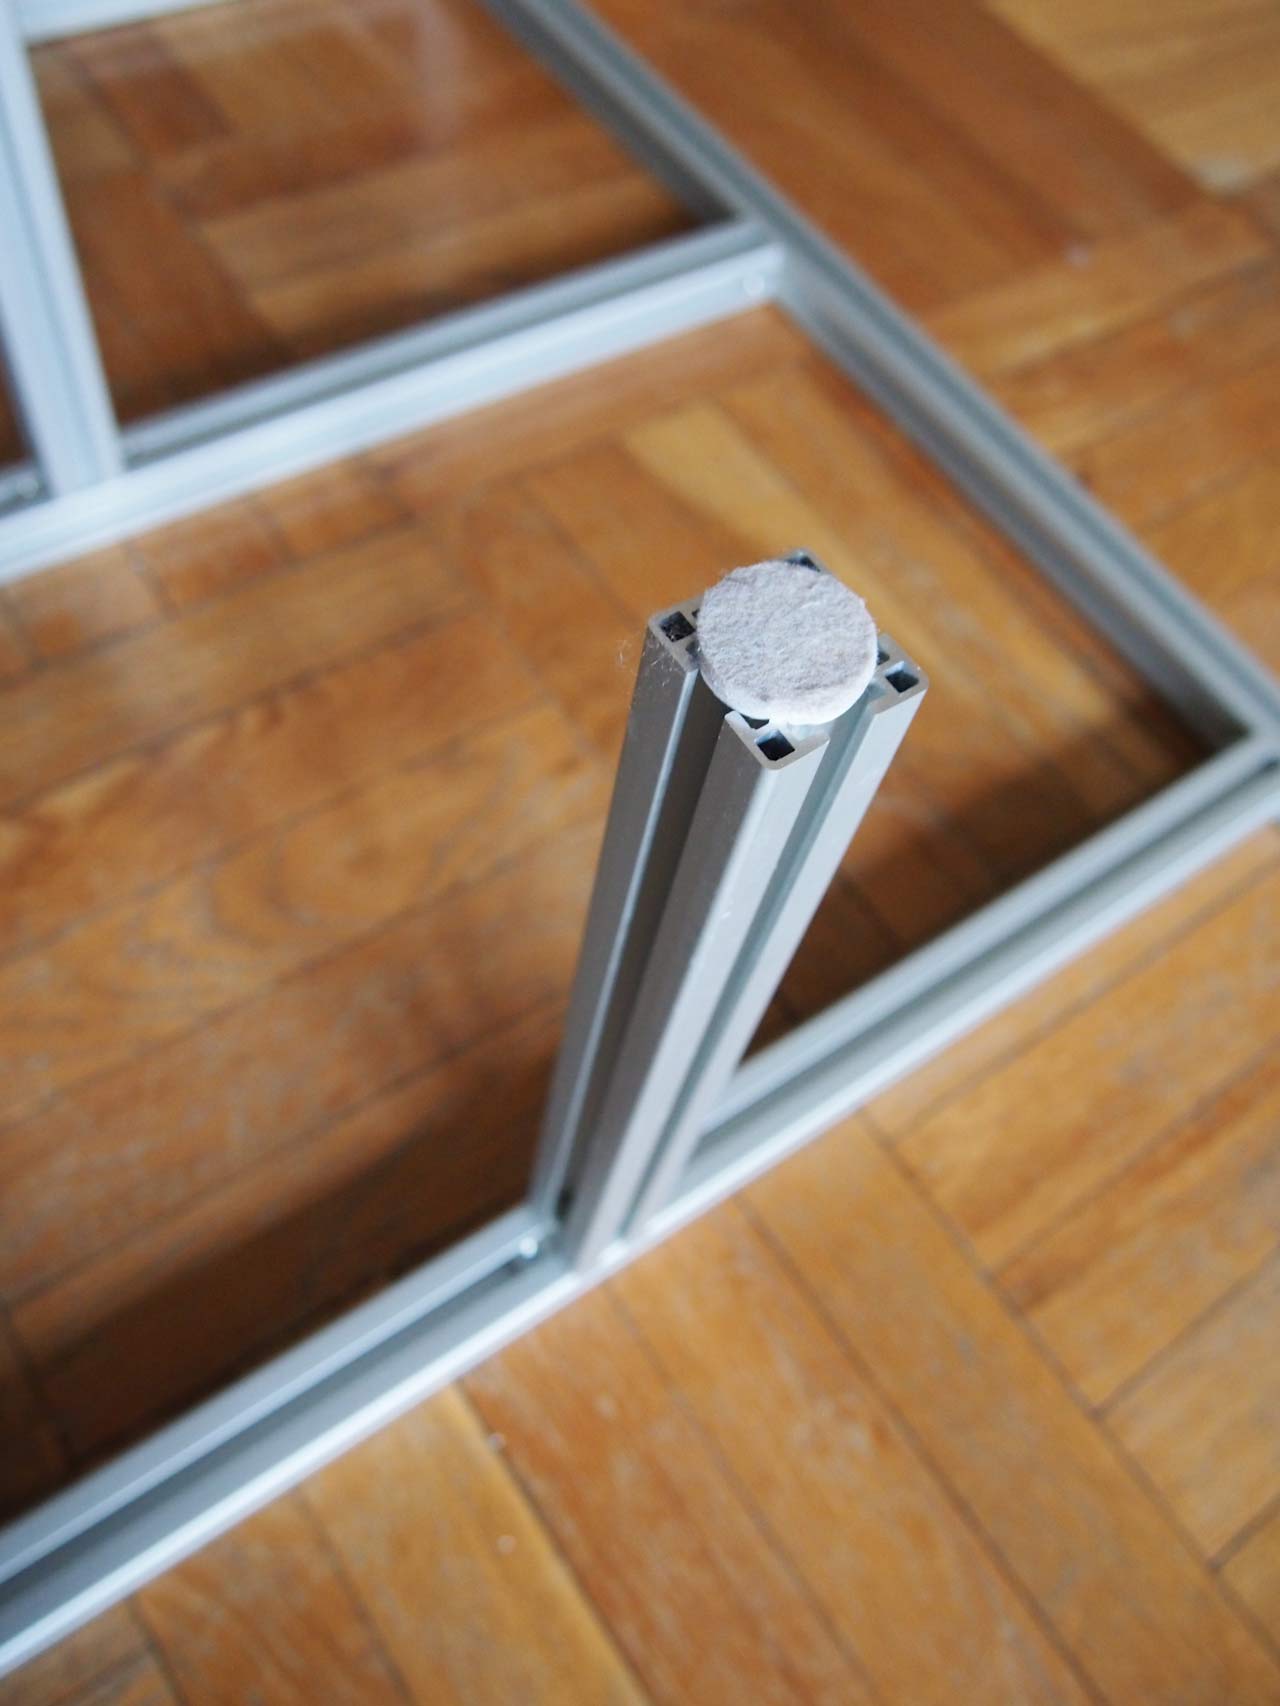
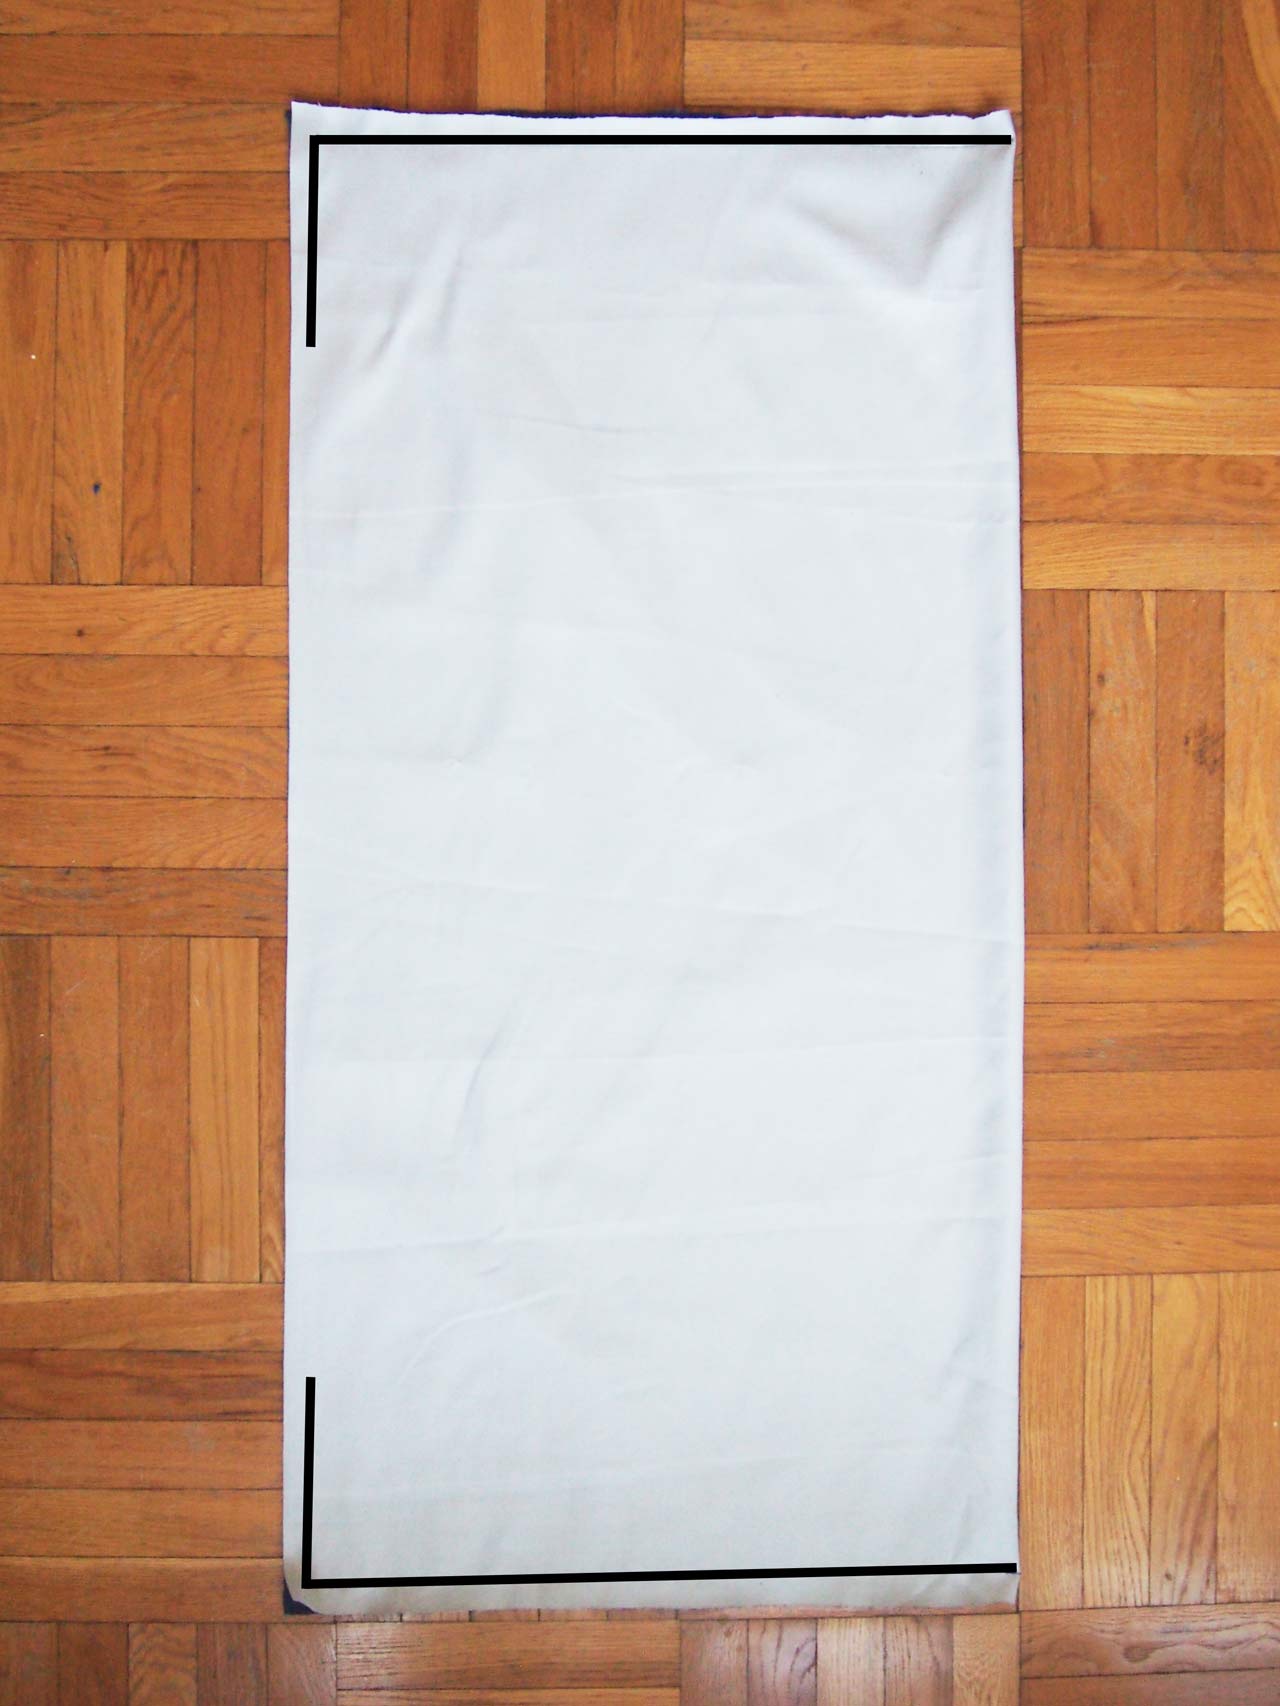
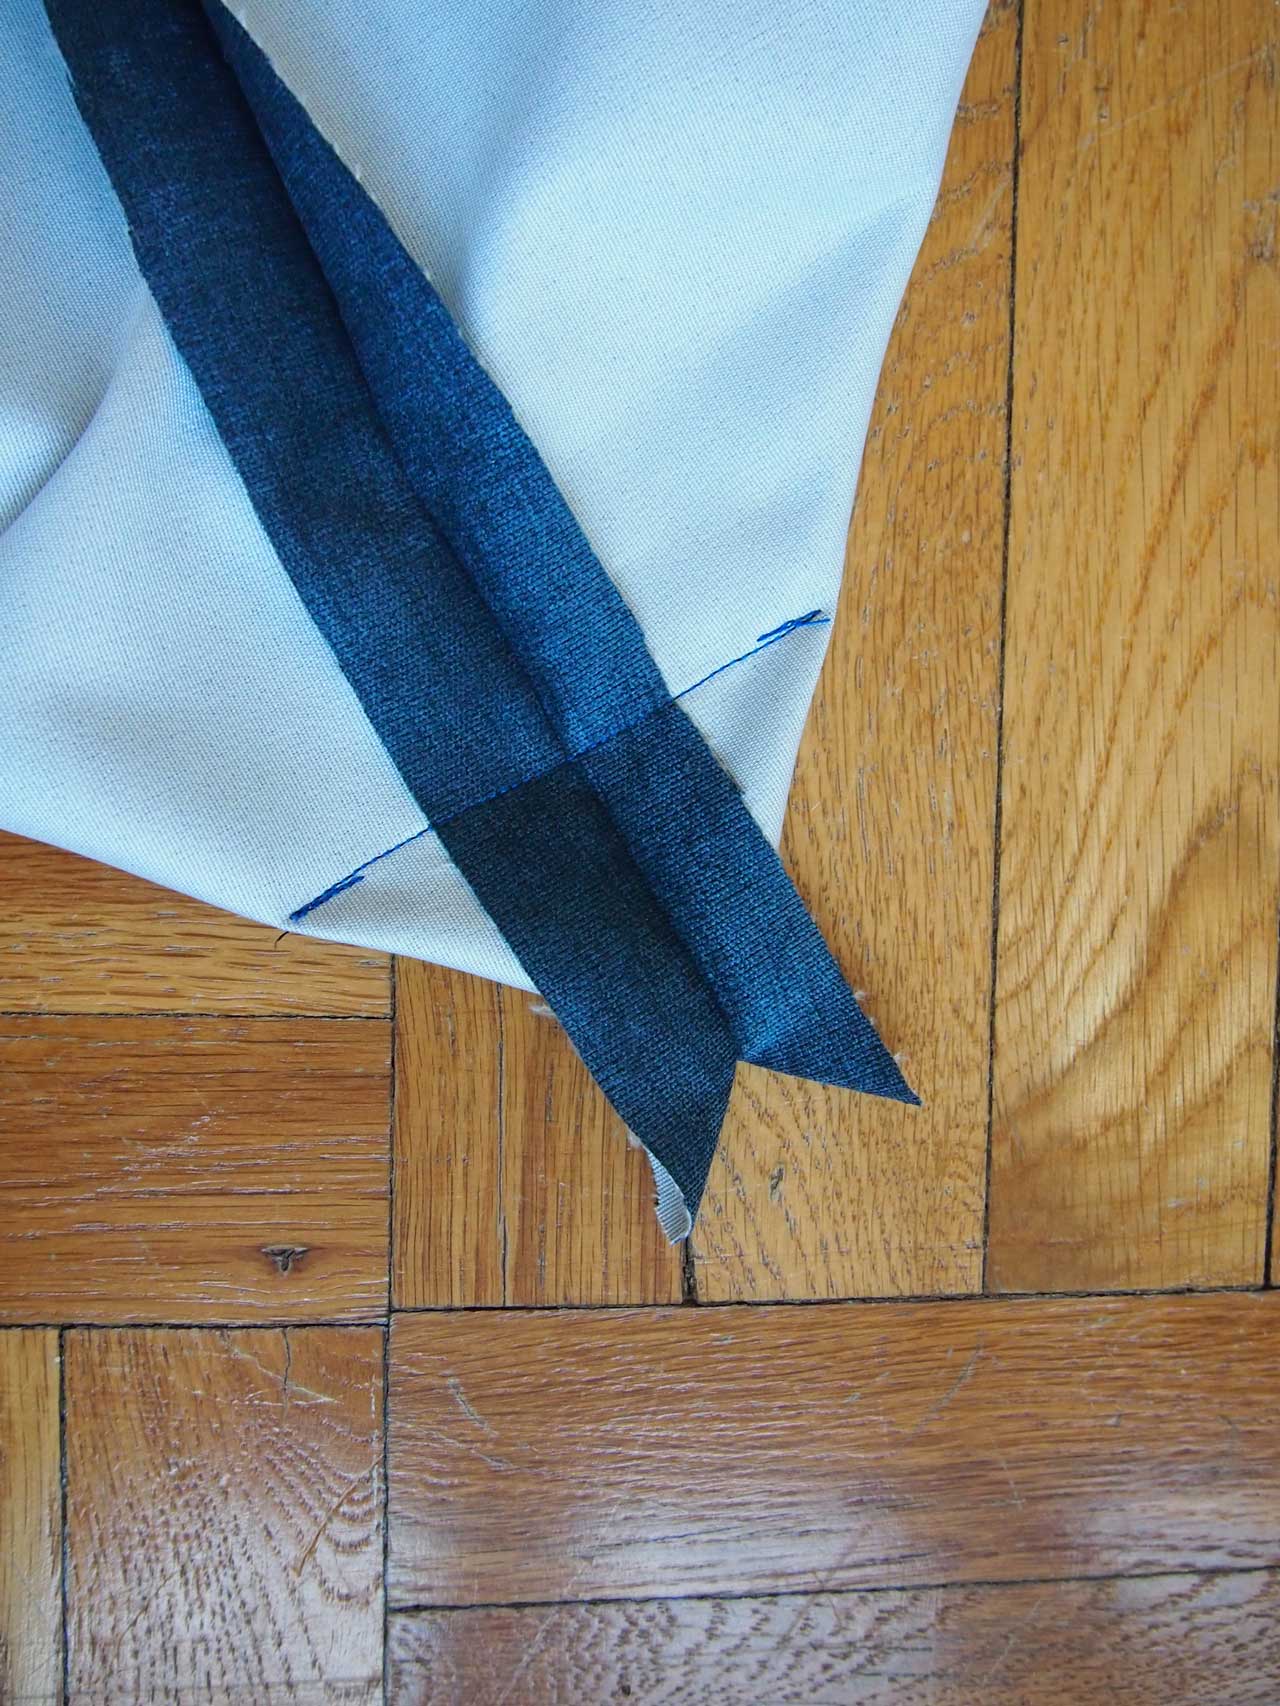
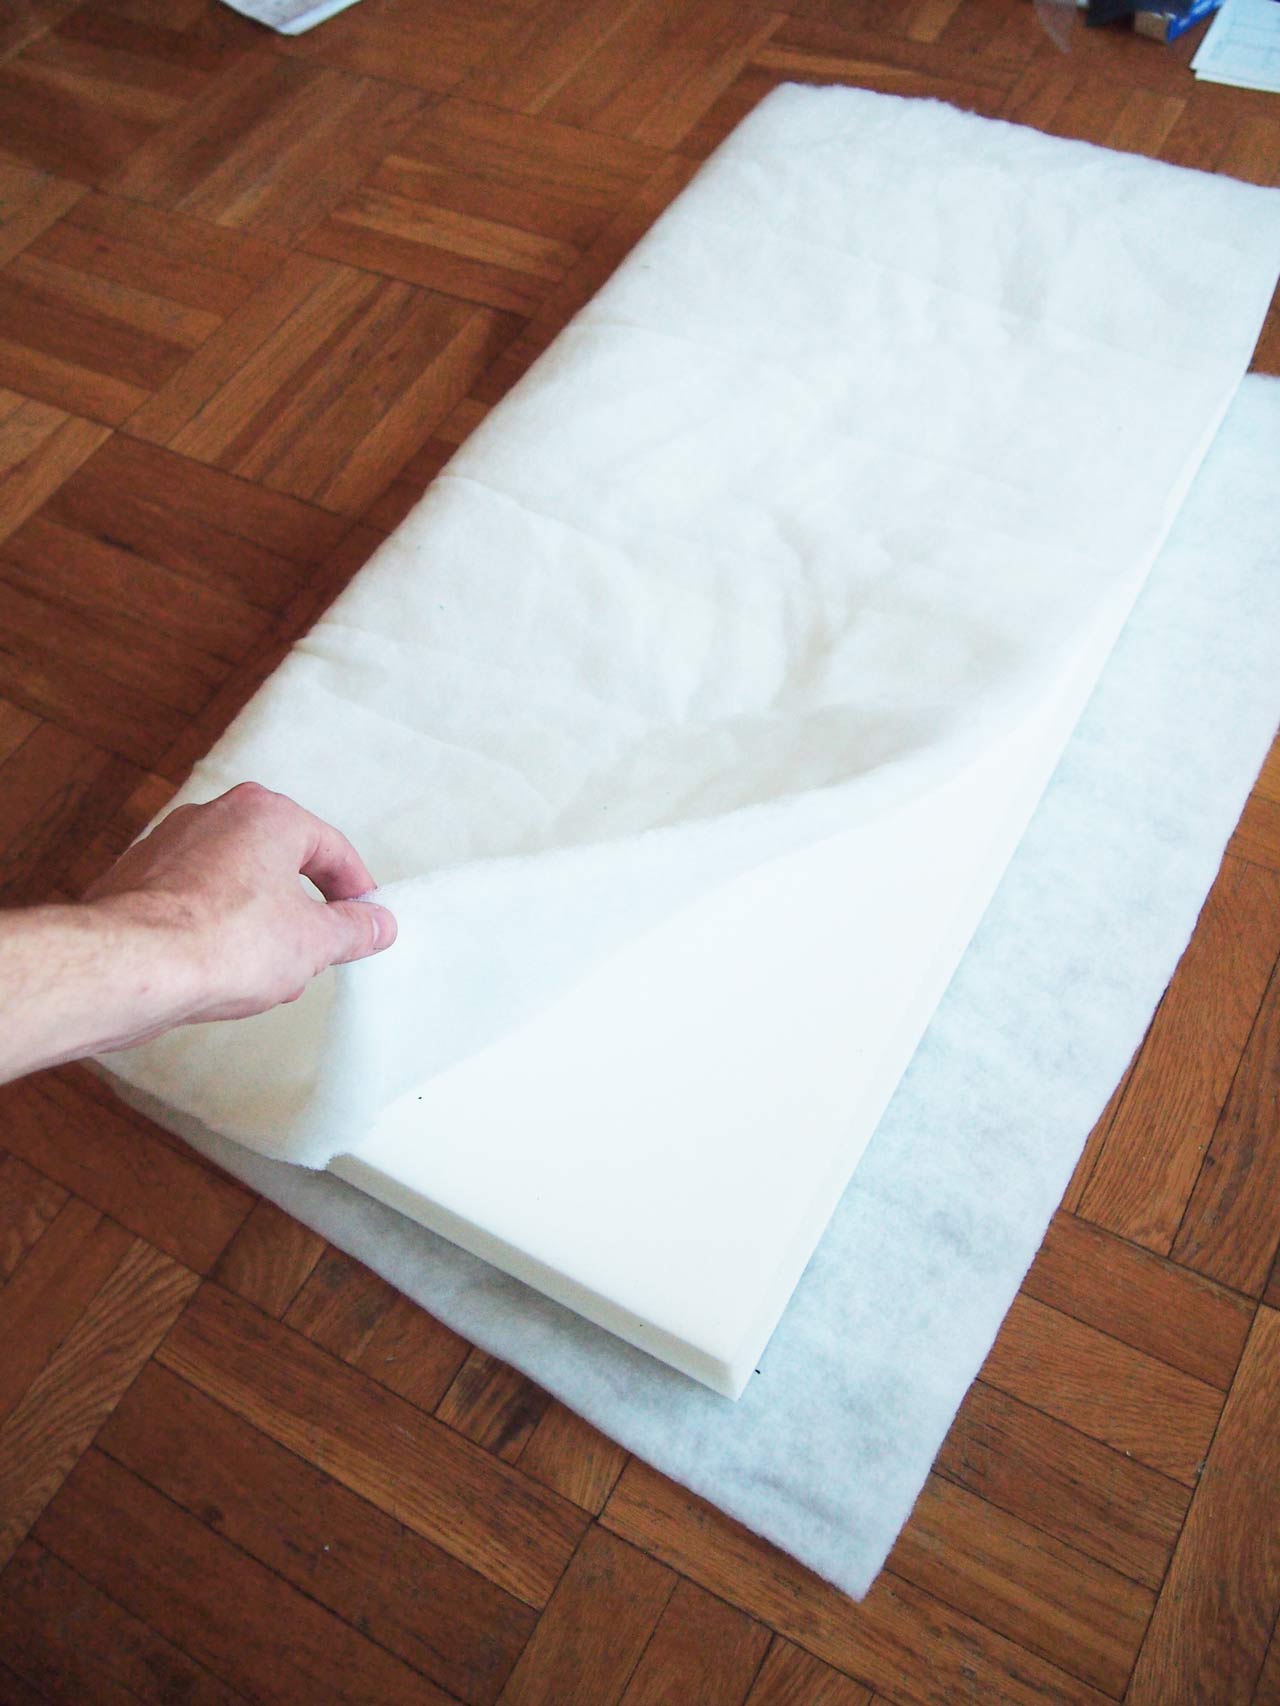
Assembly


Note: Some parts will need to be replaced for lighting being used outside of USA, Canada and Mexico.
Index
Parts
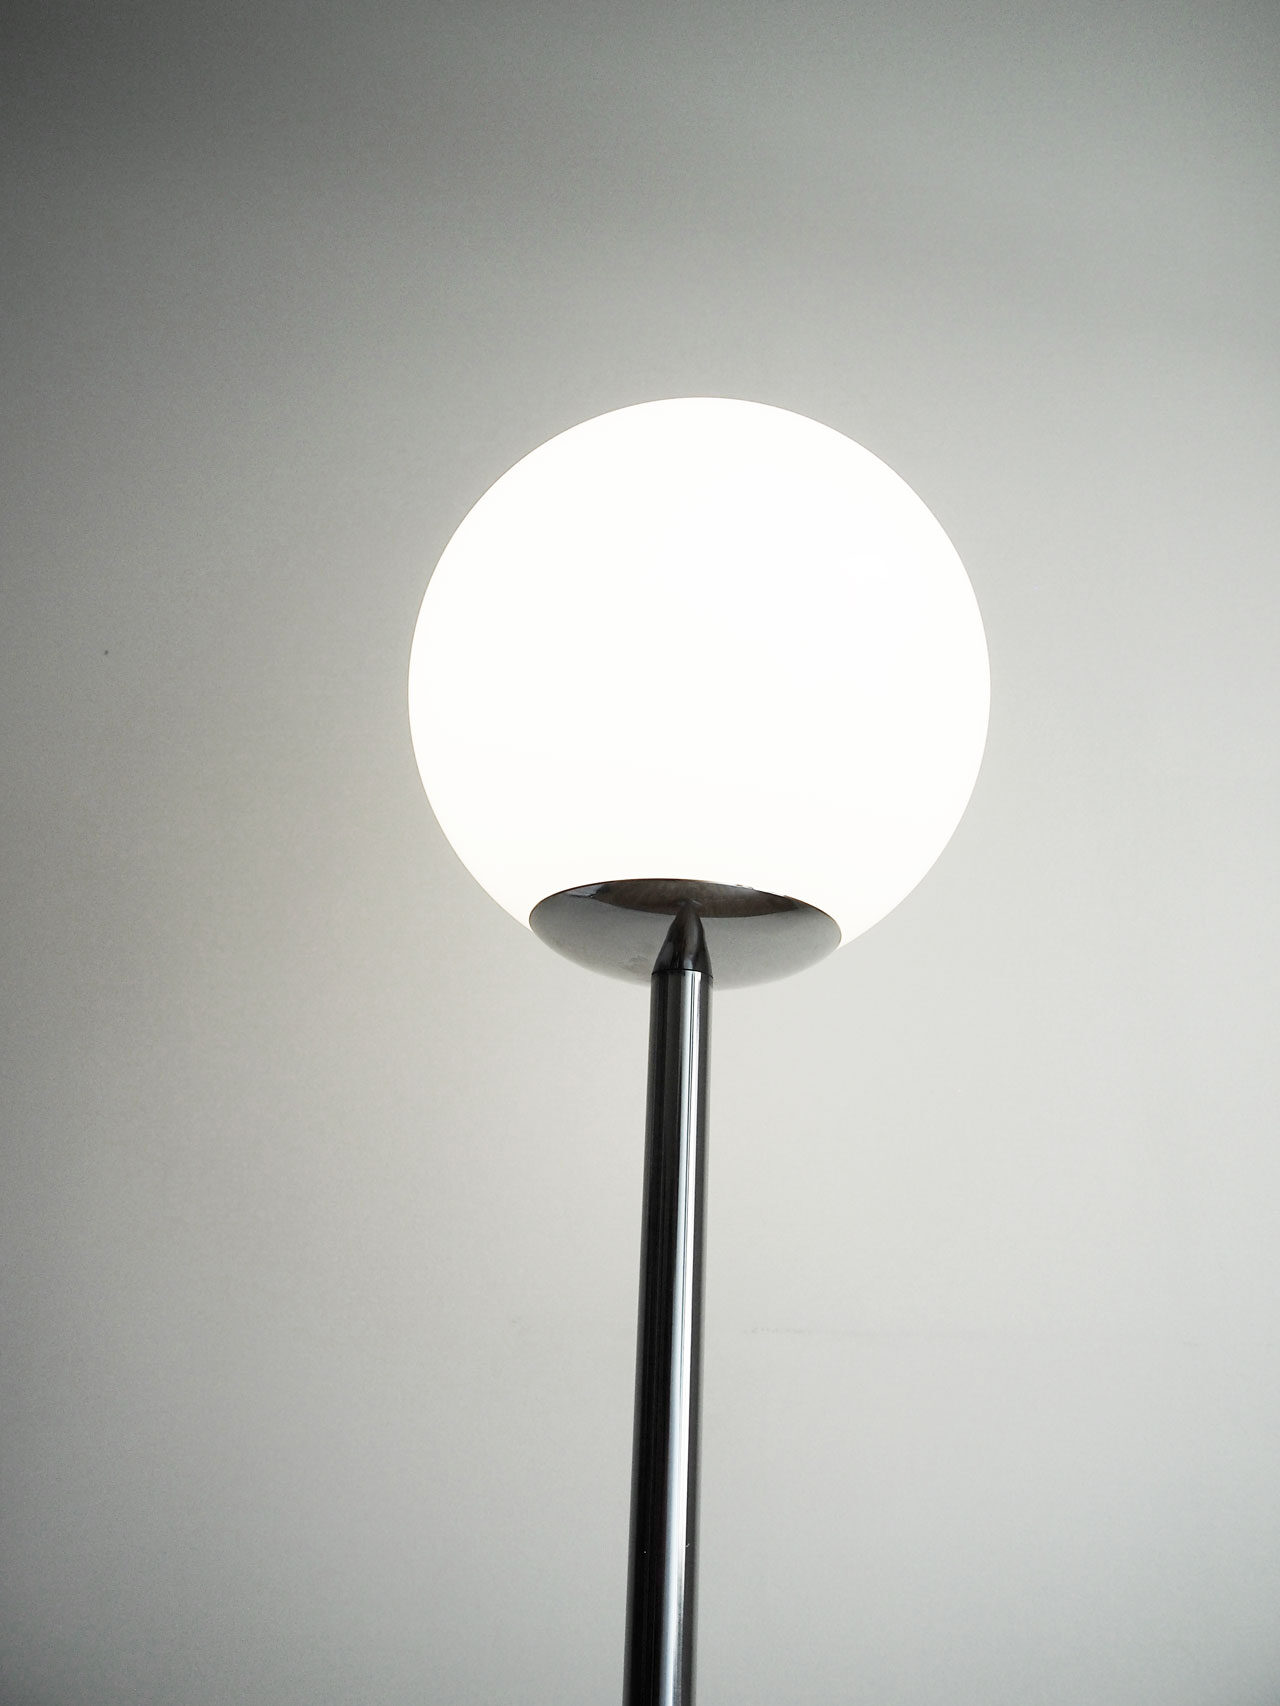
Polished Nickel Plated Neckless Ball Holder w/ Insert for 4in (10.5cm) Hole
Quantity required: 1
Straight Female Threaded Coupling, Nickel Plated, 1/2in W X 9/16in H, 1/8IPS
Quantity required: 1
Tools
Power Drill
Hole Saw, 1.5in (4cm)
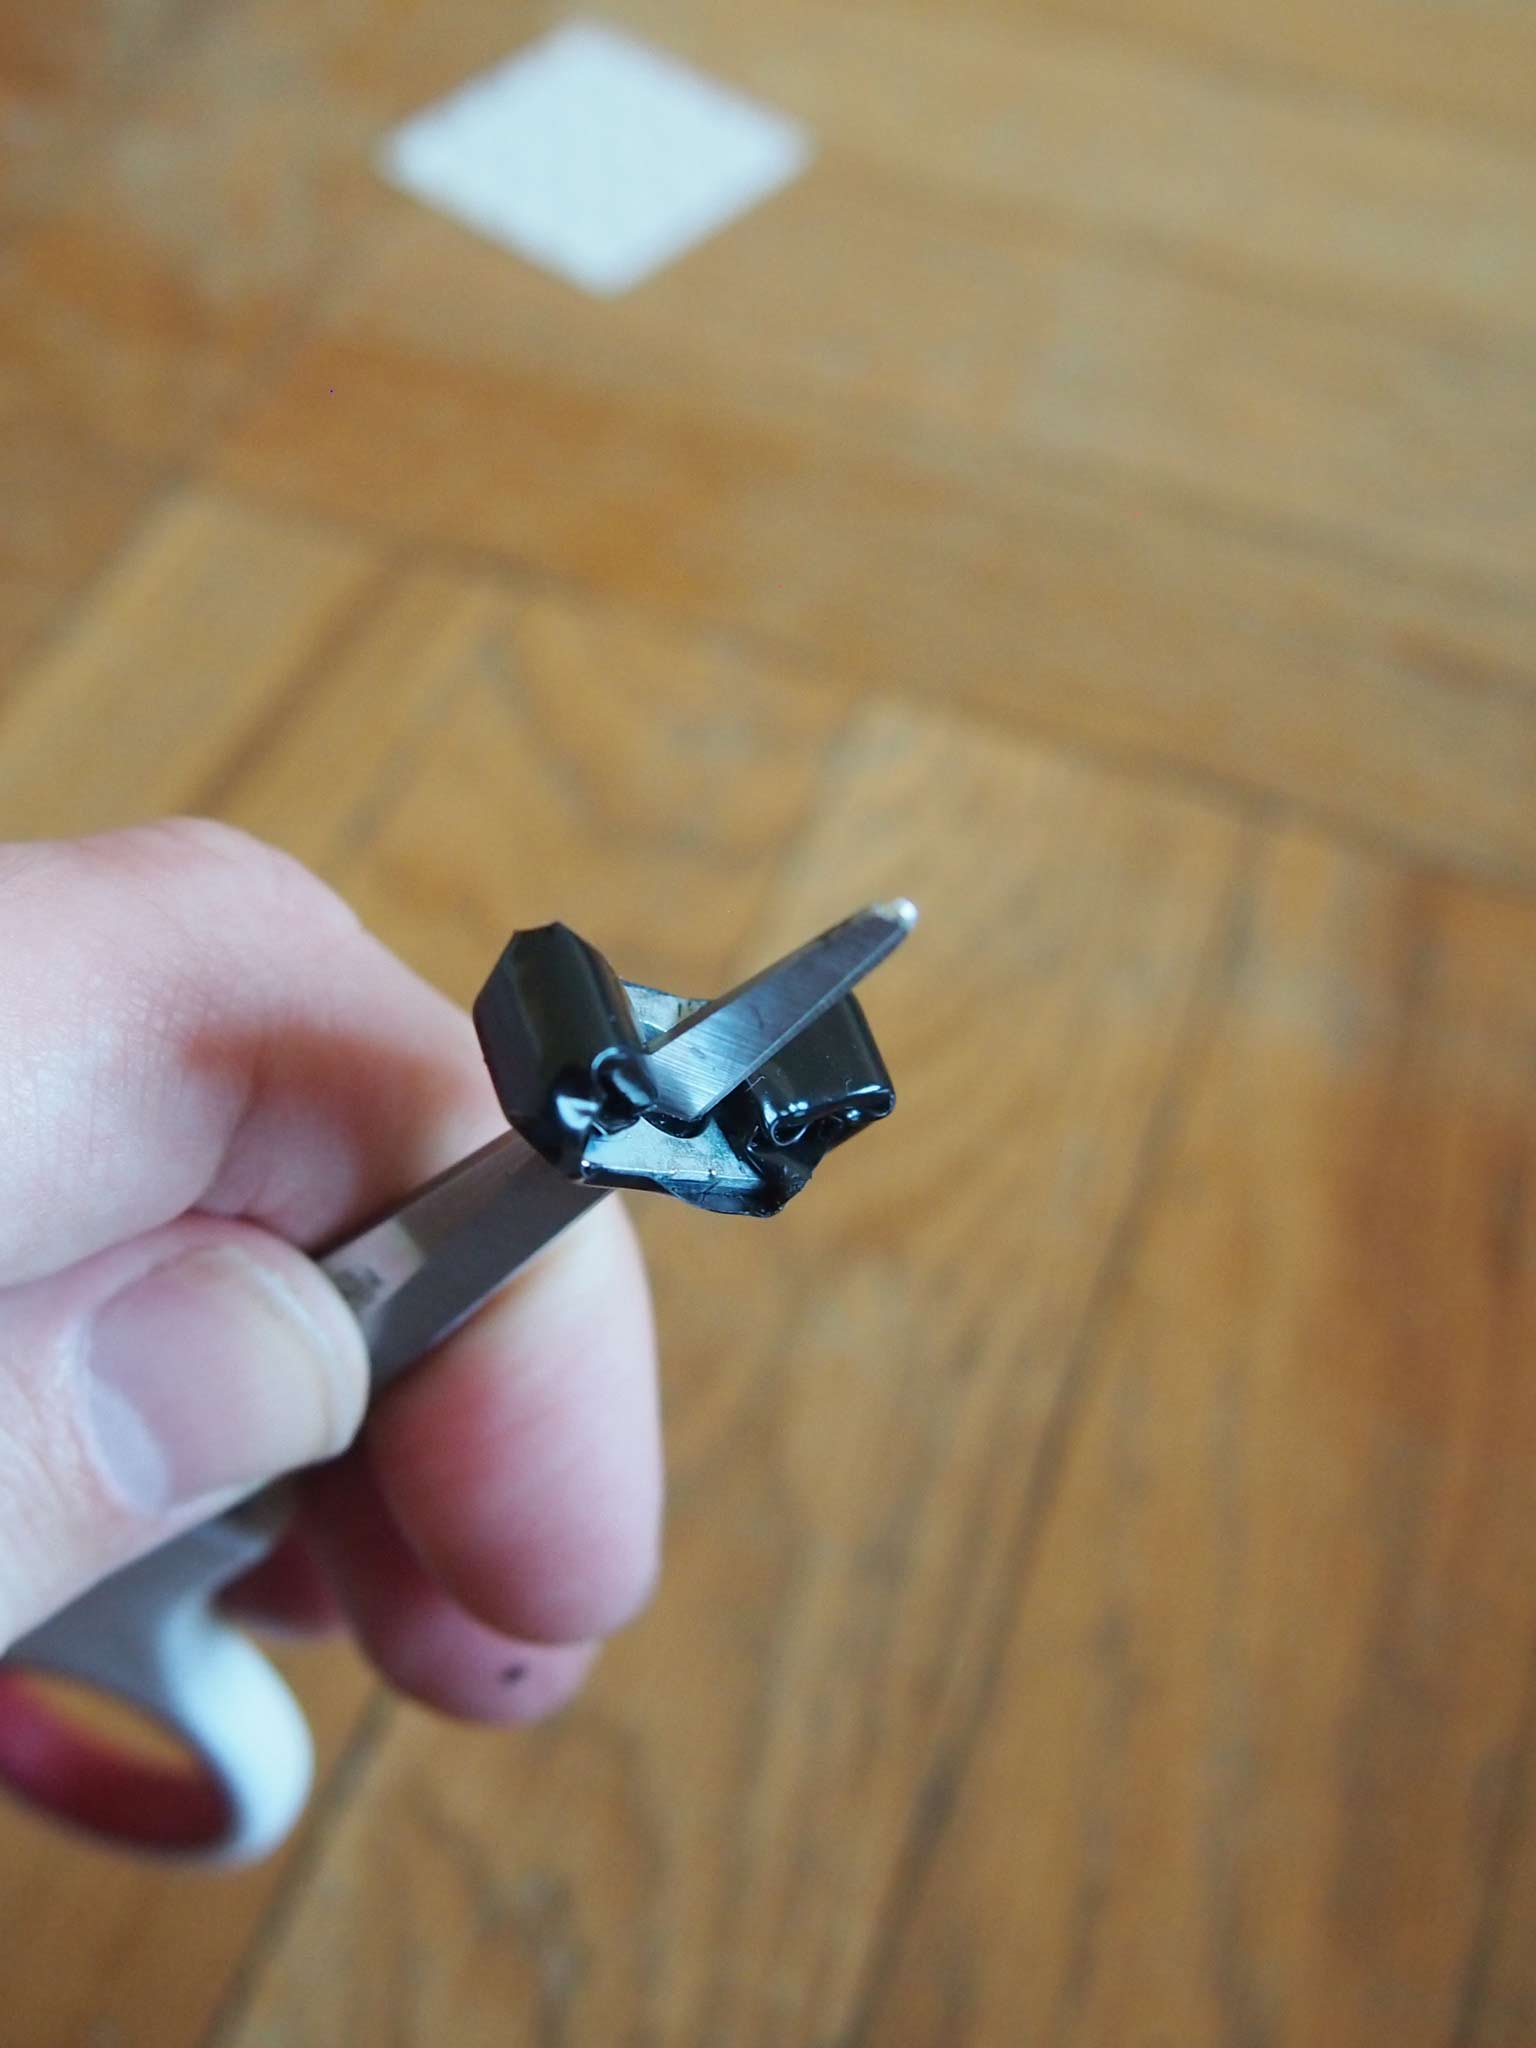
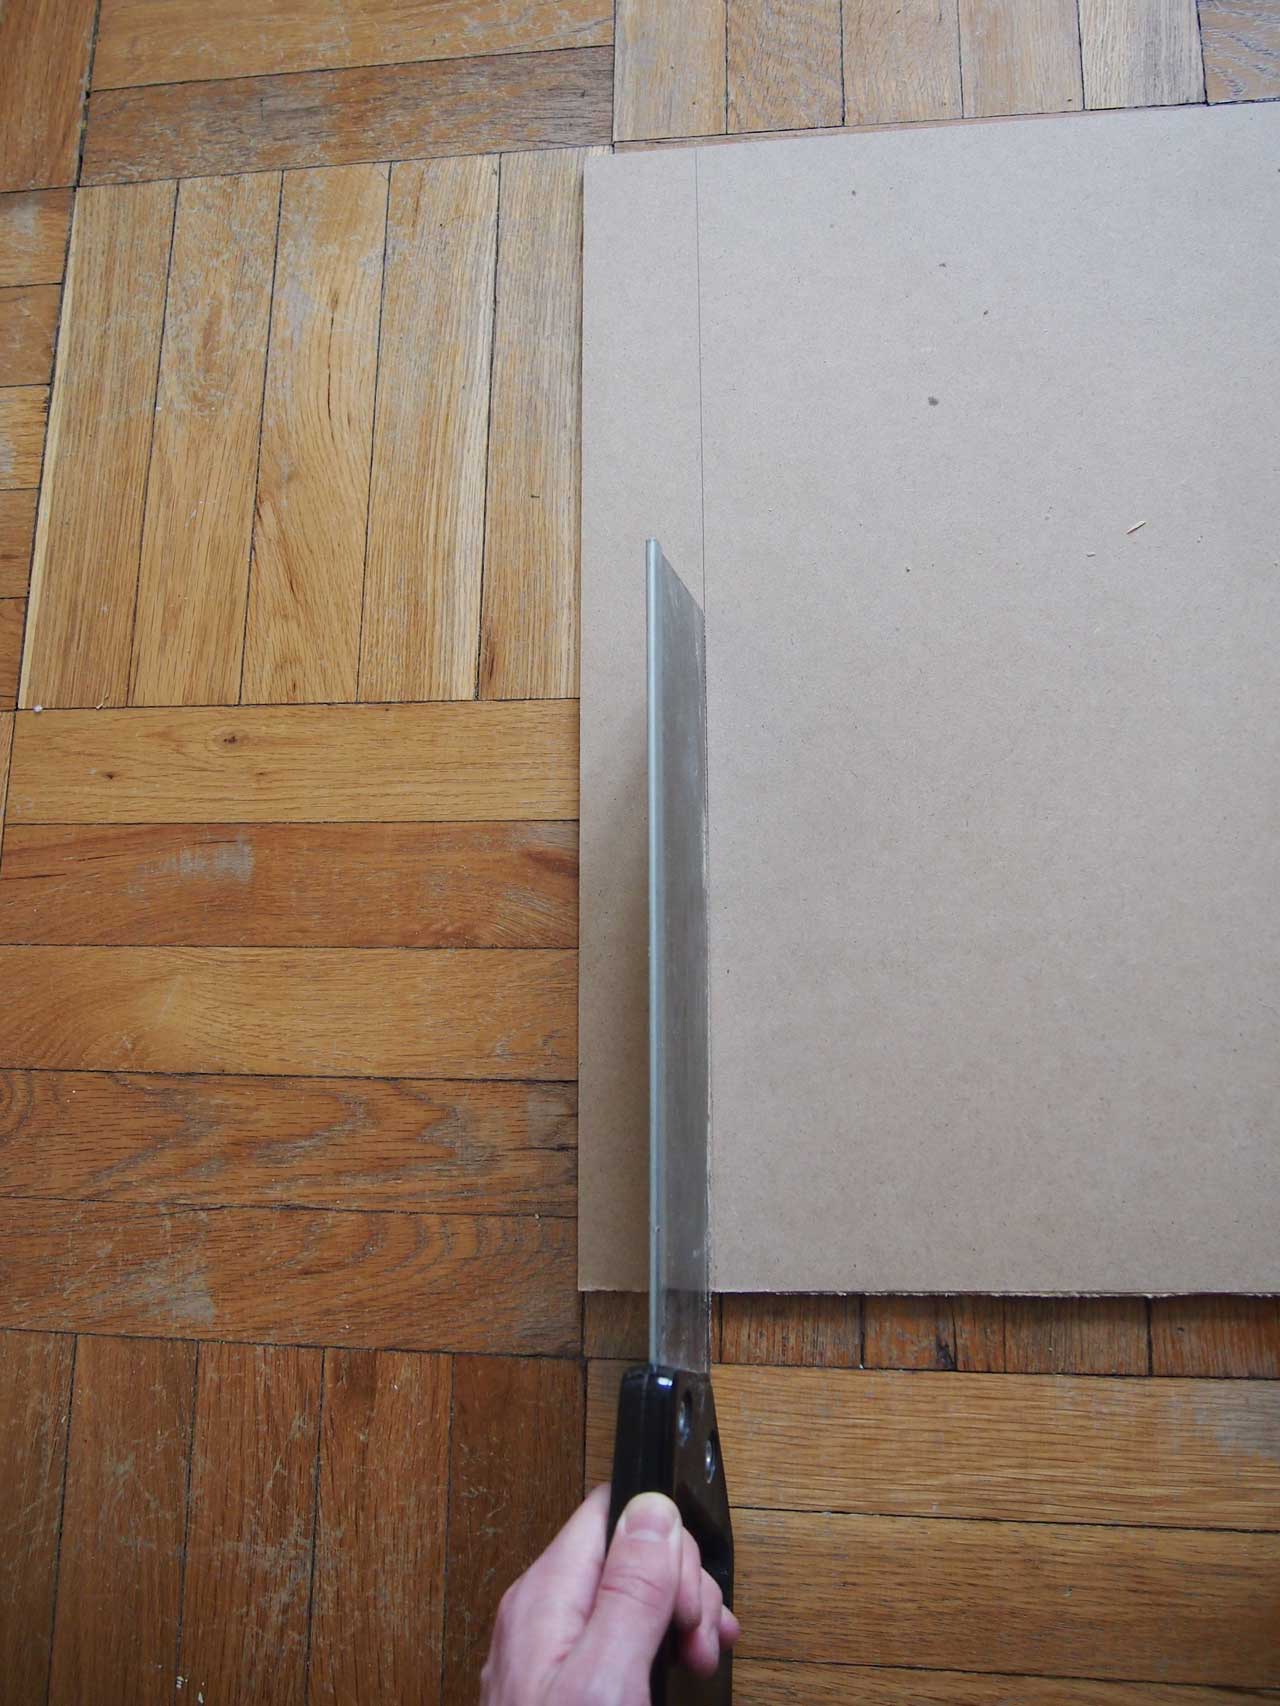
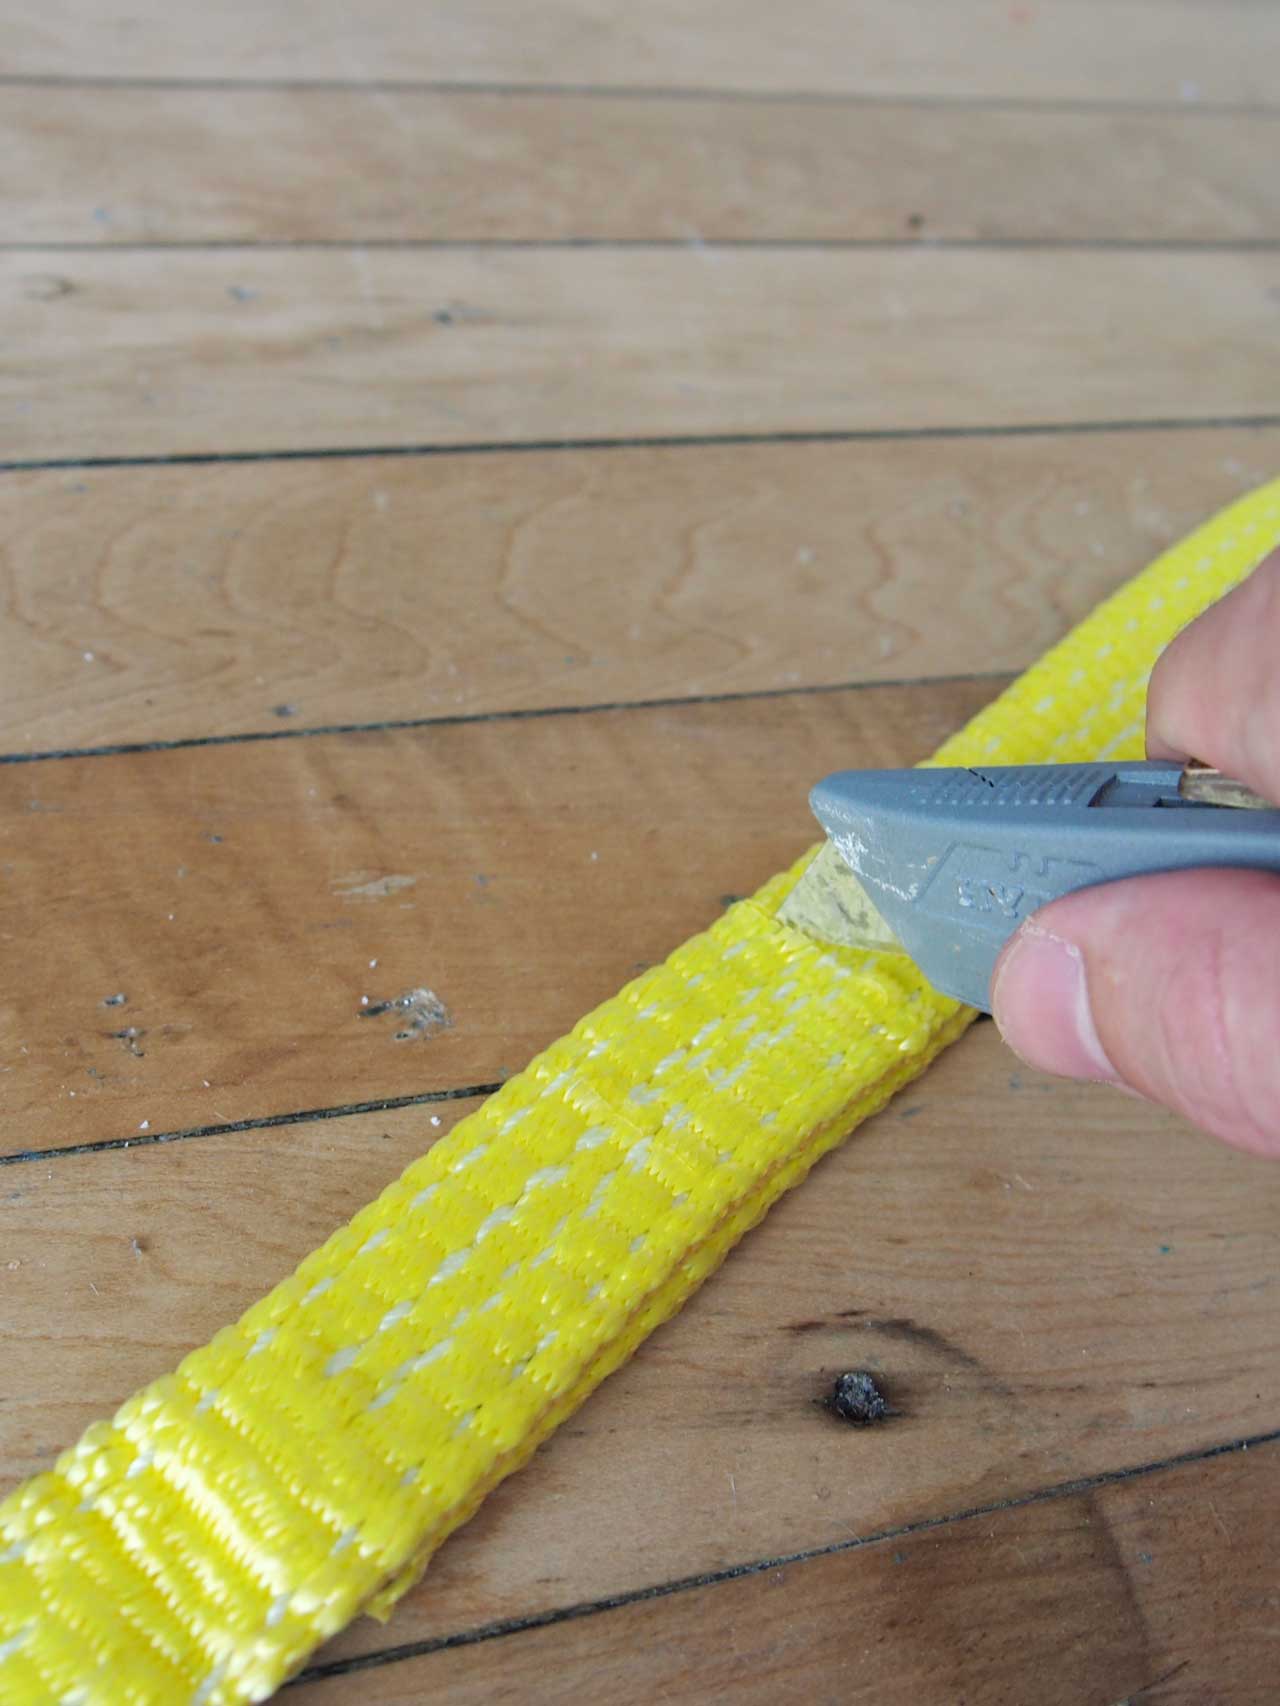
Utility Knife
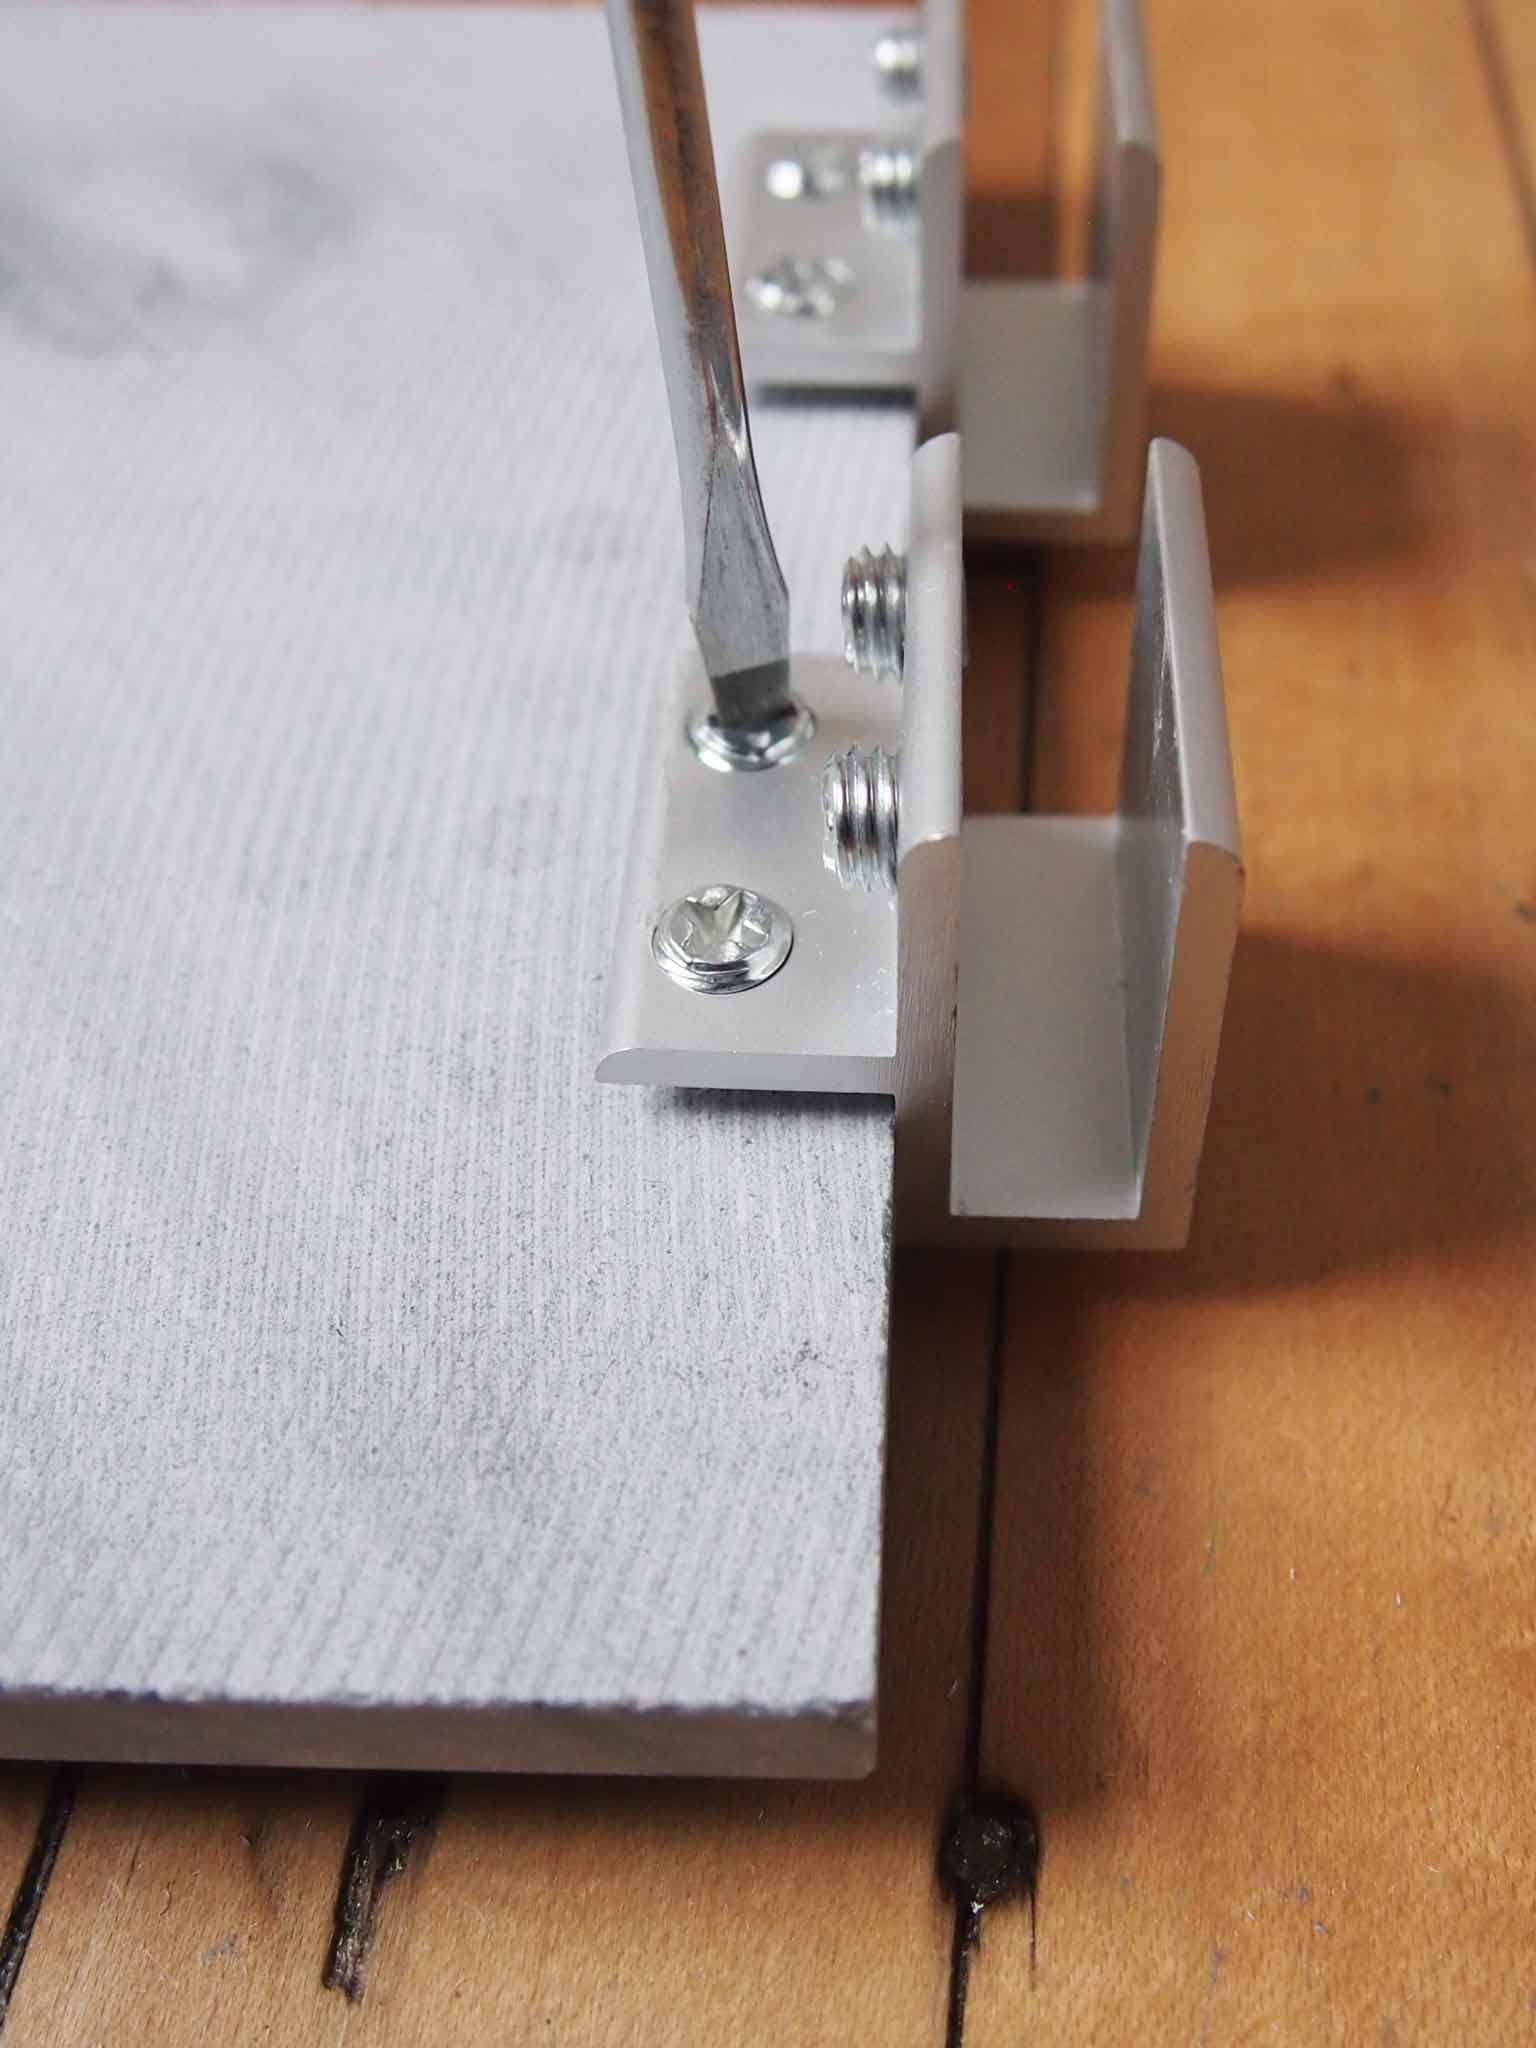
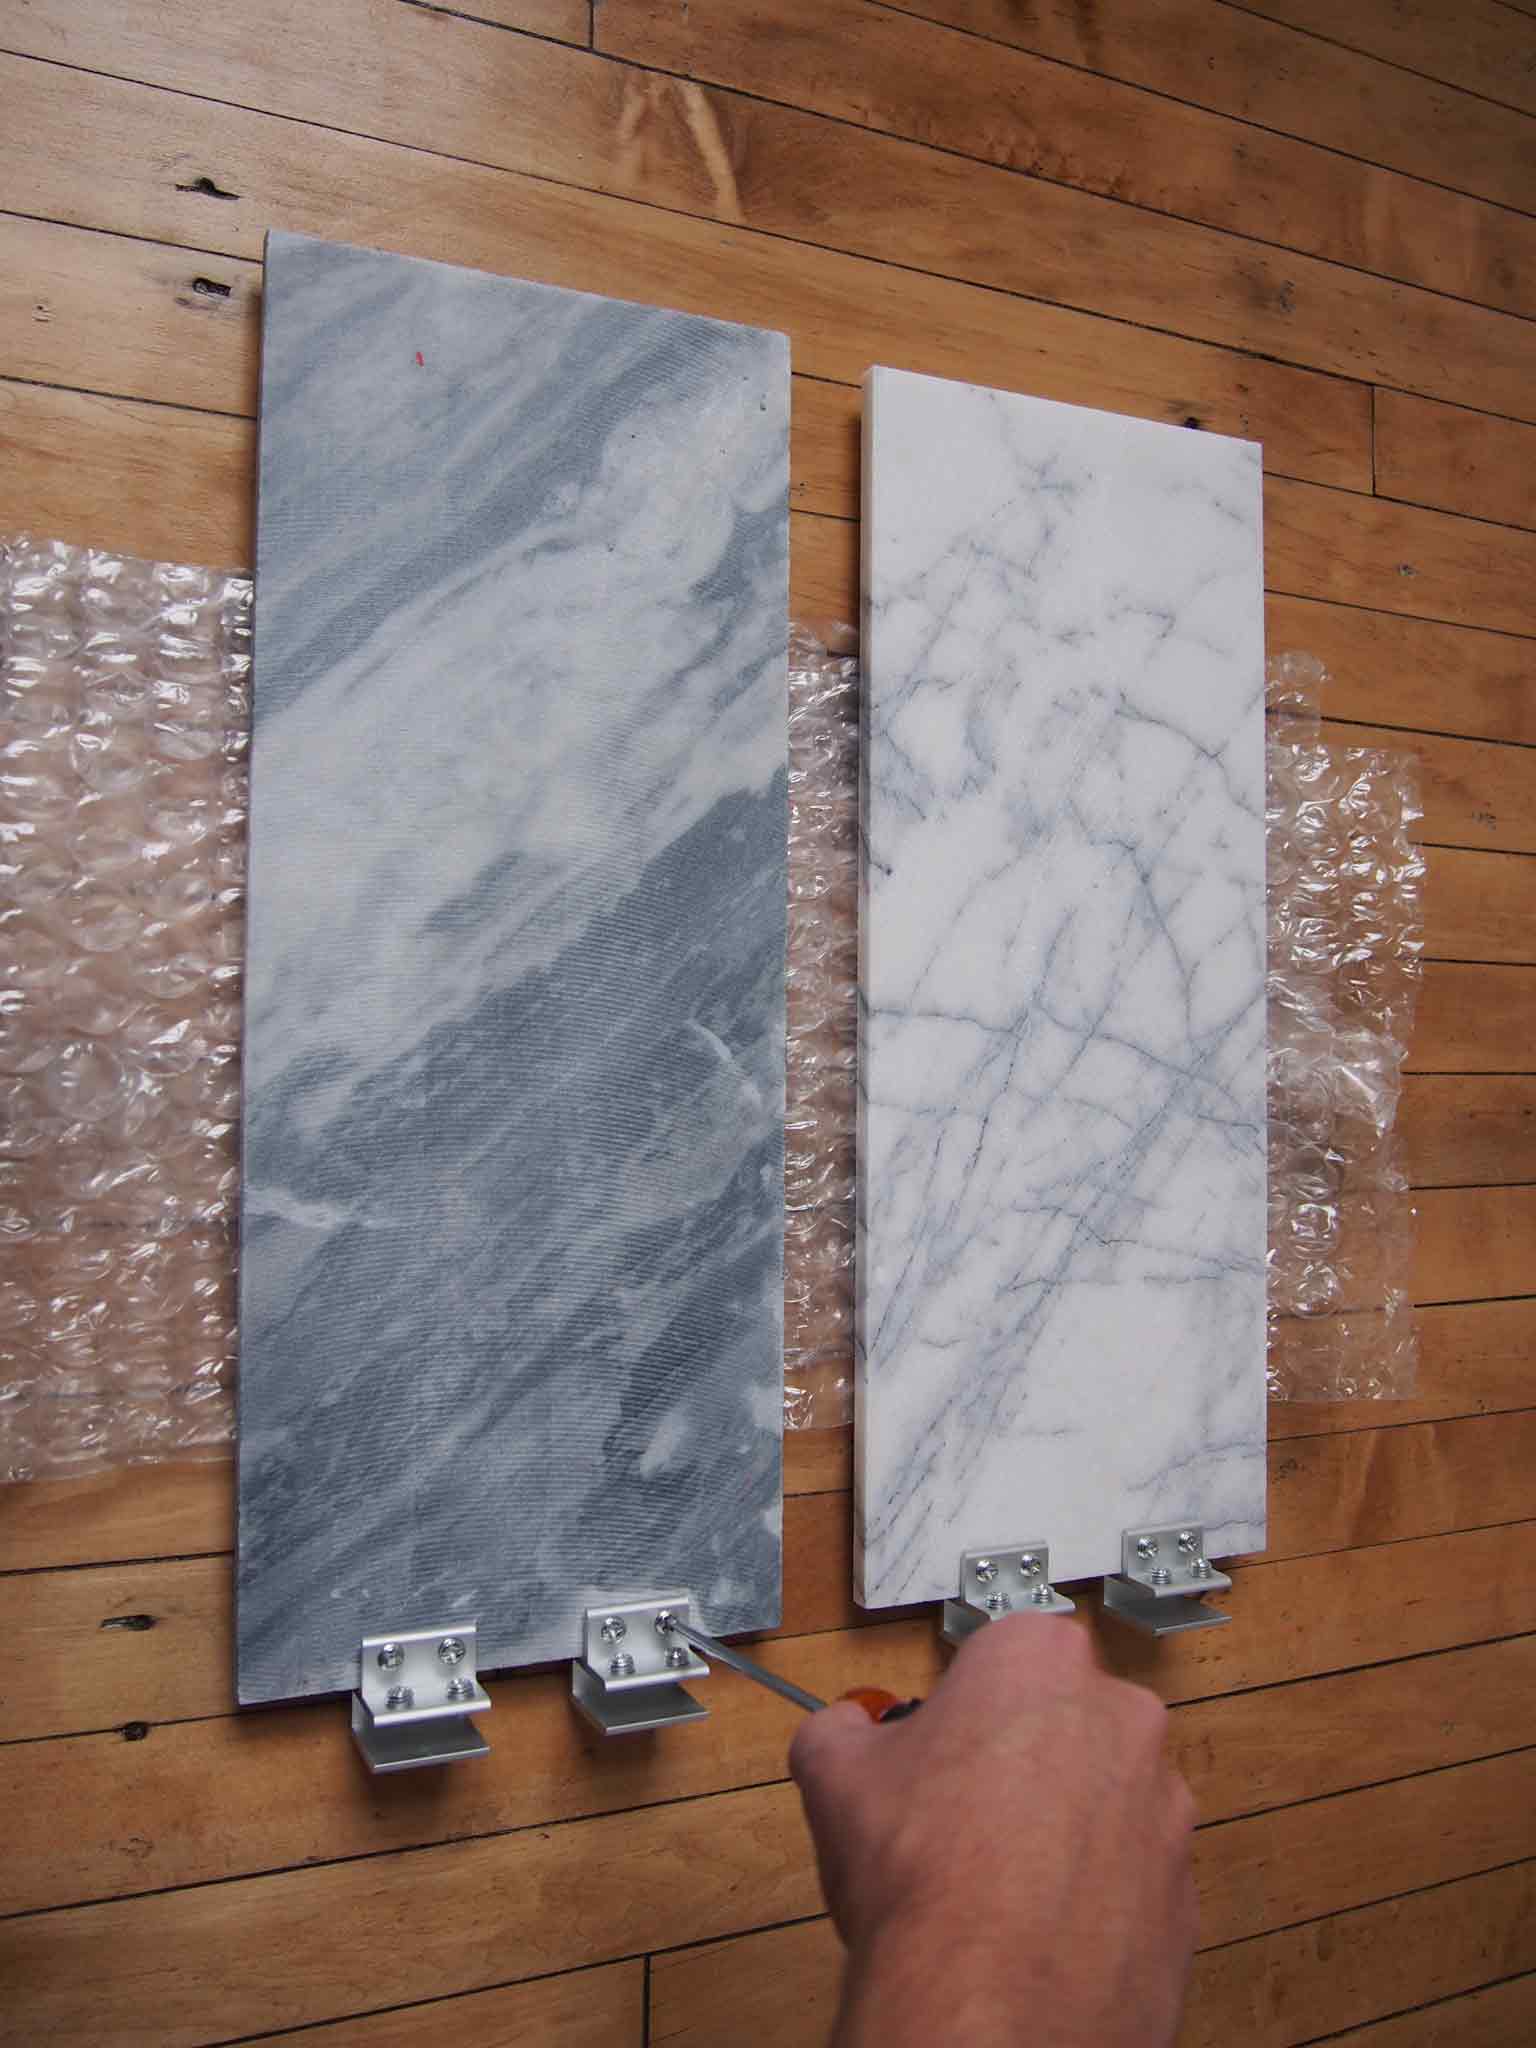
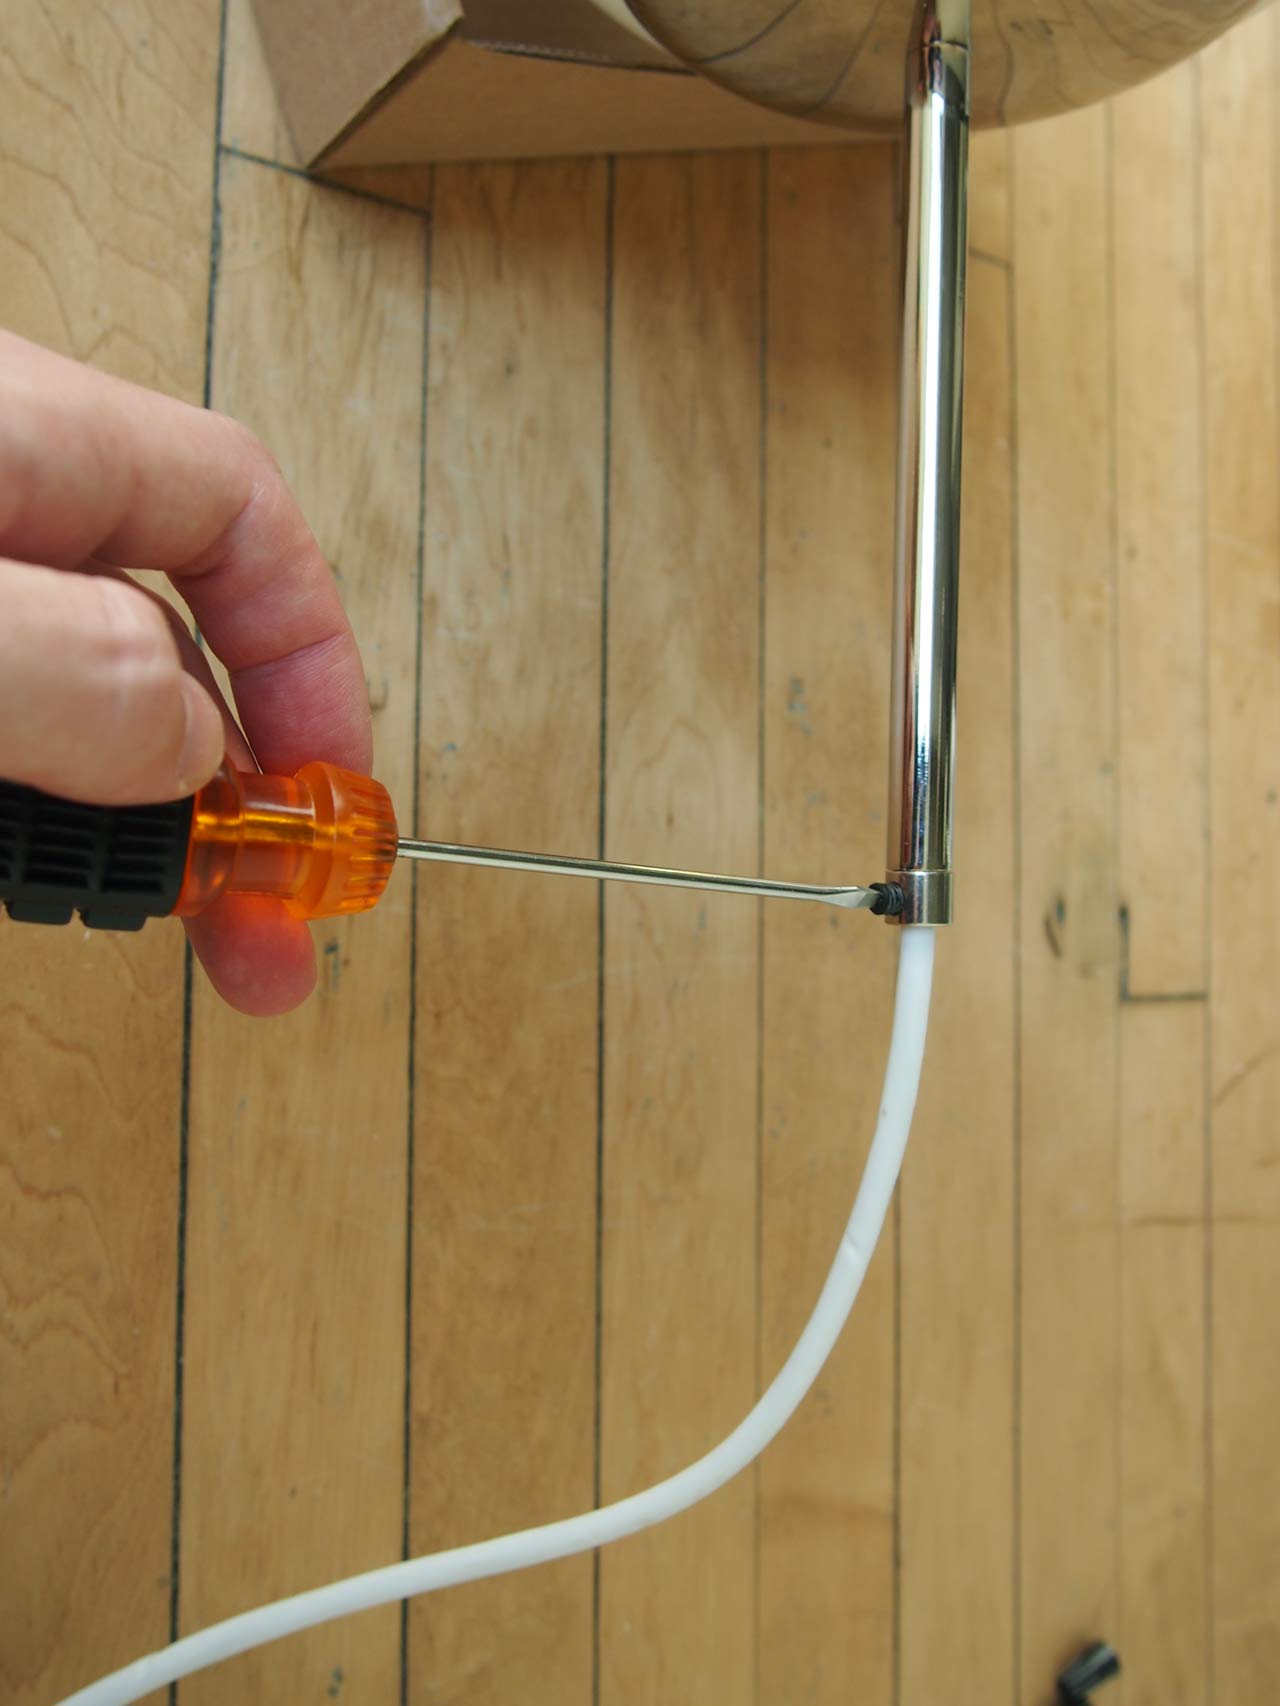
Screwdriver, Flat Head
Help Each Other