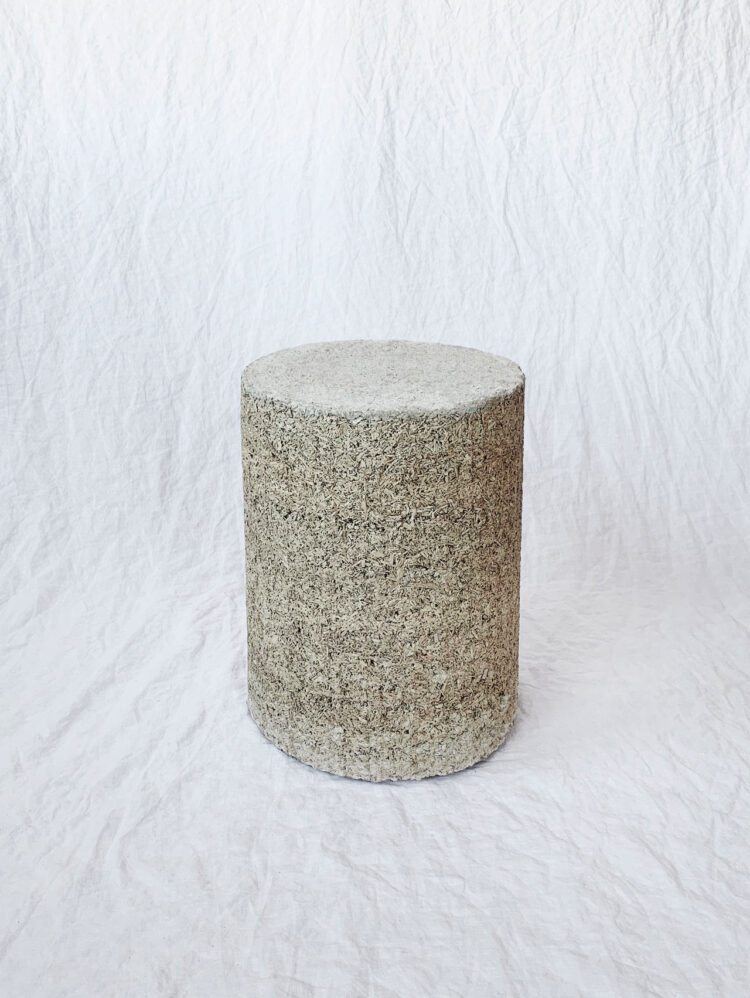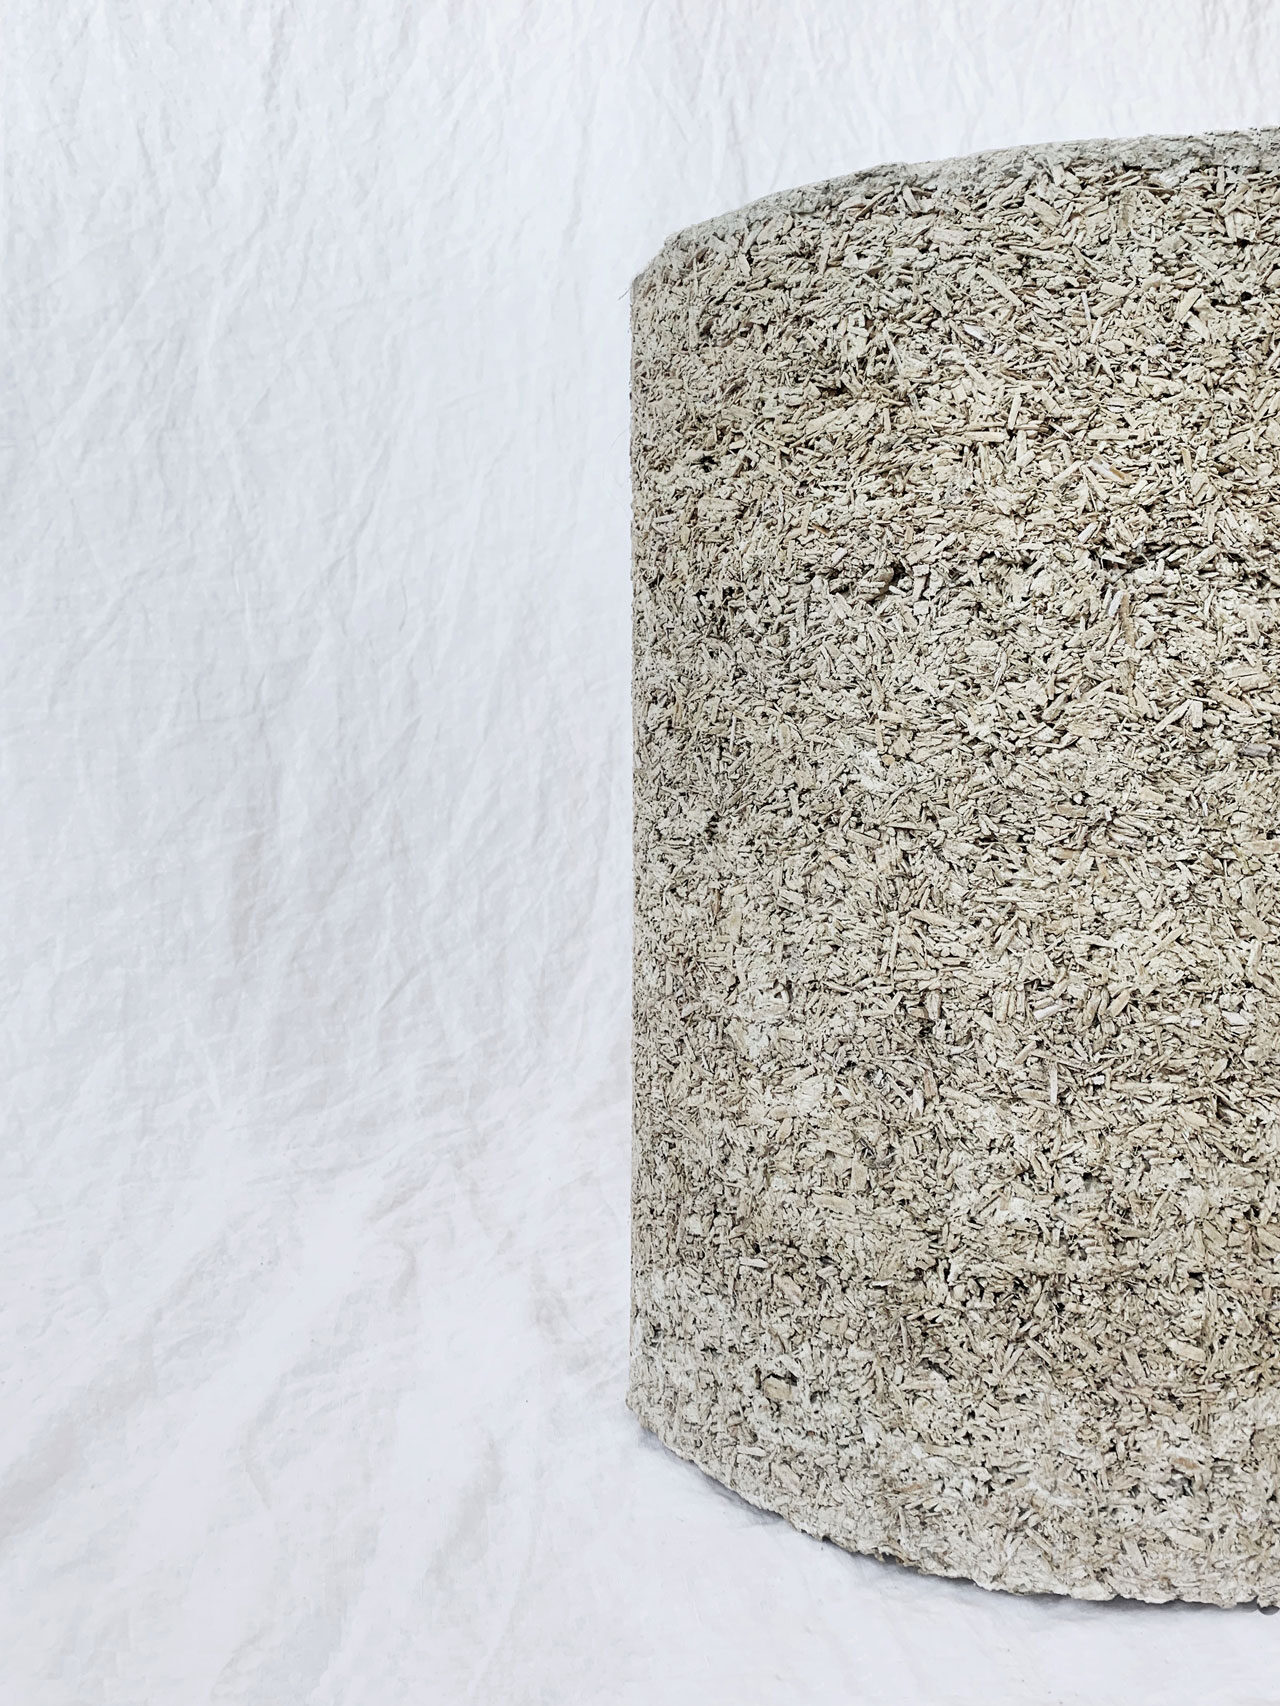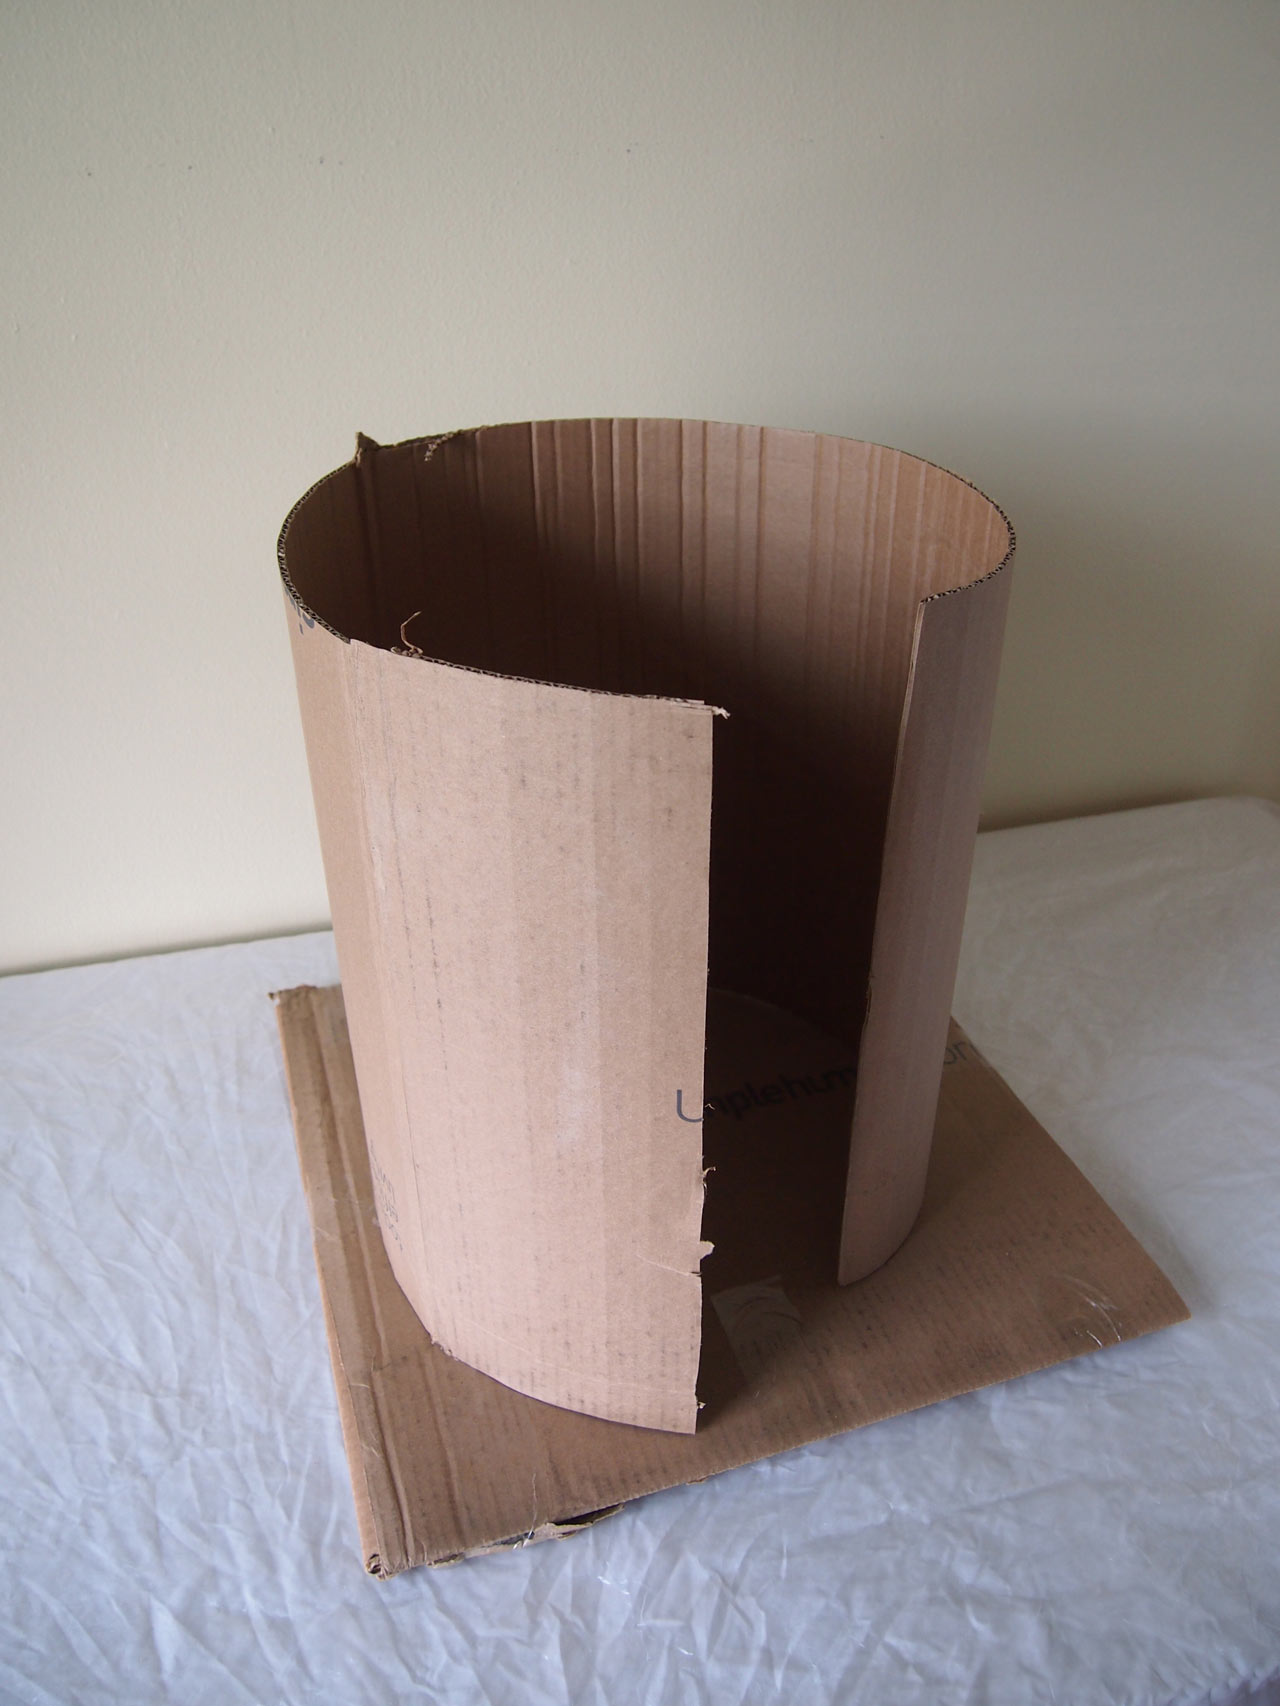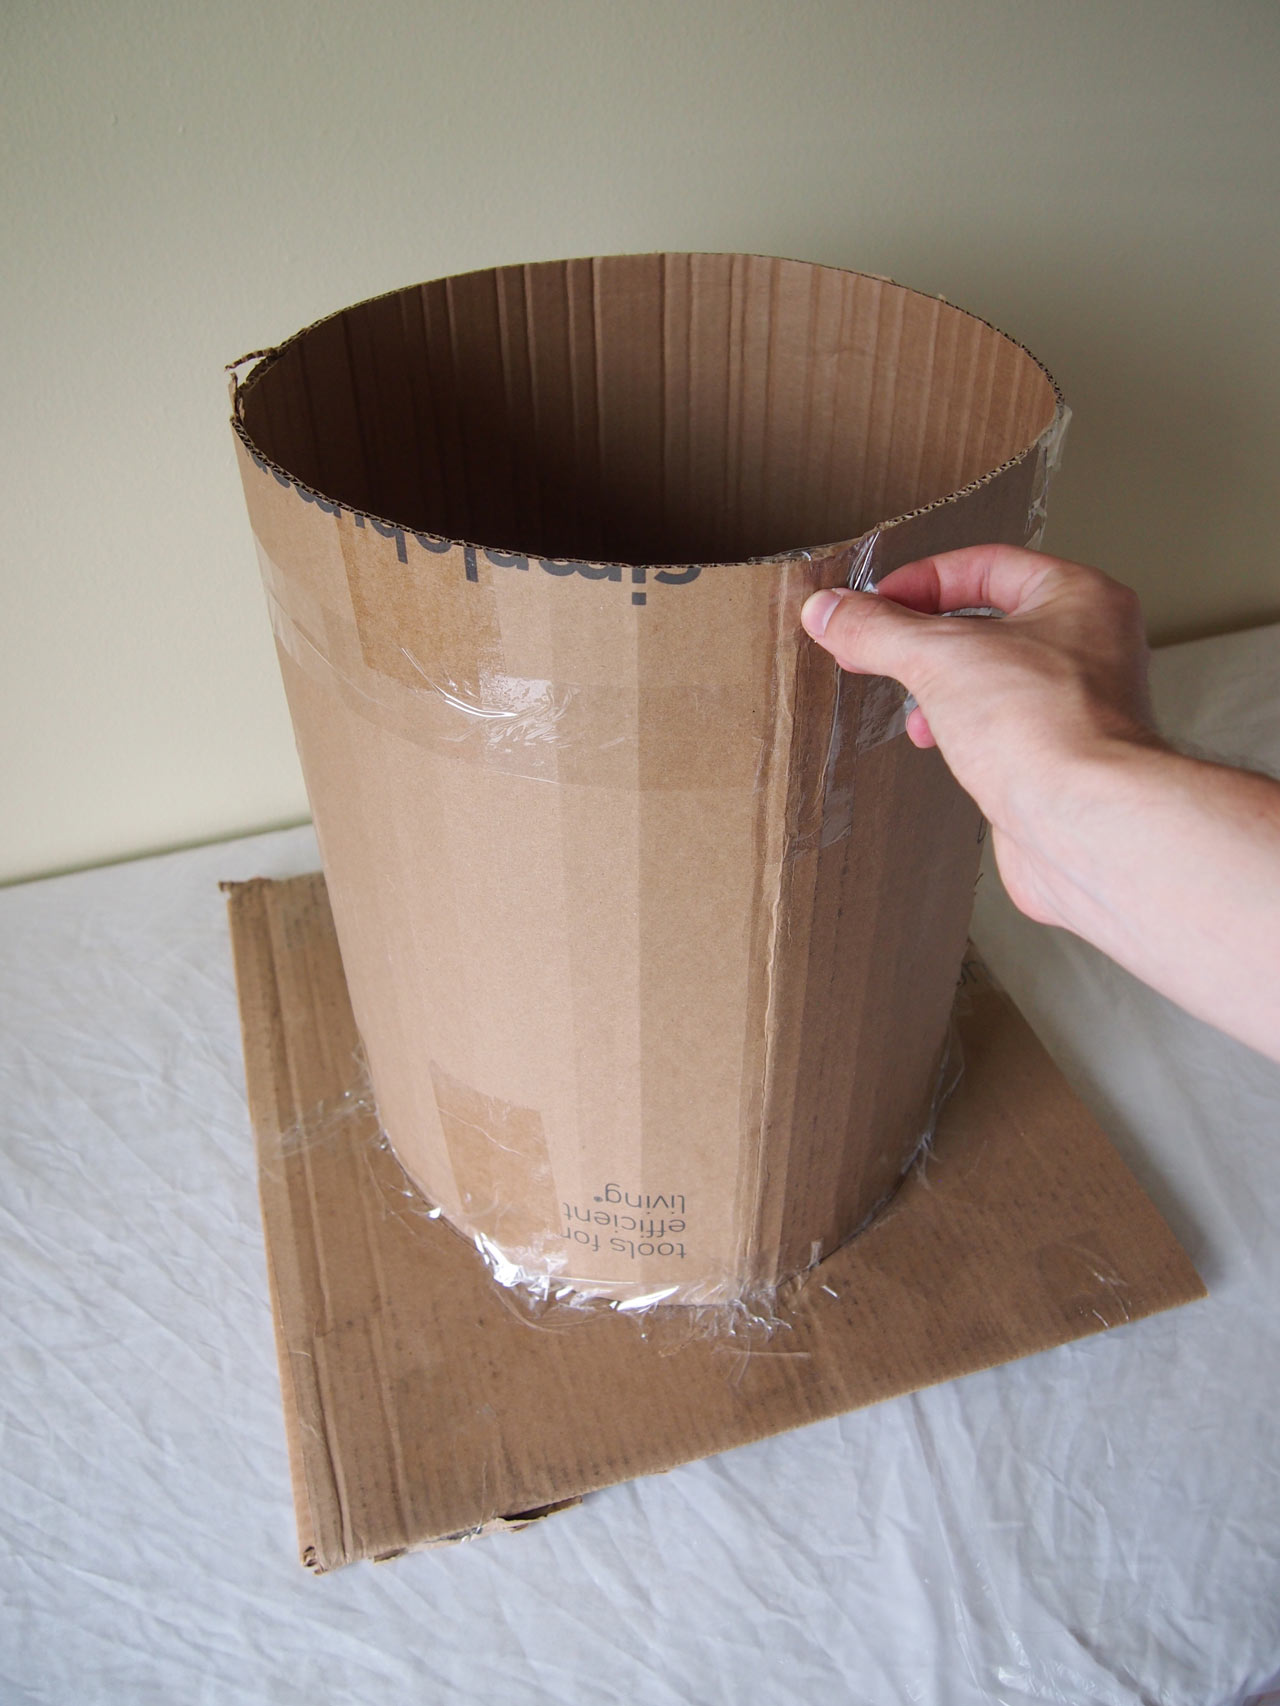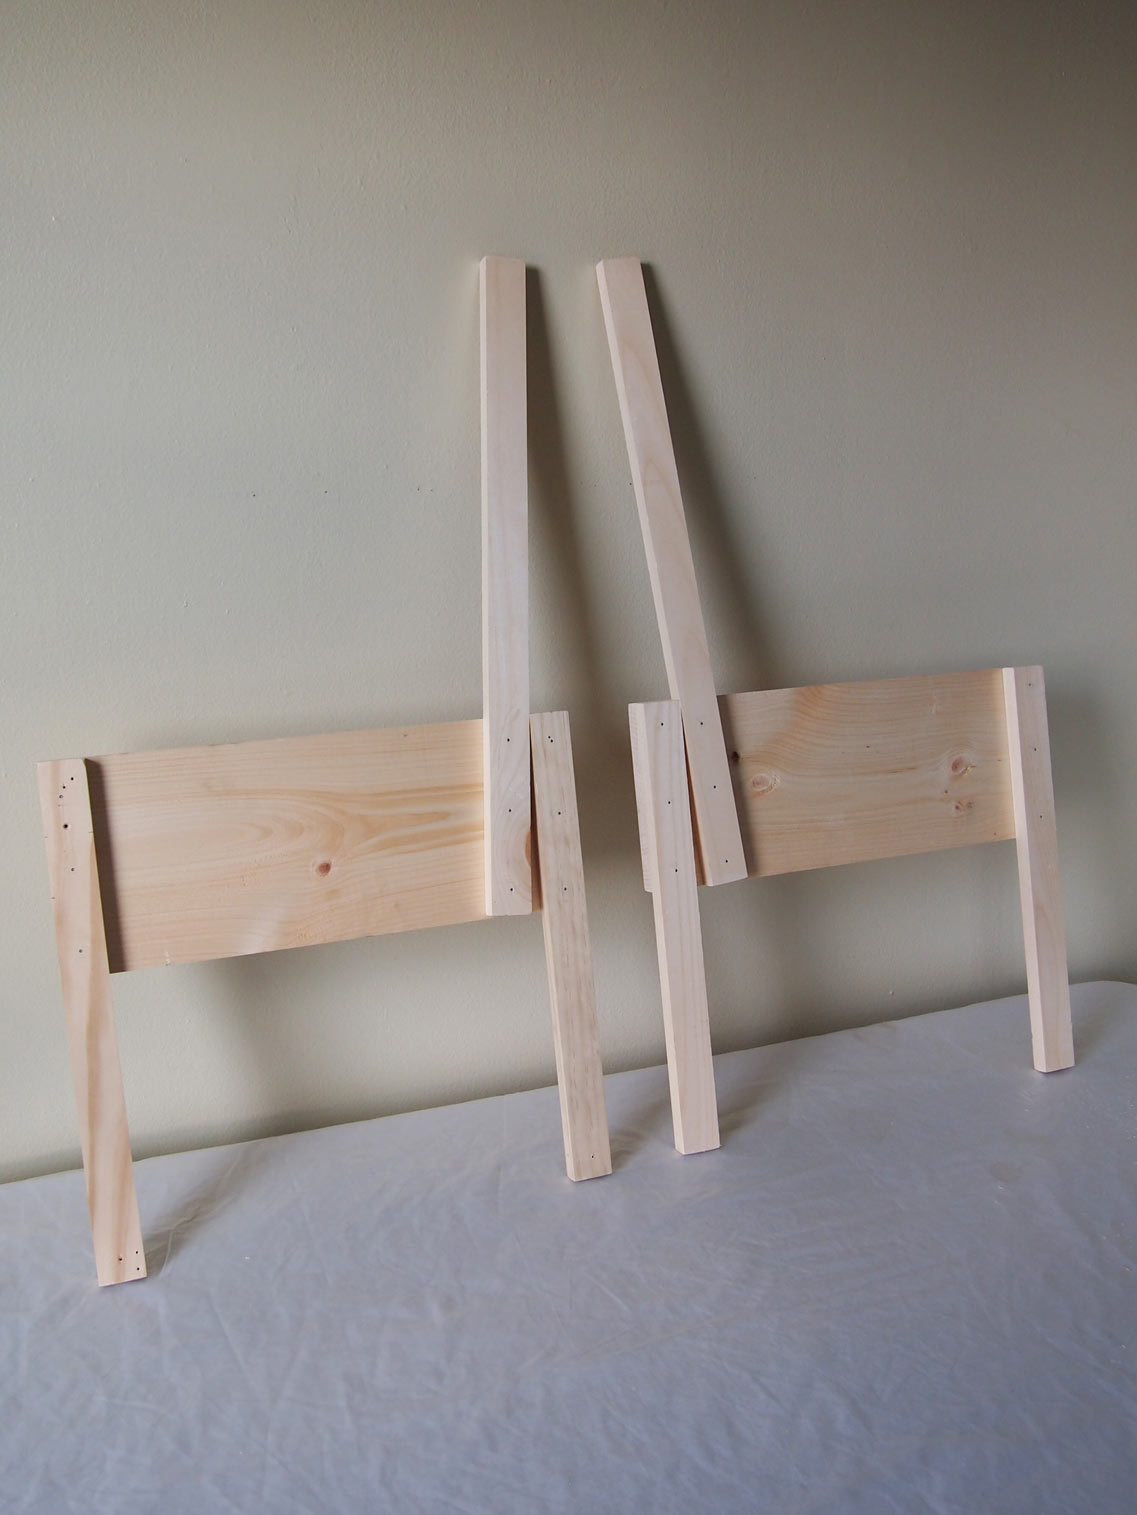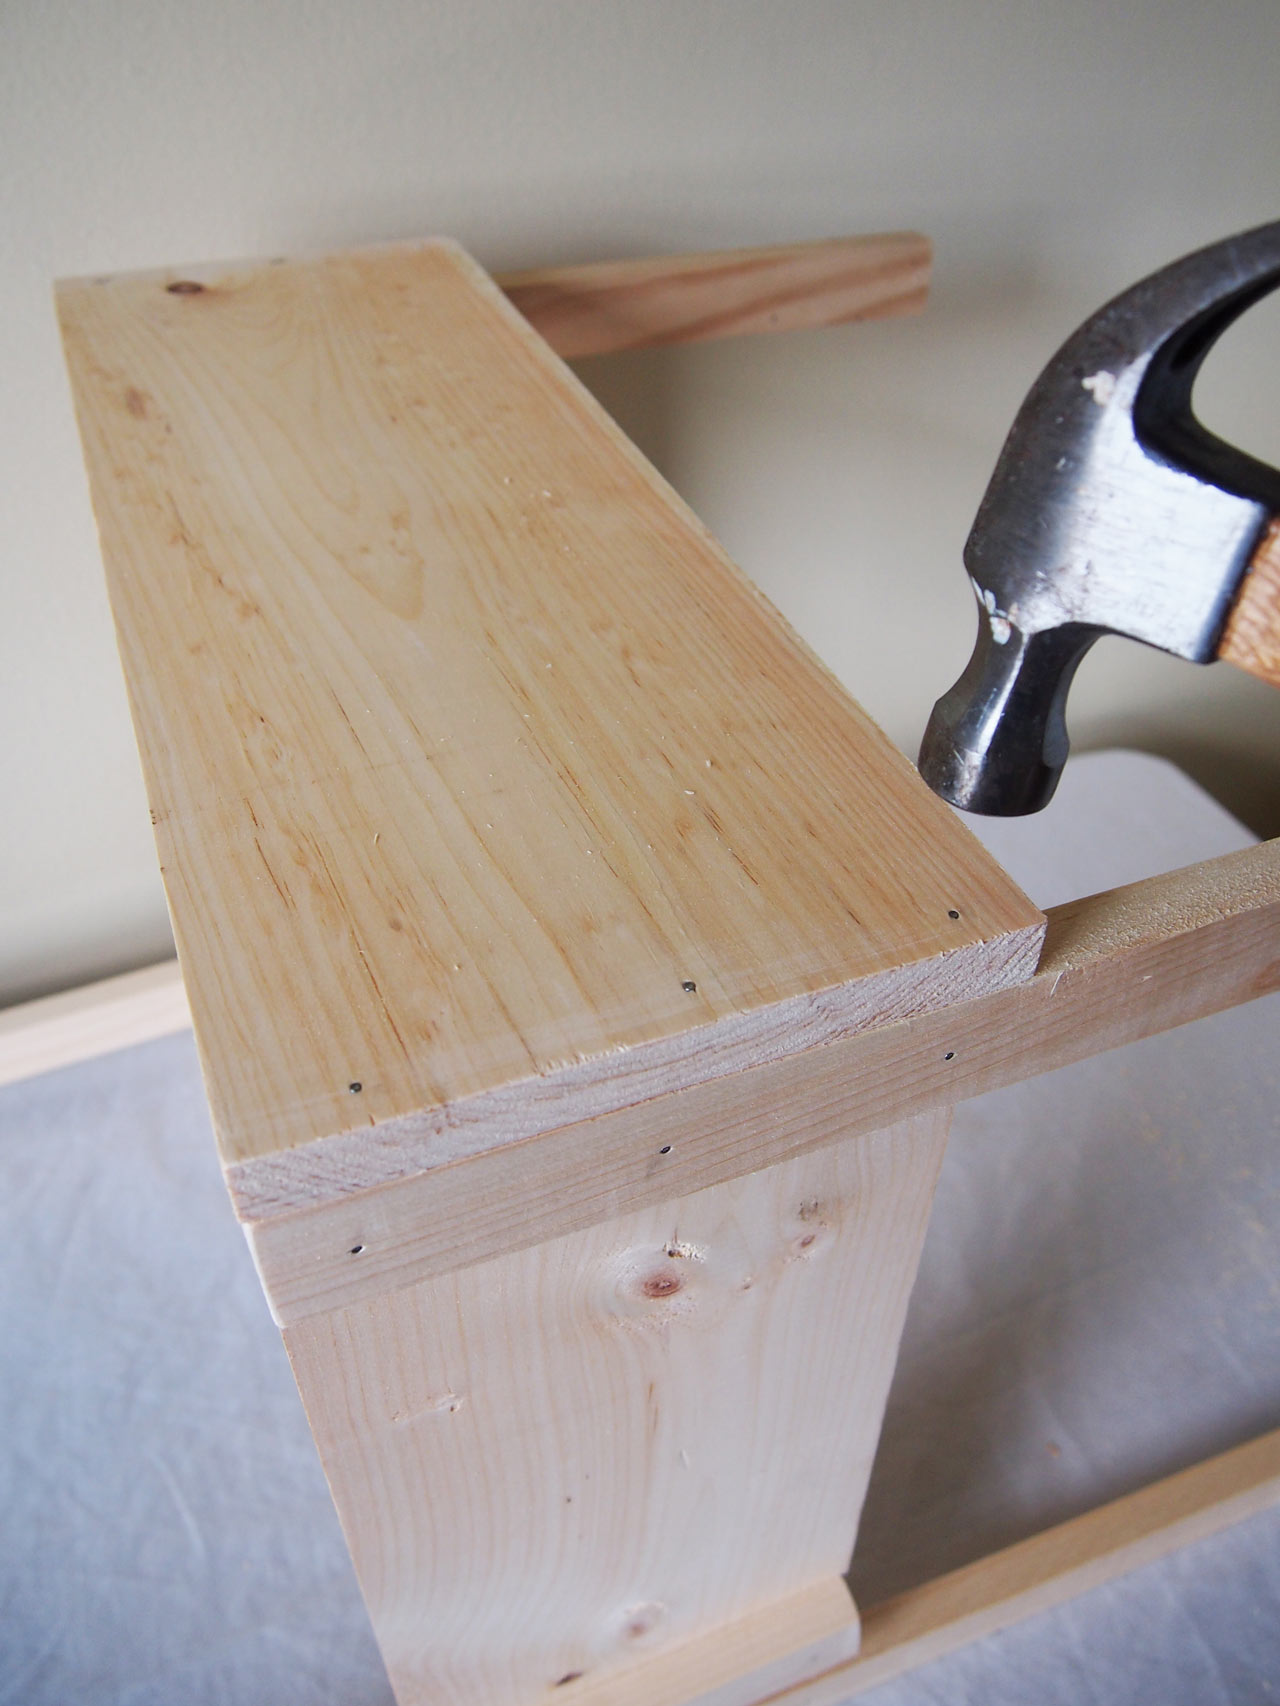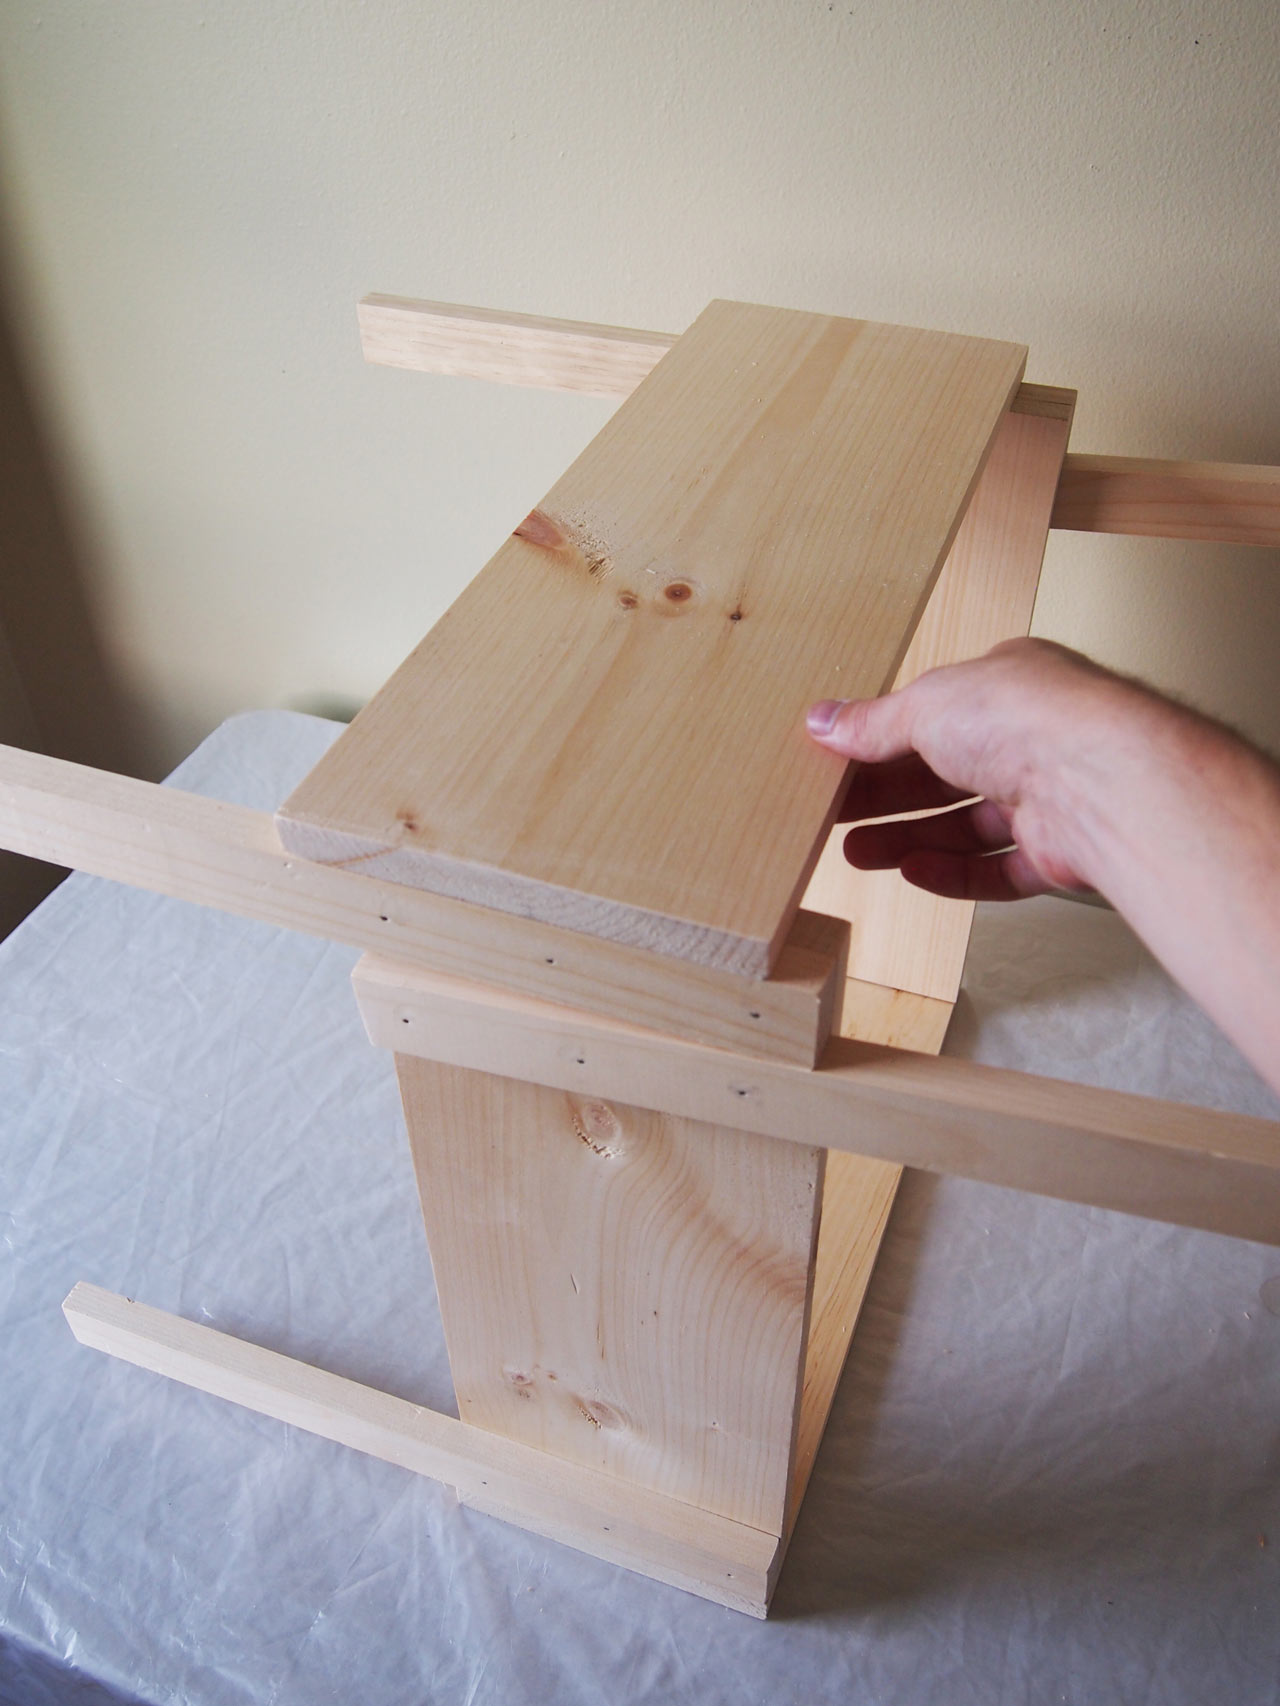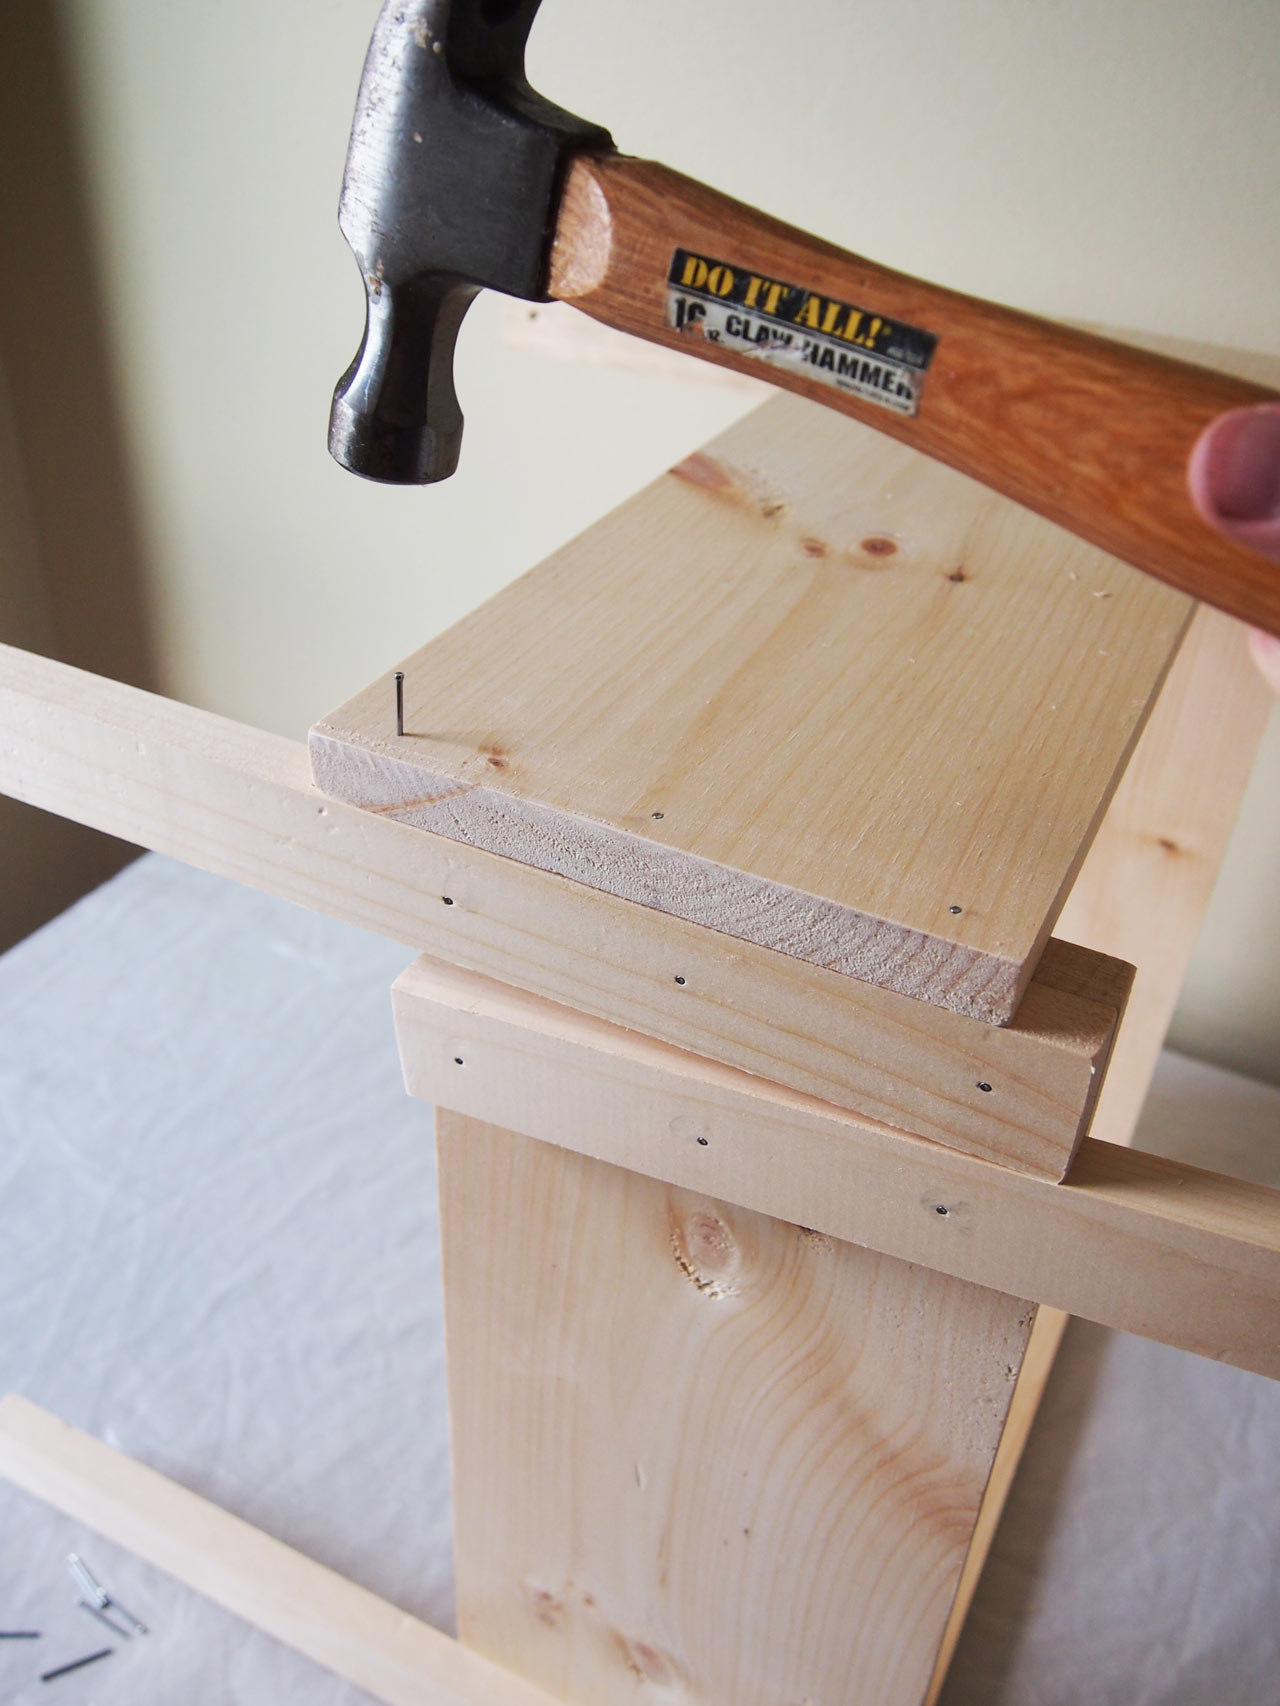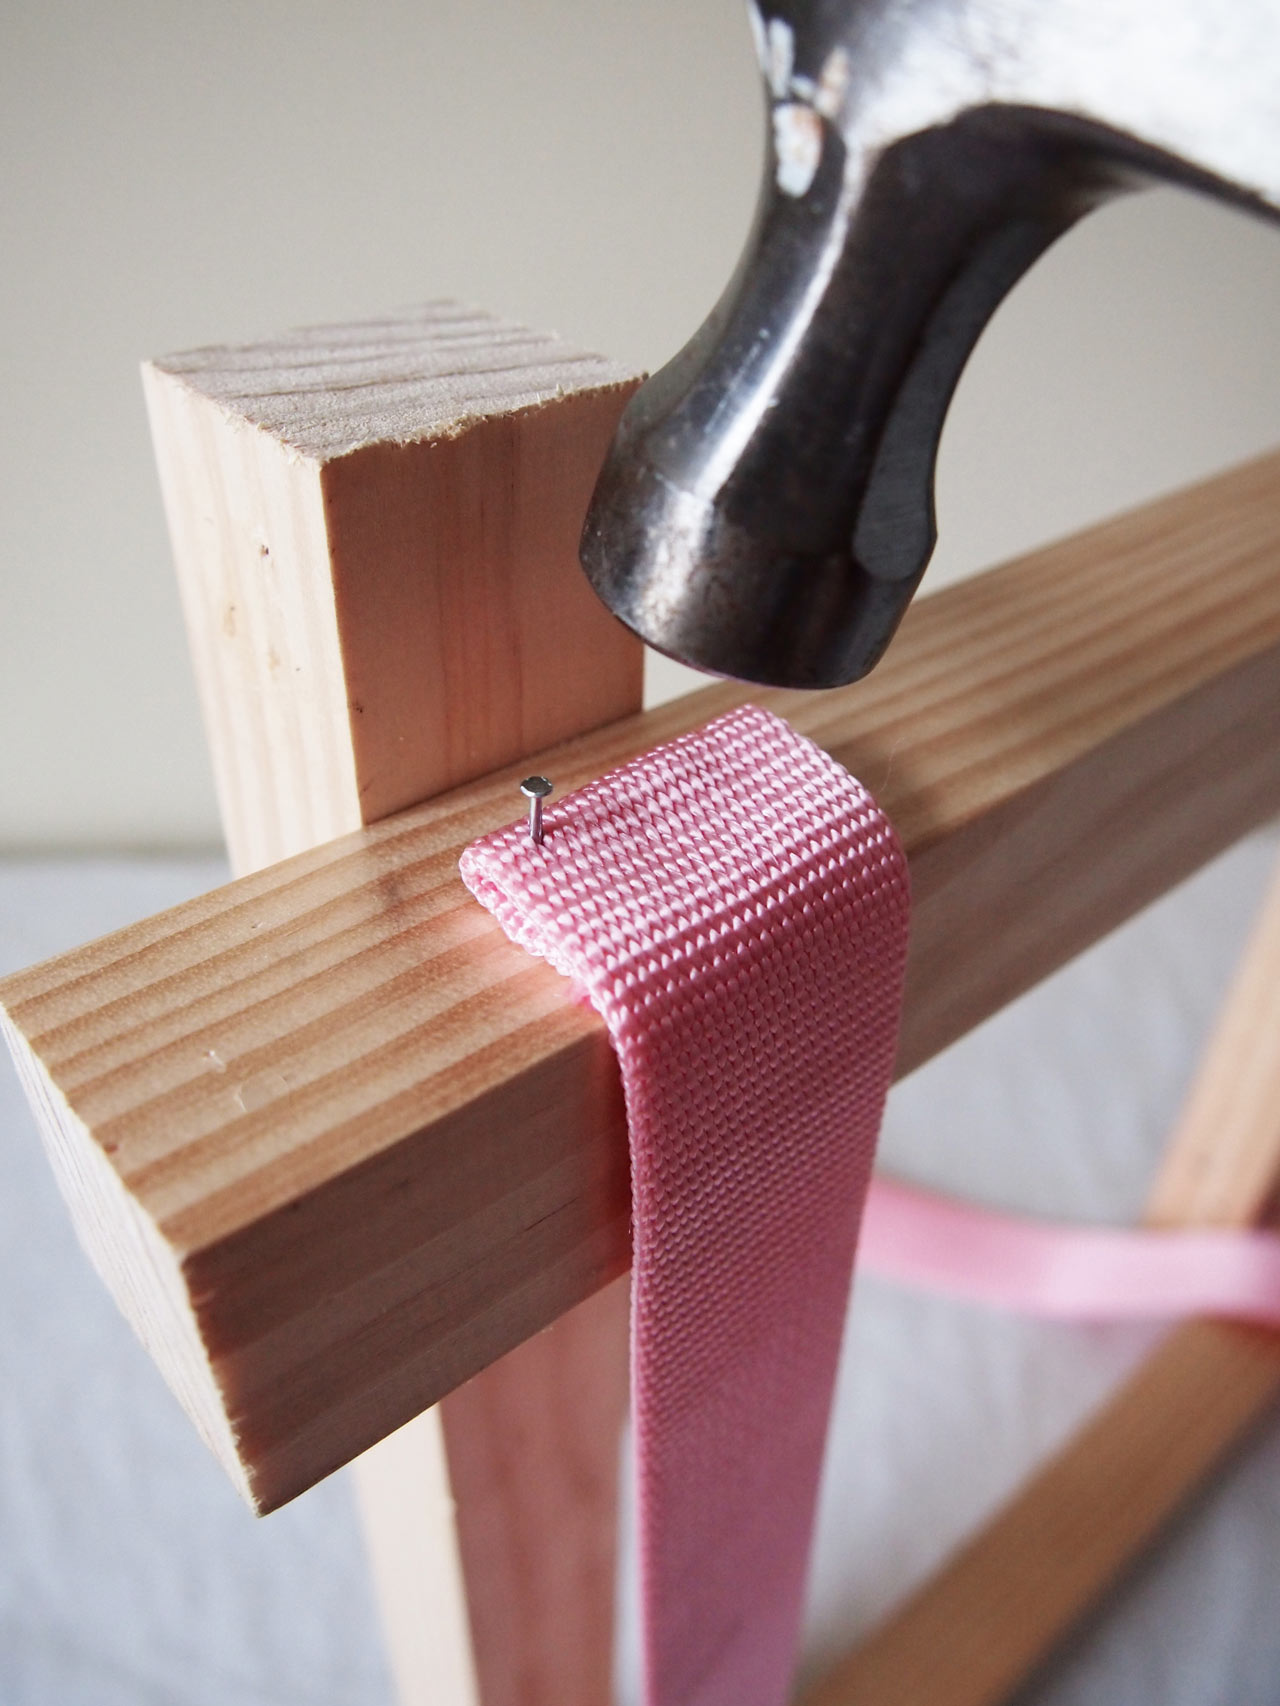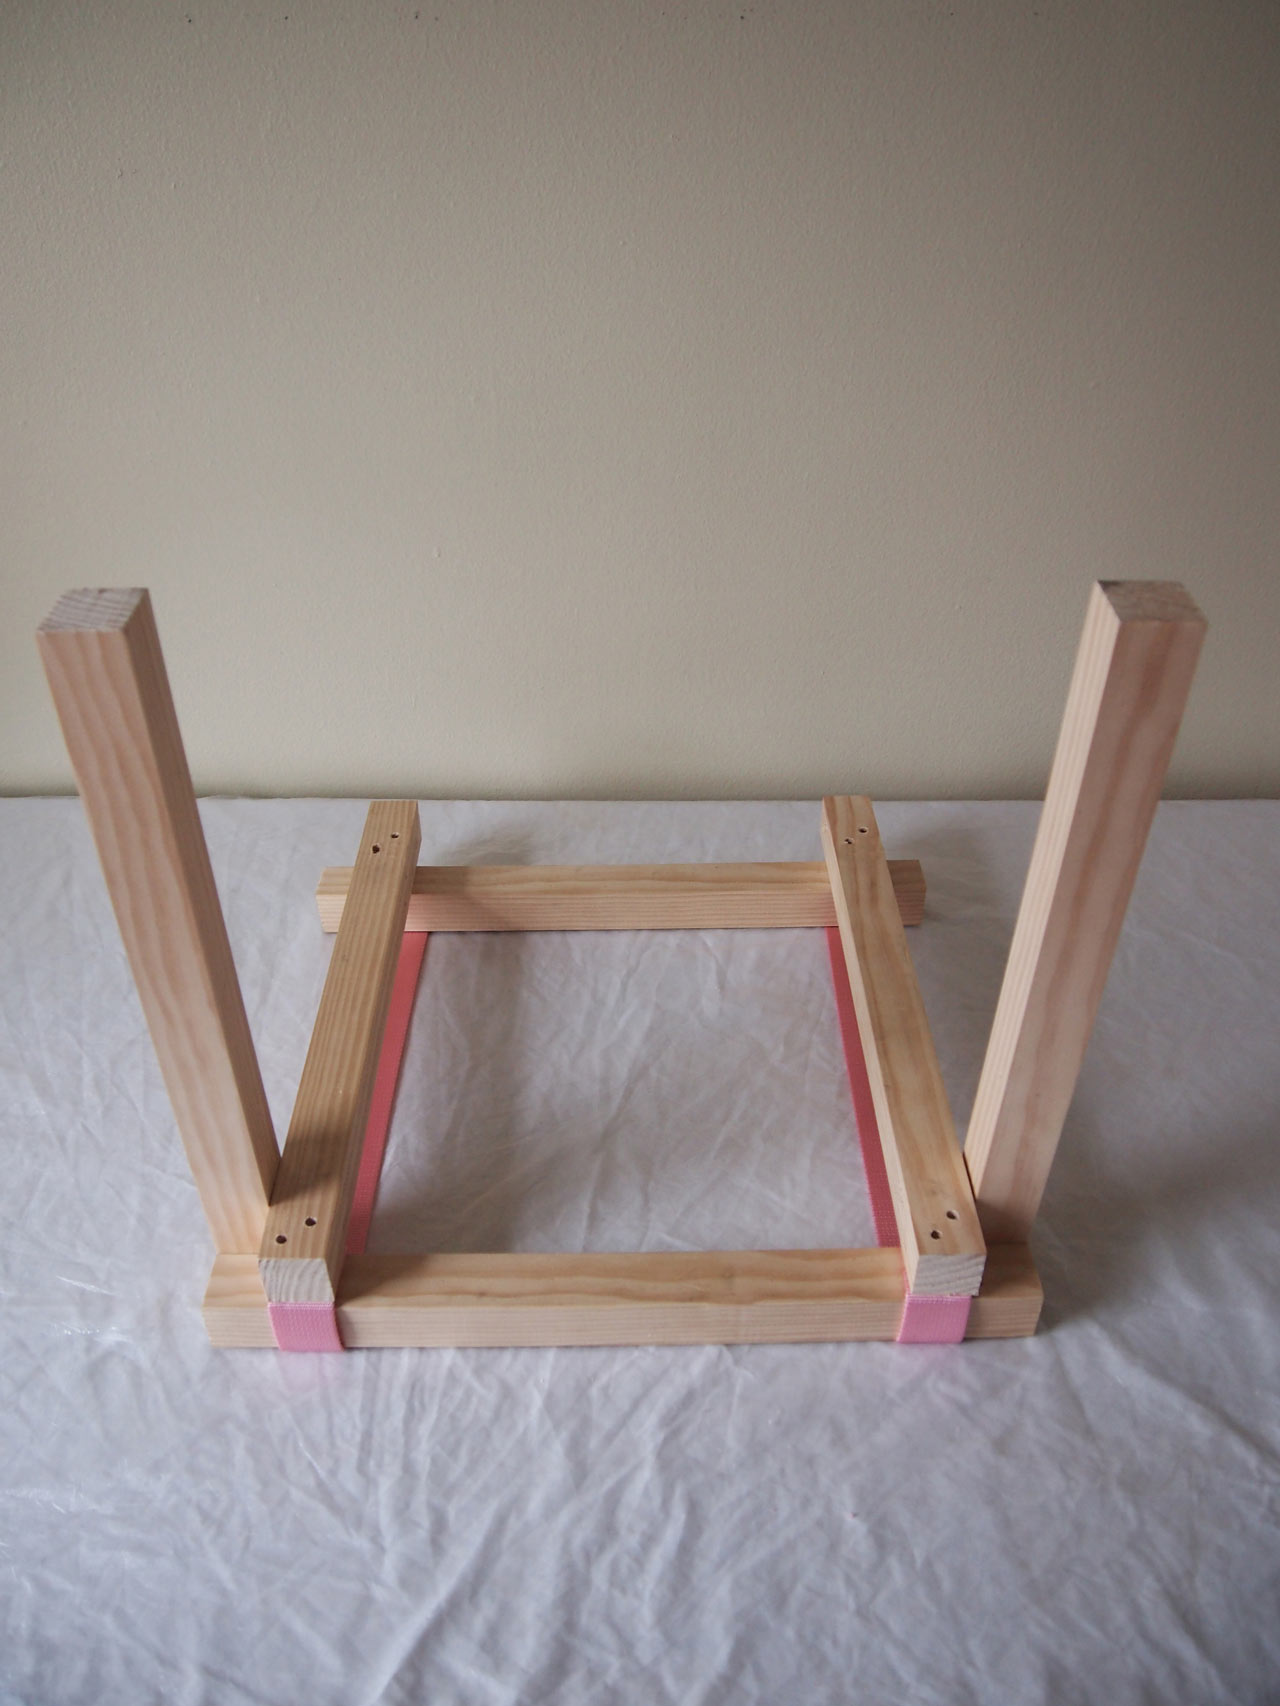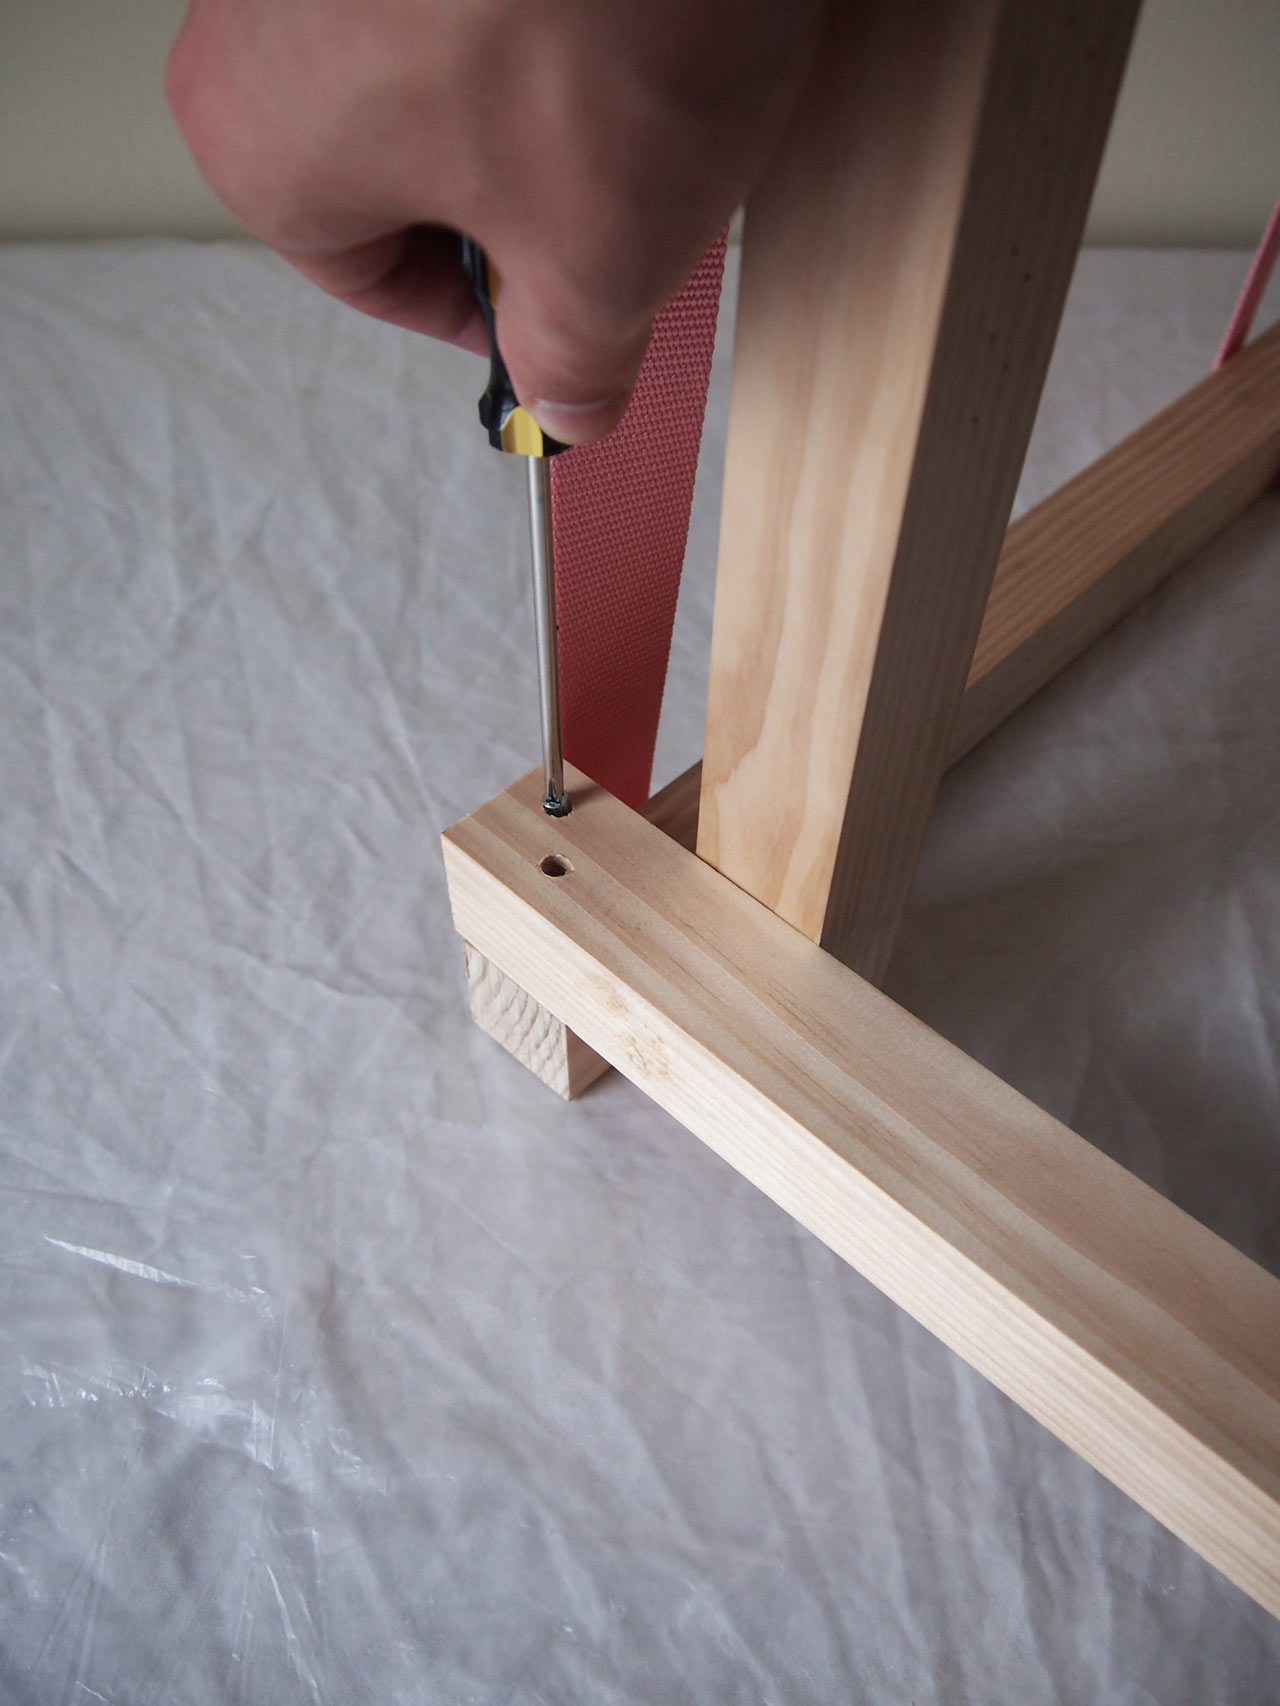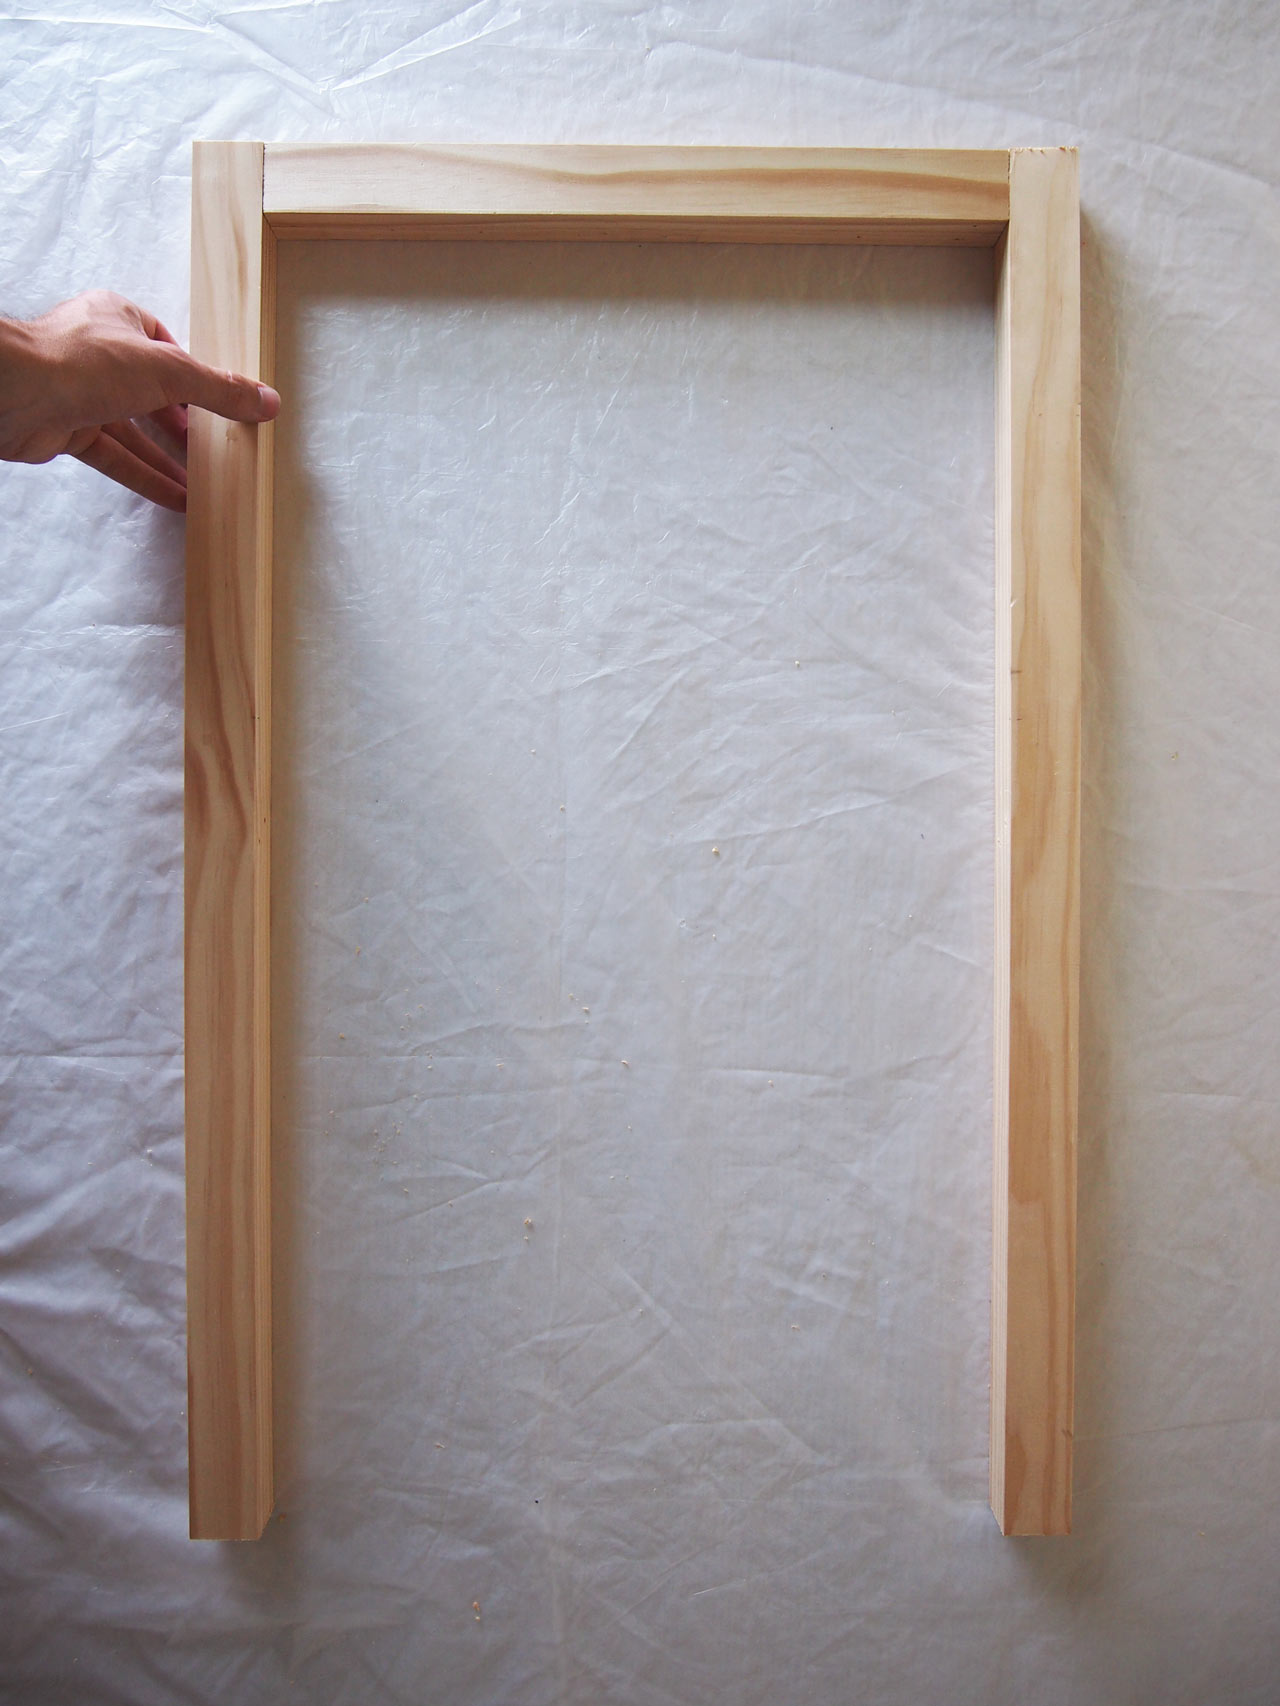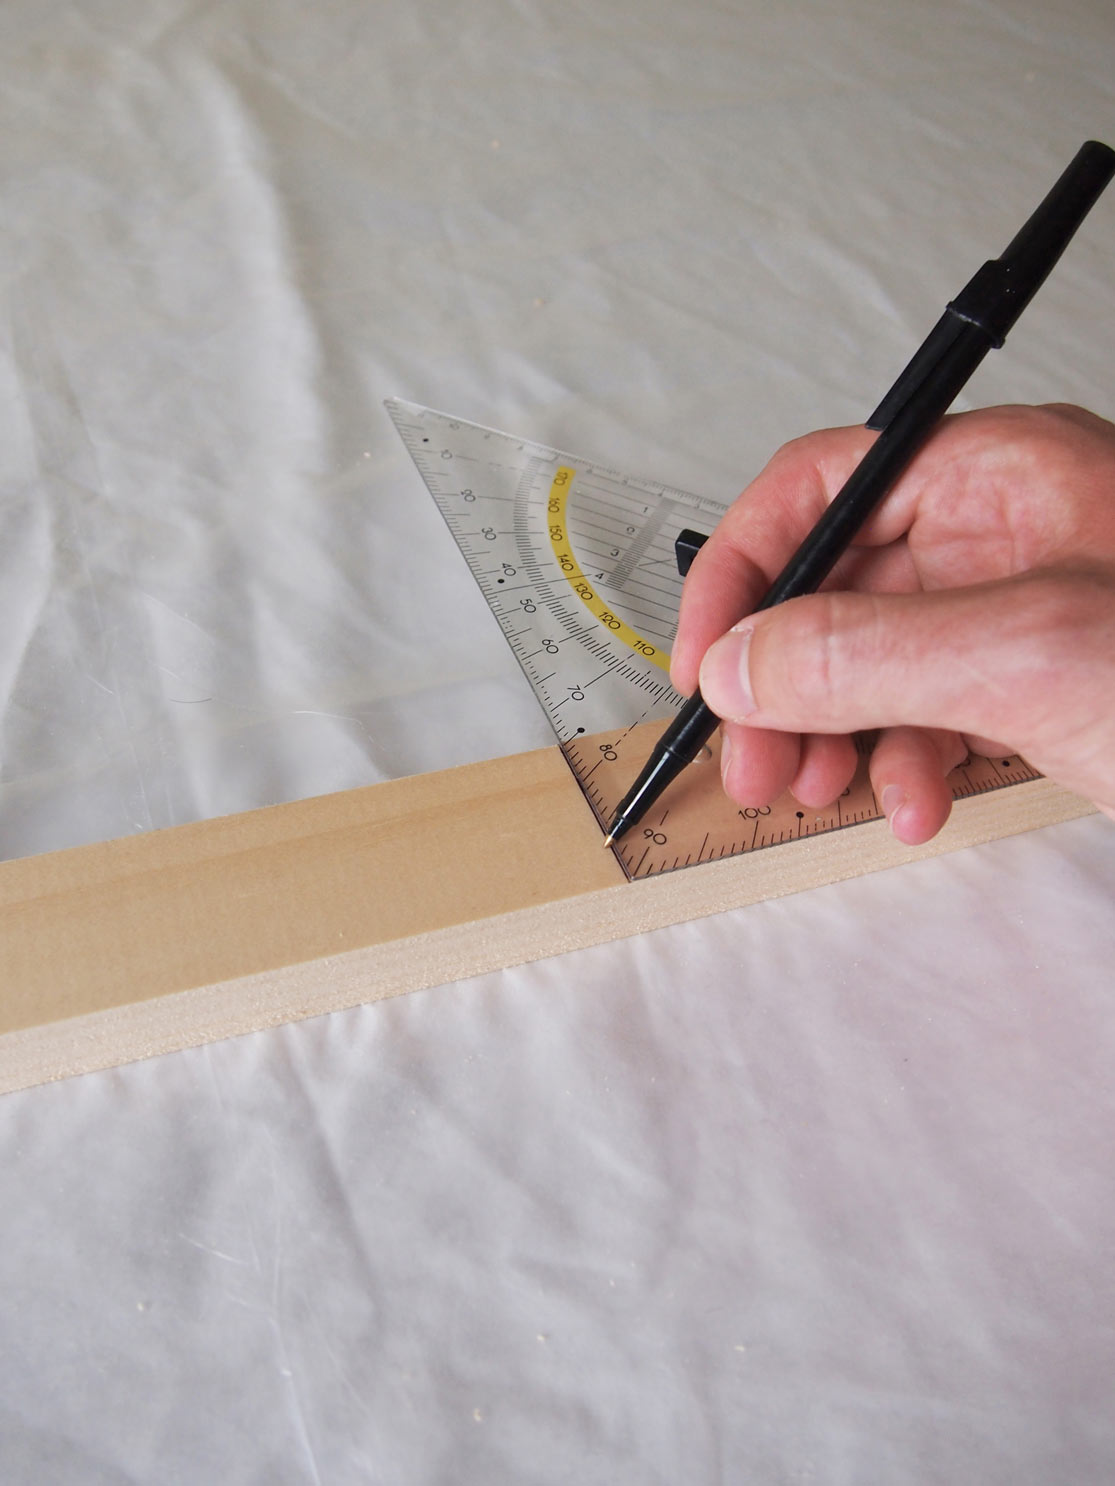
Ian Anderson
Tord Boontje
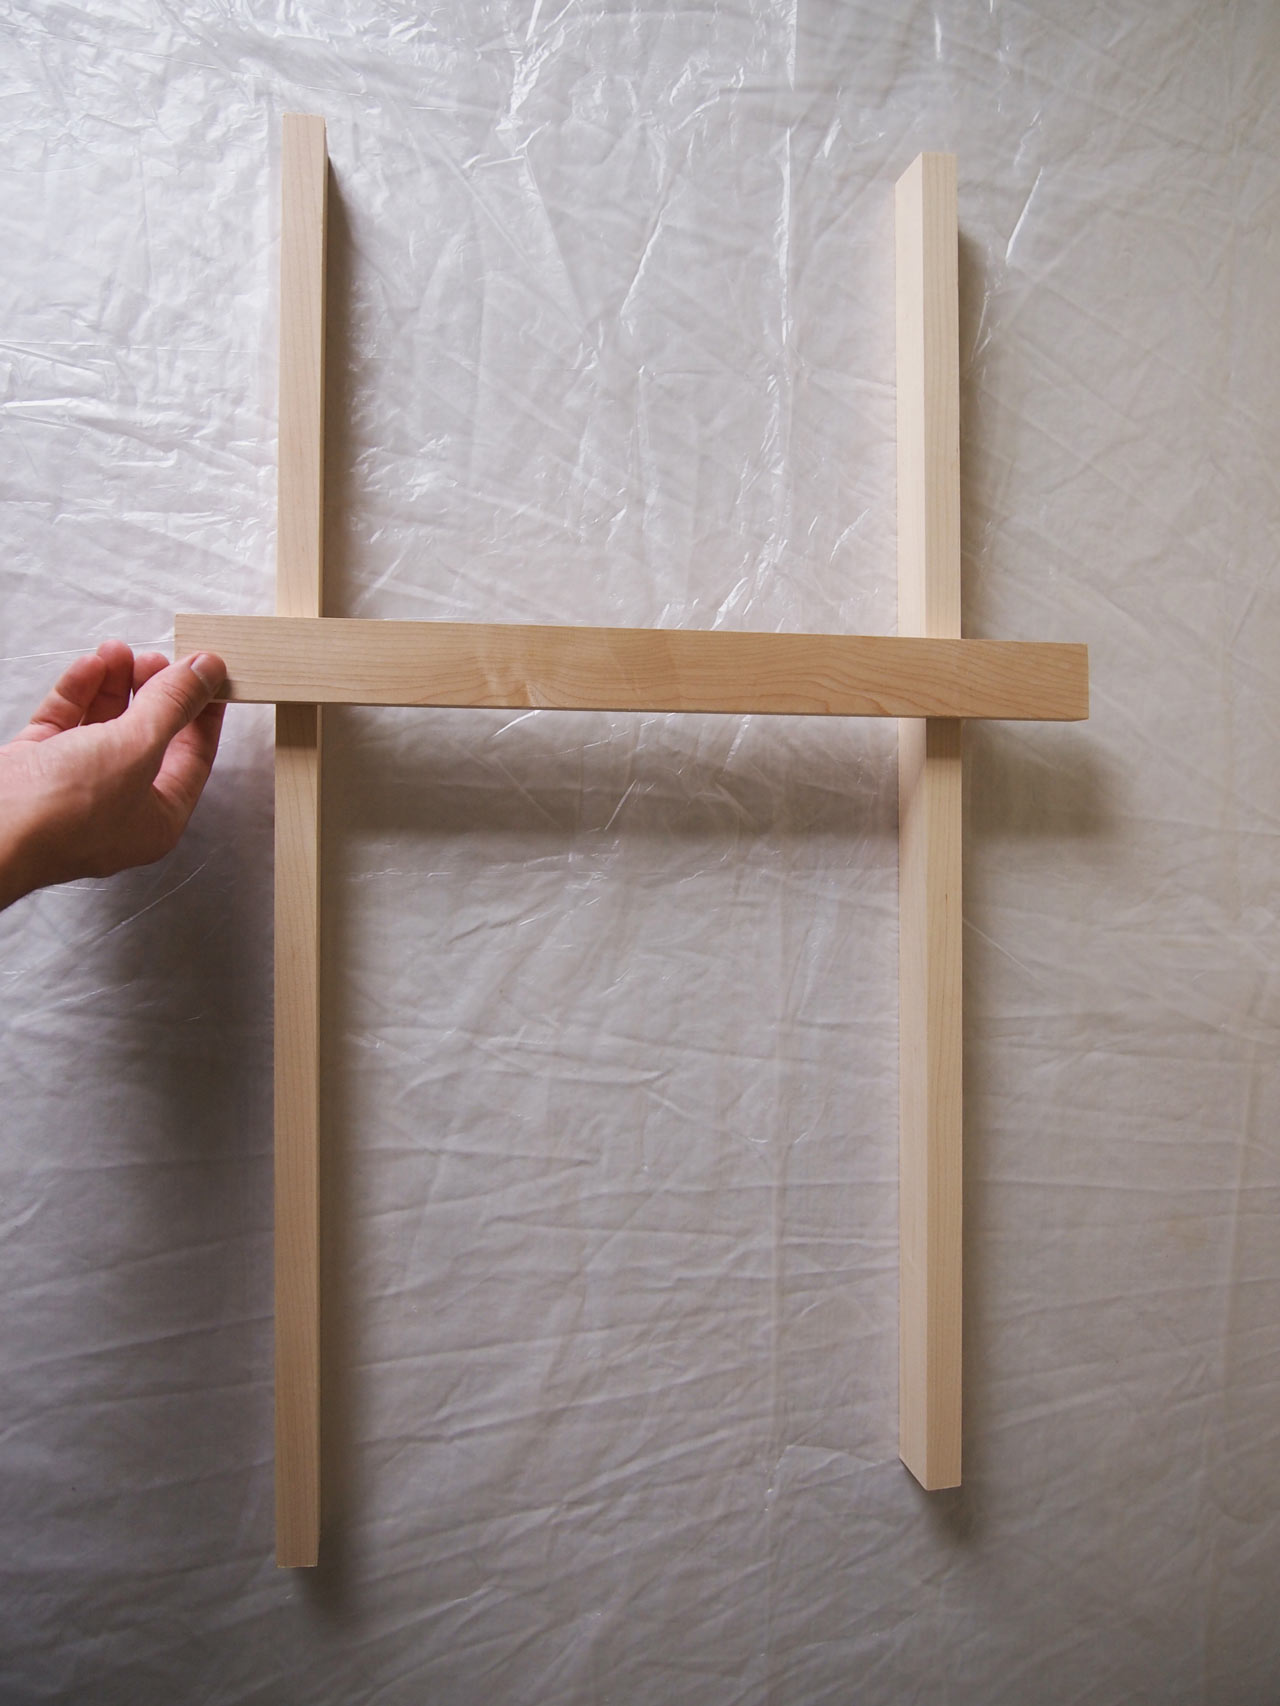
Ian Anderson
Enzo Mari
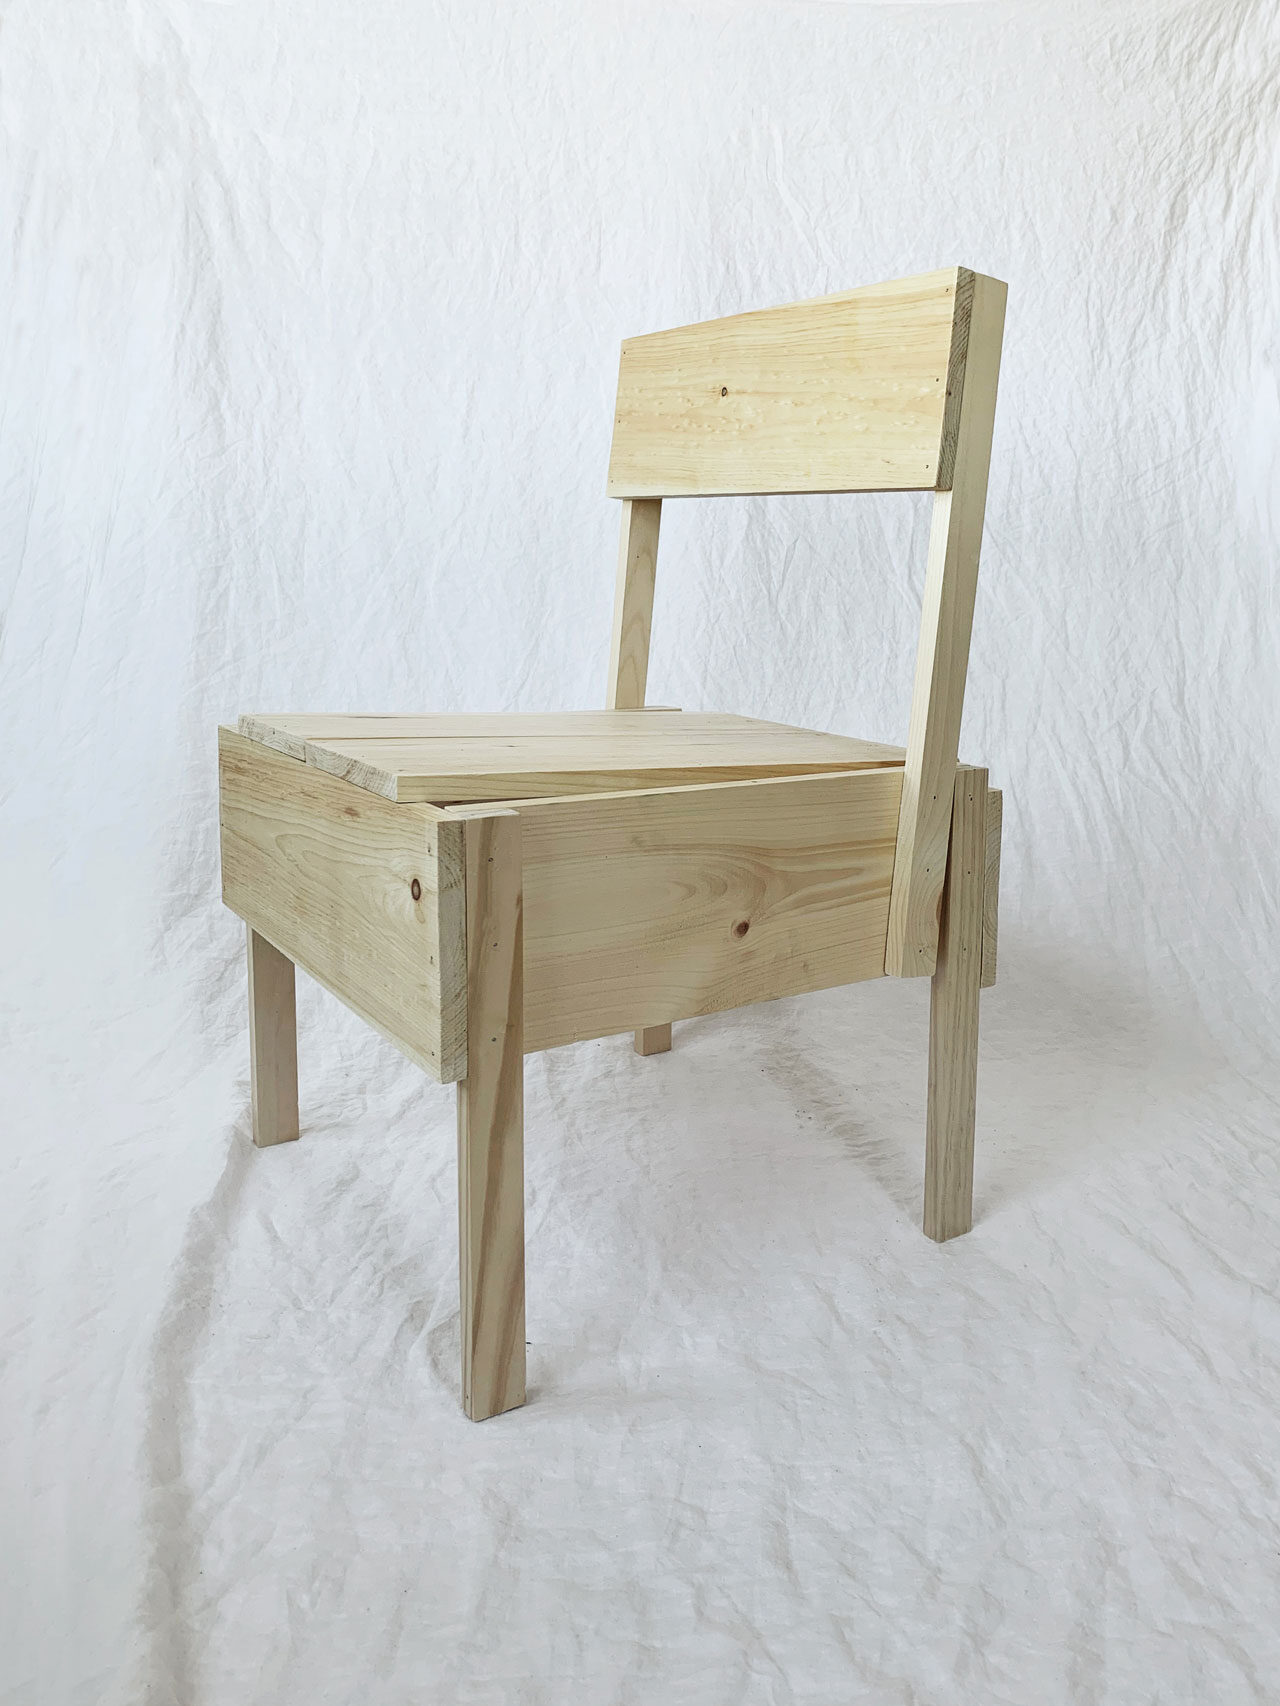
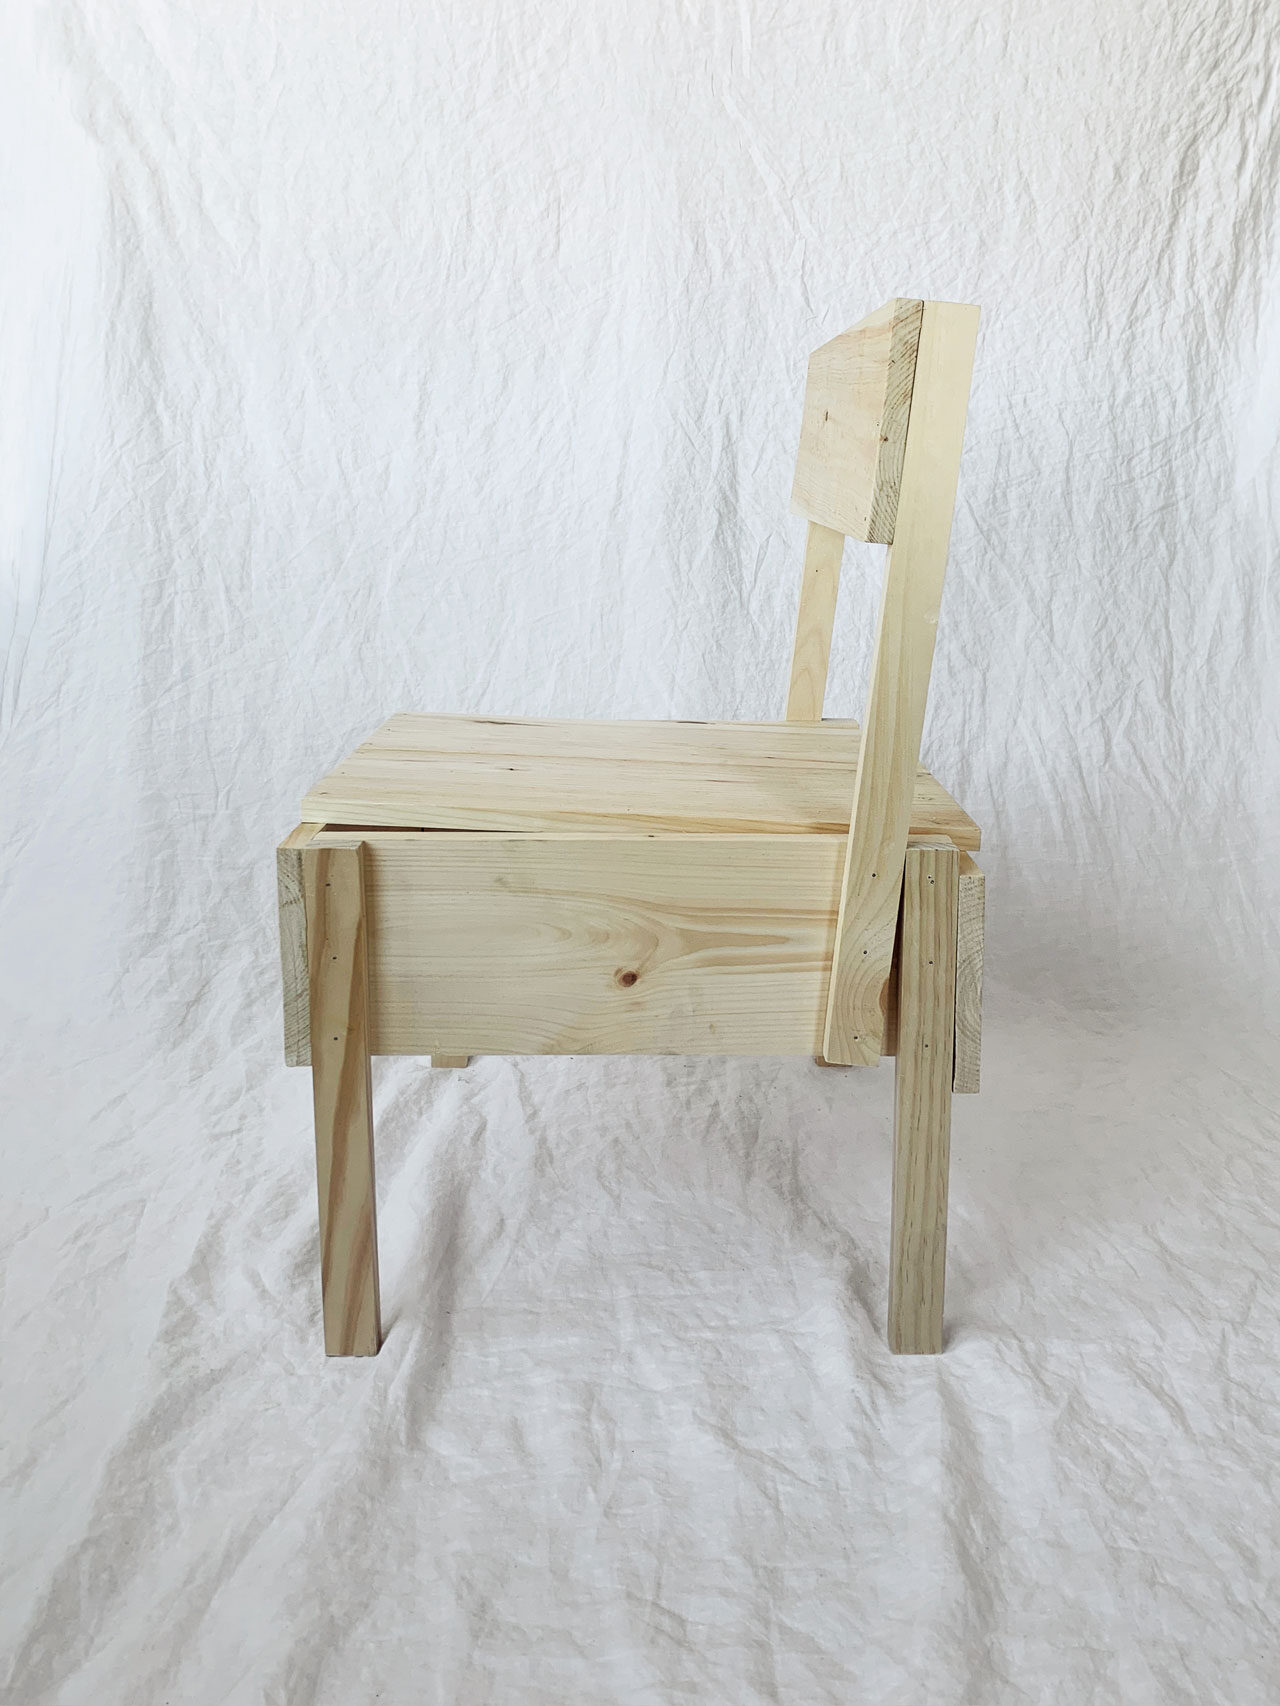
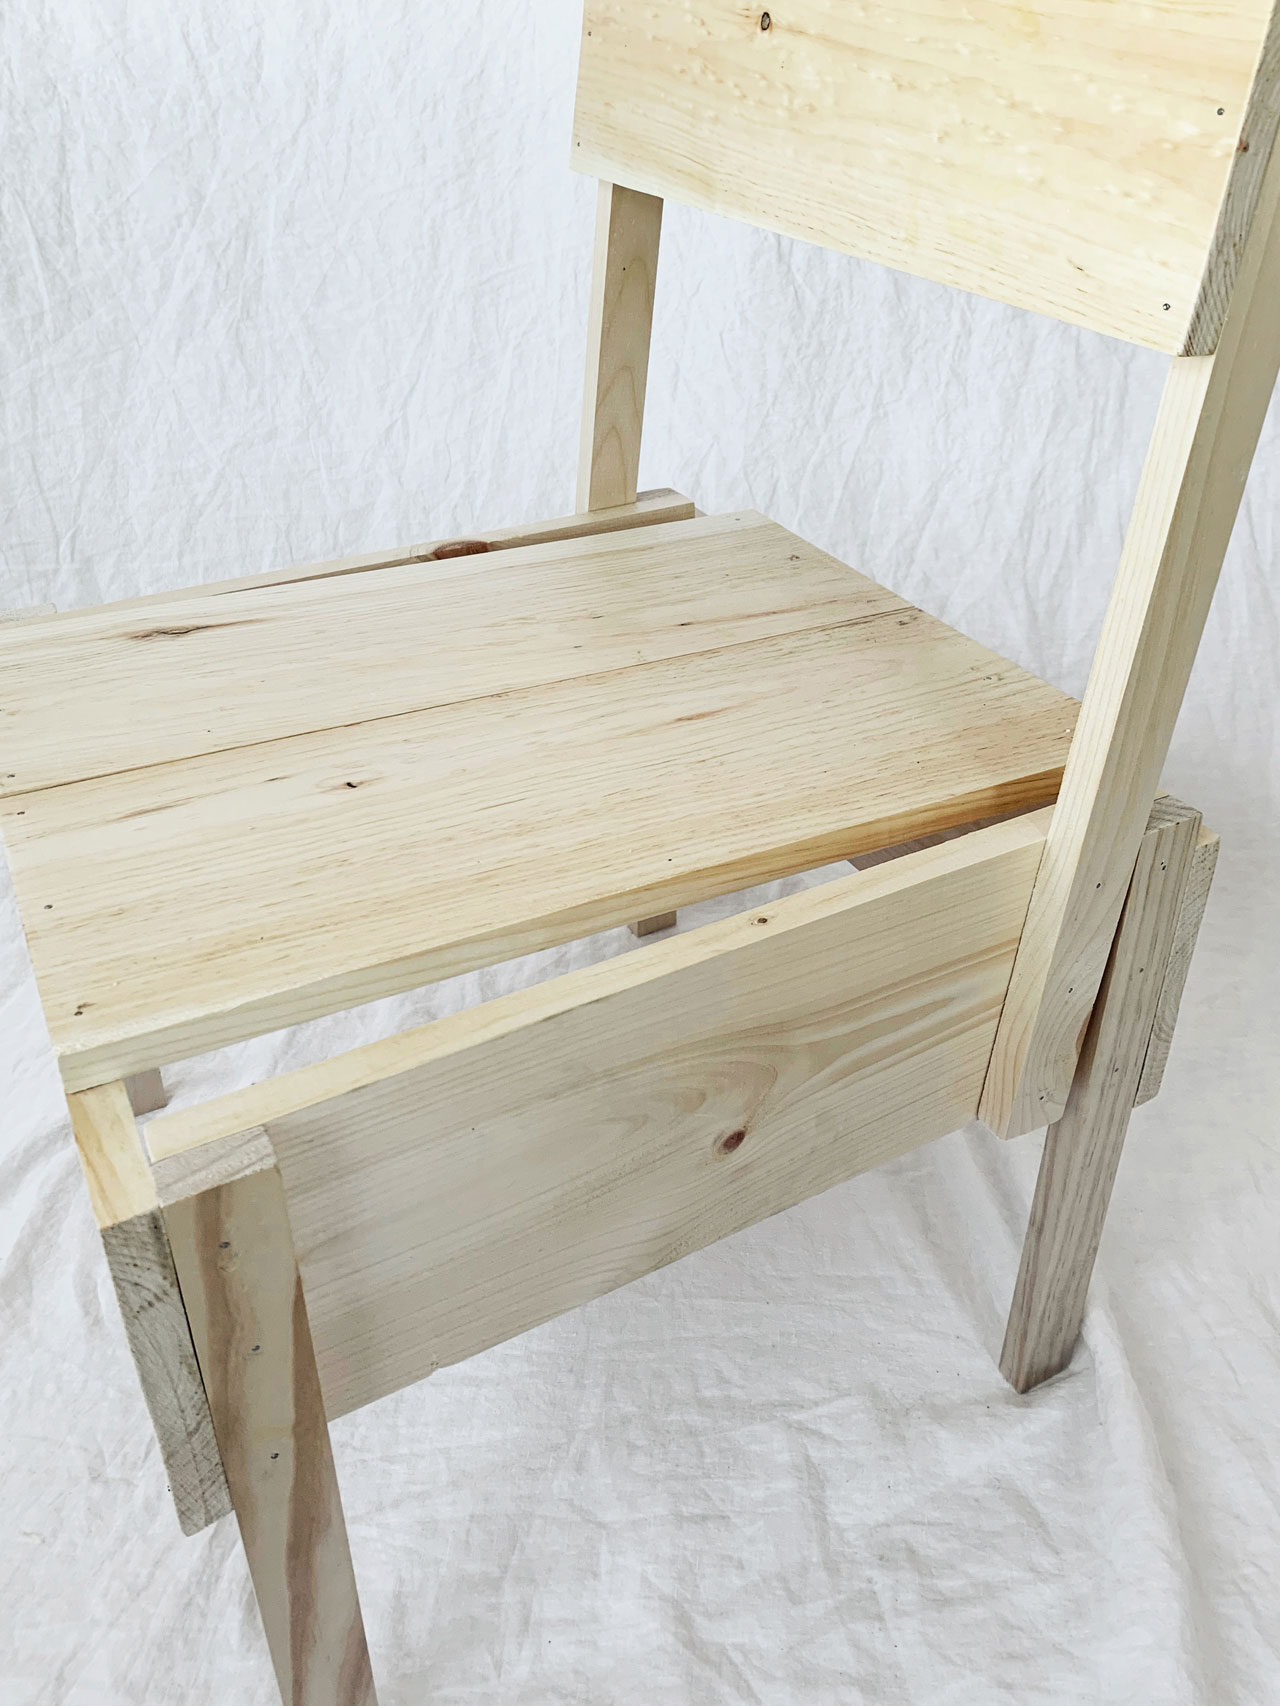
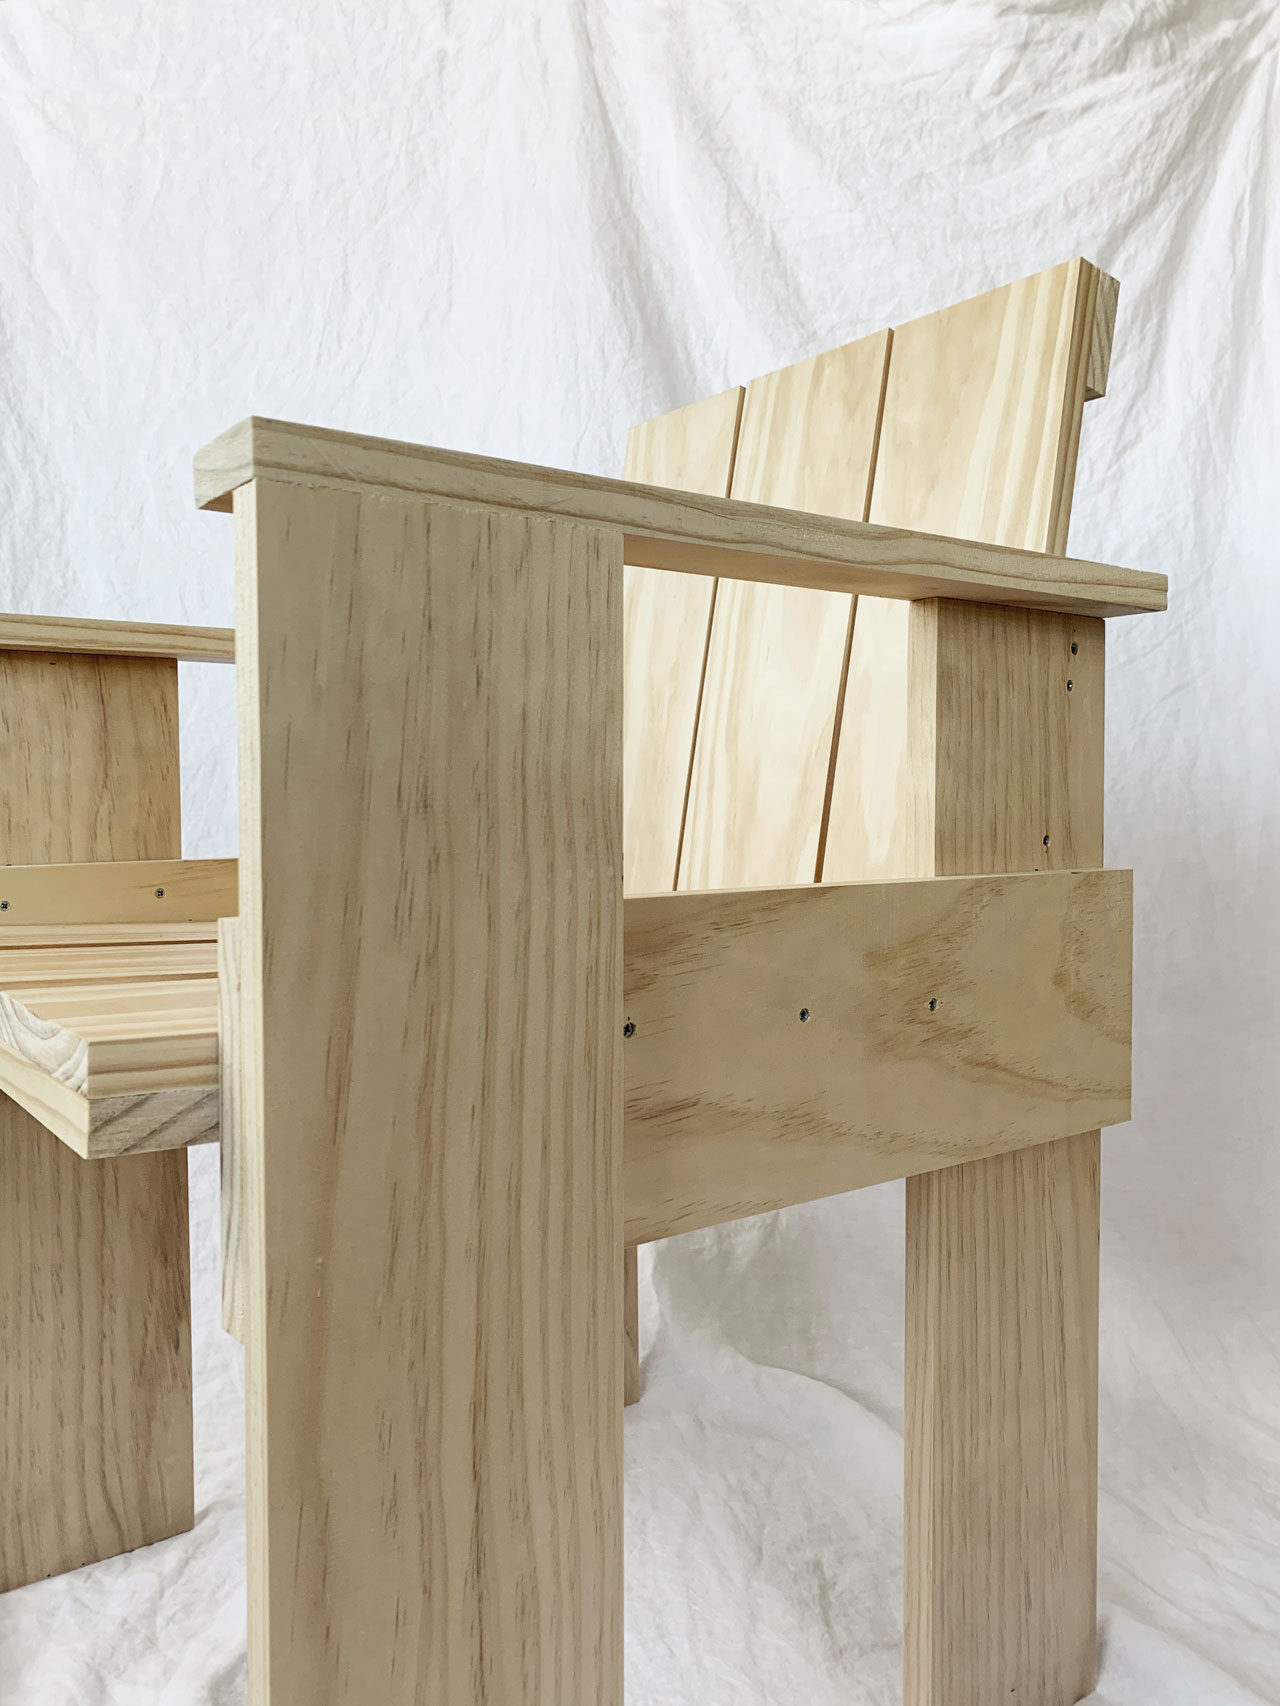
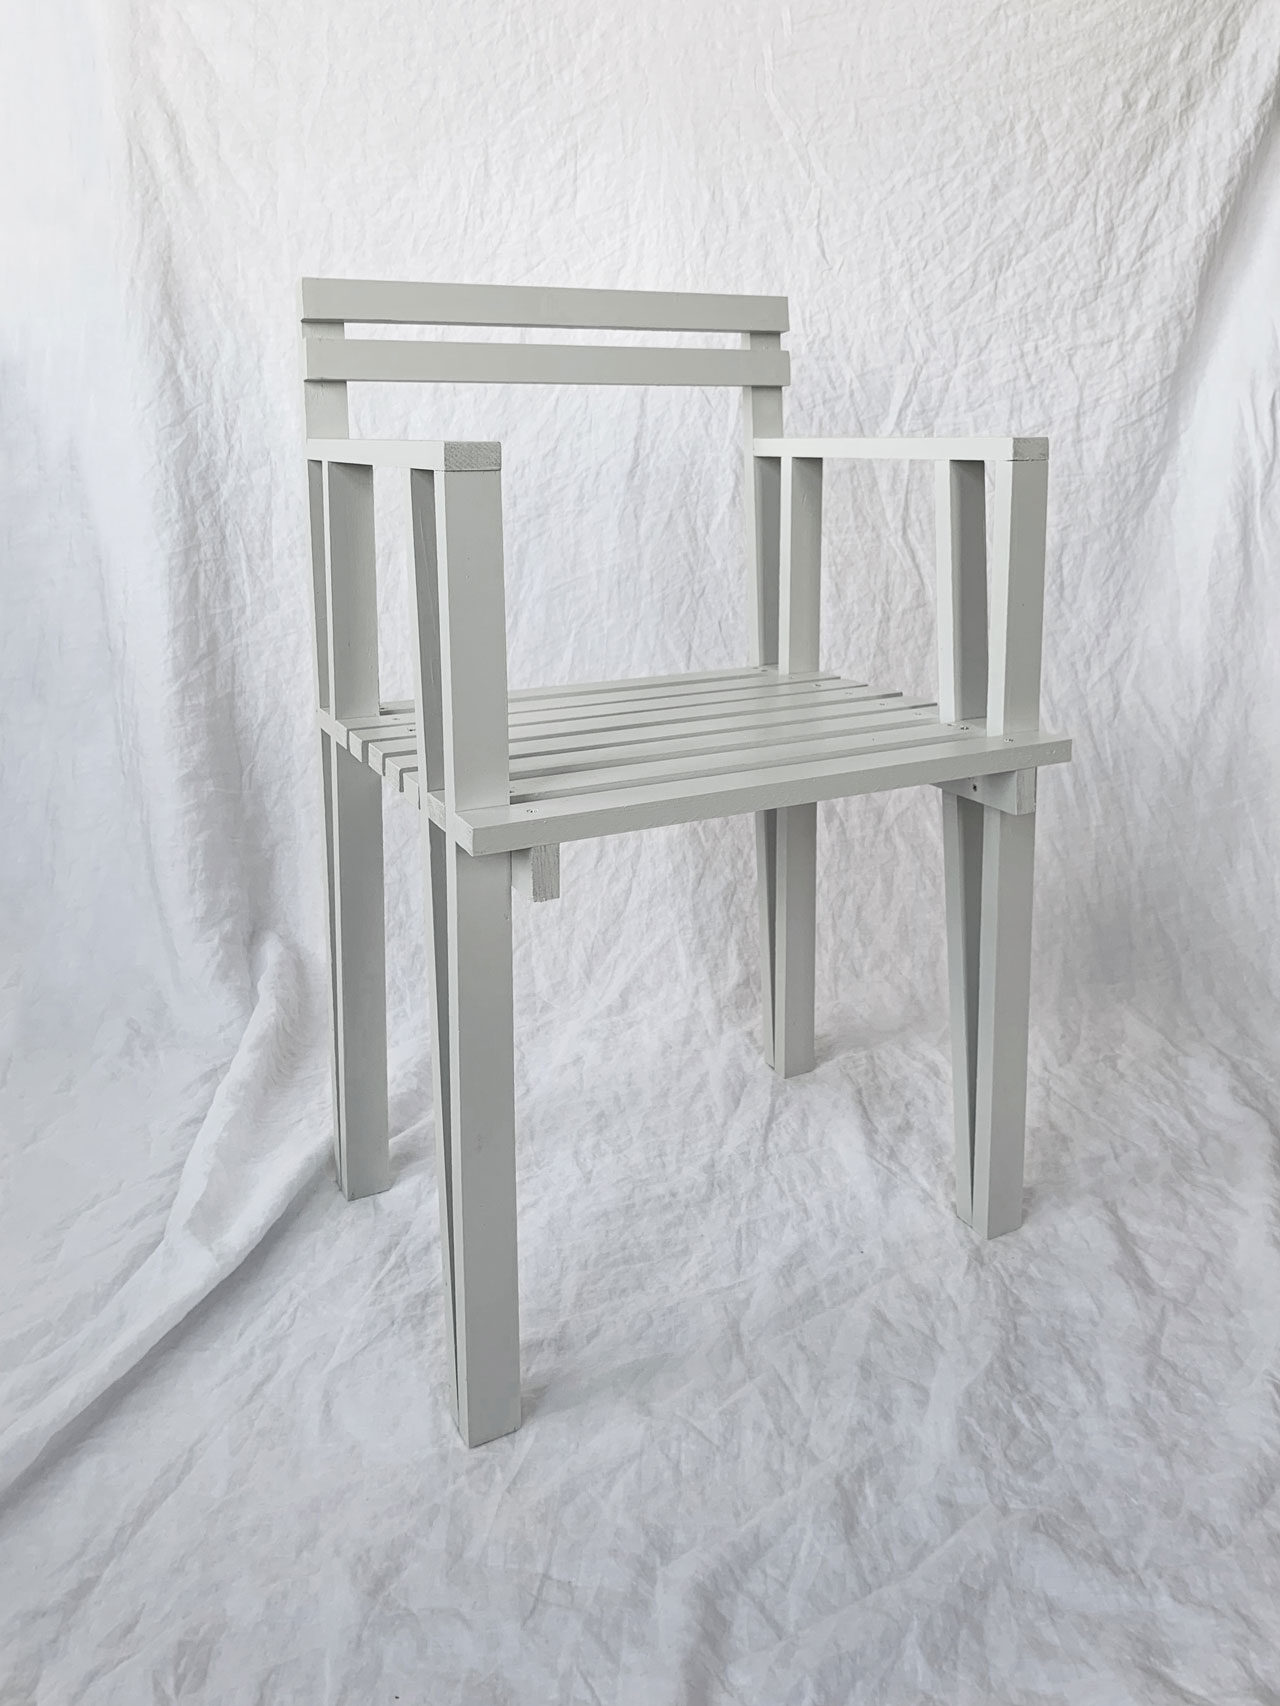
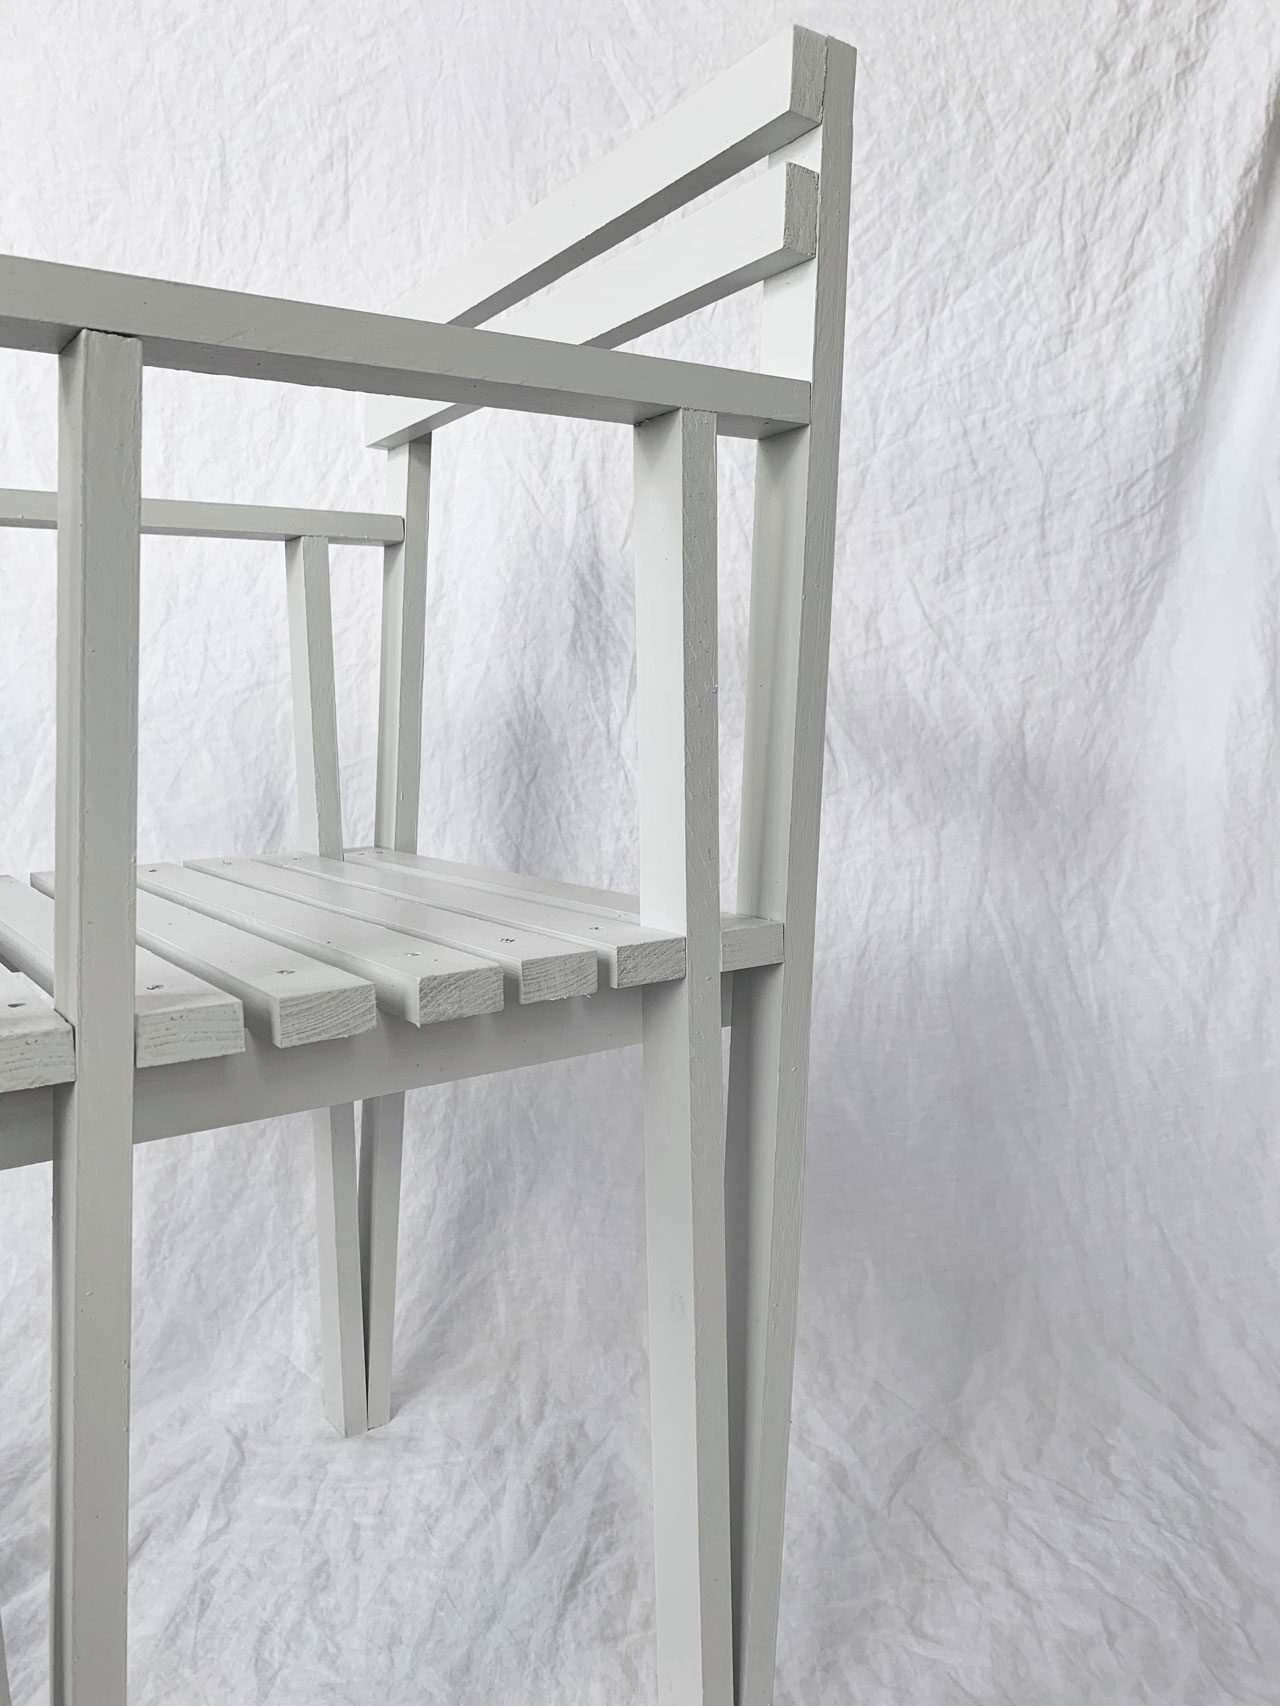
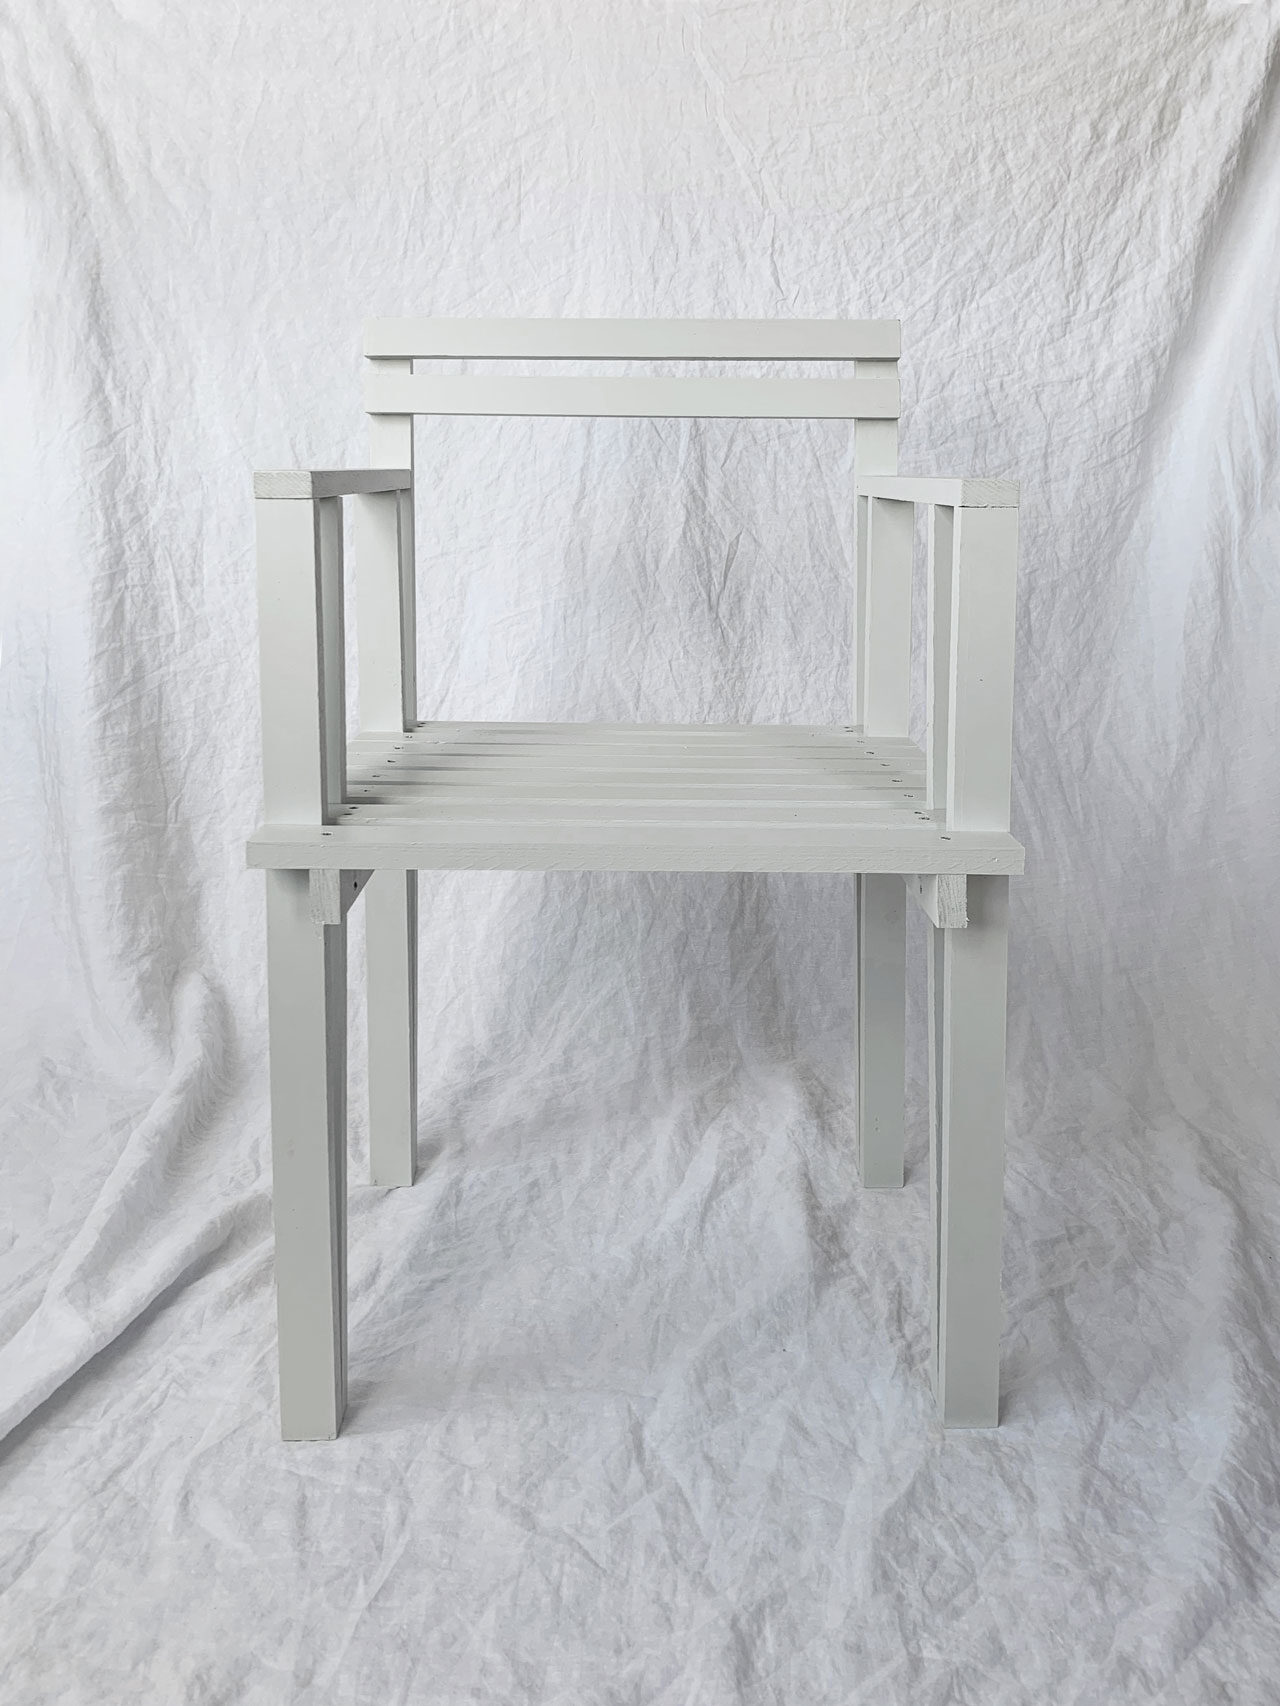
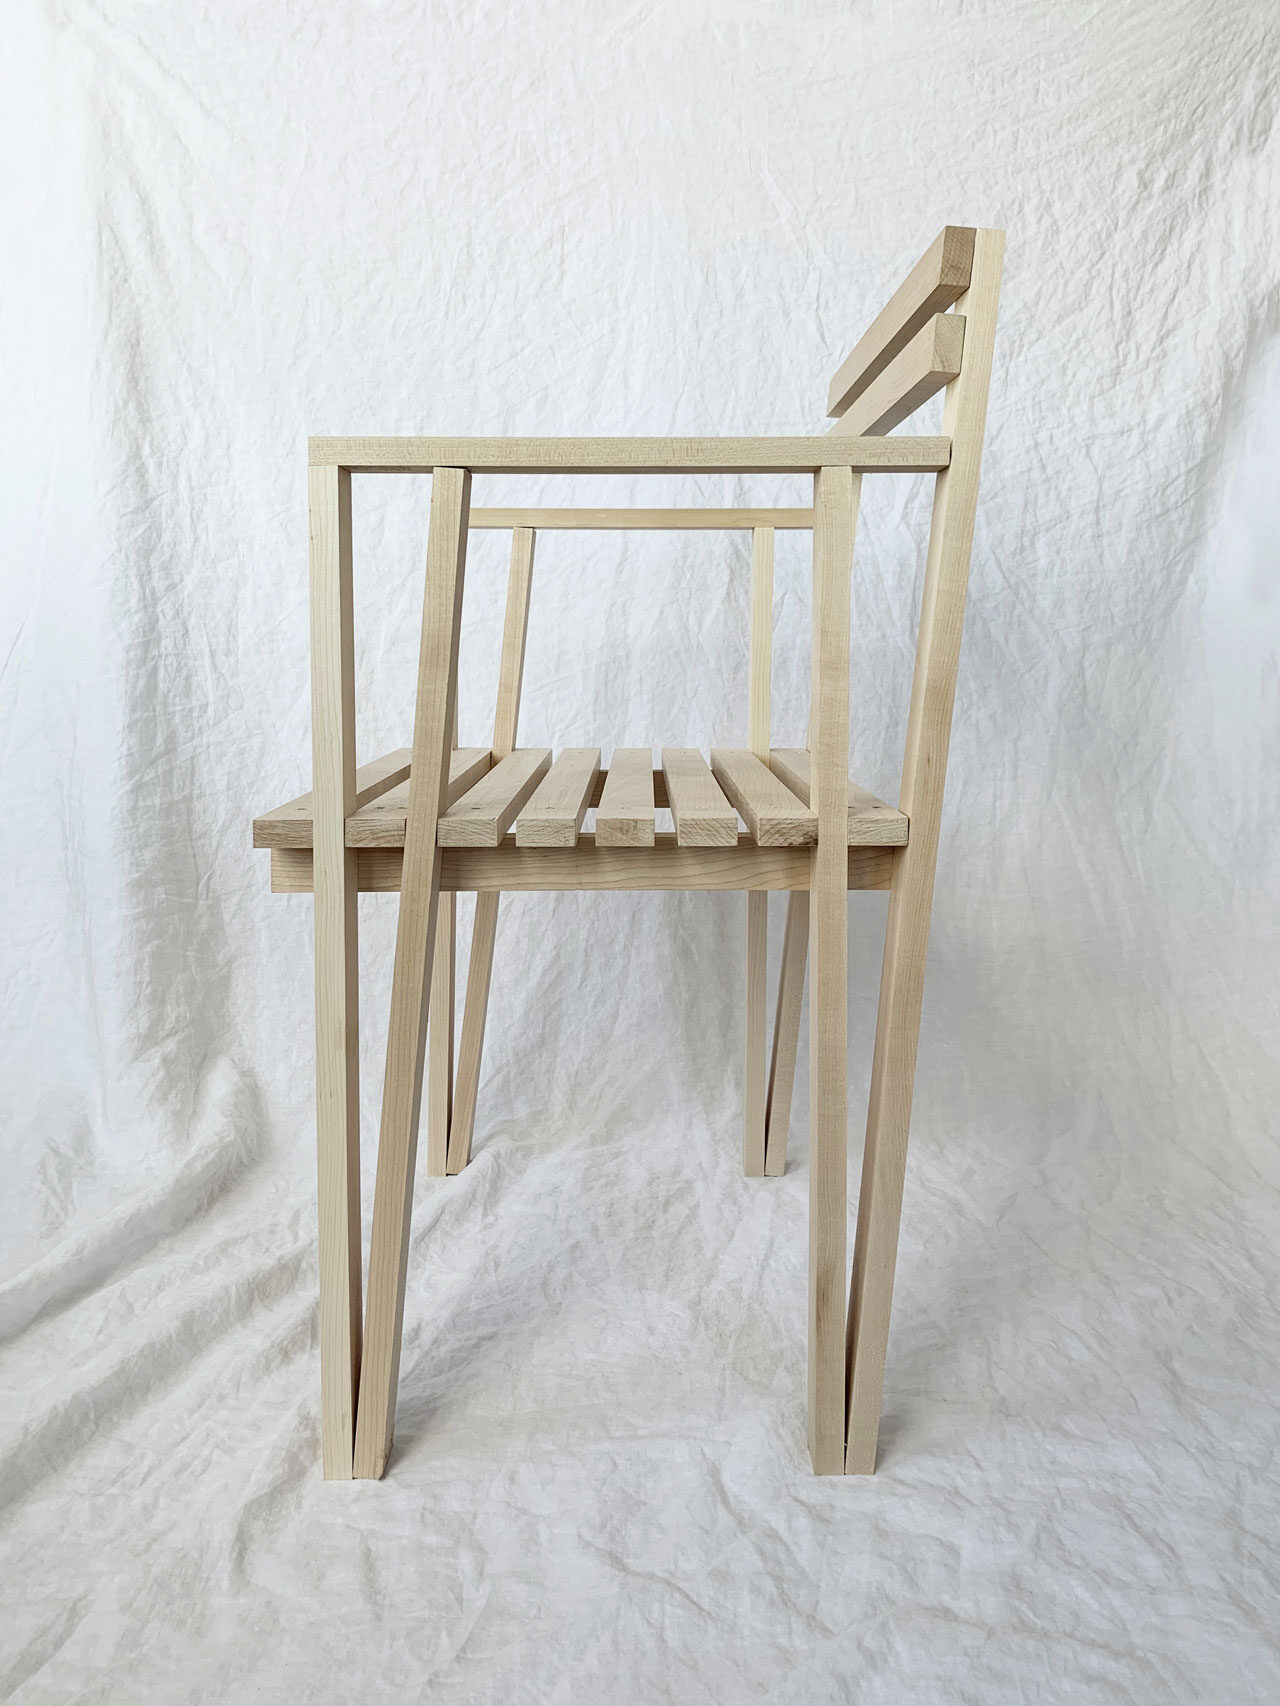
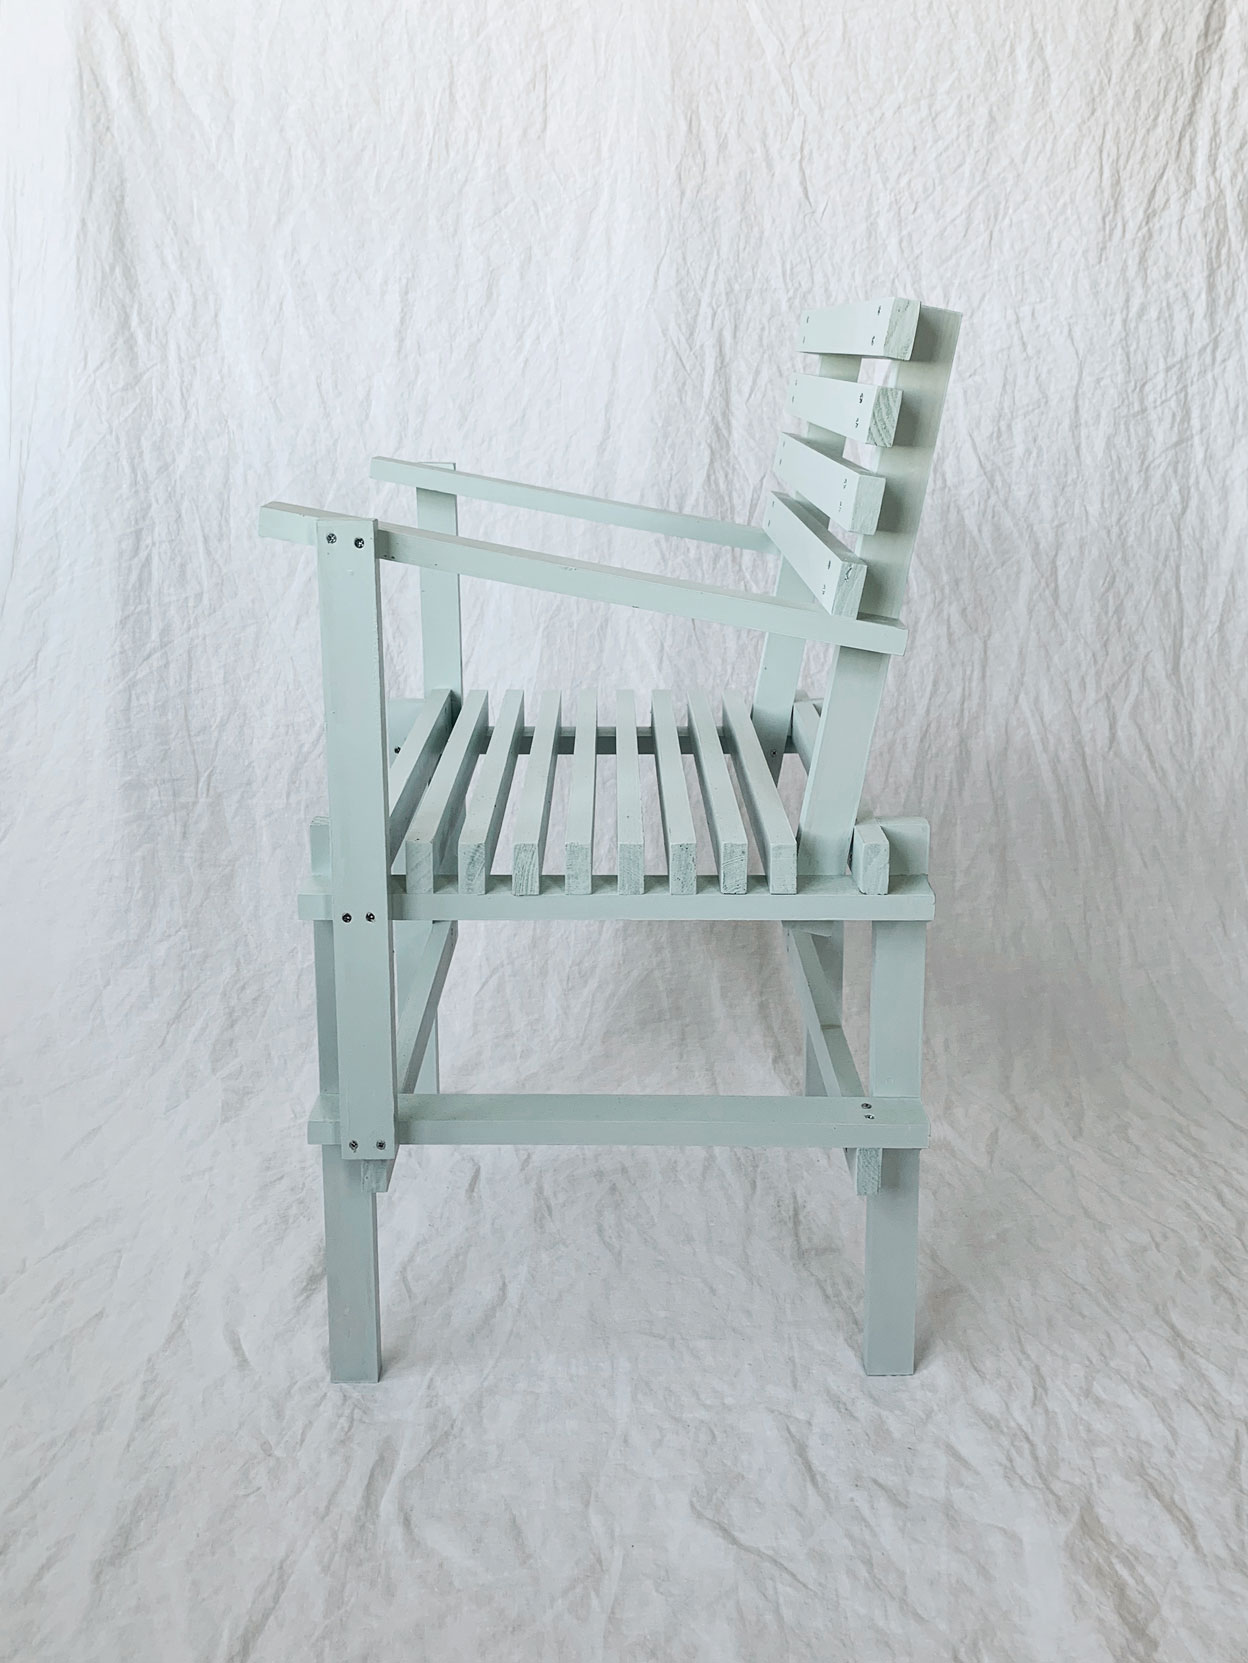
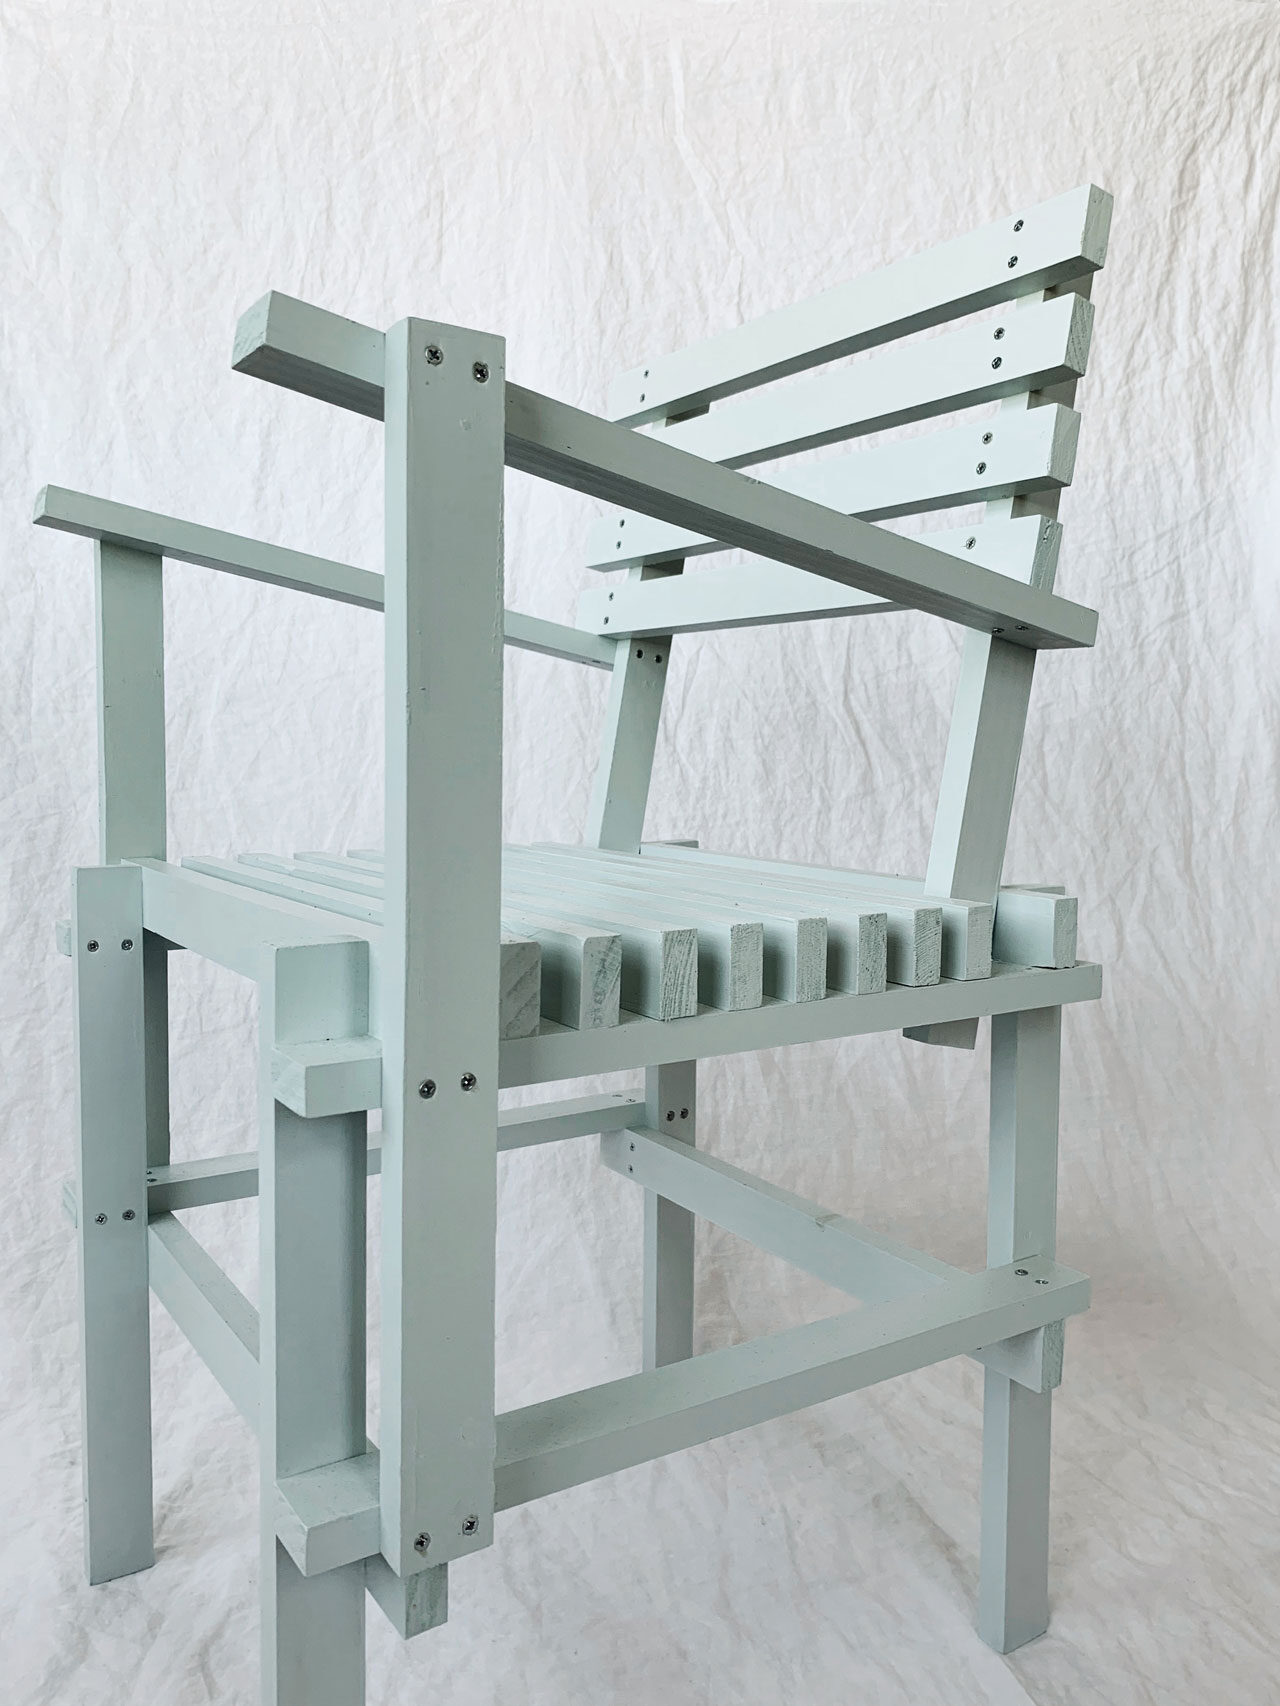
Gerrit Rietveld

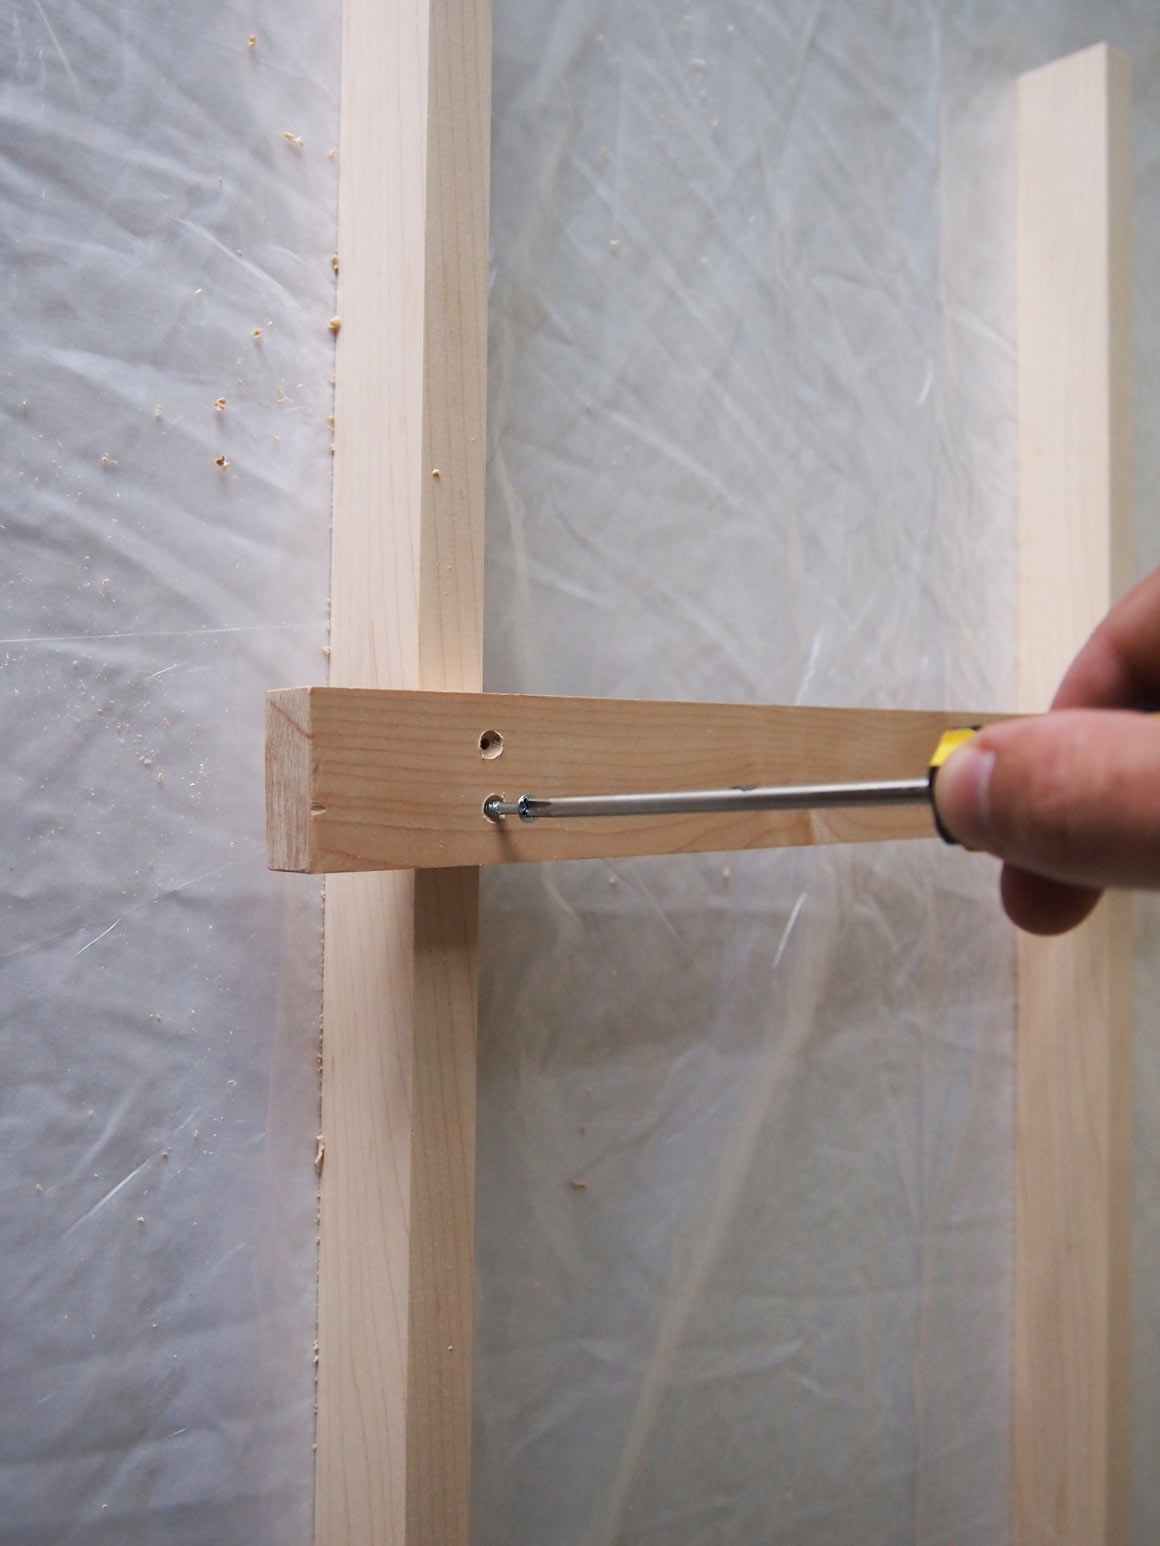
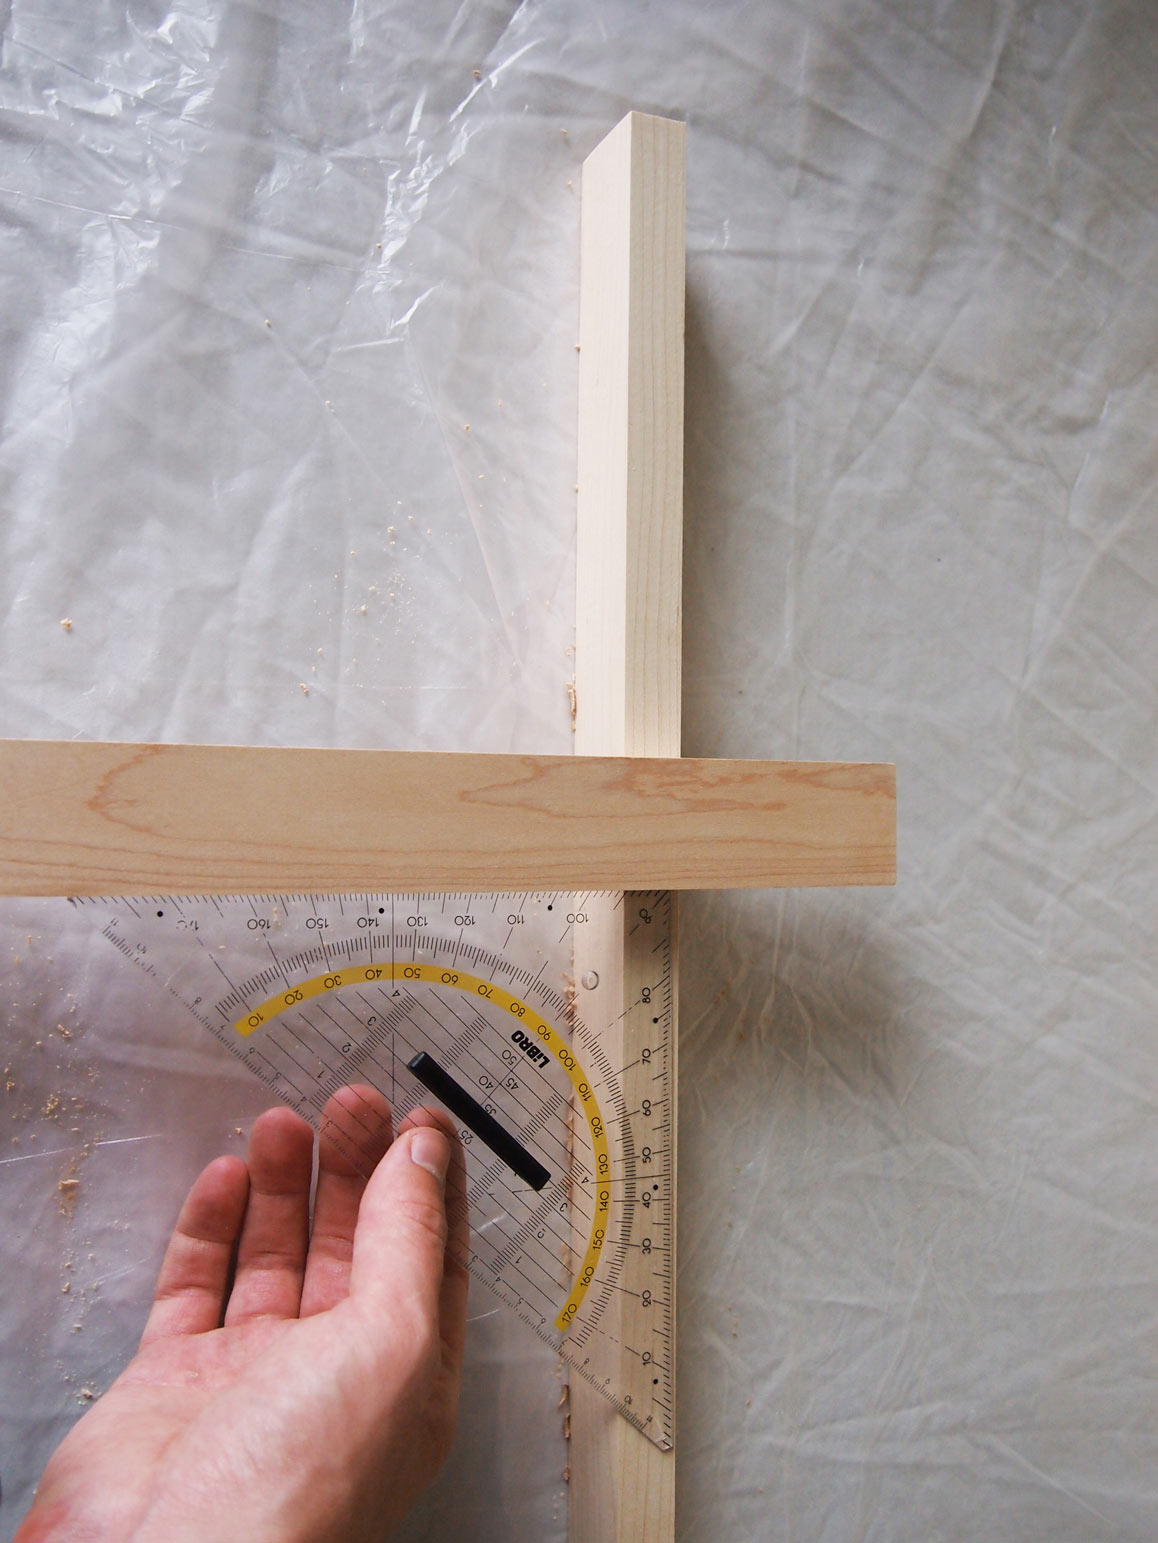
Ian Anderson

Ian Anderson

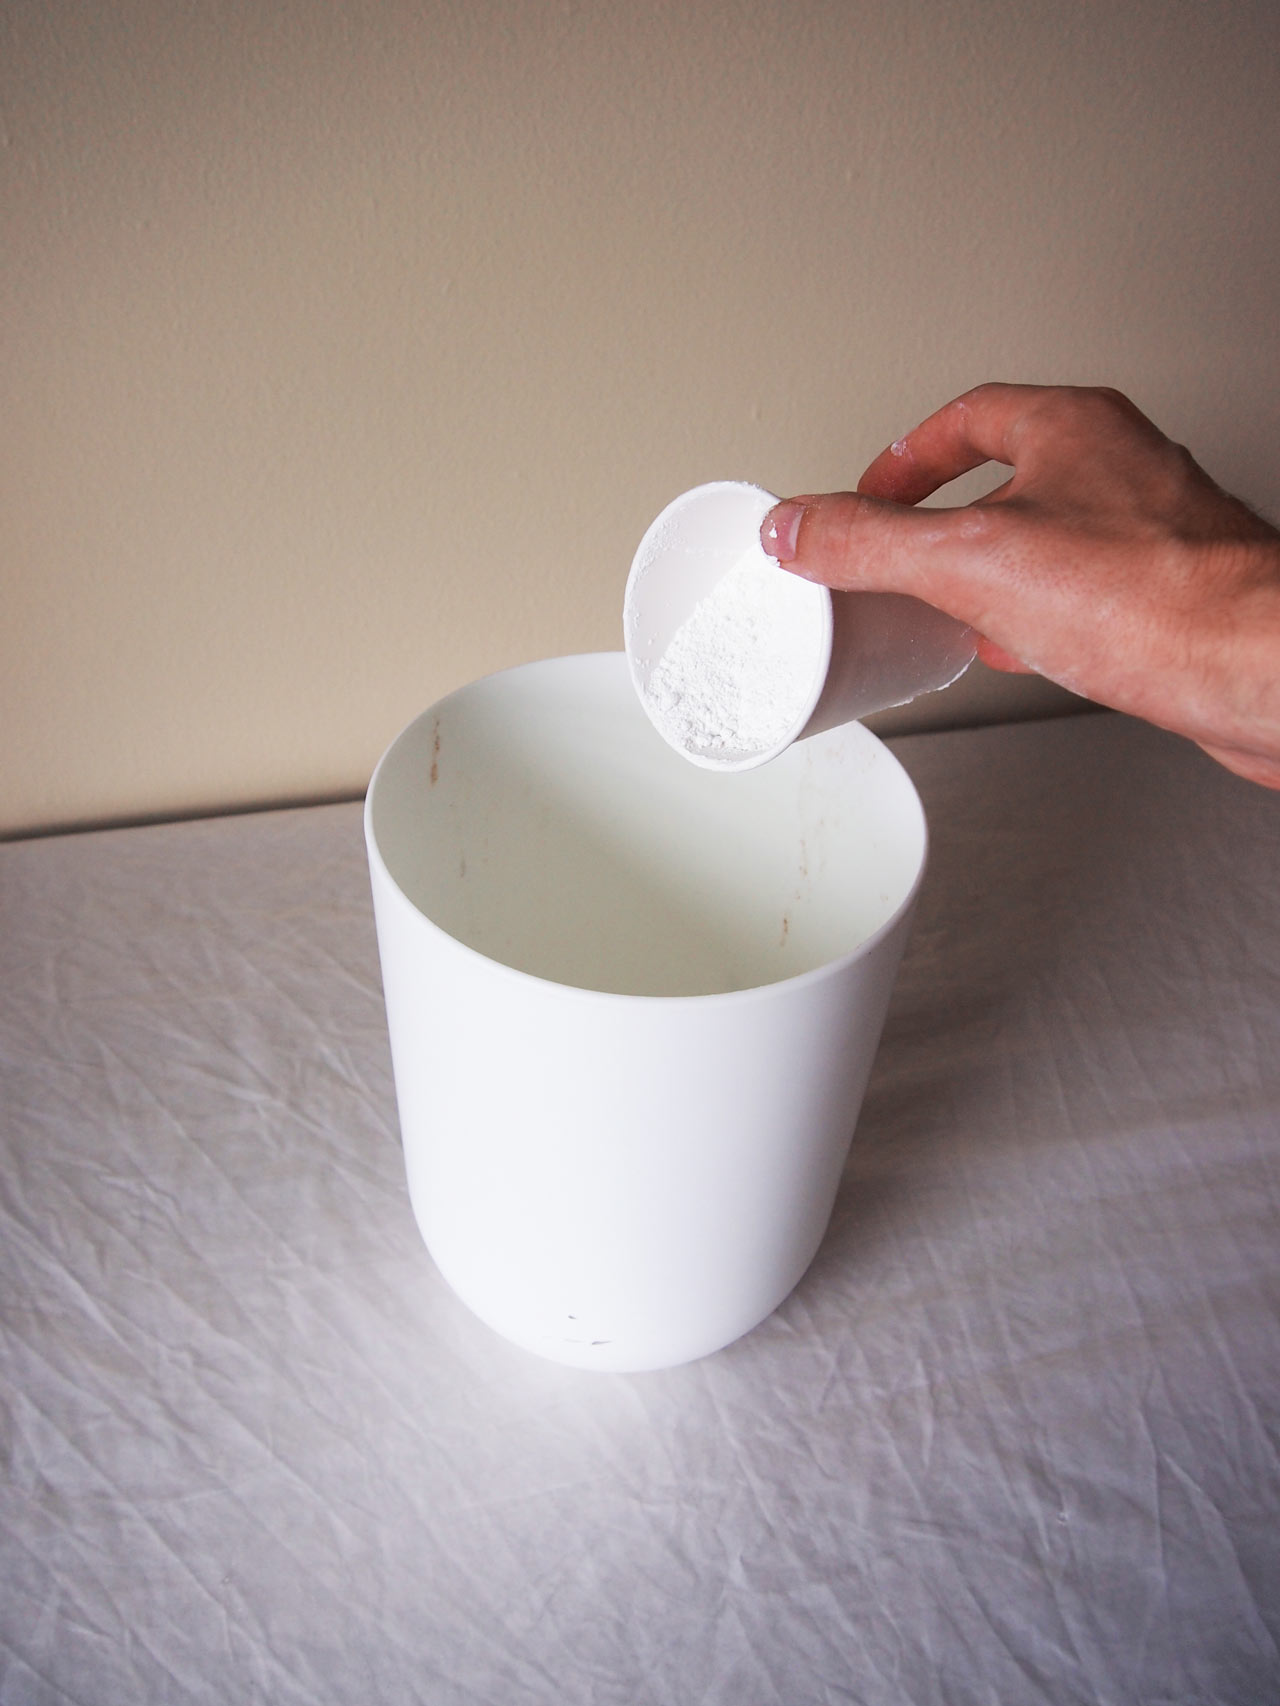
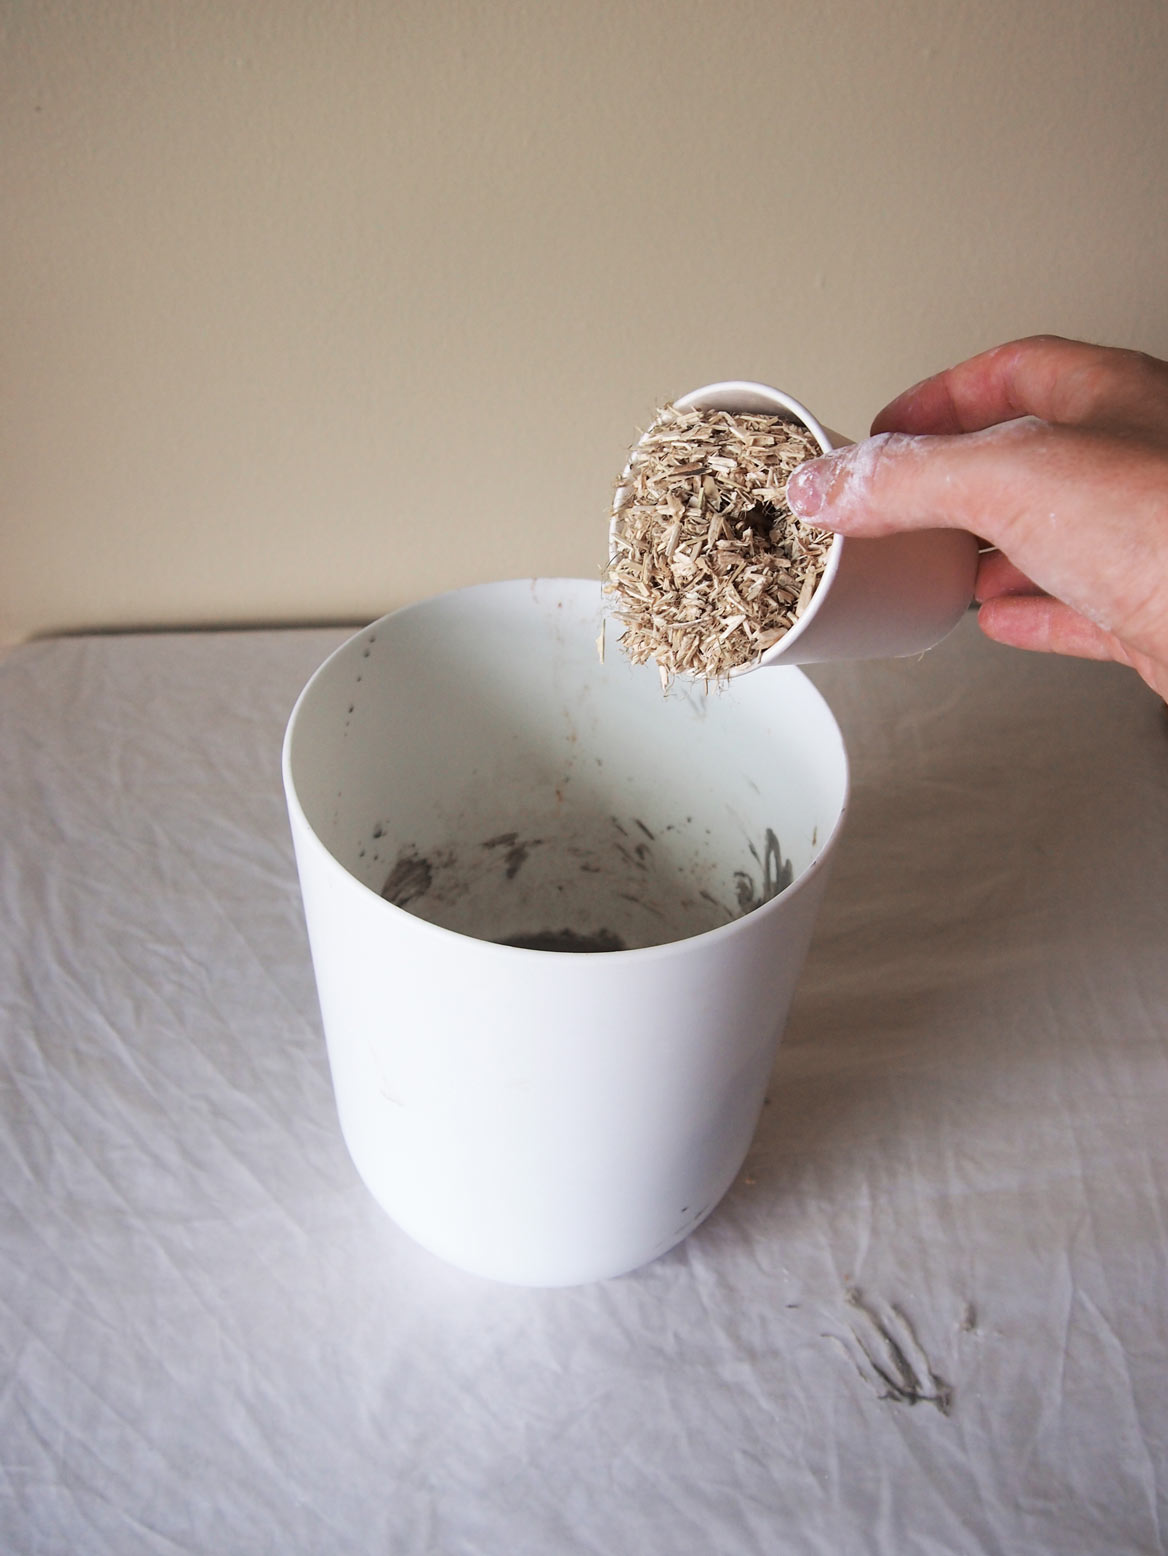
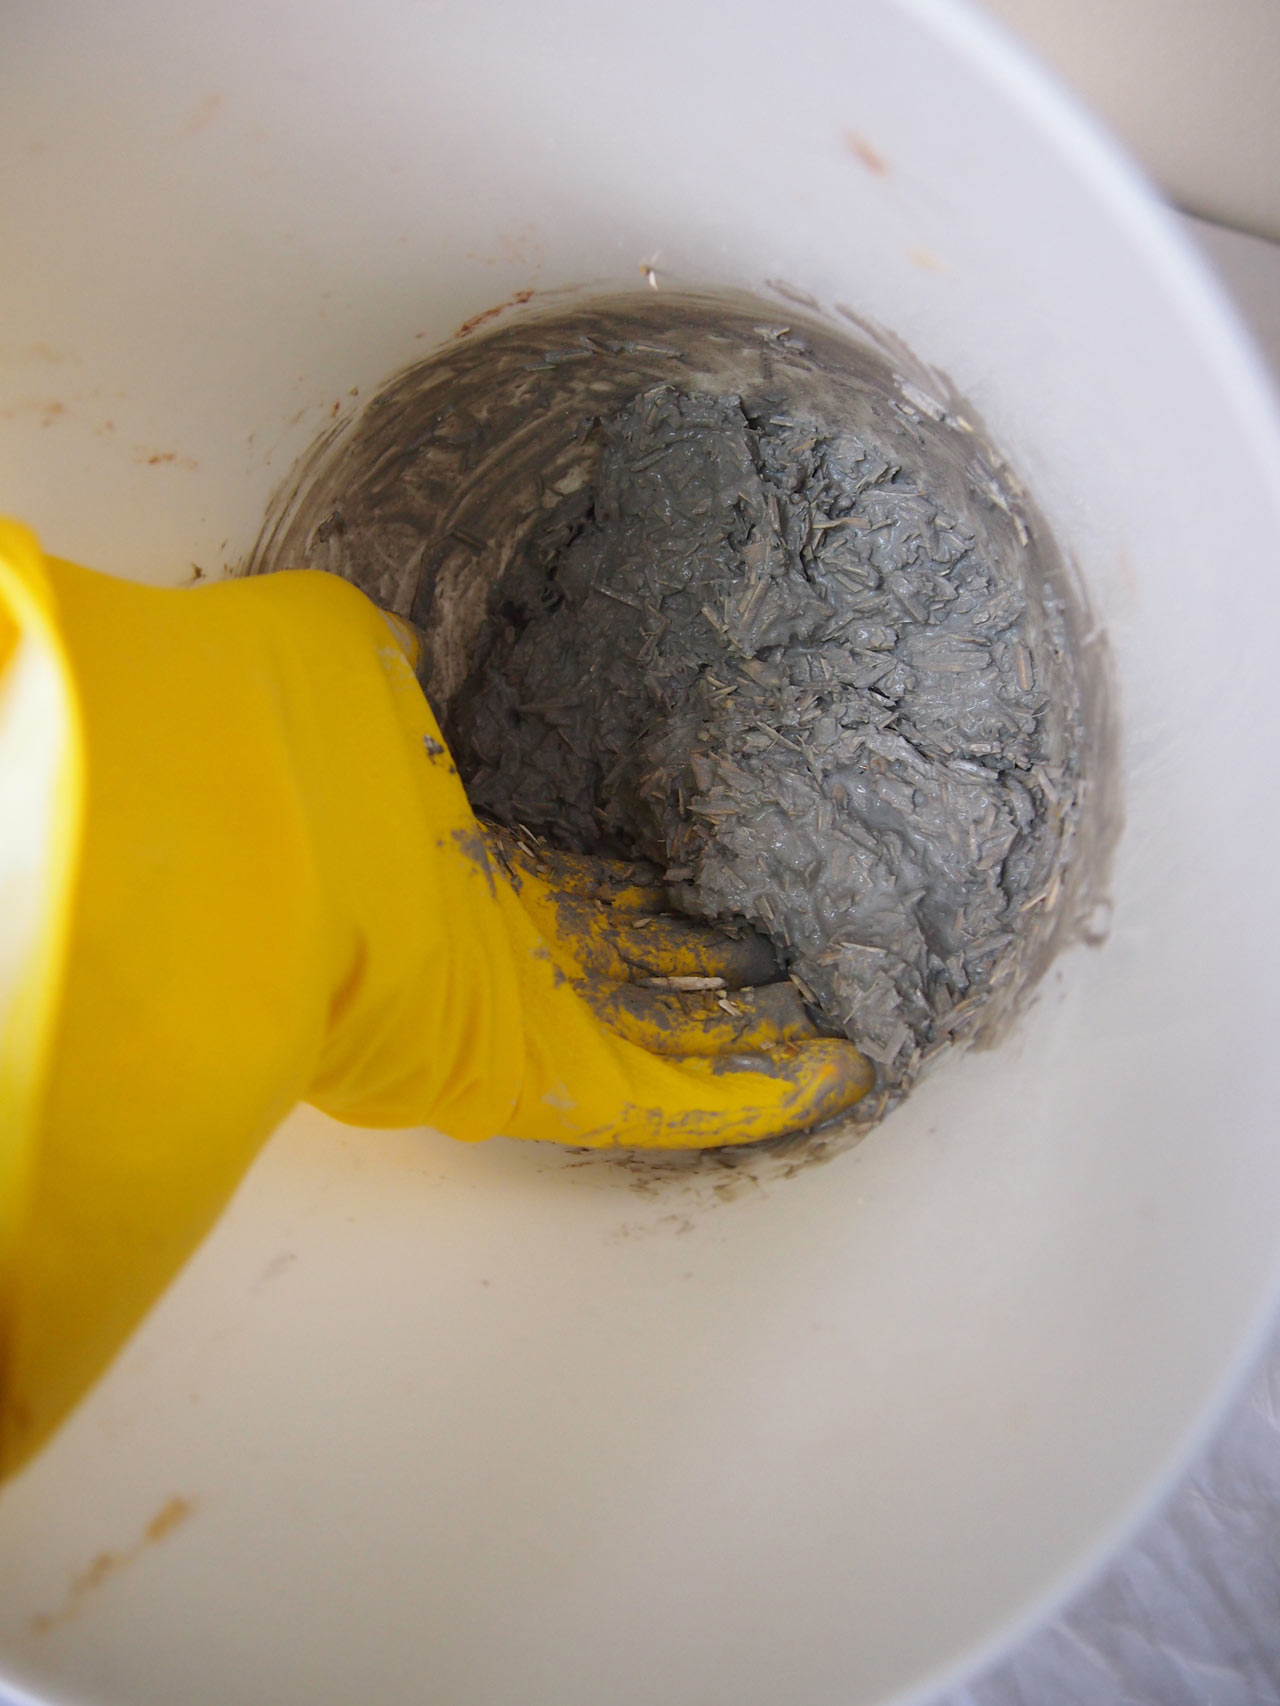
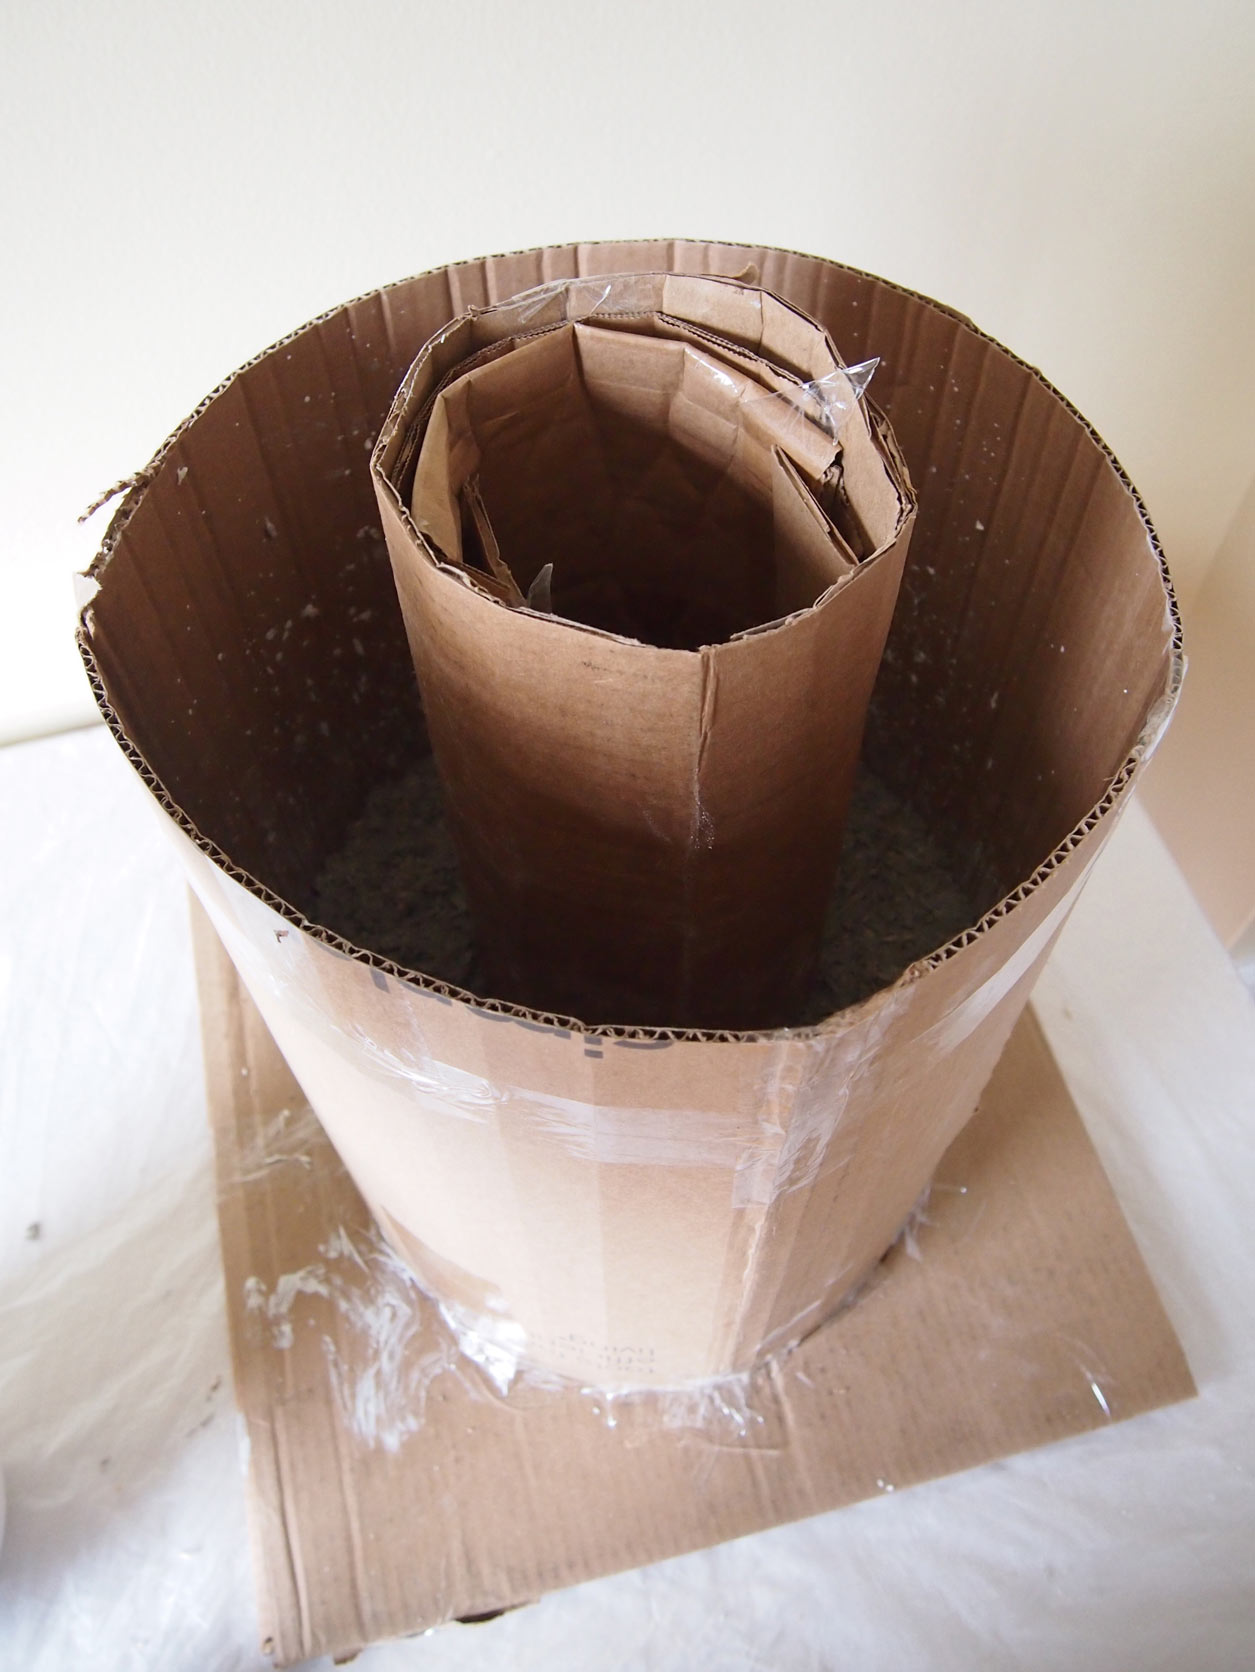
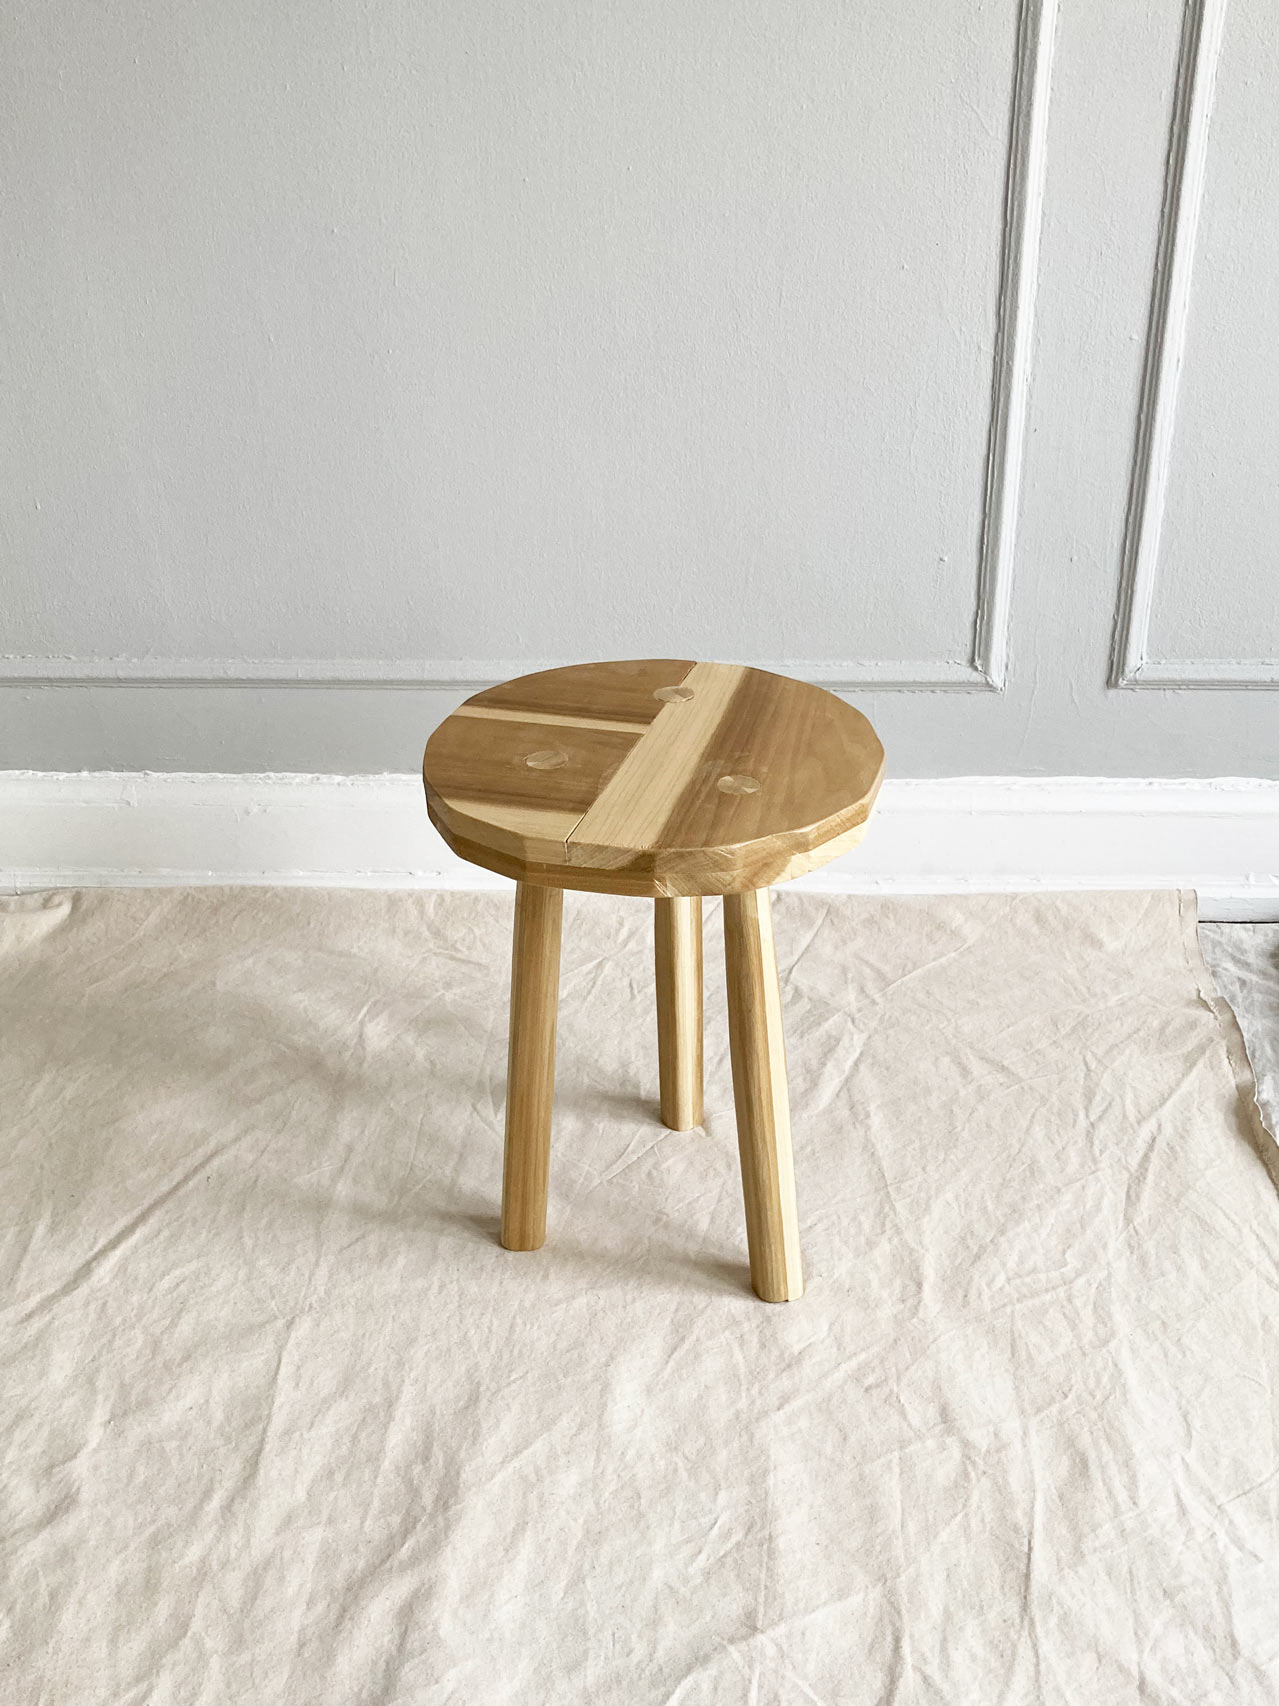
Max Lamb

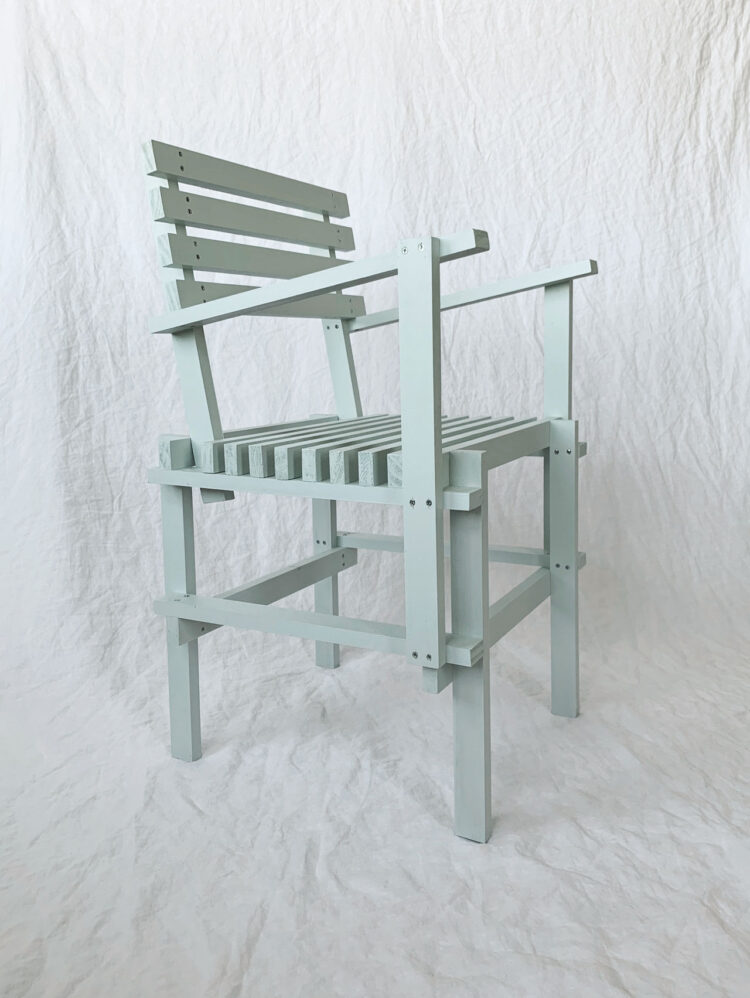
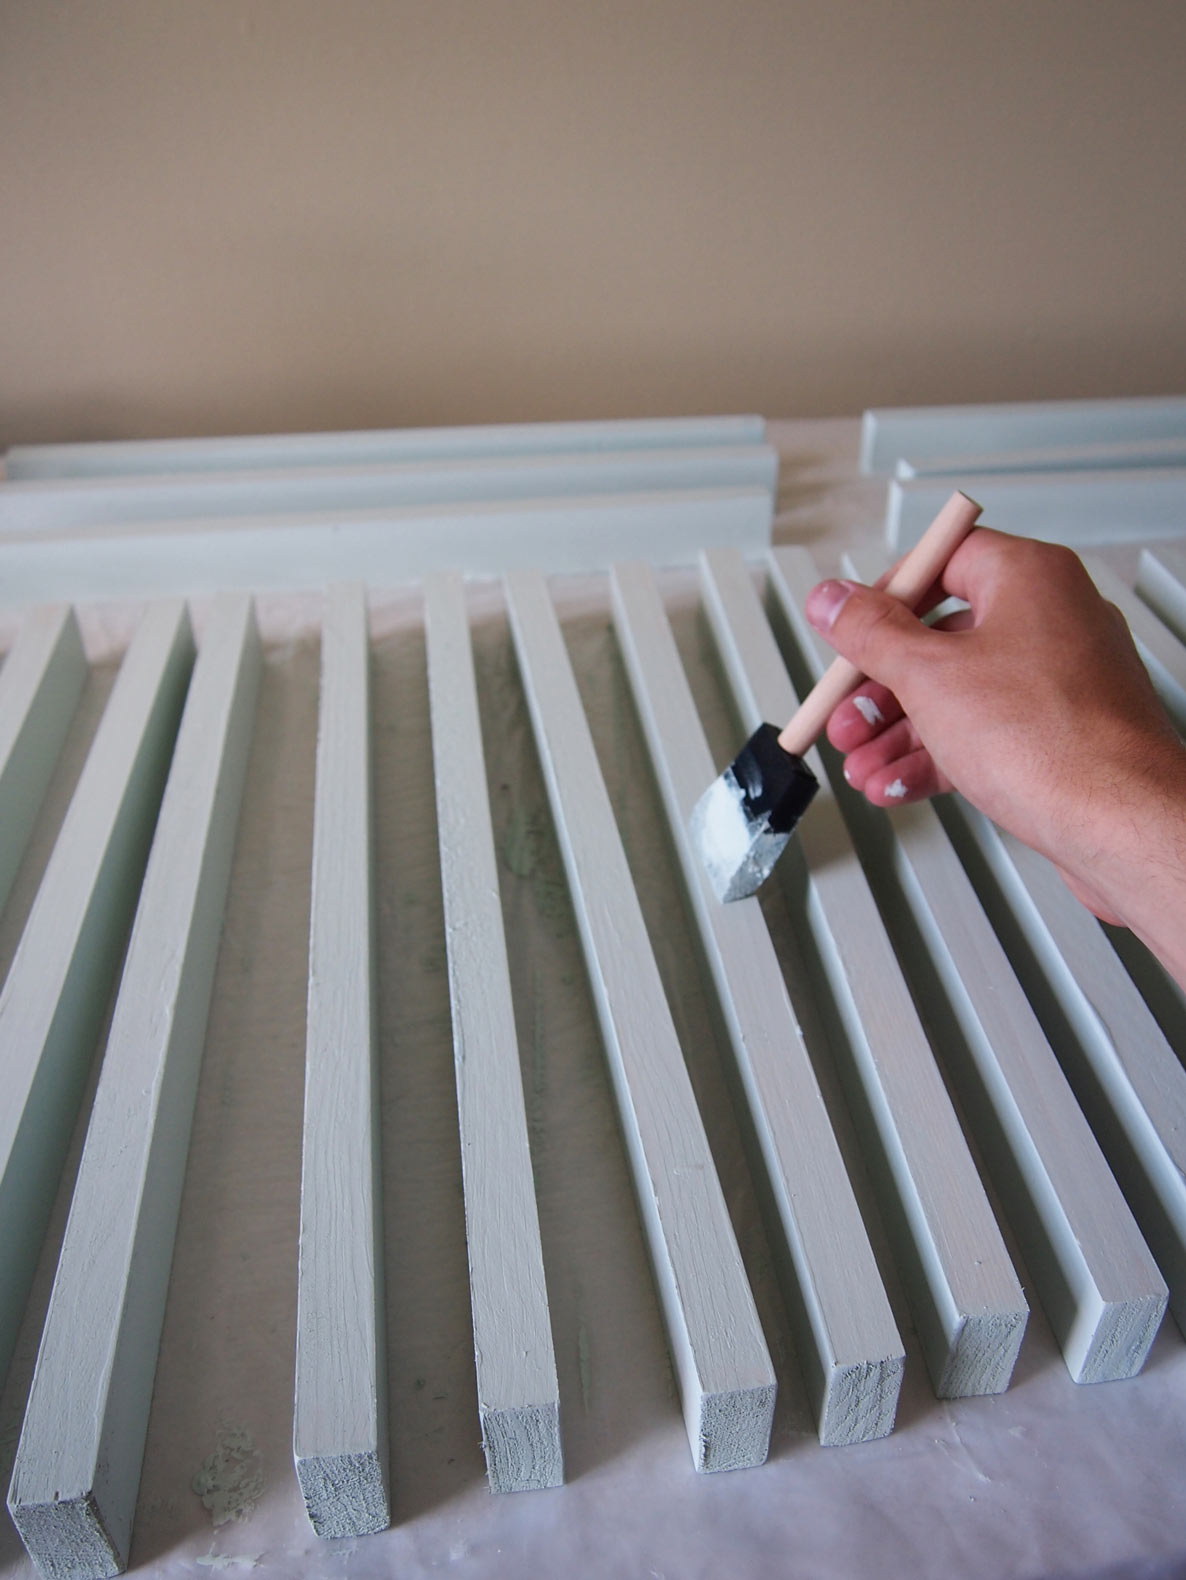
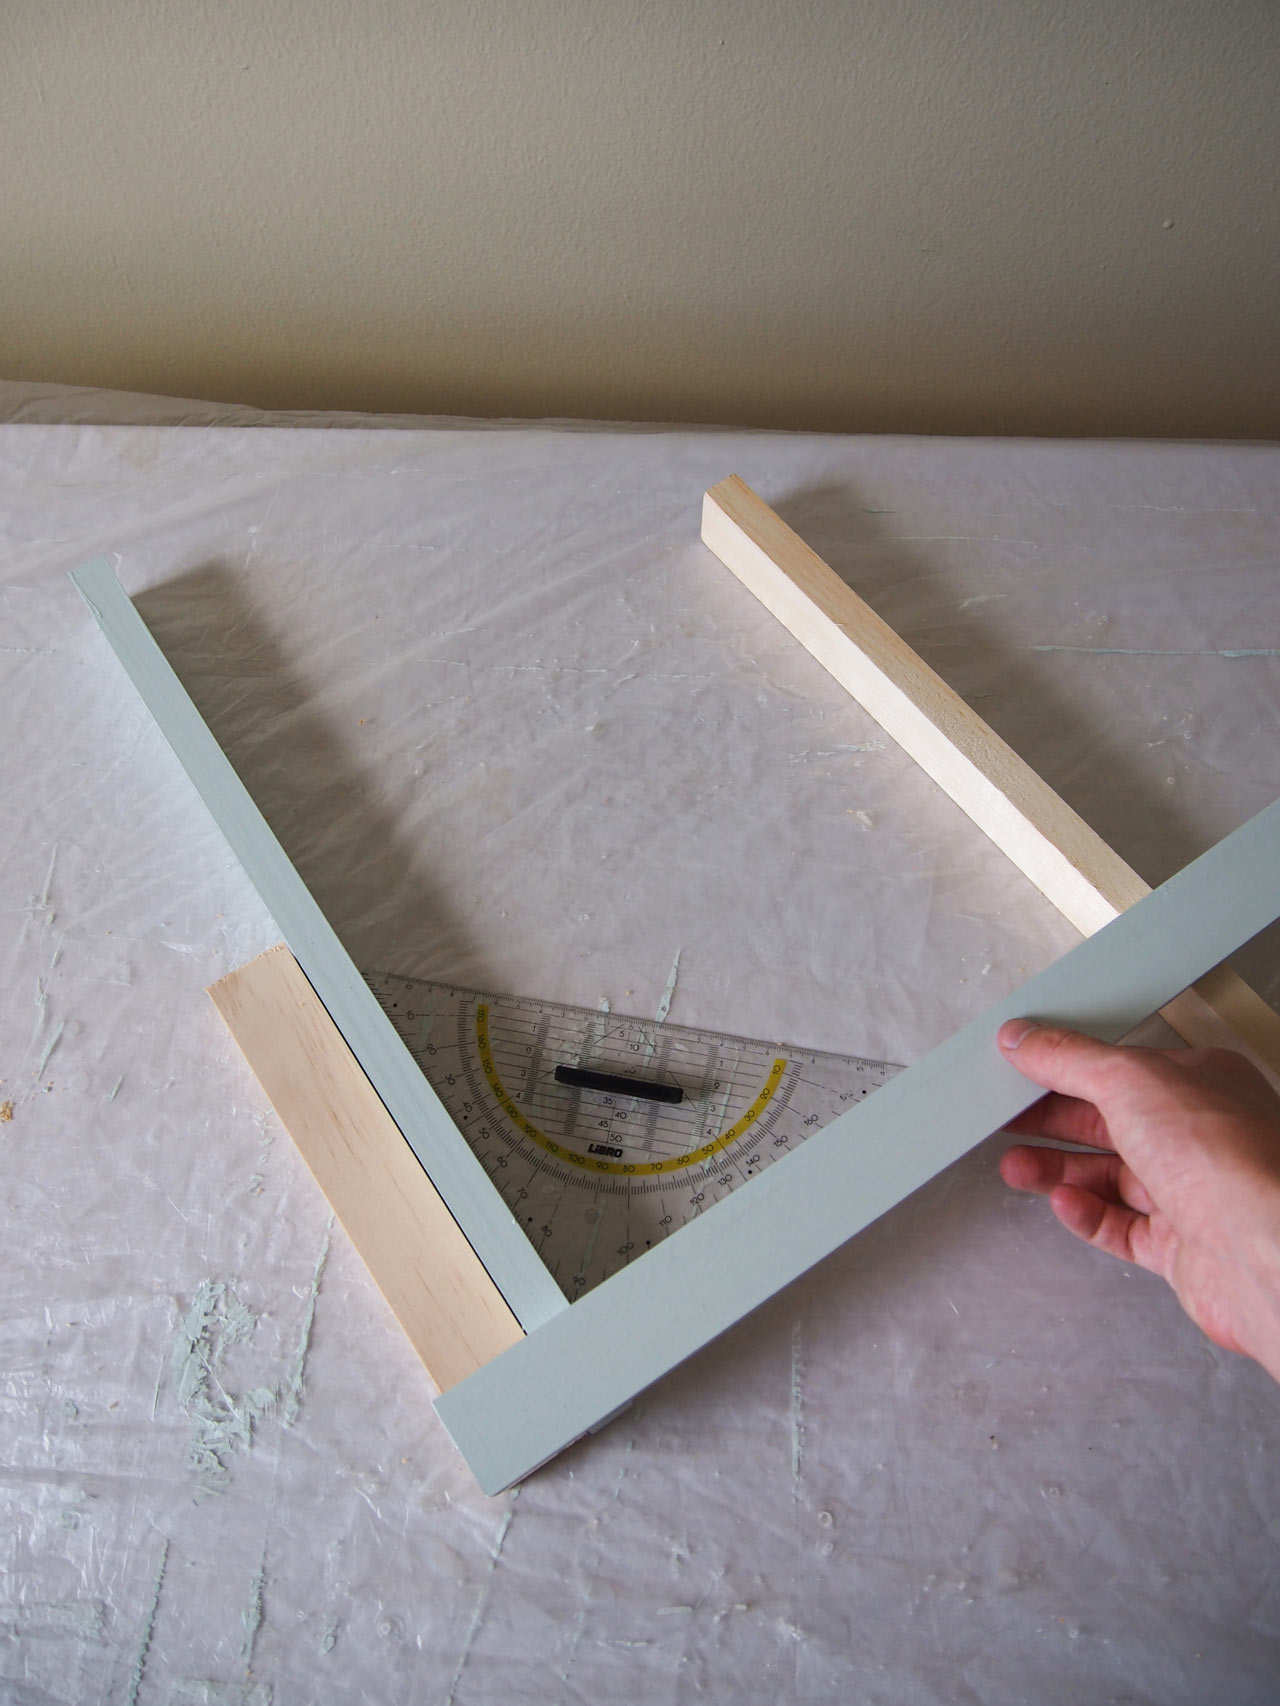
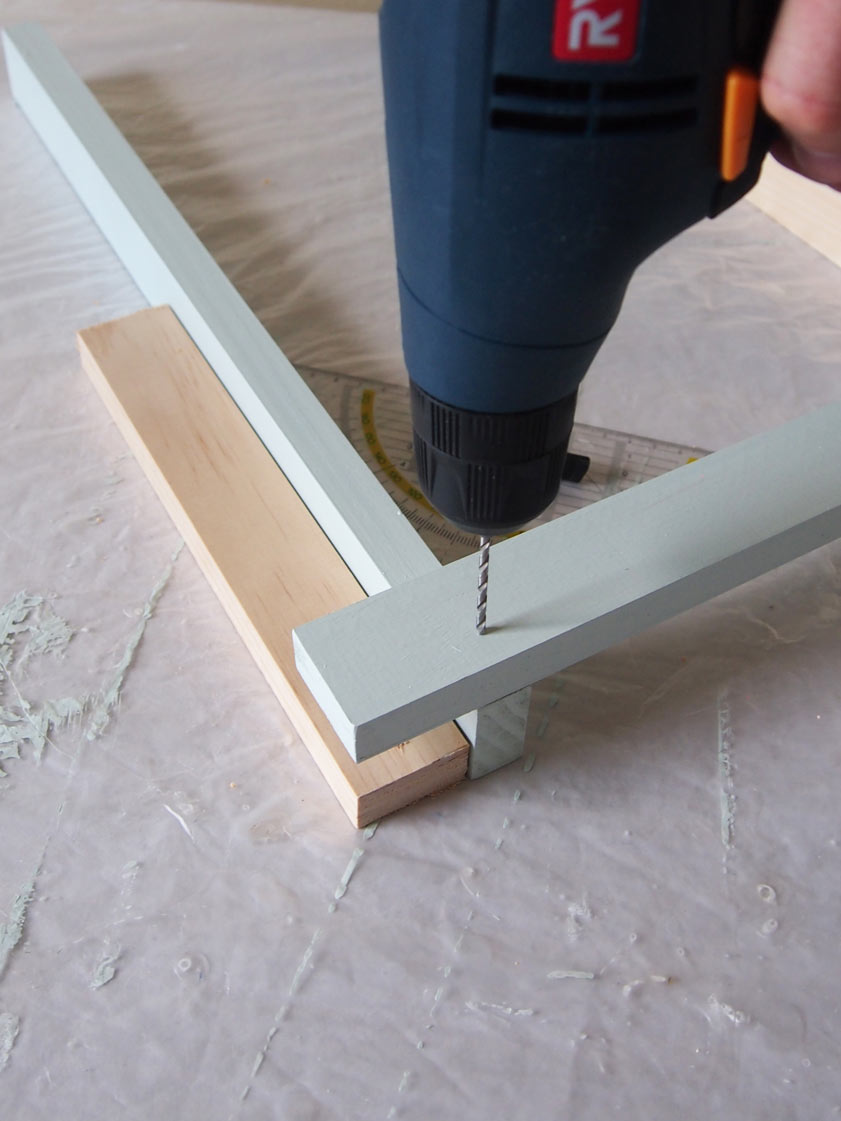
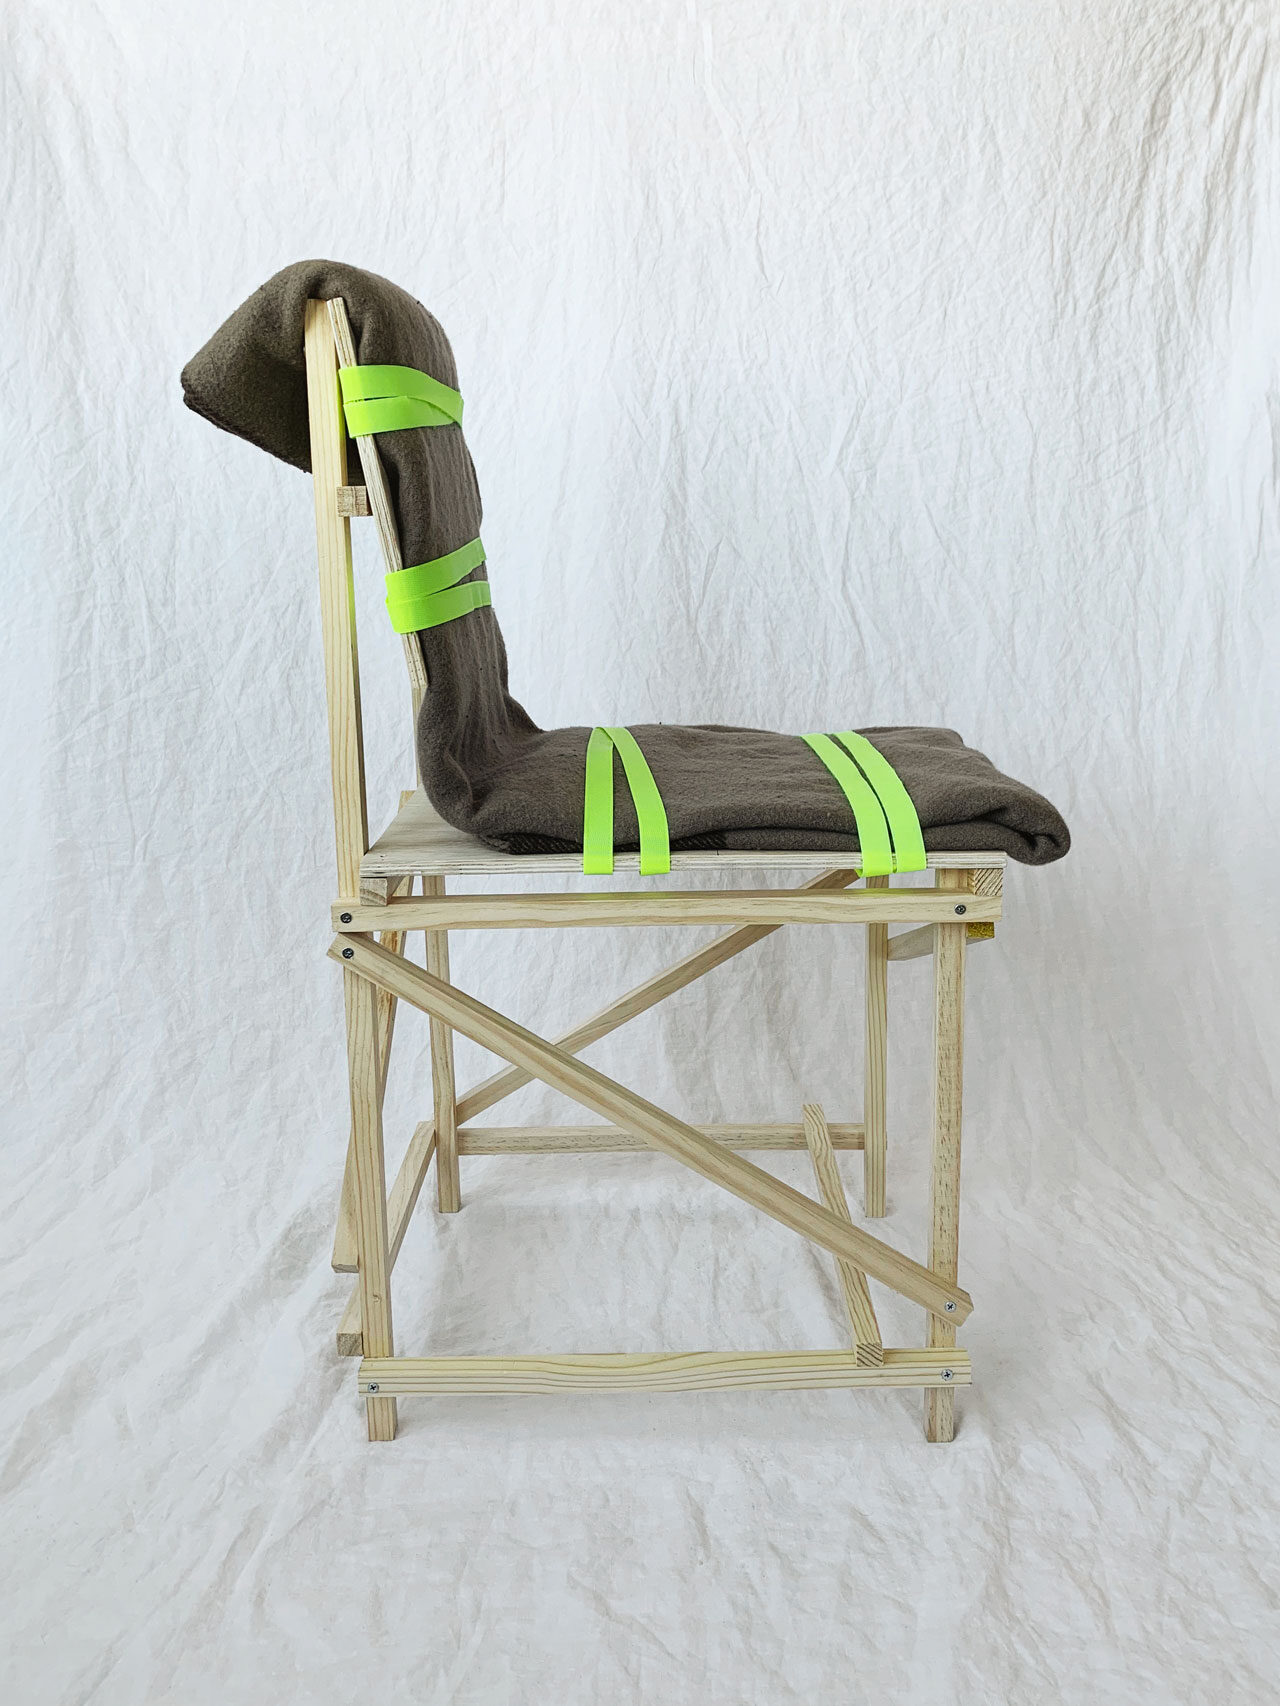
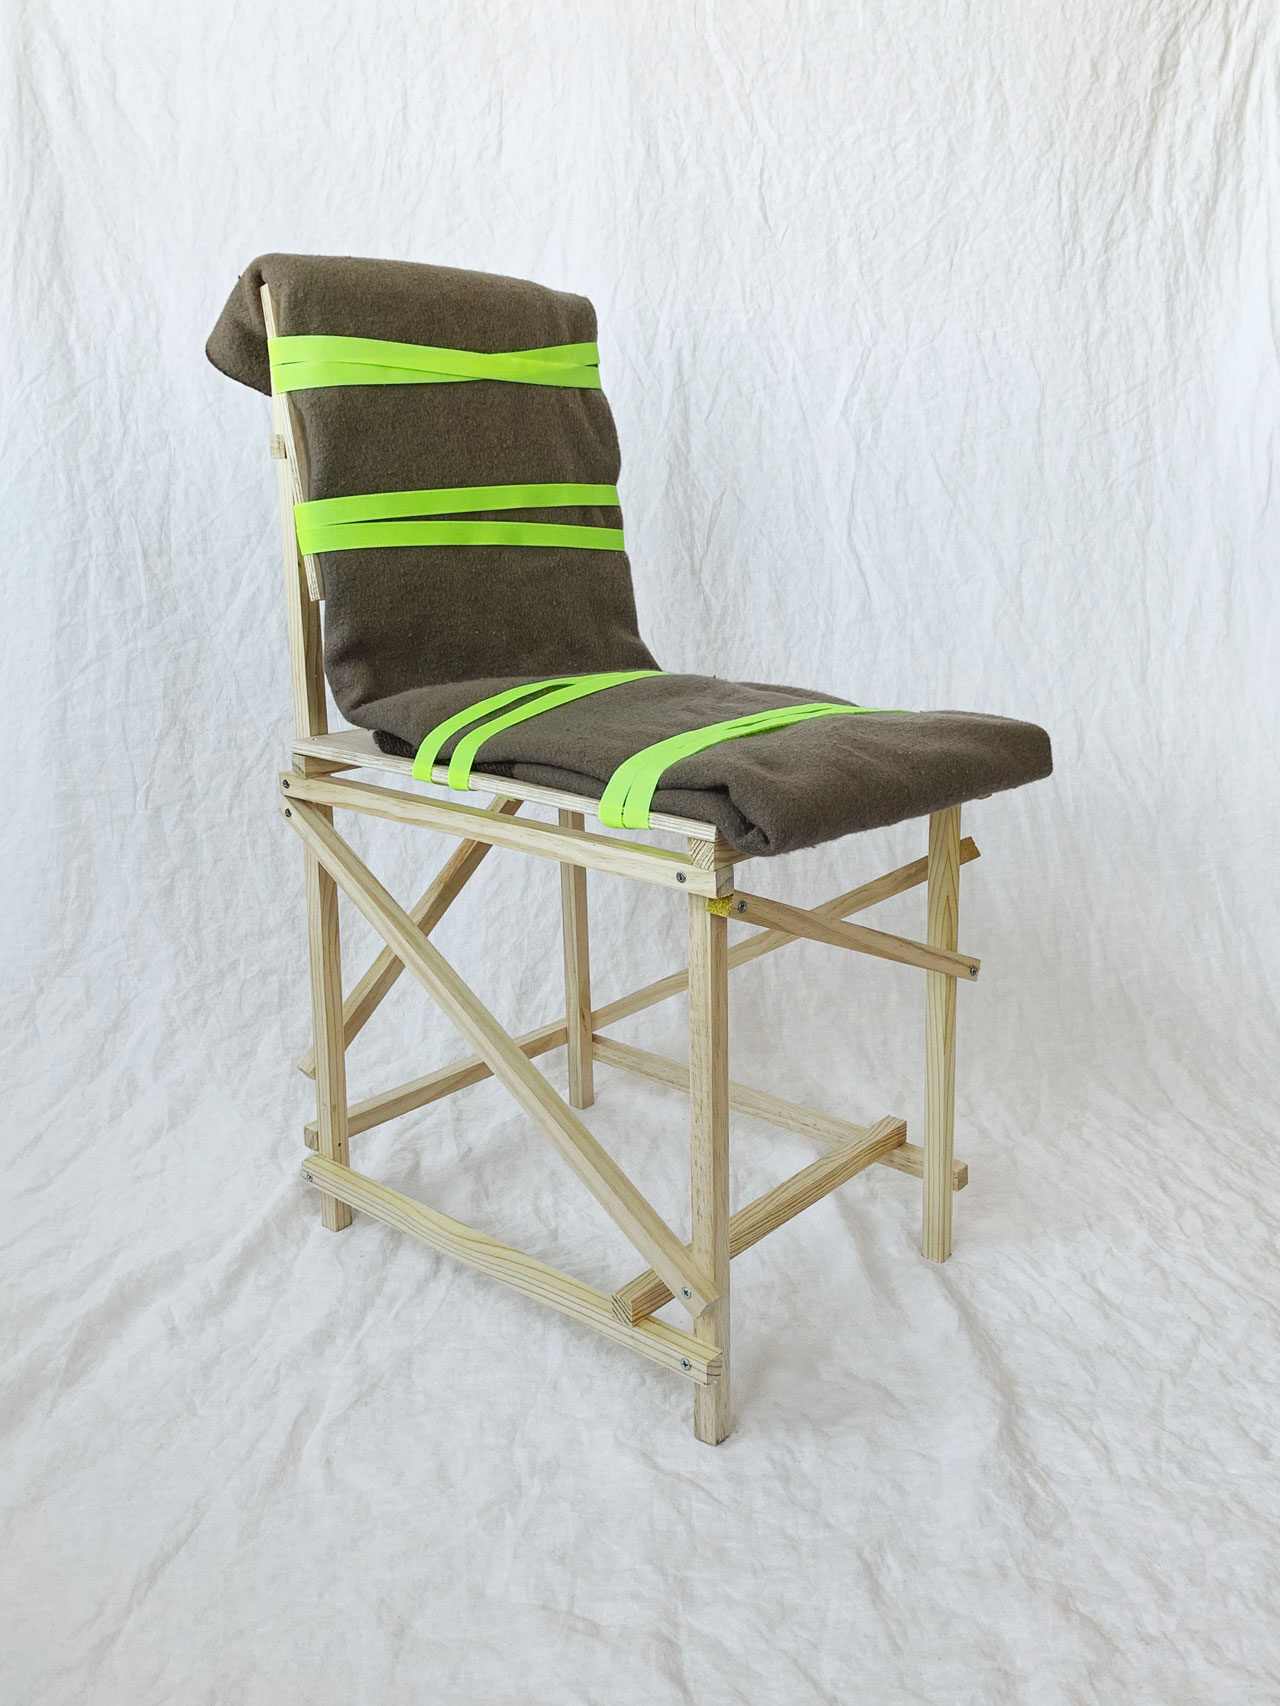
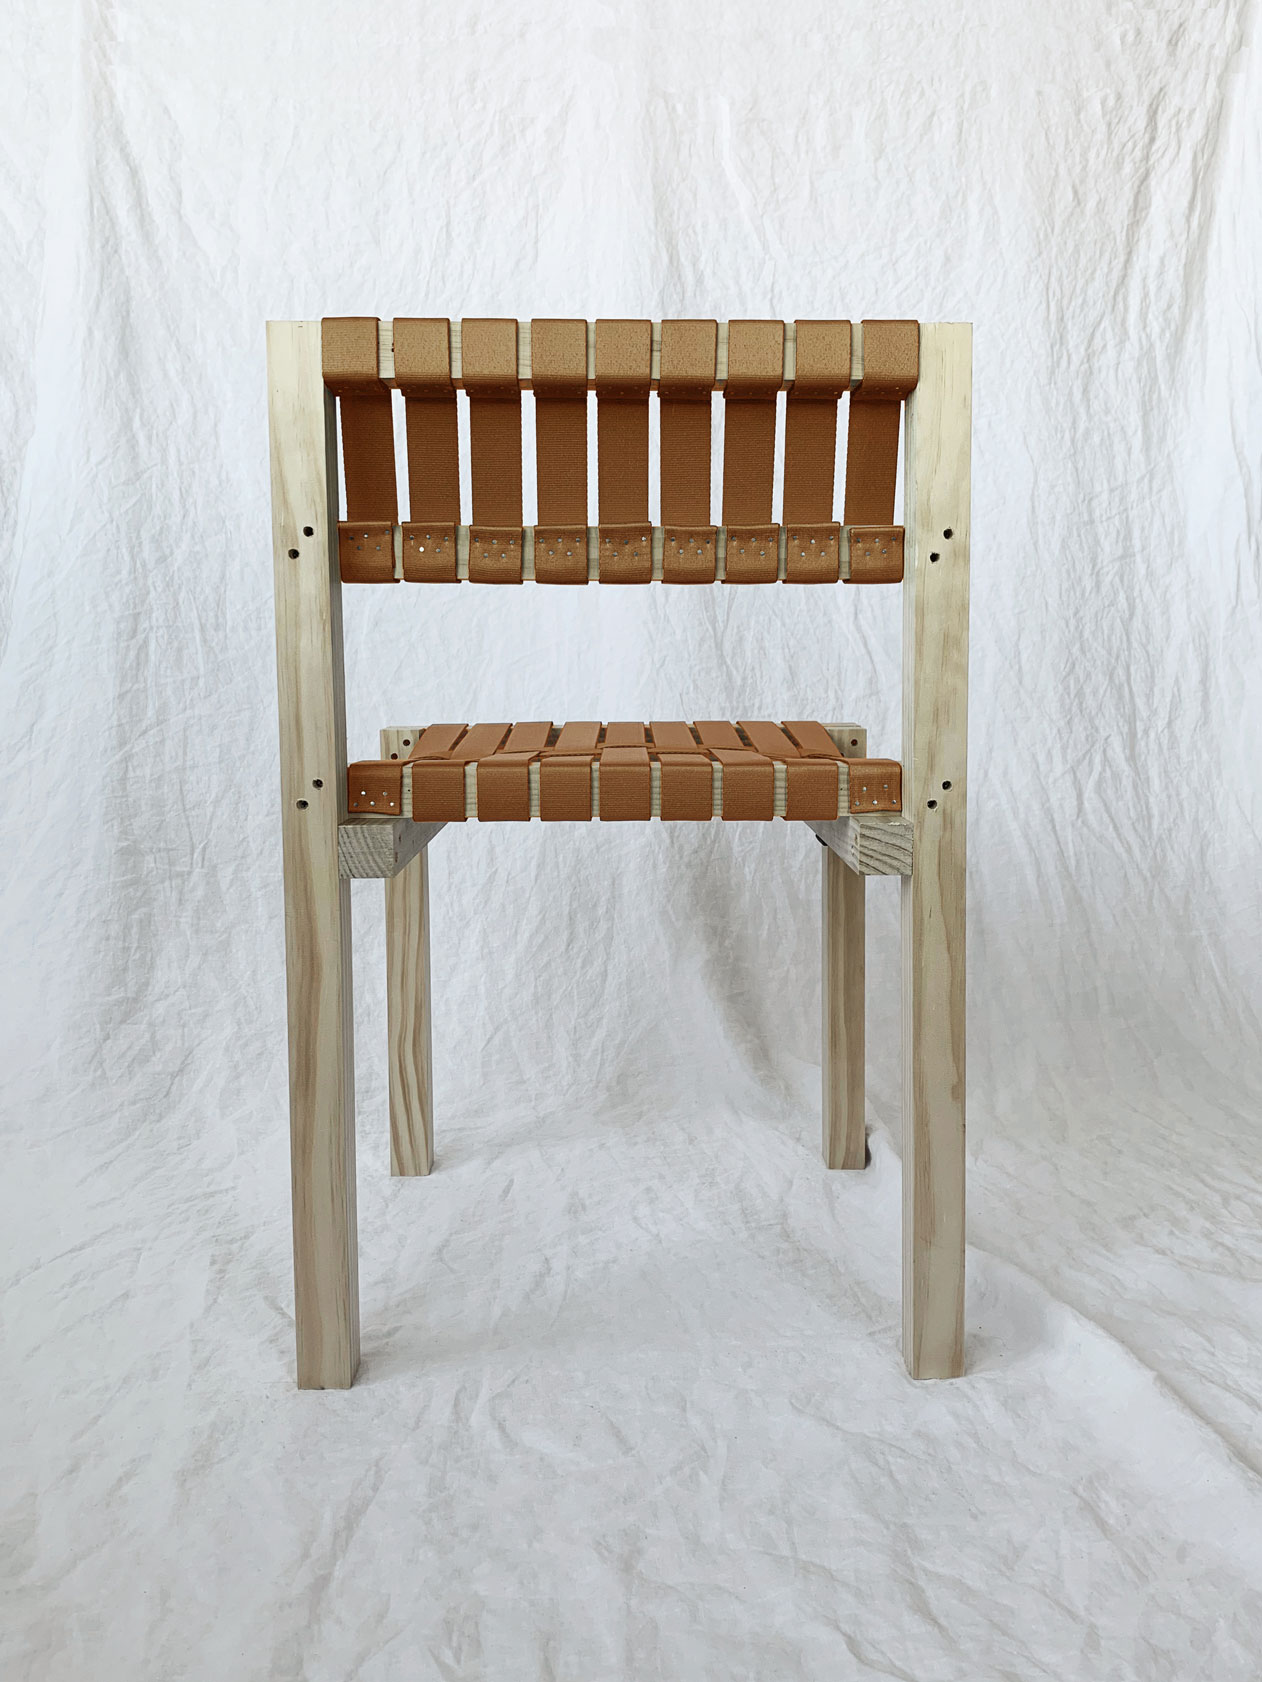
Aandersson
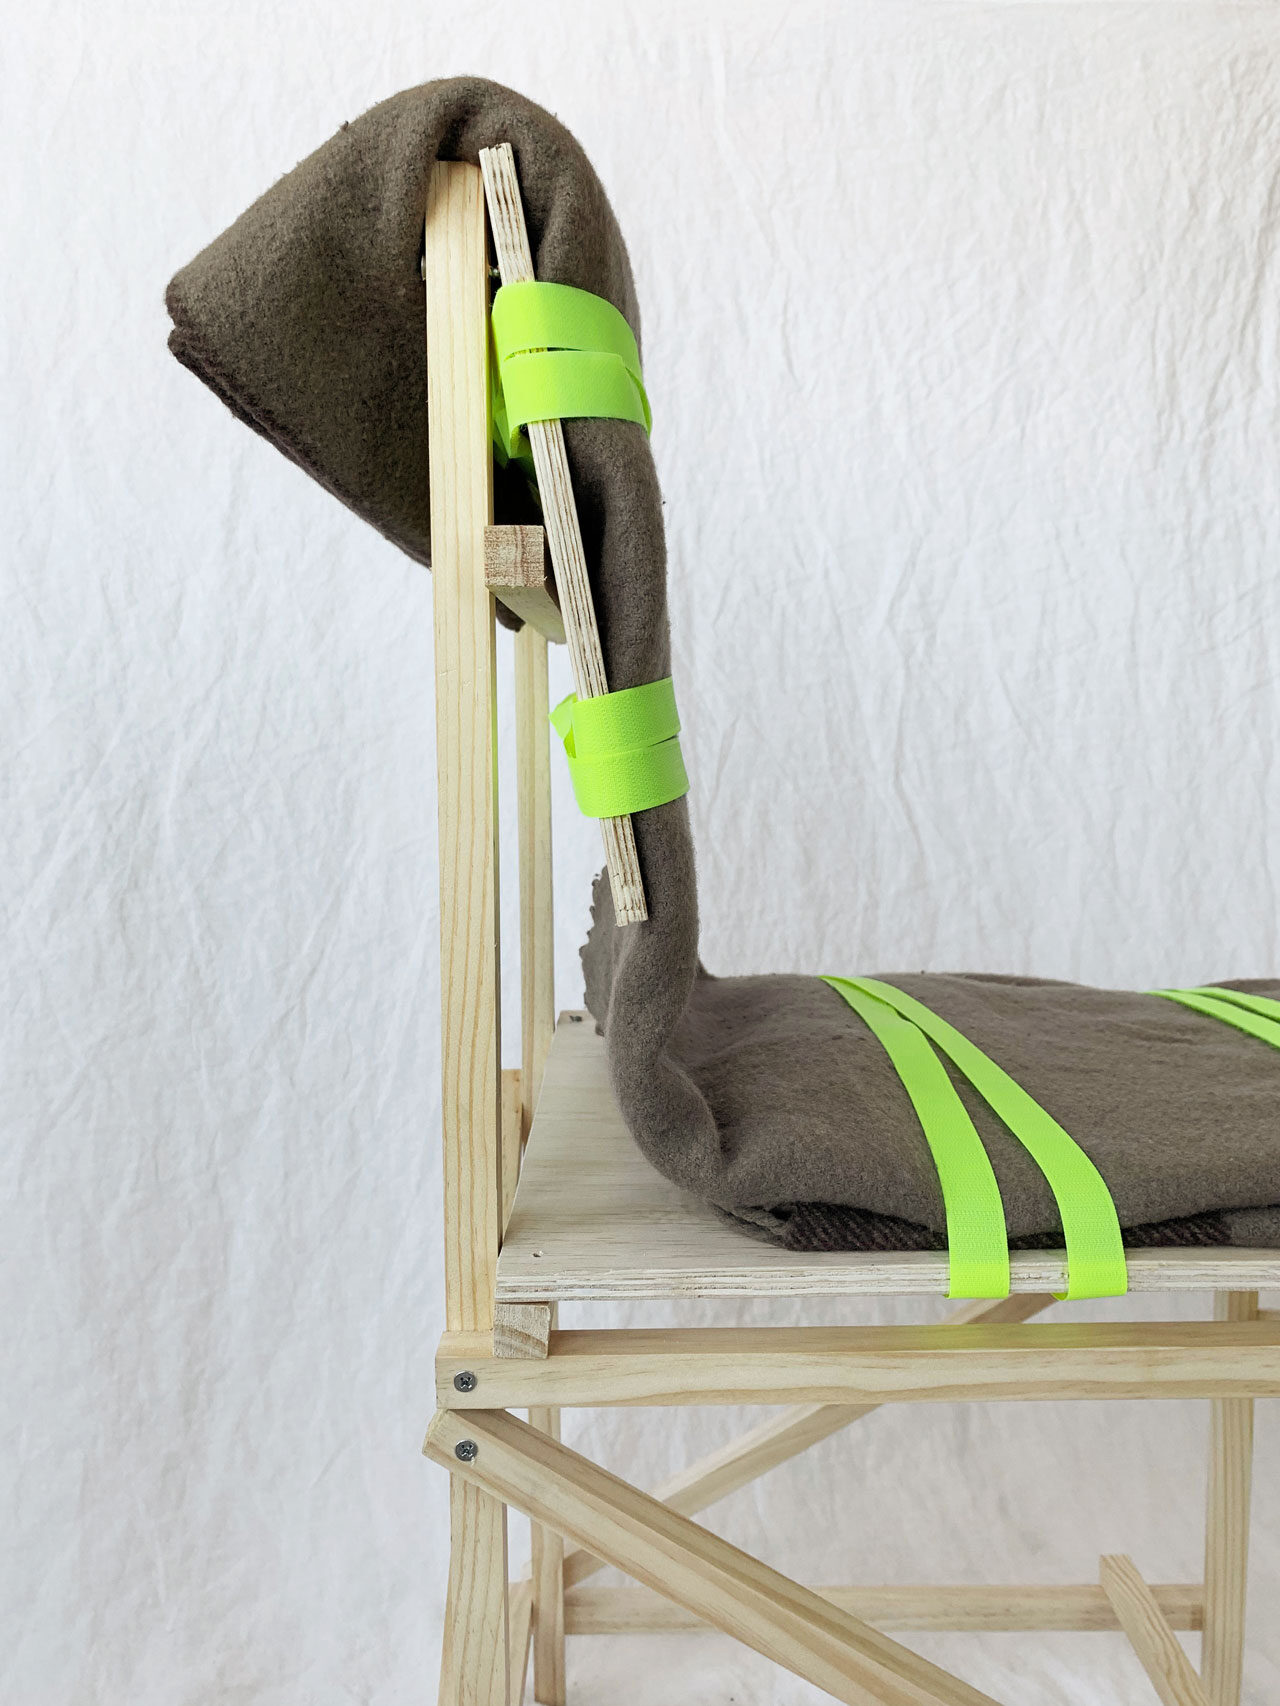
Aandersson